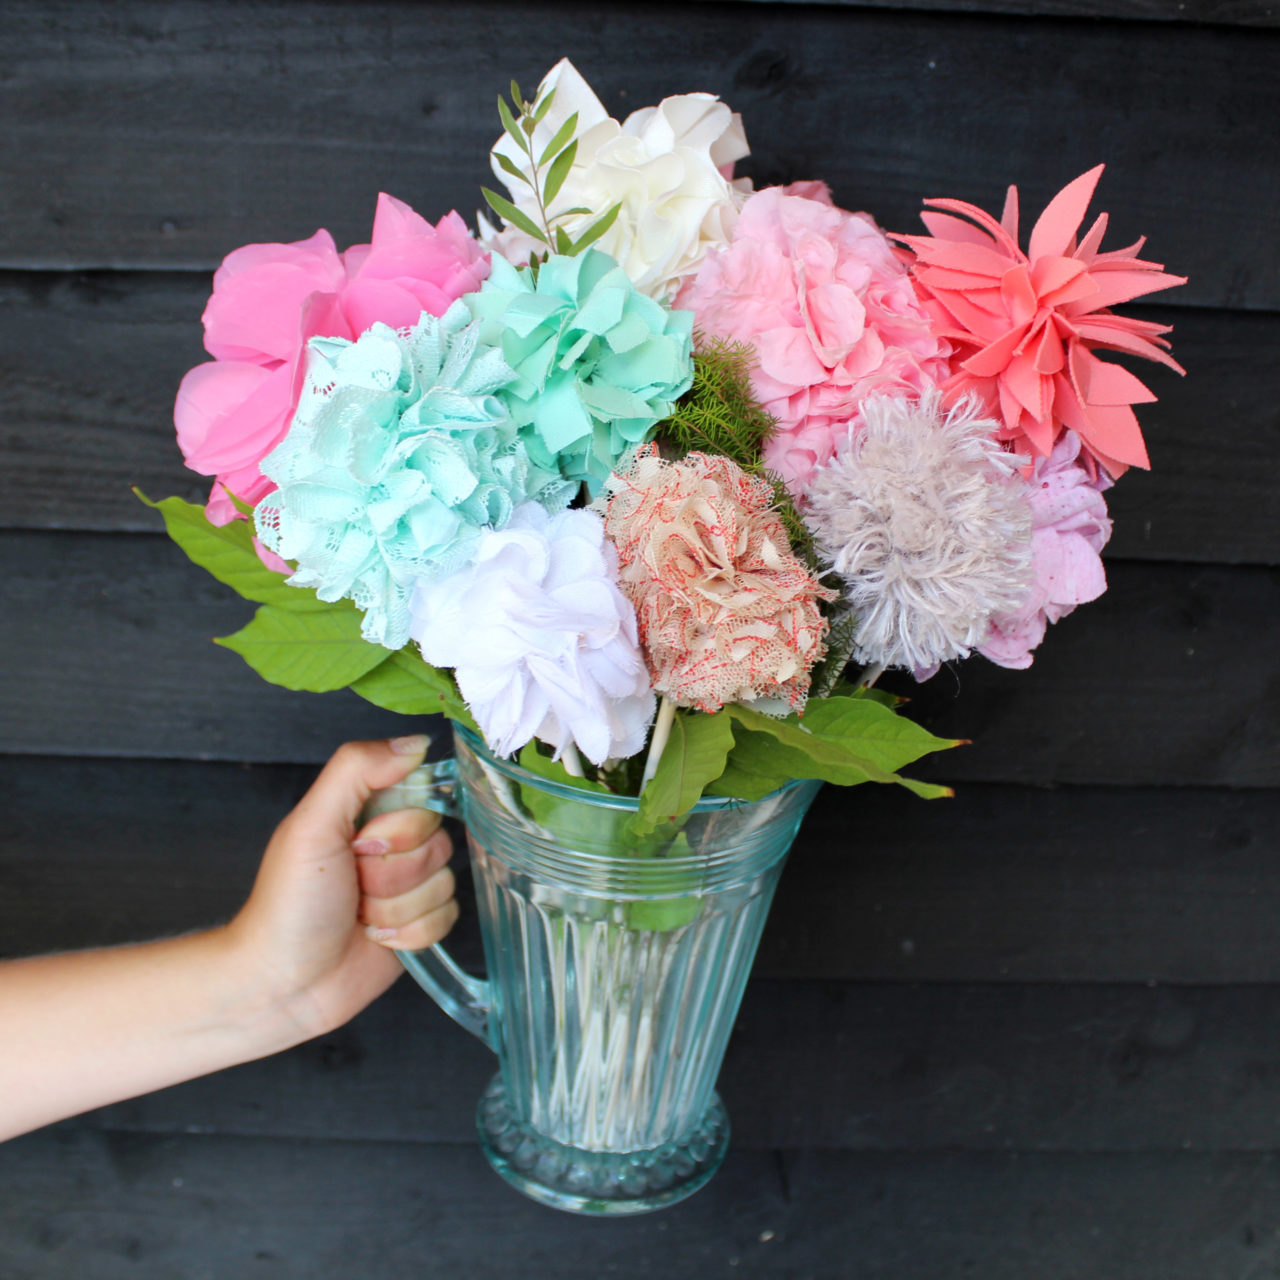
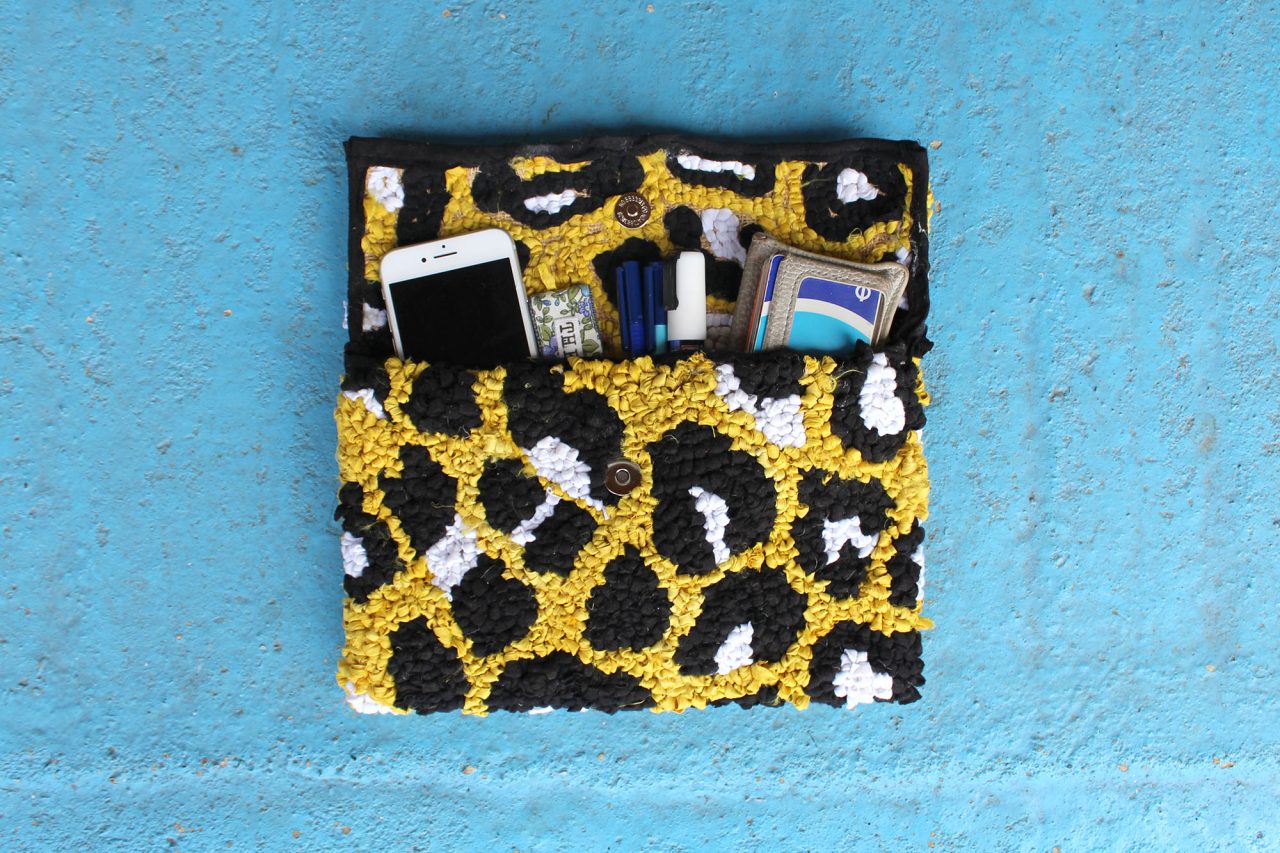
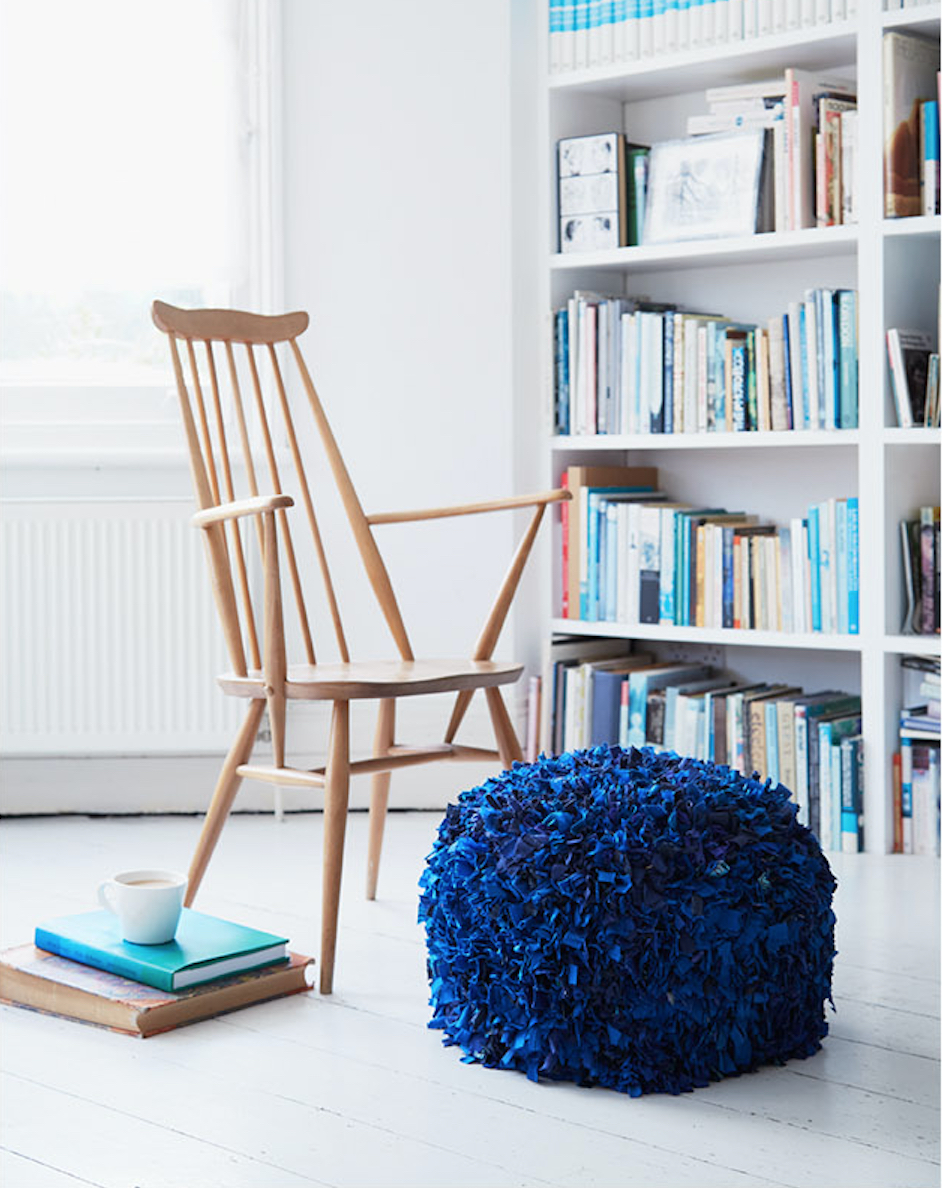
When you think of rag rugging, most of the time you think of rugs, rugs, and more rugs. Well, for a while now, I’ve been more interested in what else can be embellished using rag rug techniques… I started off with cushions and wreaths, and over time I’ve got more and more ambitious. I have now tackled everything from 3D rag rug bouquets and pouffes to rag rug purses and stockings.
All my latest pet projects are centred around simple upholstery (if it can even be called that when it’s this easy). I’m exploring how I can use rag rugging to add texture and interest to old pieces of furniture. I’ve been taking homeware I have lying around the house and giving them a new lease of life.
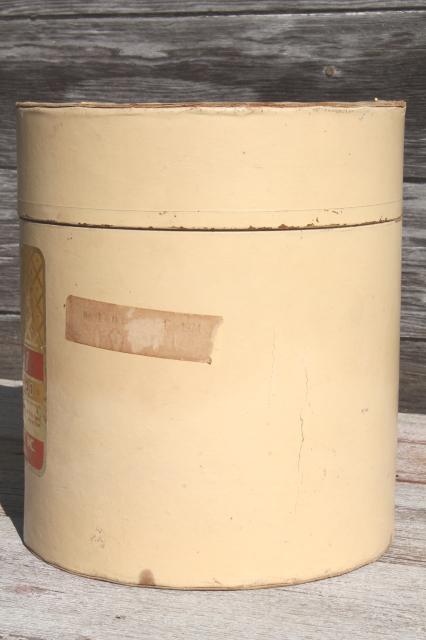
So, when I came across an old laundry tub (if that’s even what what it was?), I couldn’t resist the temptation to give it a face lift. I had a vision of a stunning rag rug laundry basket. So here’s how I got on…
Hemming the hessian
To cover something as simple as this with rag rugging is not particularly difficult. However, to do so with a good finish is slightly trickier. I decided pretty early on that I would include a non-rag rug trim around the top and bottom edges. This I felt would give the laundry basket a cleaner look. So, I left extra hessian around the outside of the rag rug area, to account for the trim and assembly later on.
As with most rag rug projects, the real work in the piece is doing the actual rag rugging itself. Therefore I was keen to get that done as quickly as possible, (even before working out the logistics of how to assemble it all).
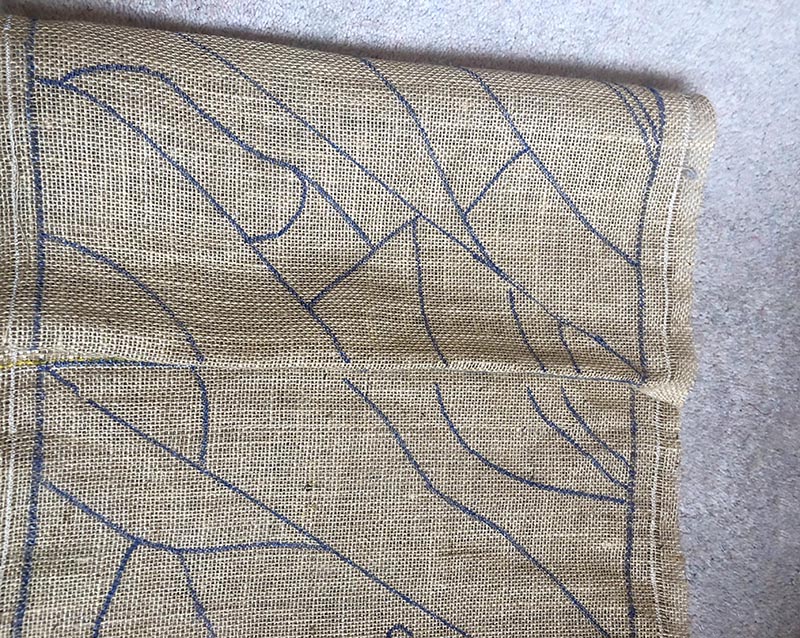
So, step 1 of the rag rug laundry basket was to sketch out a rectangle of hessian. This would be the circumference of the basket x the height of the basket. I measured the circumference of the tub using a piece of string and added an extra few cm of hessian around each edge (to account for the trim mentioned above). Next, I sewed a placeholder hemming stitch around the rectangle to keep the hessian from falling apart when it was worked.
Now, I was now ready to sketch out the design…
The design:
Over time, an individual’s style and tastes change, whether it be in art, design, interiors, craft or other things. In terms of rag rugging, I’m currently very drawn to a couple of different styles.
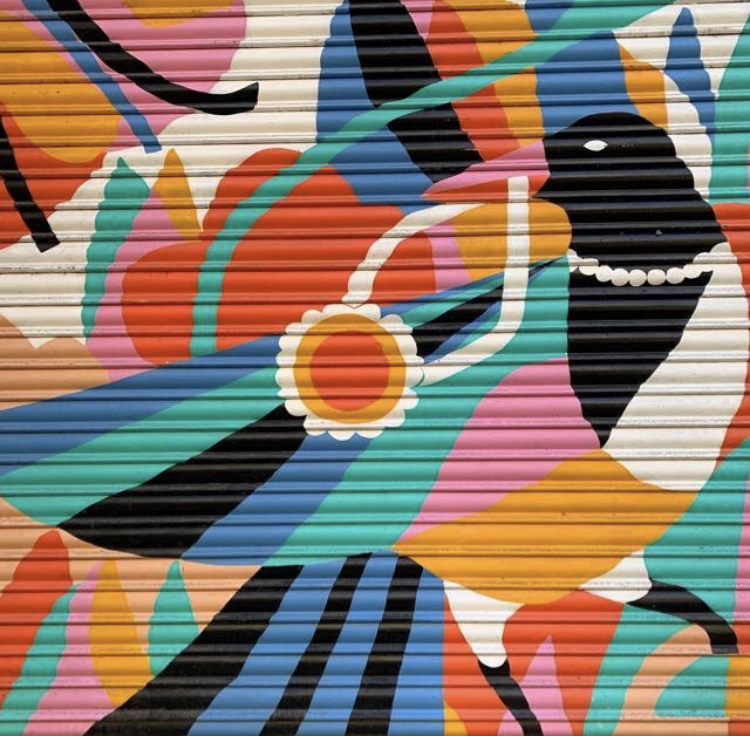
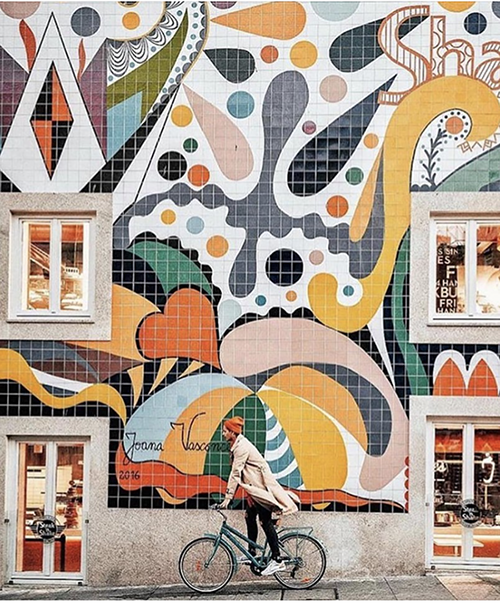
Strong, geometric patterns with colour blocking…

And impressionist style art, based on watercolours…
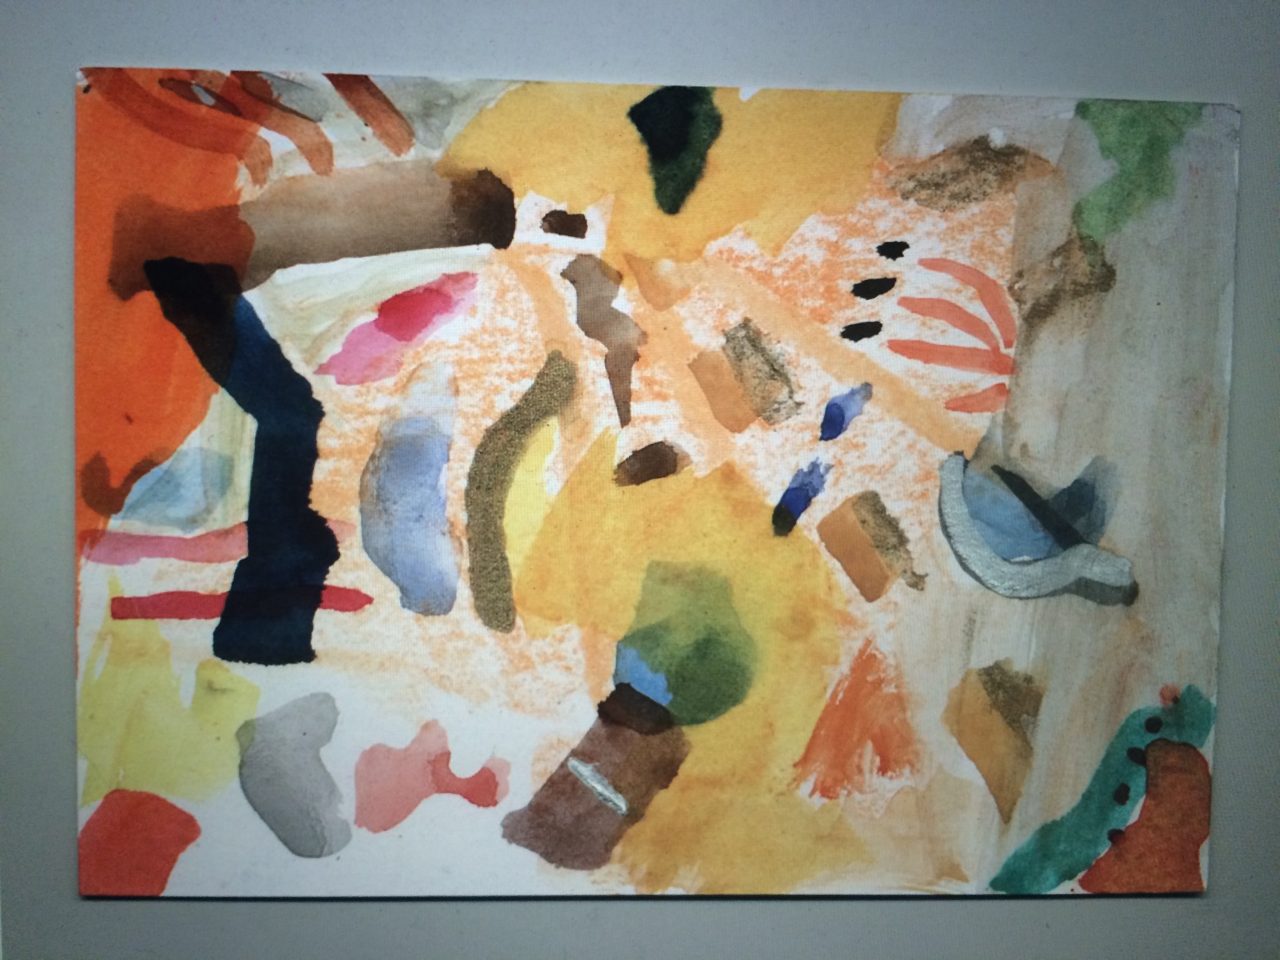
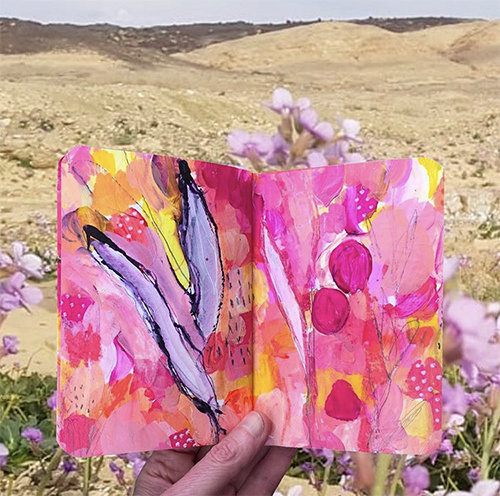
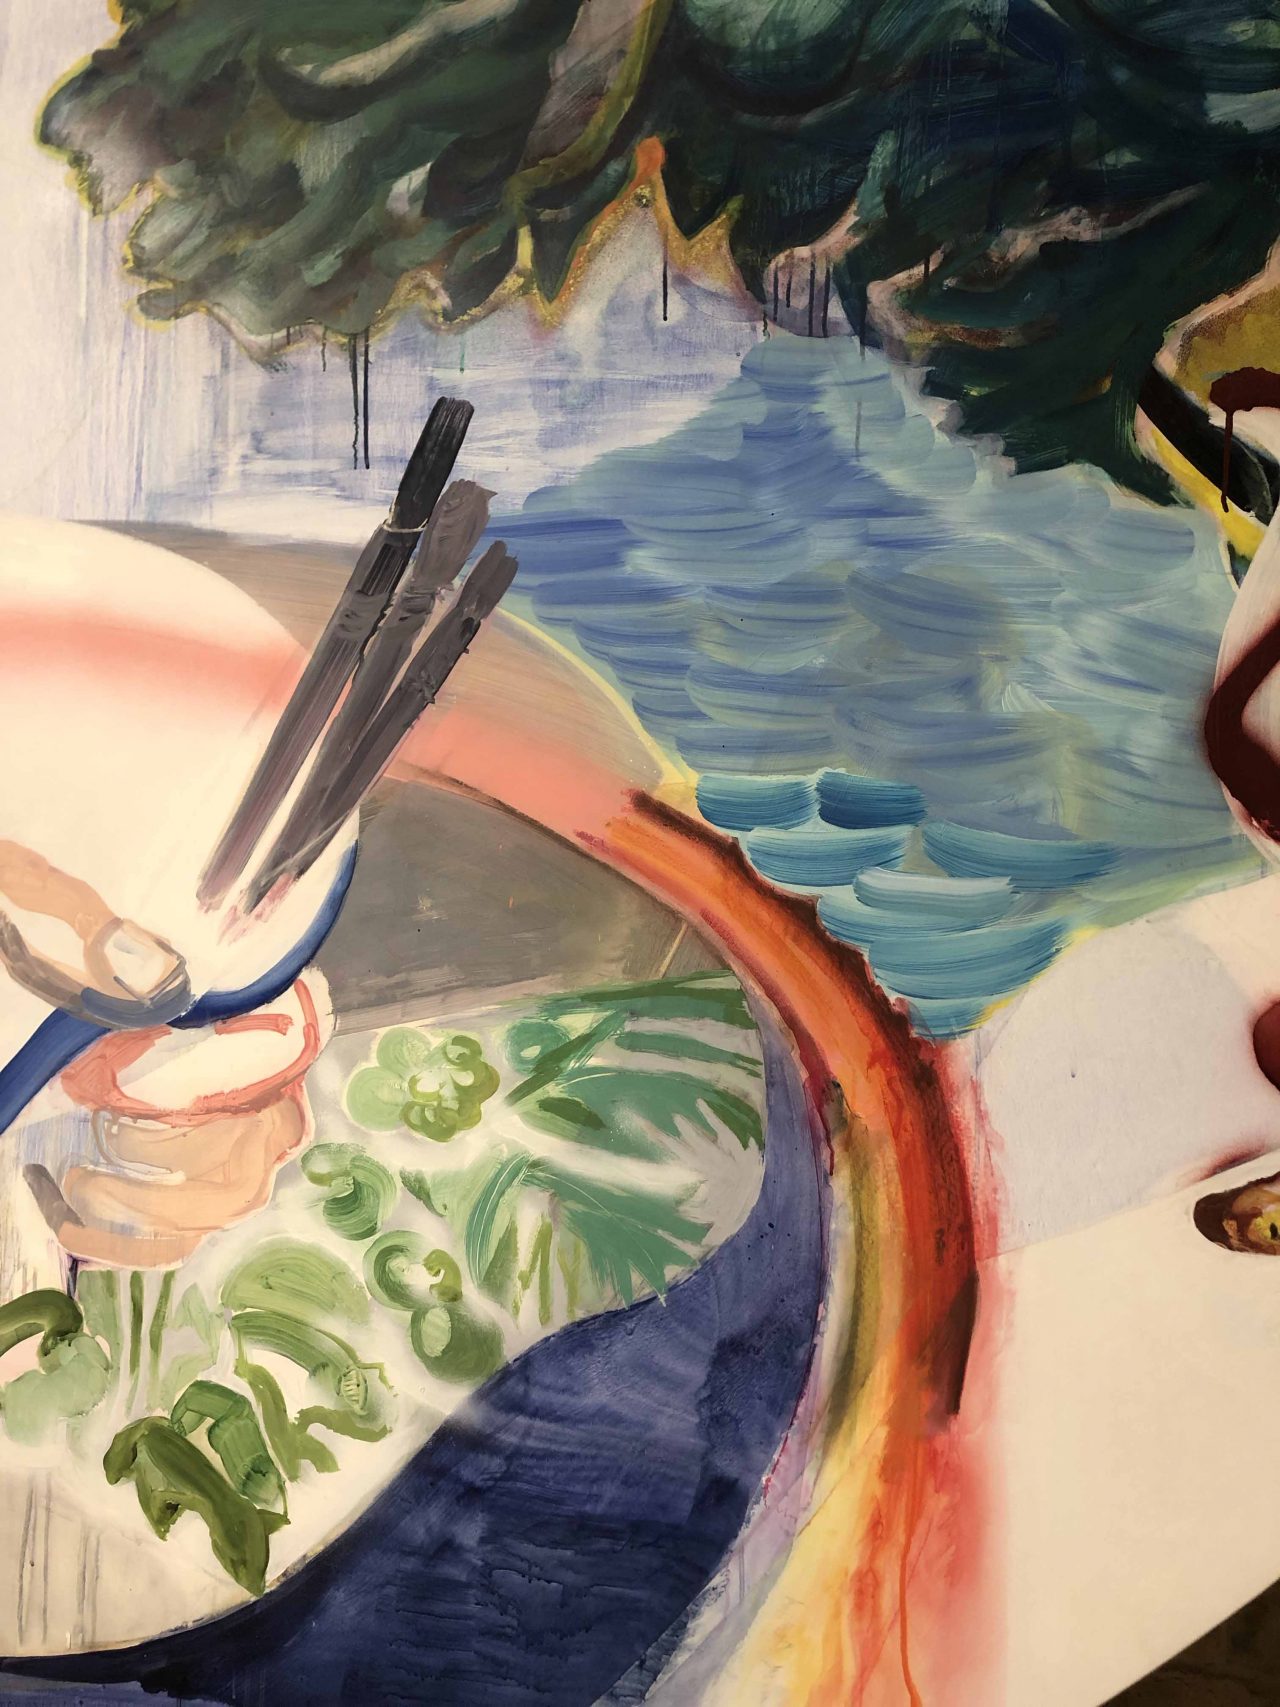
You’ll notice that both styles have quite a lot of colour!
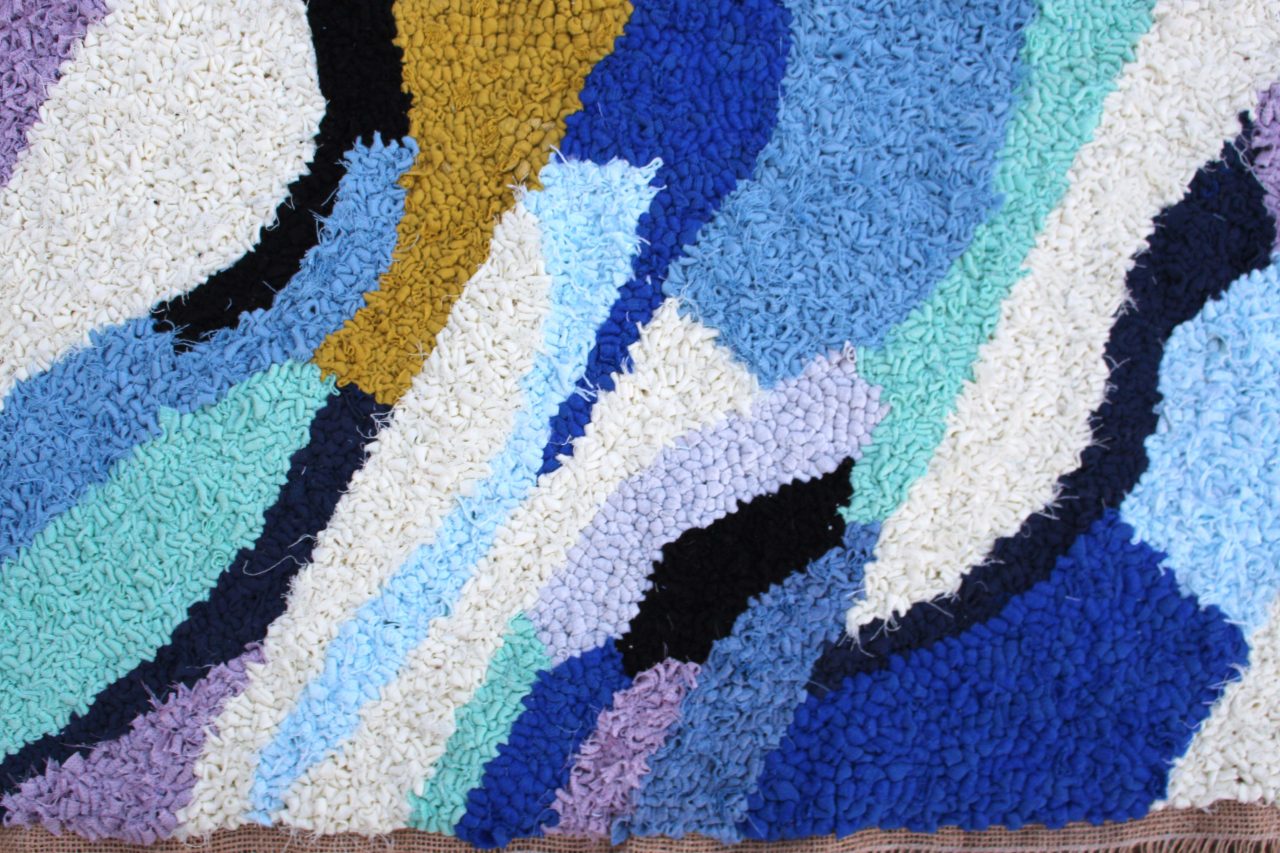
I was keen to add as little bulk to the rag rug laundry basket as possible (to make it more practical). This meant that loopy rag rugging would be the best technique for the project. This technique lends itself best to strong designs, as opposed to texture, so I chose a colour blocked geometric design.
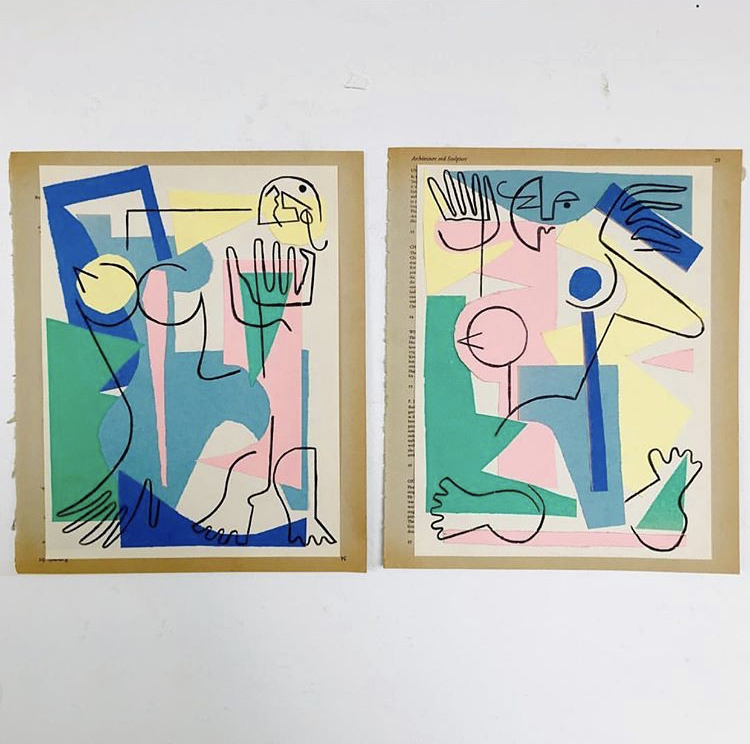
I’m always on the look out for design inspiration. One of my favourite places is the Royal Academy Summer Exhibition. It’s there that I came across John Maine‘s work…
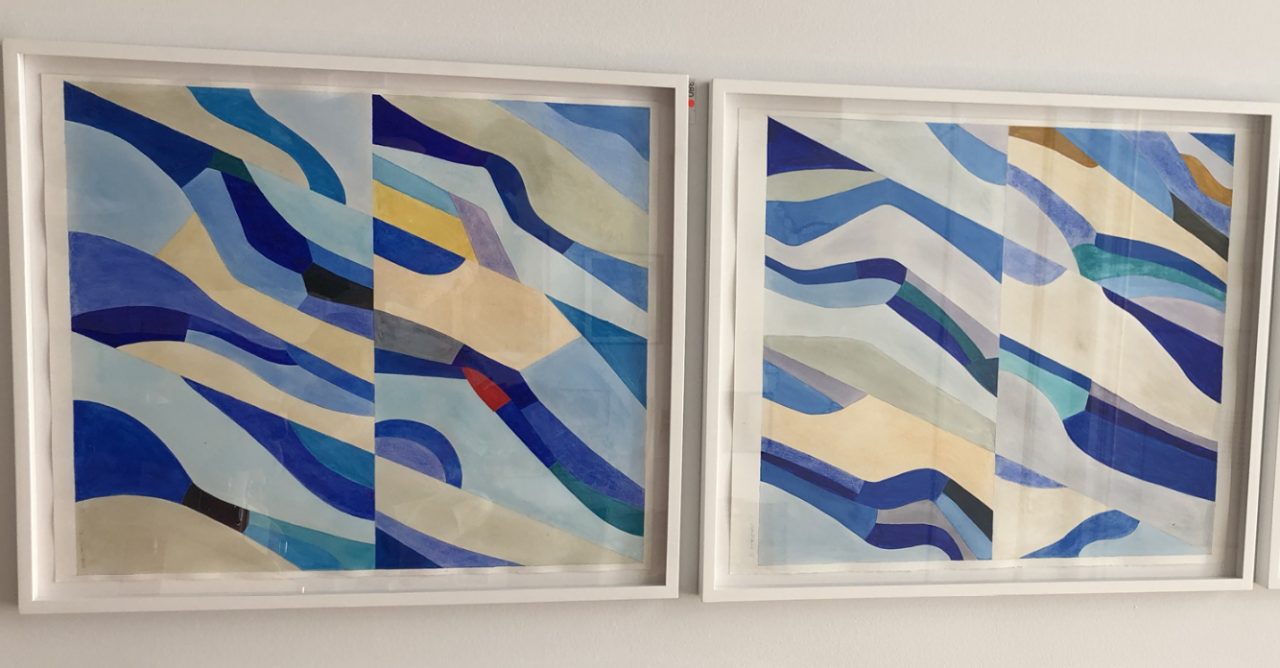
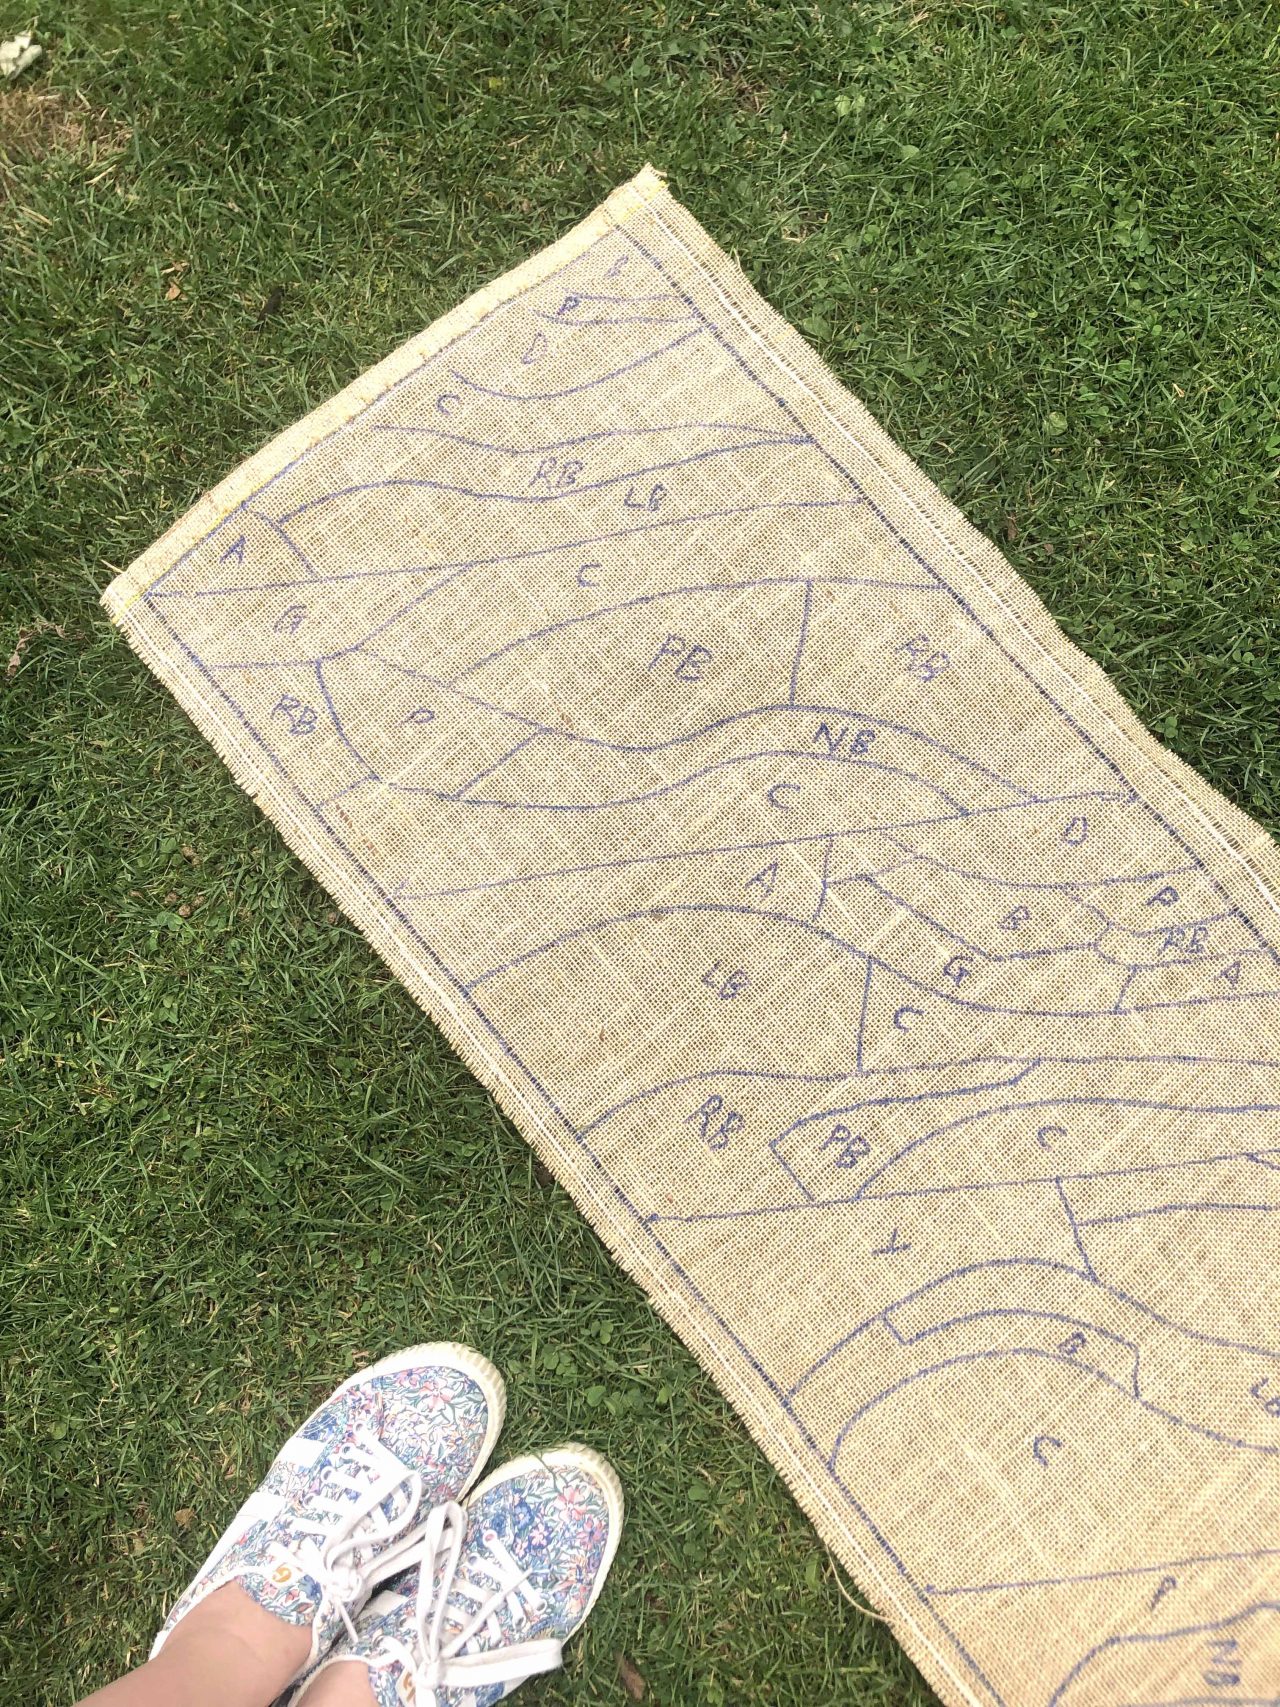
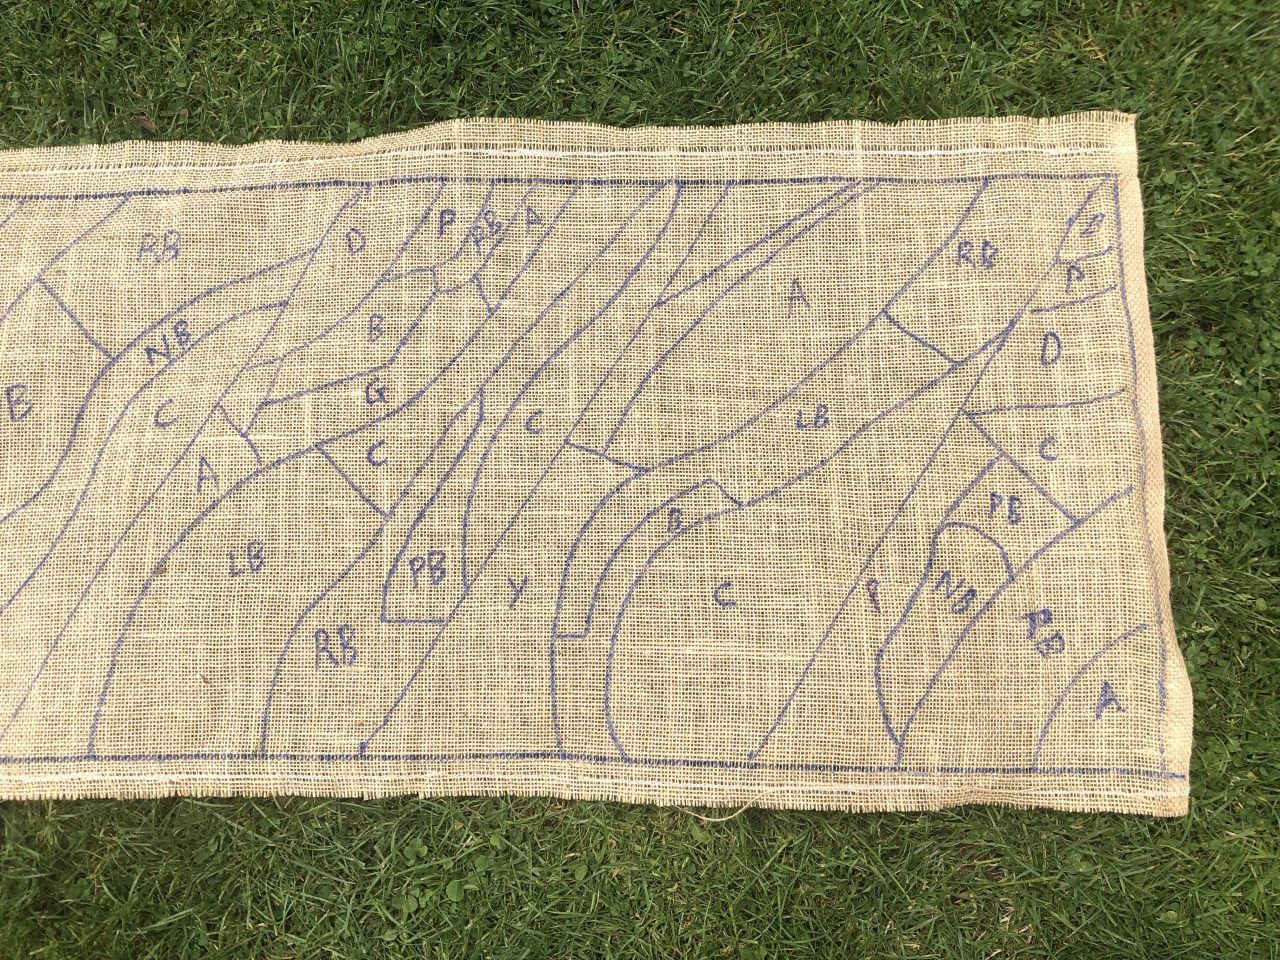
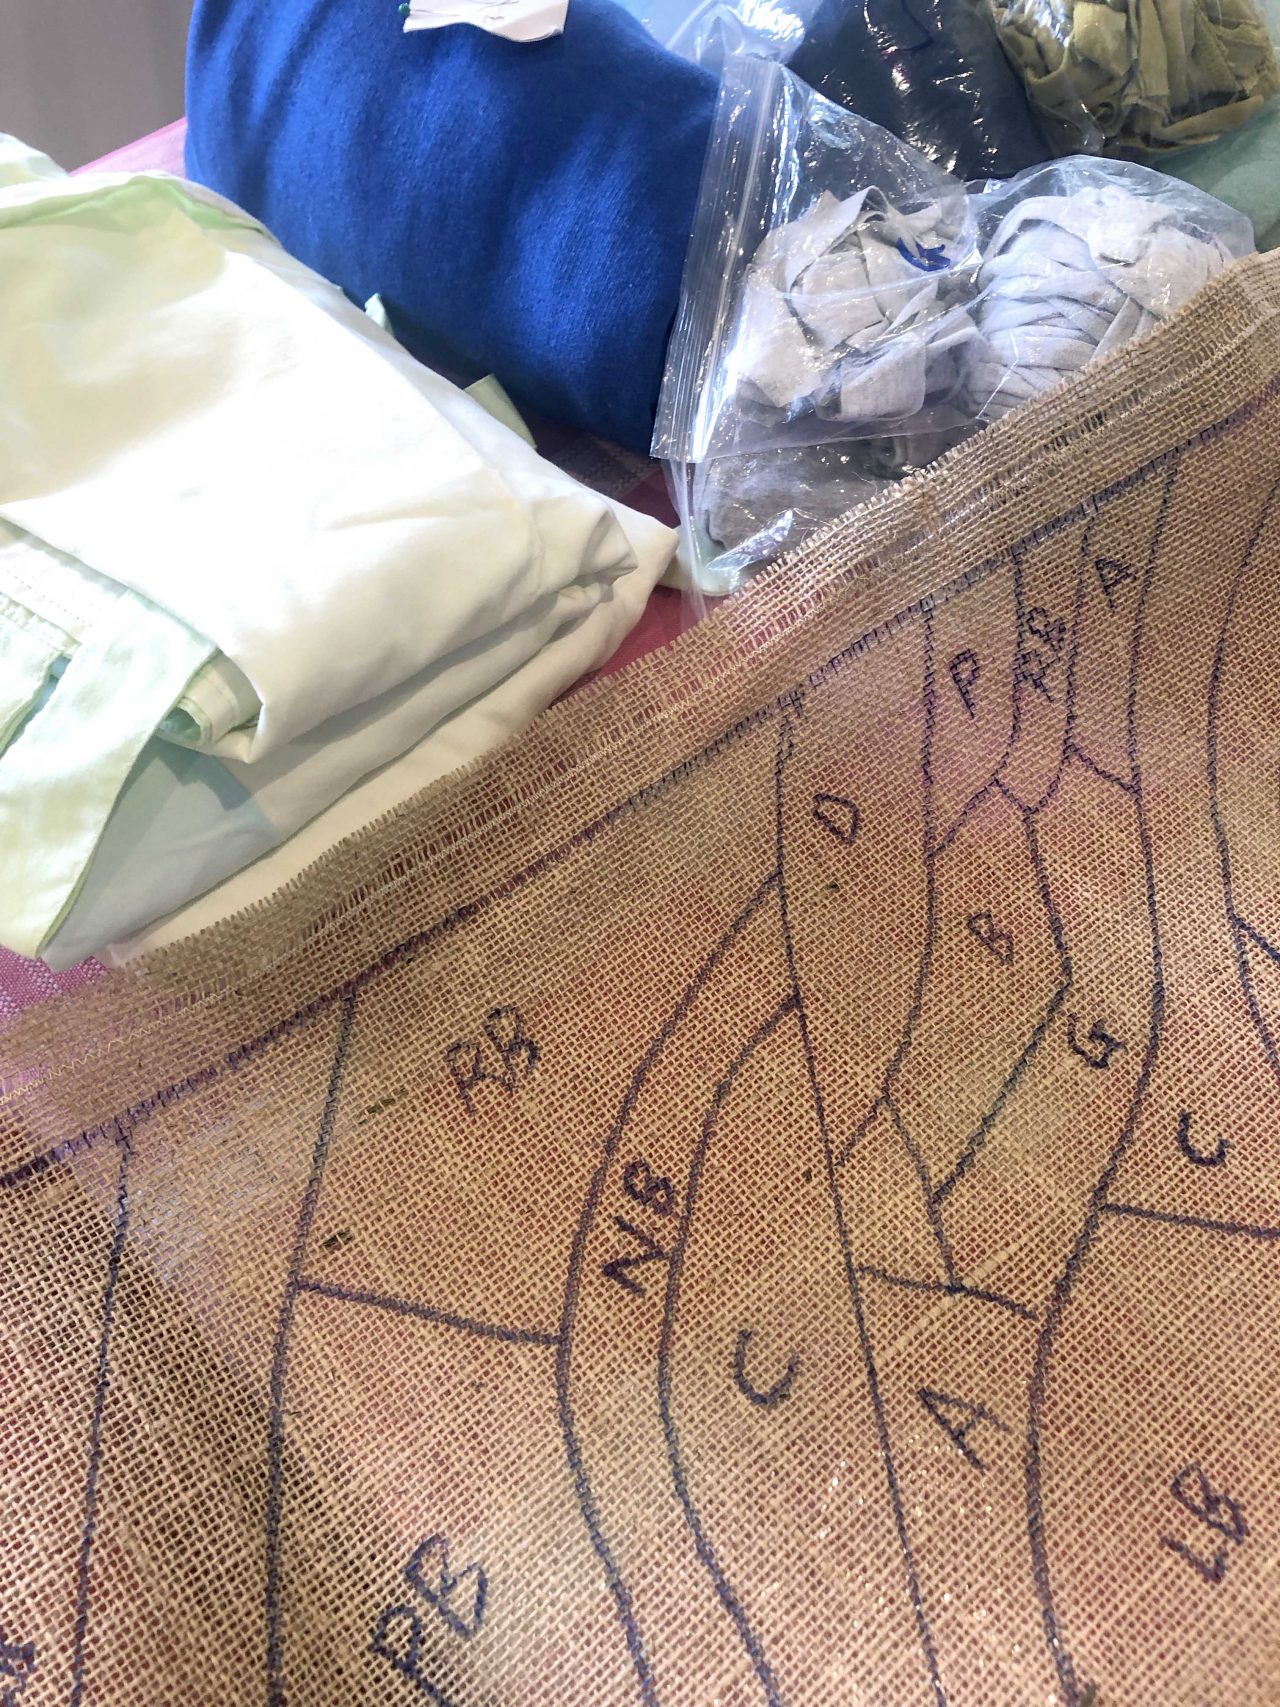
Interestingly, John Maine is actually a sculptor primarily. I knew straight away that his “Ascension” piece above would be great inspiration, so I set to sketch out a similar design on the hessian. Here is how it looked once the design was applied to the hessian:
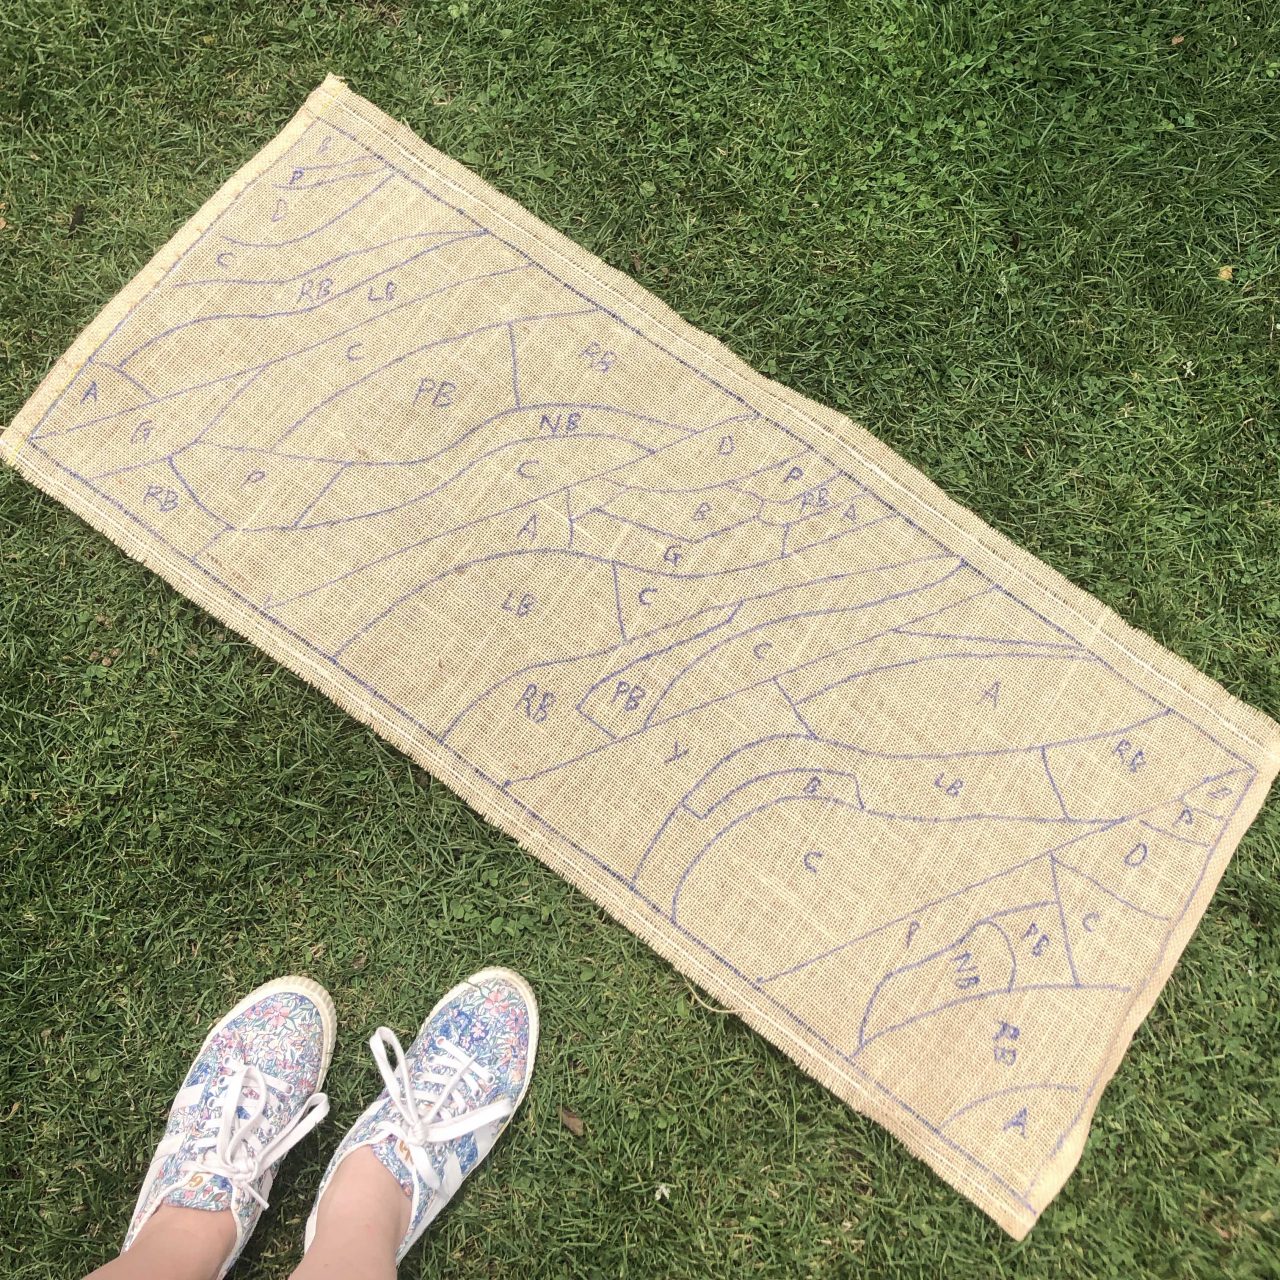
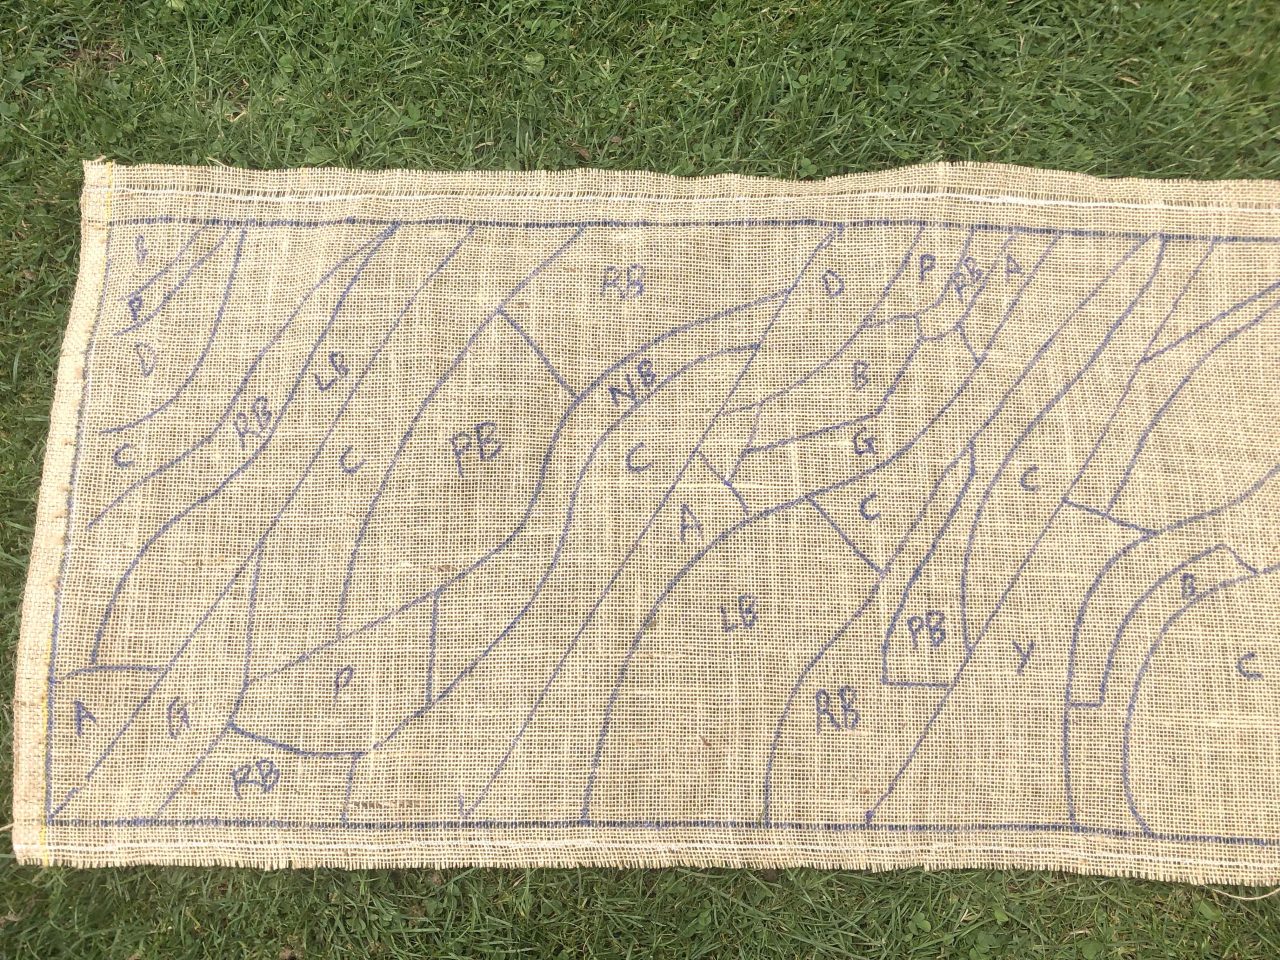
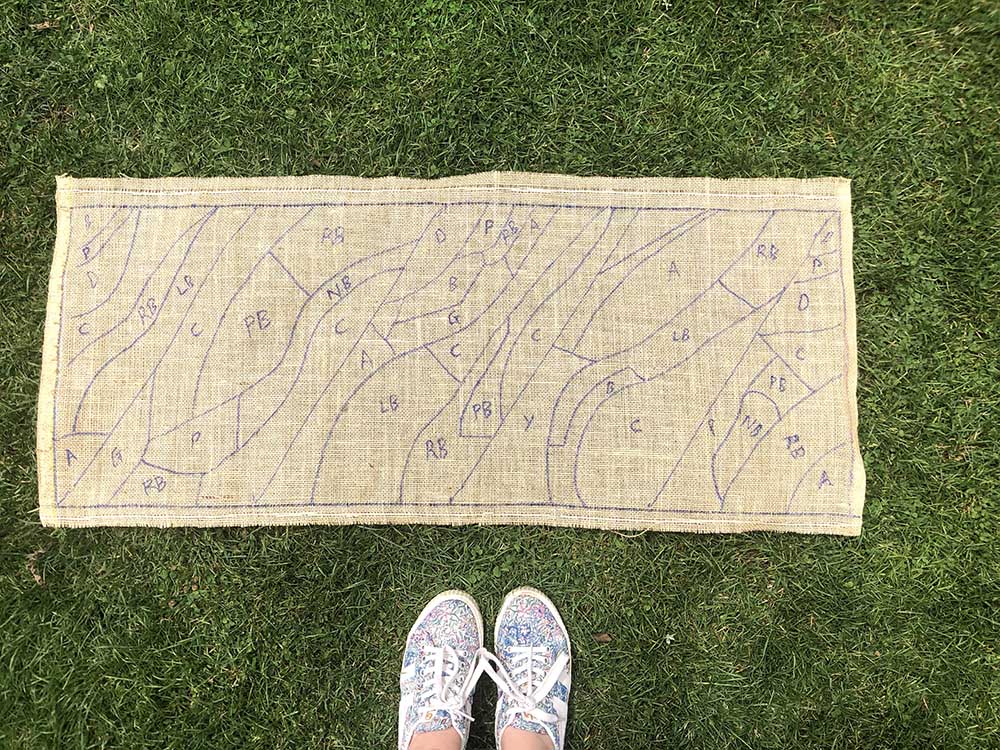
I used a very simple key to mark out which blocks would be roughly which colours e.g. C = cream, RB = royal blue, NB = navy blue etc… Although, the beauty of rag rugging is using up the colours you have, I was open to switching out colours if I needed to.
I created the design to join up seamlessly all the way around the tub…
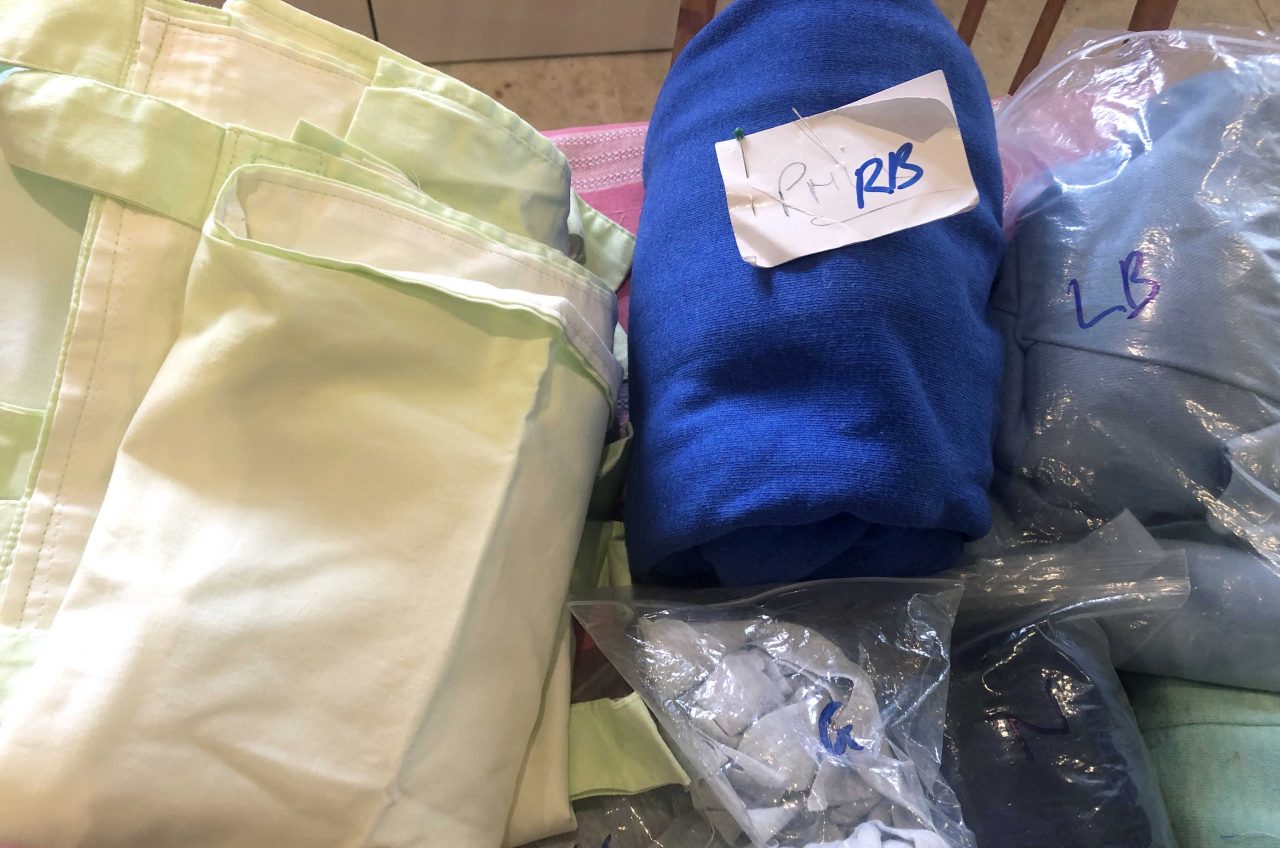
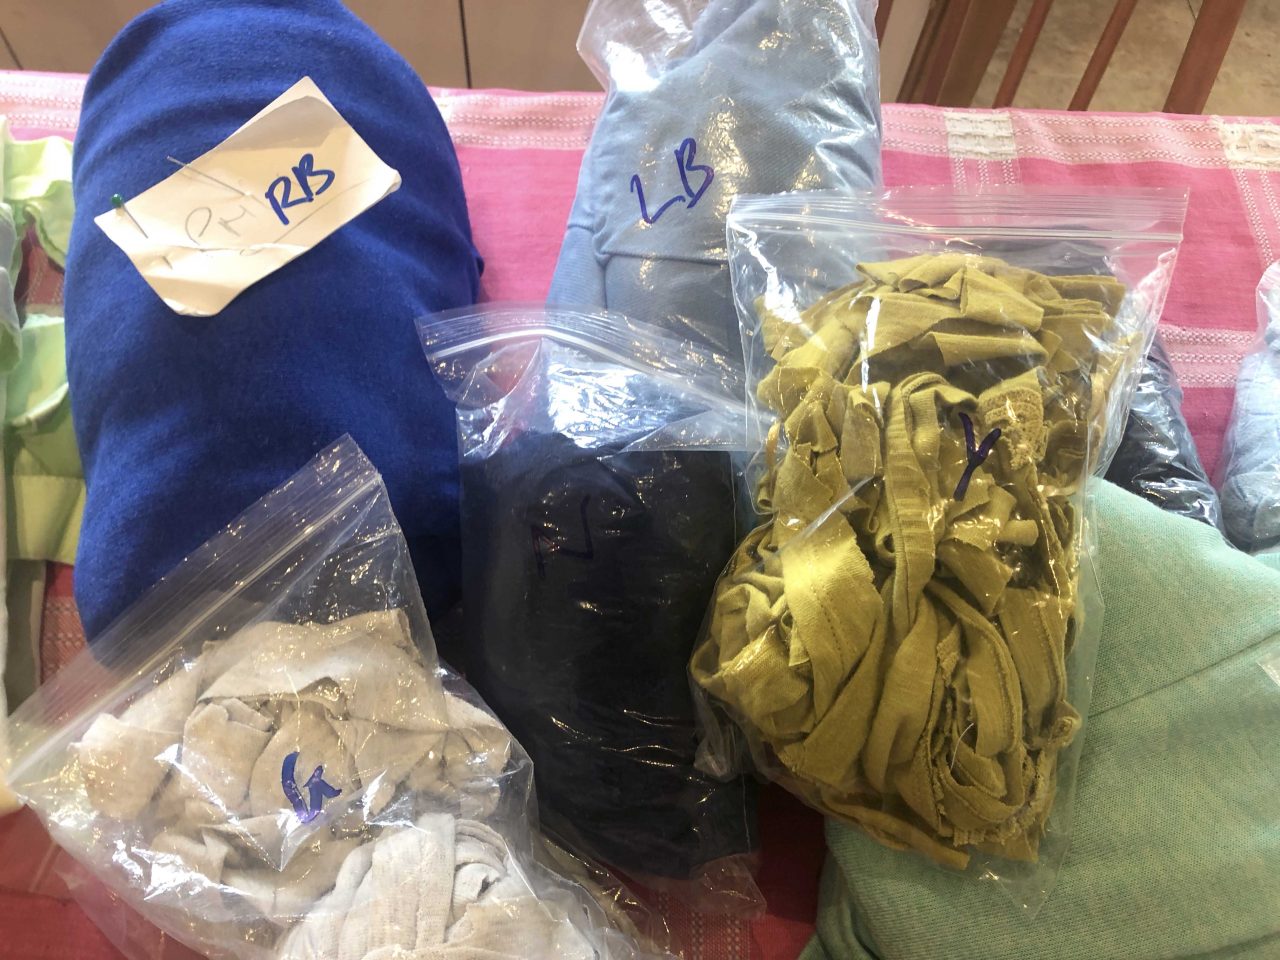
The fabrics:
Choosing the fabrics for the piece wasn’t particularly difficult. I’m a big proponent of using lots of different textures in a piece to add interest, so I picked entirely by colour instead of the type of material. I ended up using a mixture of jersey, fleece, wool, cotton, linen, synthetics… anything and everything that was the approximate colour I was looking for. I didn’t go out and buy any colours specifically – I used what I had on hand.

Rag rugging the laundry basket
The actual rag rugging of the laundry basket was just a large textile paint-by-numbers. I’d already sketched out what colour would go where, so it was just a matter of filling in each block with the correct colour. It didn’t even matter what order blocks I filled the blocks in. Therefore when I got sick of a certain colour, I could change to another one.
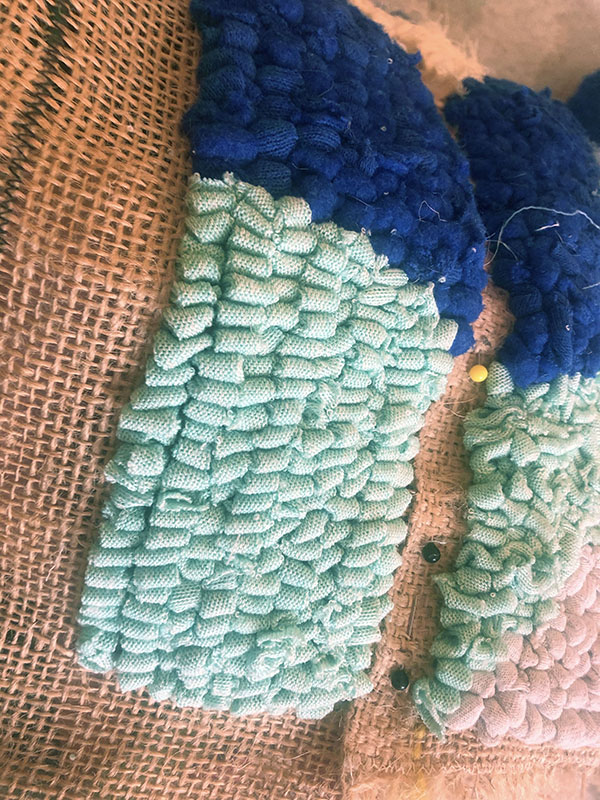
Here are a couple of work in progress photos to show how it was built up…
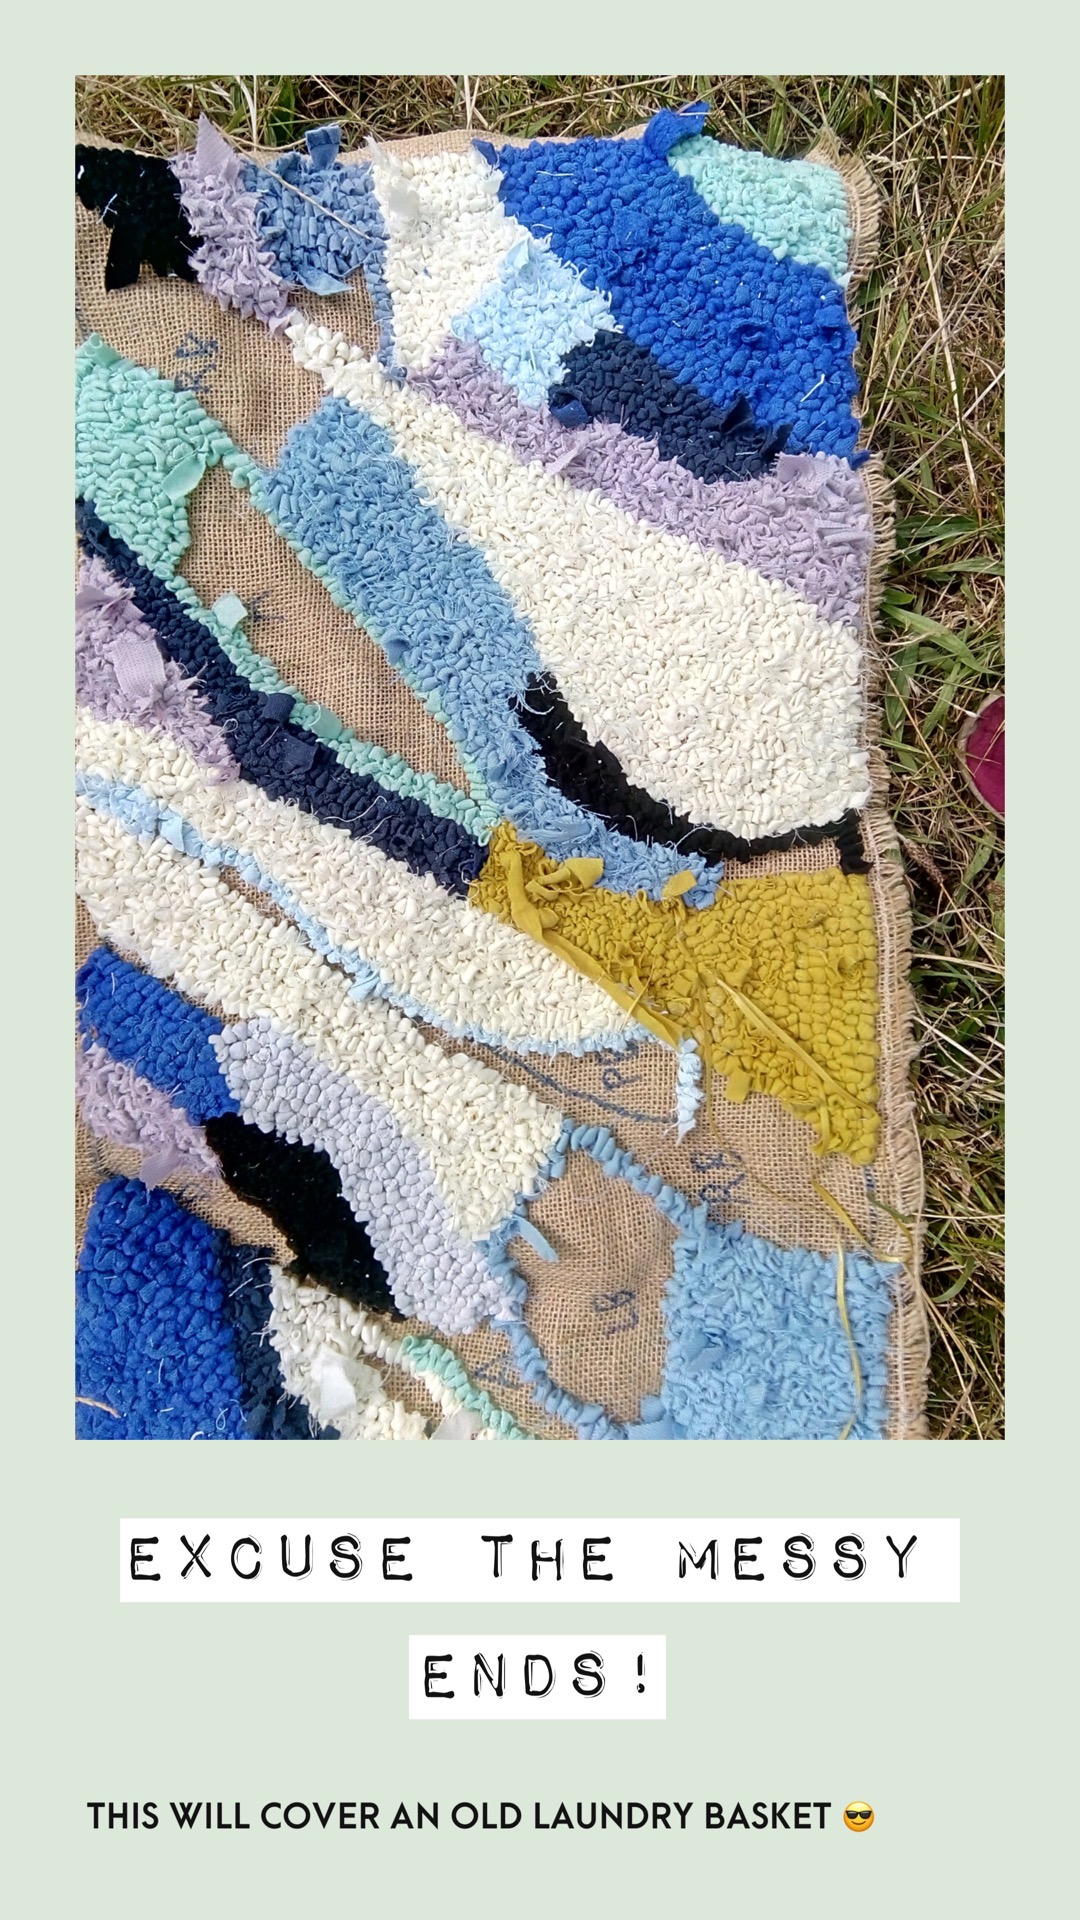
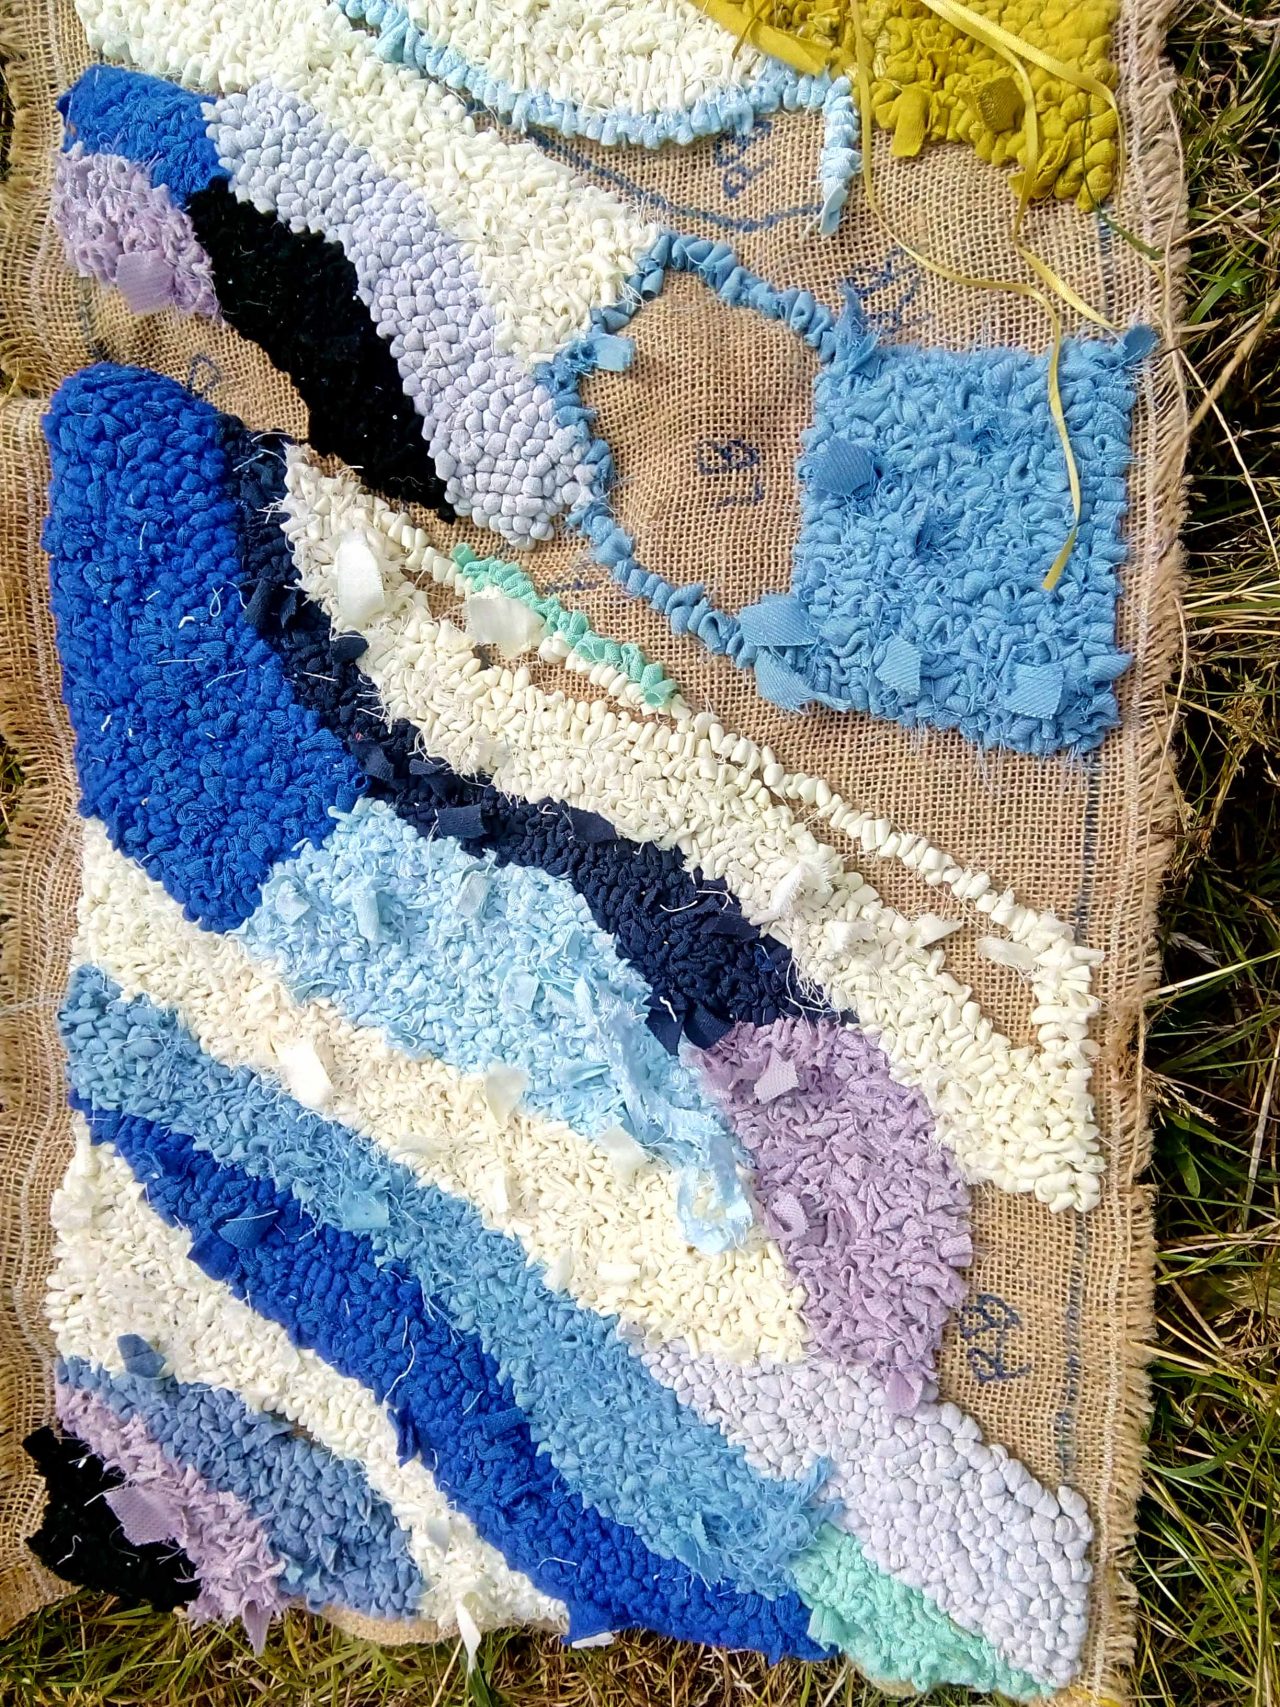
The rag rugging looks a little messy at this stage as I hadn’t trimmed my ends of strips.
Even professionals mess up!
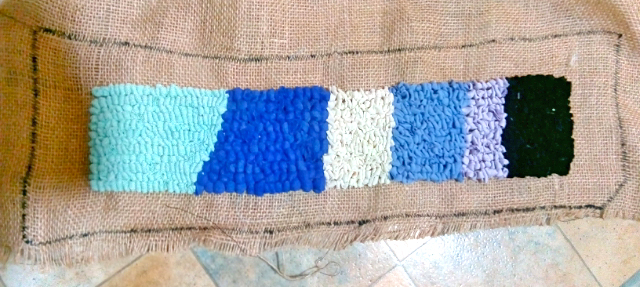
Once I’d finished the rag rugging, the strip of hessian looked like this. It even matched up pretty well at the join…
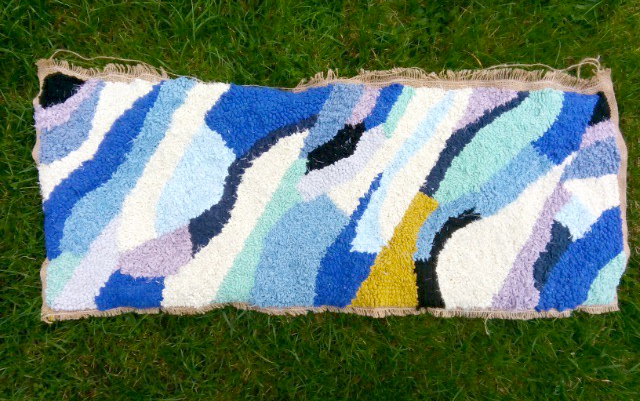

I was really pleased with it. However, upon wrapping it around the laundry basket itself, I realised that I was a few centimetres short. Doh!
Cue, much faffing, and the rag rugging of a strip to bridge the gap between the two edges. This time, I left a decent amount of excess hessian around the rag rugging to make the assembly easier…
Assembling the laundry basket:
After my earlier mistake with the sizing of the hessian, I knew the assembly of the rag rug laundry basket wouldn’t be the easiest, however, I was game for a challenge.
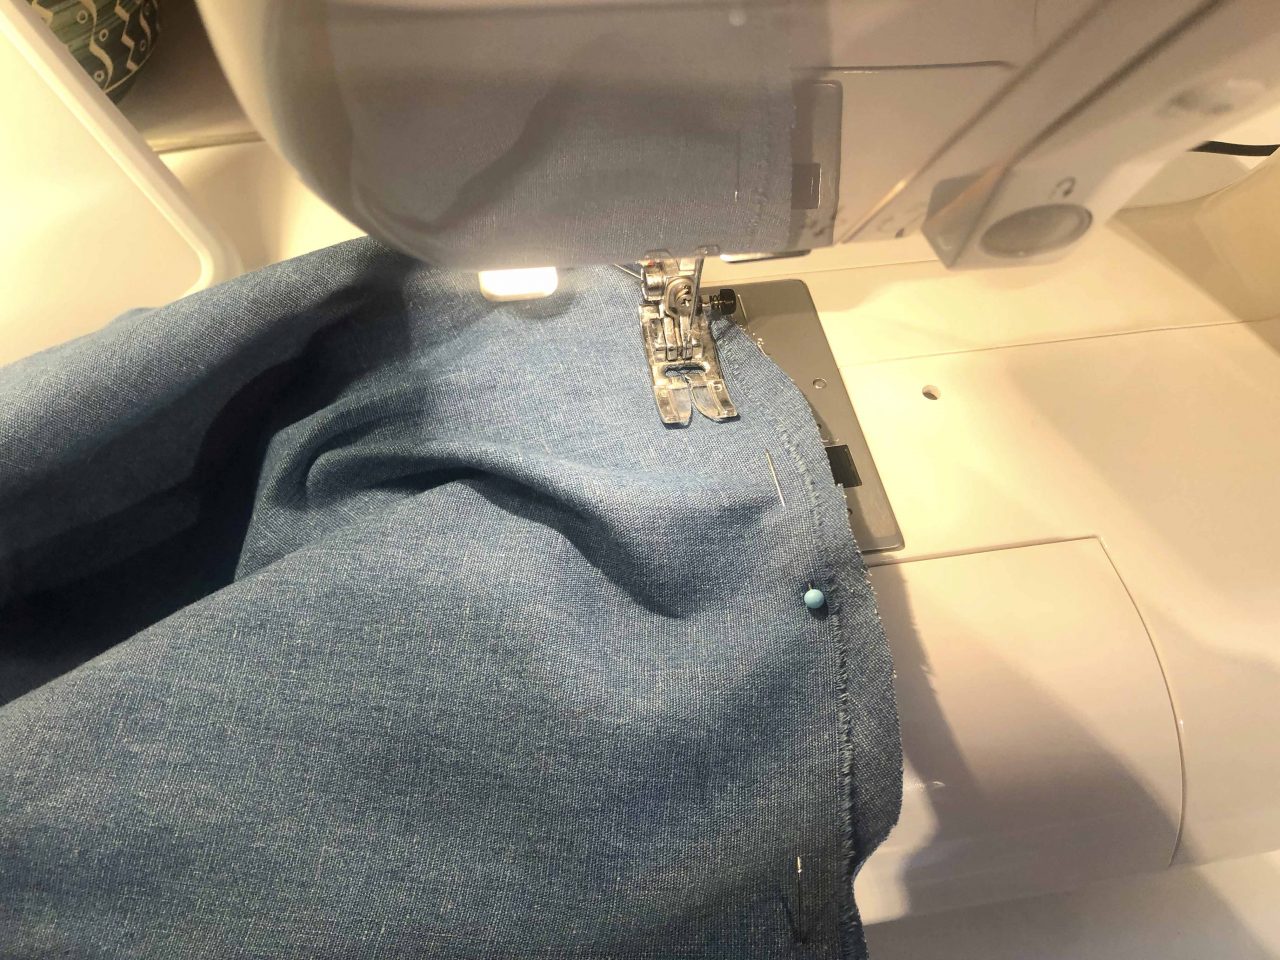
Firstly, I started off by sewing the trim to the top and bottom edges of the rectangle. I pinned a 4cm wide strip of our 100% Wool Blanket Yarn to the excess hessian, making sure it butted up as close to the rag rugging as possible (so none would show through later on). I then sewed the blanket yarn to the hessian to create the trim using a sewing machine.
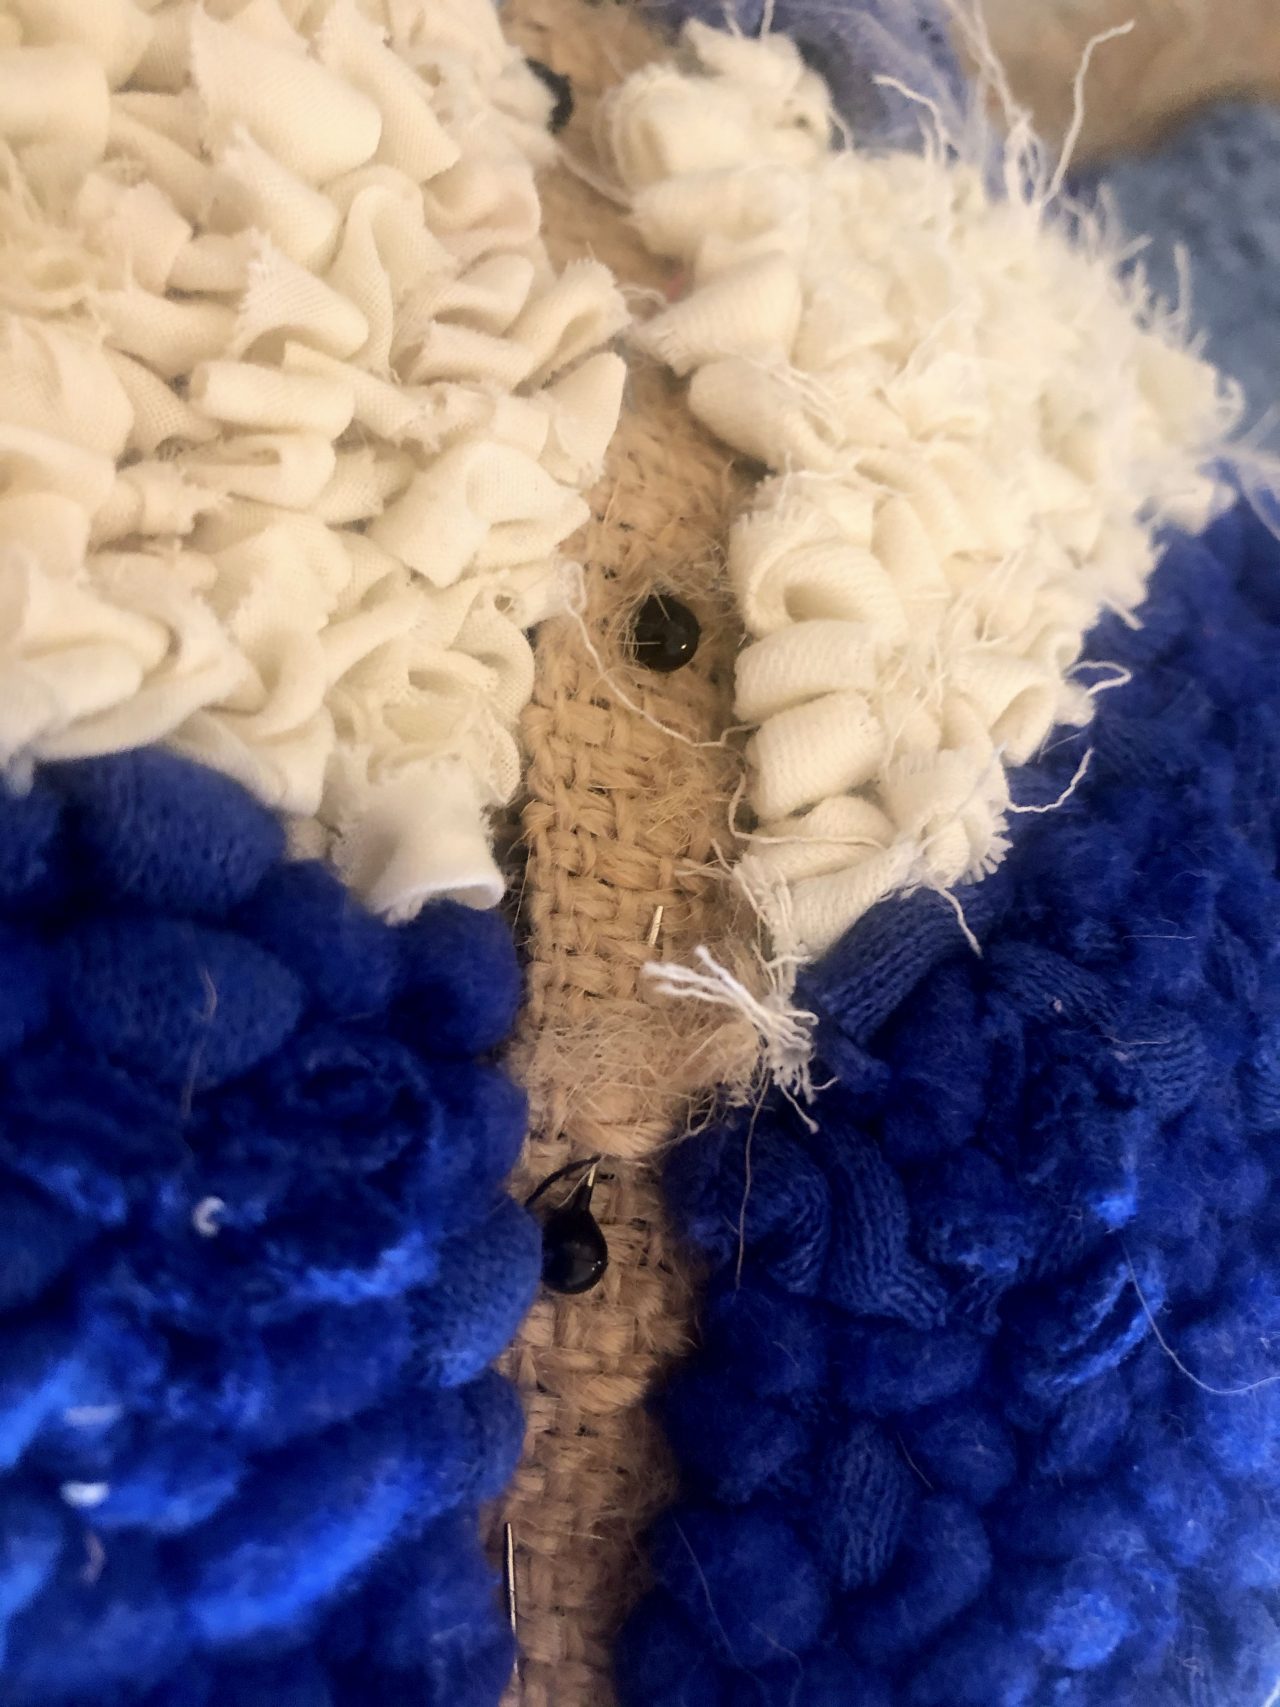
Next, I attached the extra strip of rag rugging to the main piece by rag rugging through two layers of the hessian to join the pieces together. I had to pin the two pieces of hessian together…
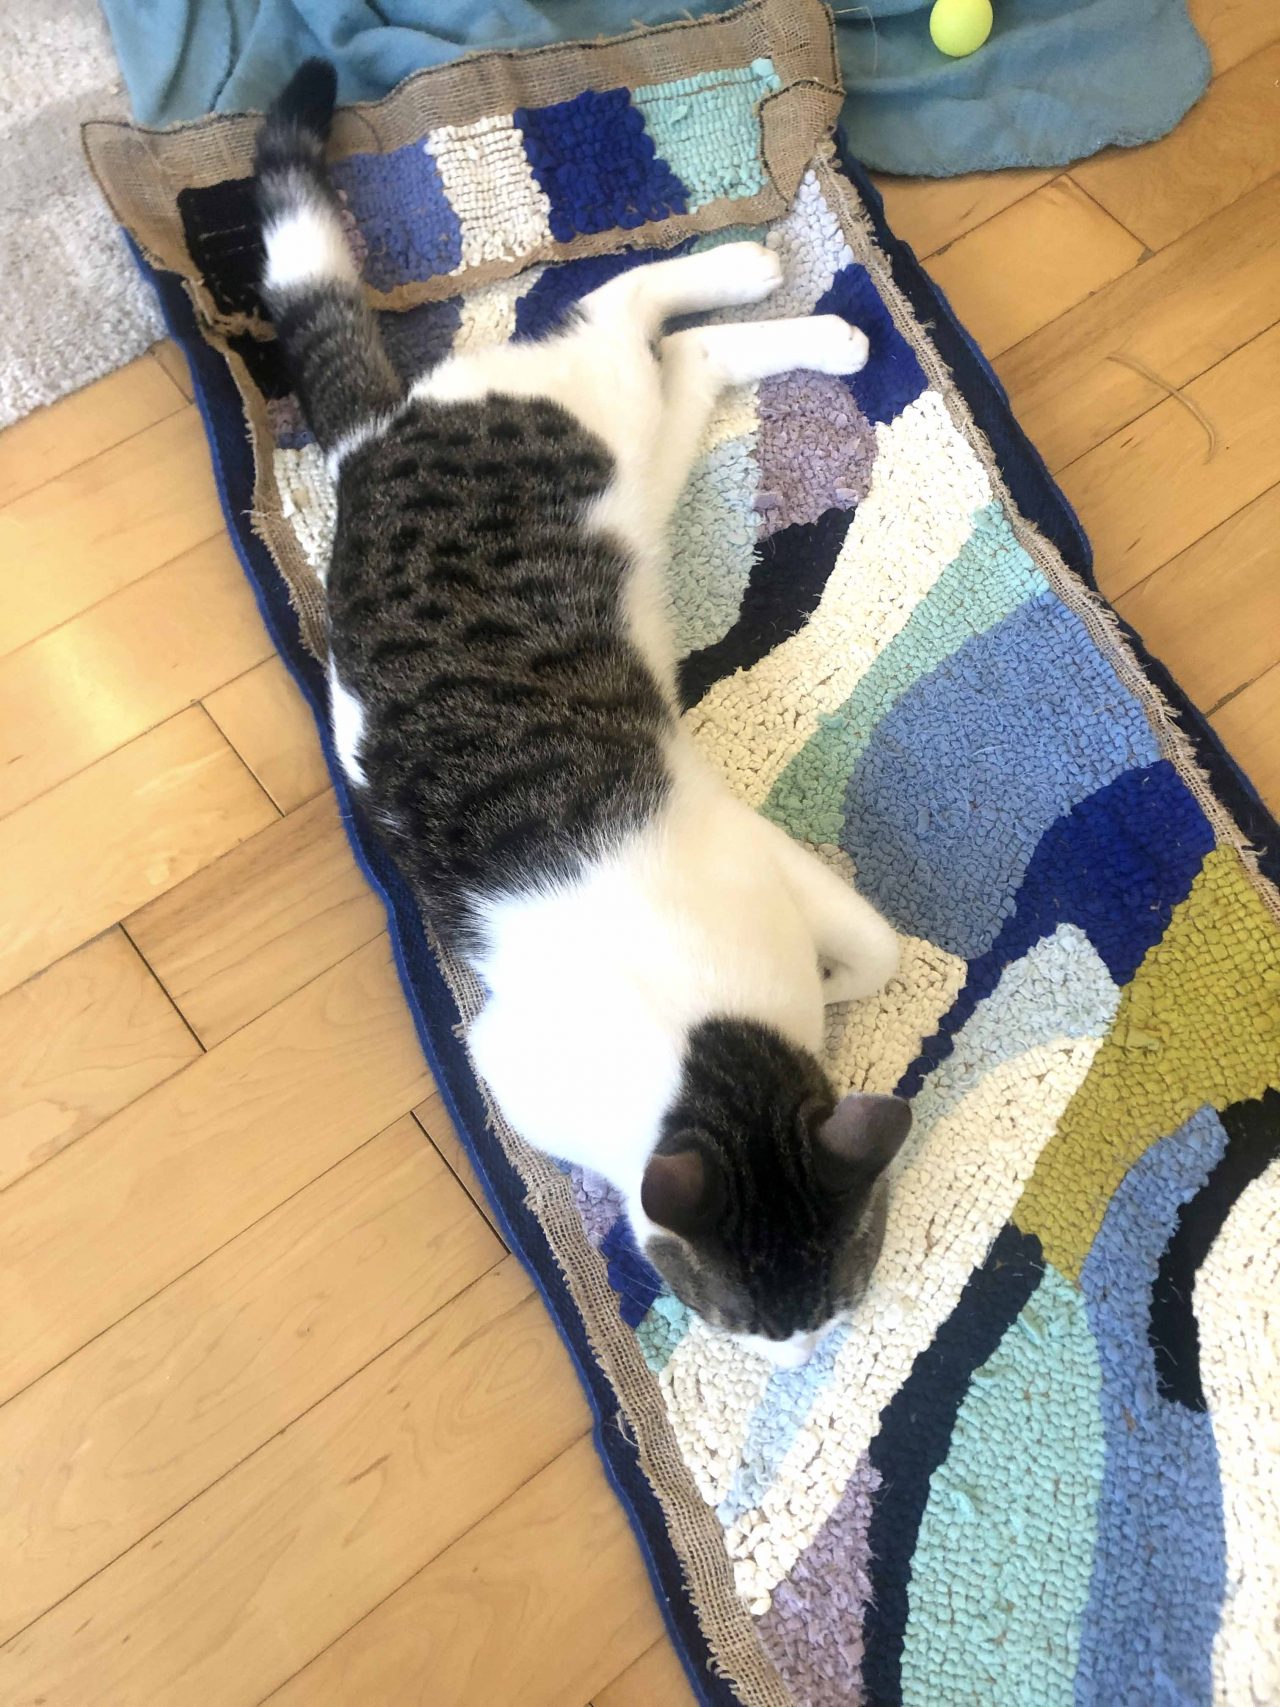
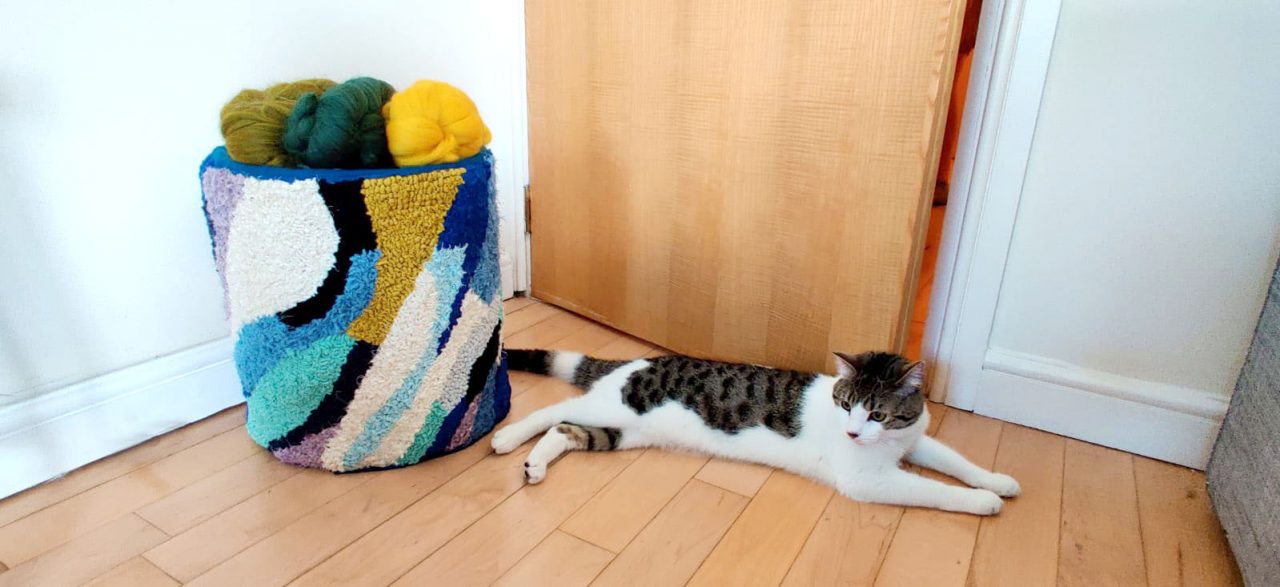
And here is Zanzi modelling the joined on strip and blue trim below…


Next, I created the lining for the laundry basket. First, I measured around the laundry basket using a piece of string. Then, I cut out a piece of lining fabric (I used cotton) the height of the tub + 6cm x the circumference + 6cm. I positioned the lining fabric around the outside of the laundry basket and pinned the two short edges together, so I would know where to stitch.
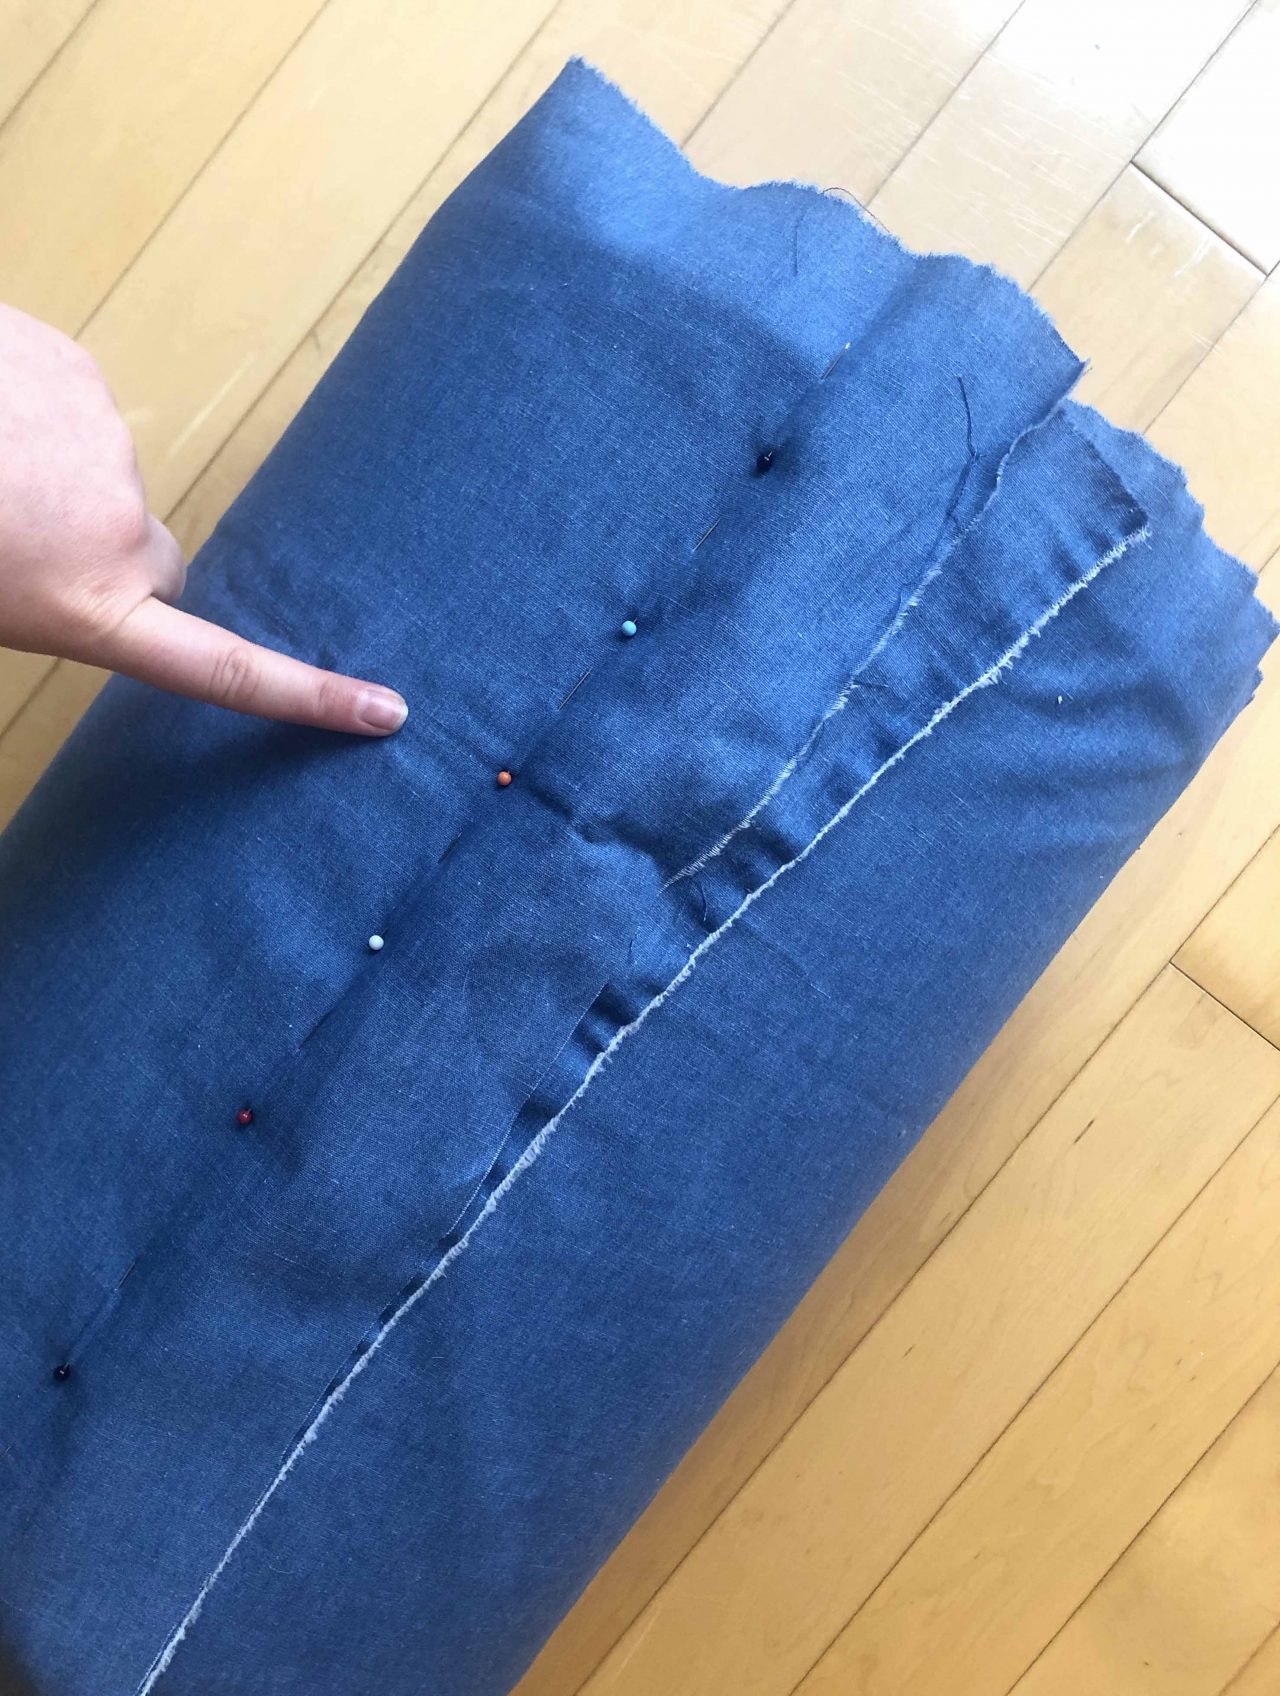
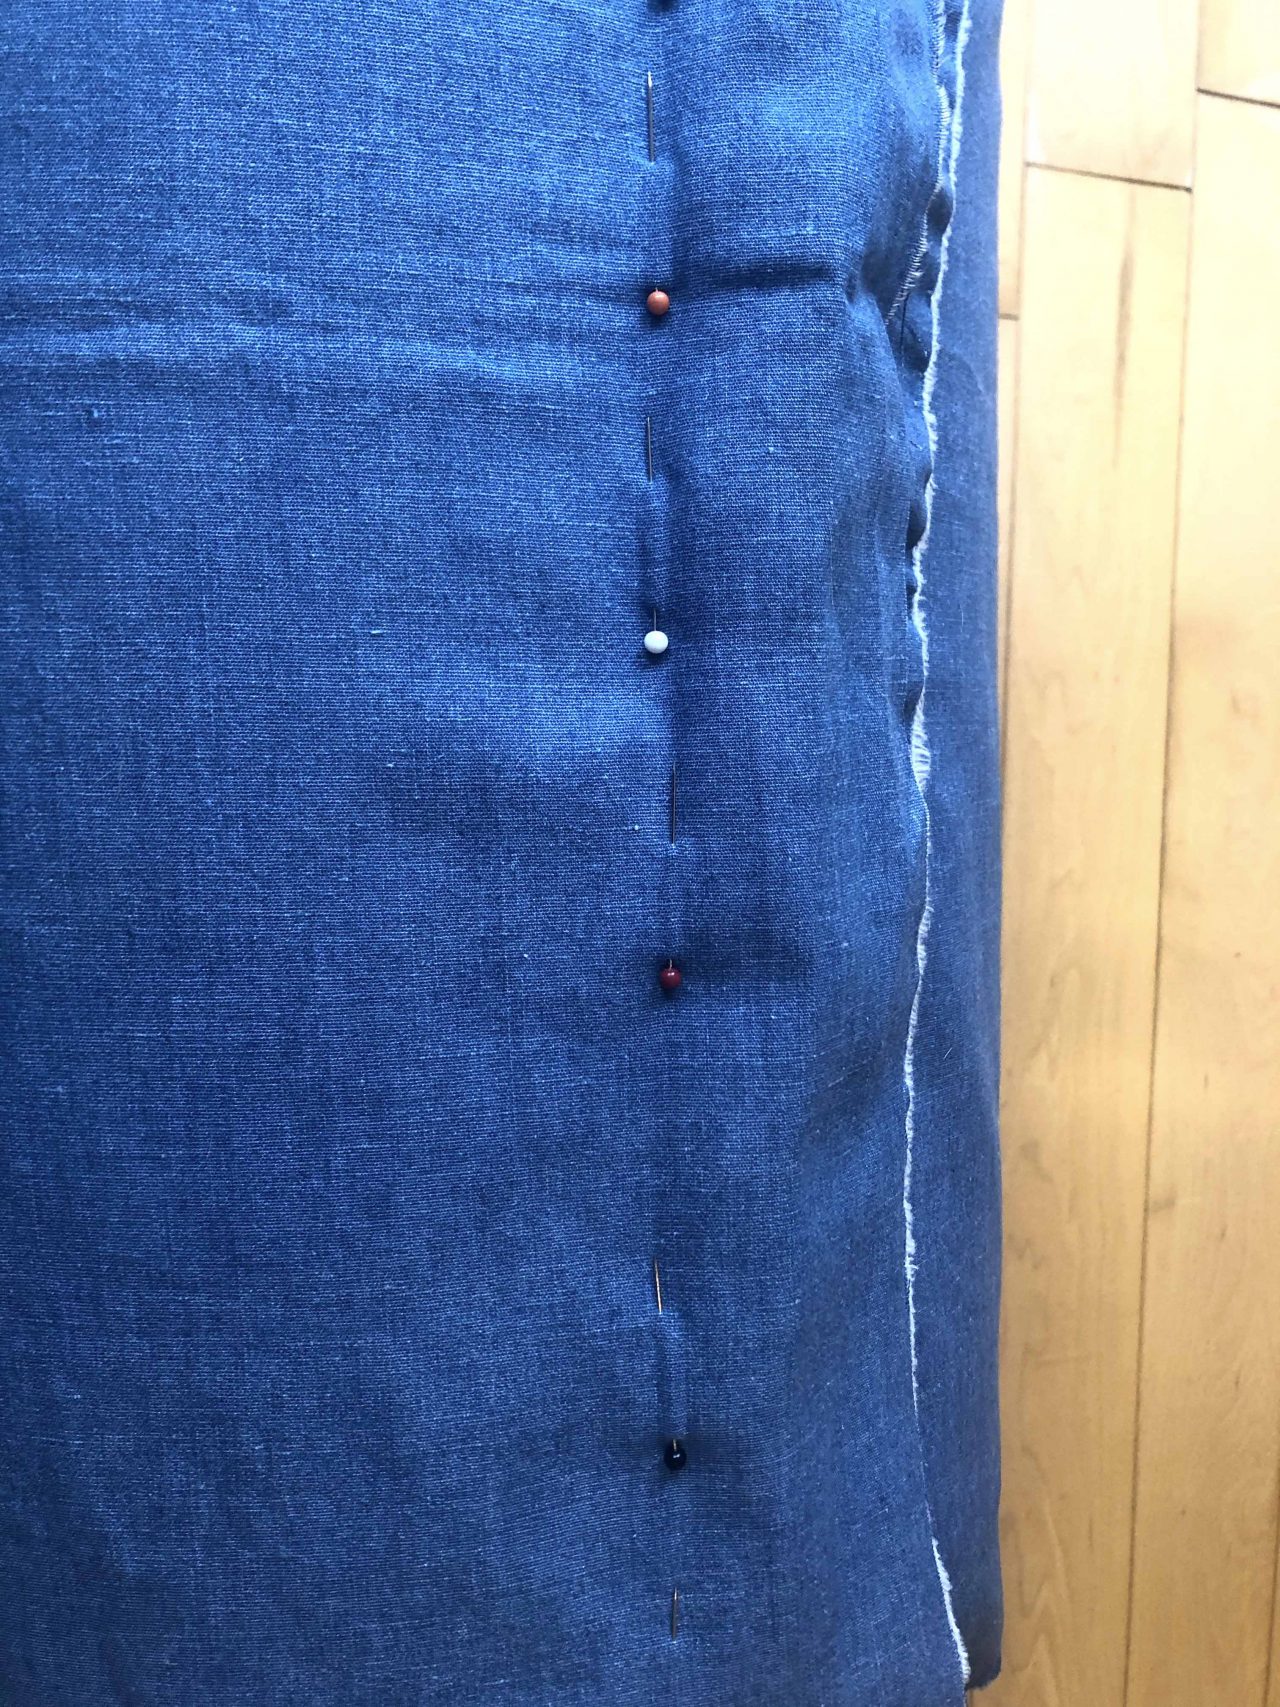
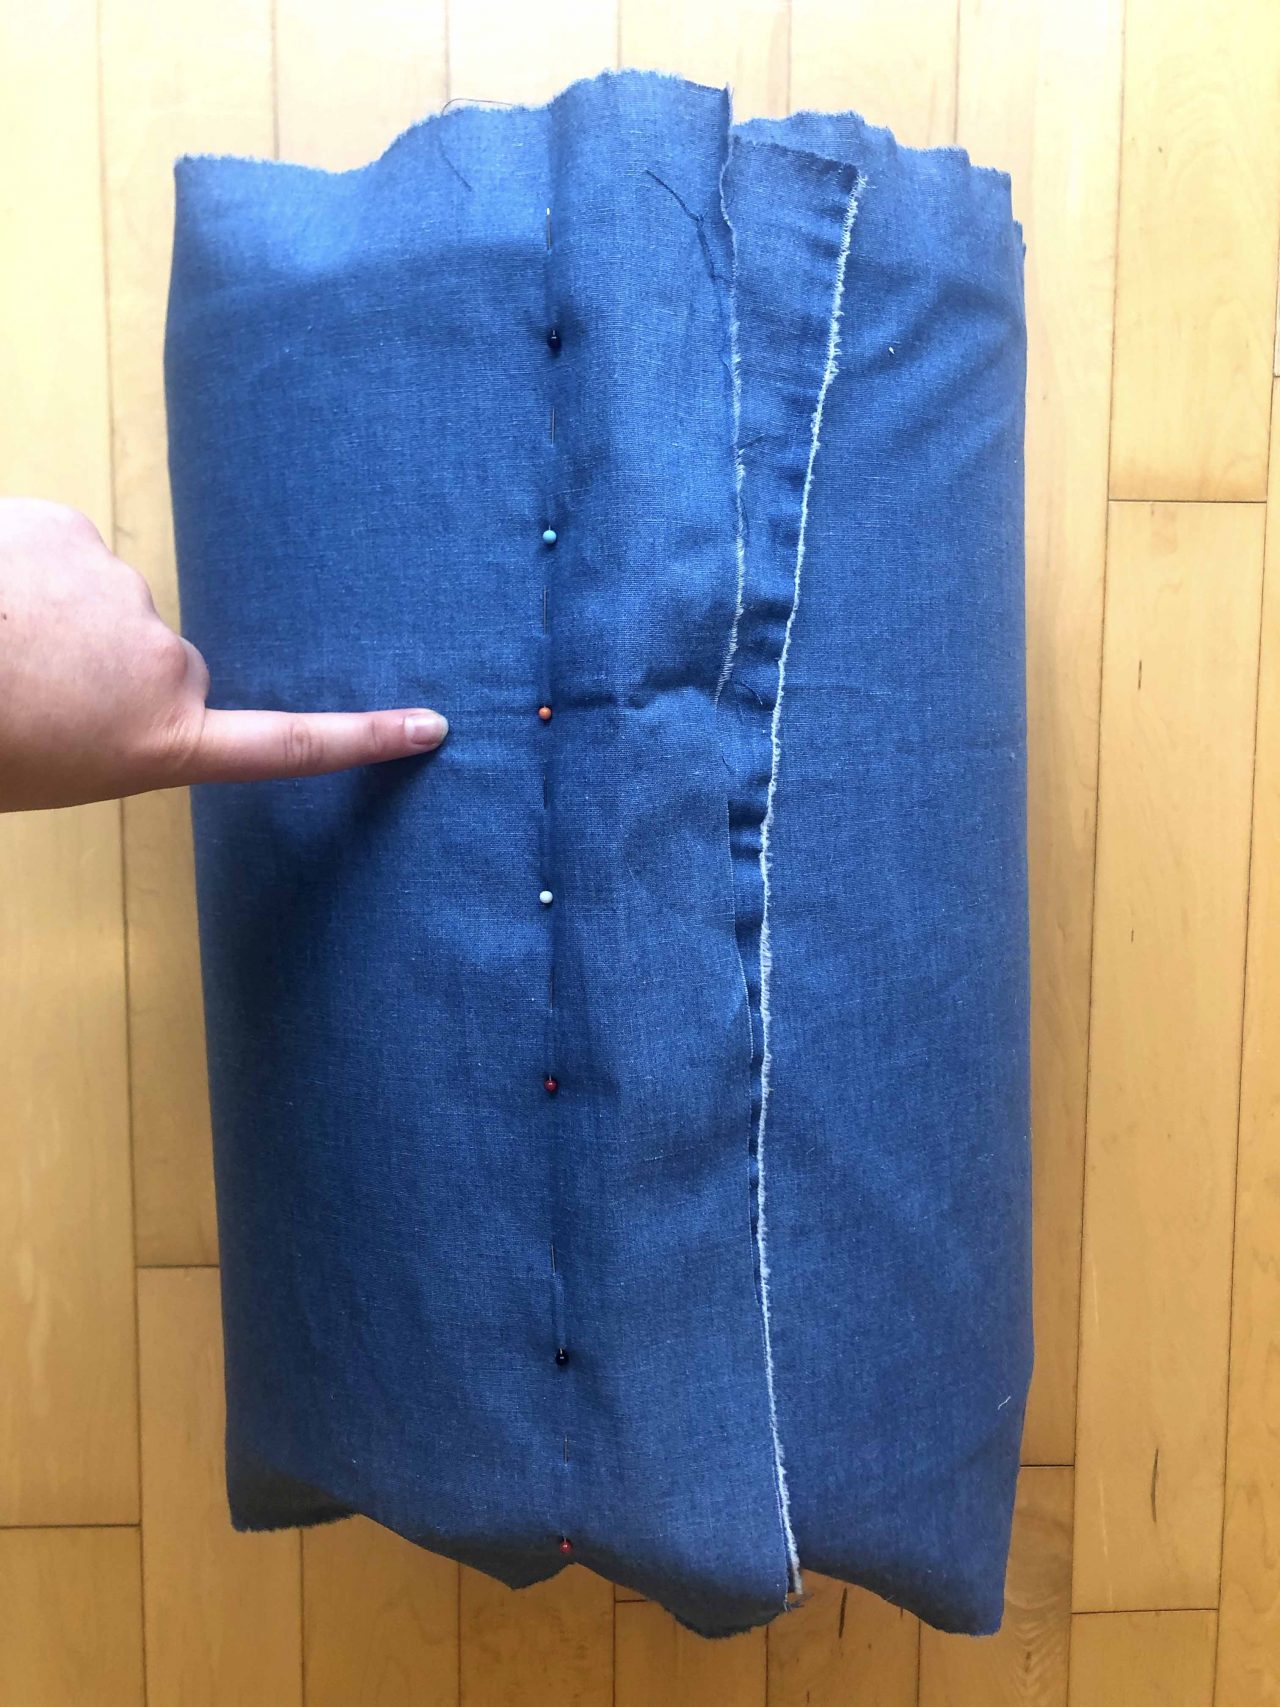
I stitched the two short edges of the rectangle together on the sewing machine to create a tube. Next, I cut off some of the excess fabric near the stitching to leave less bulk and positioned it inside of the tub itself to check the fit.
Then, I placed the laundry tub on top of the lining fabric and drew around the base. I then drew a second circle, 4cm outside of the first circle.
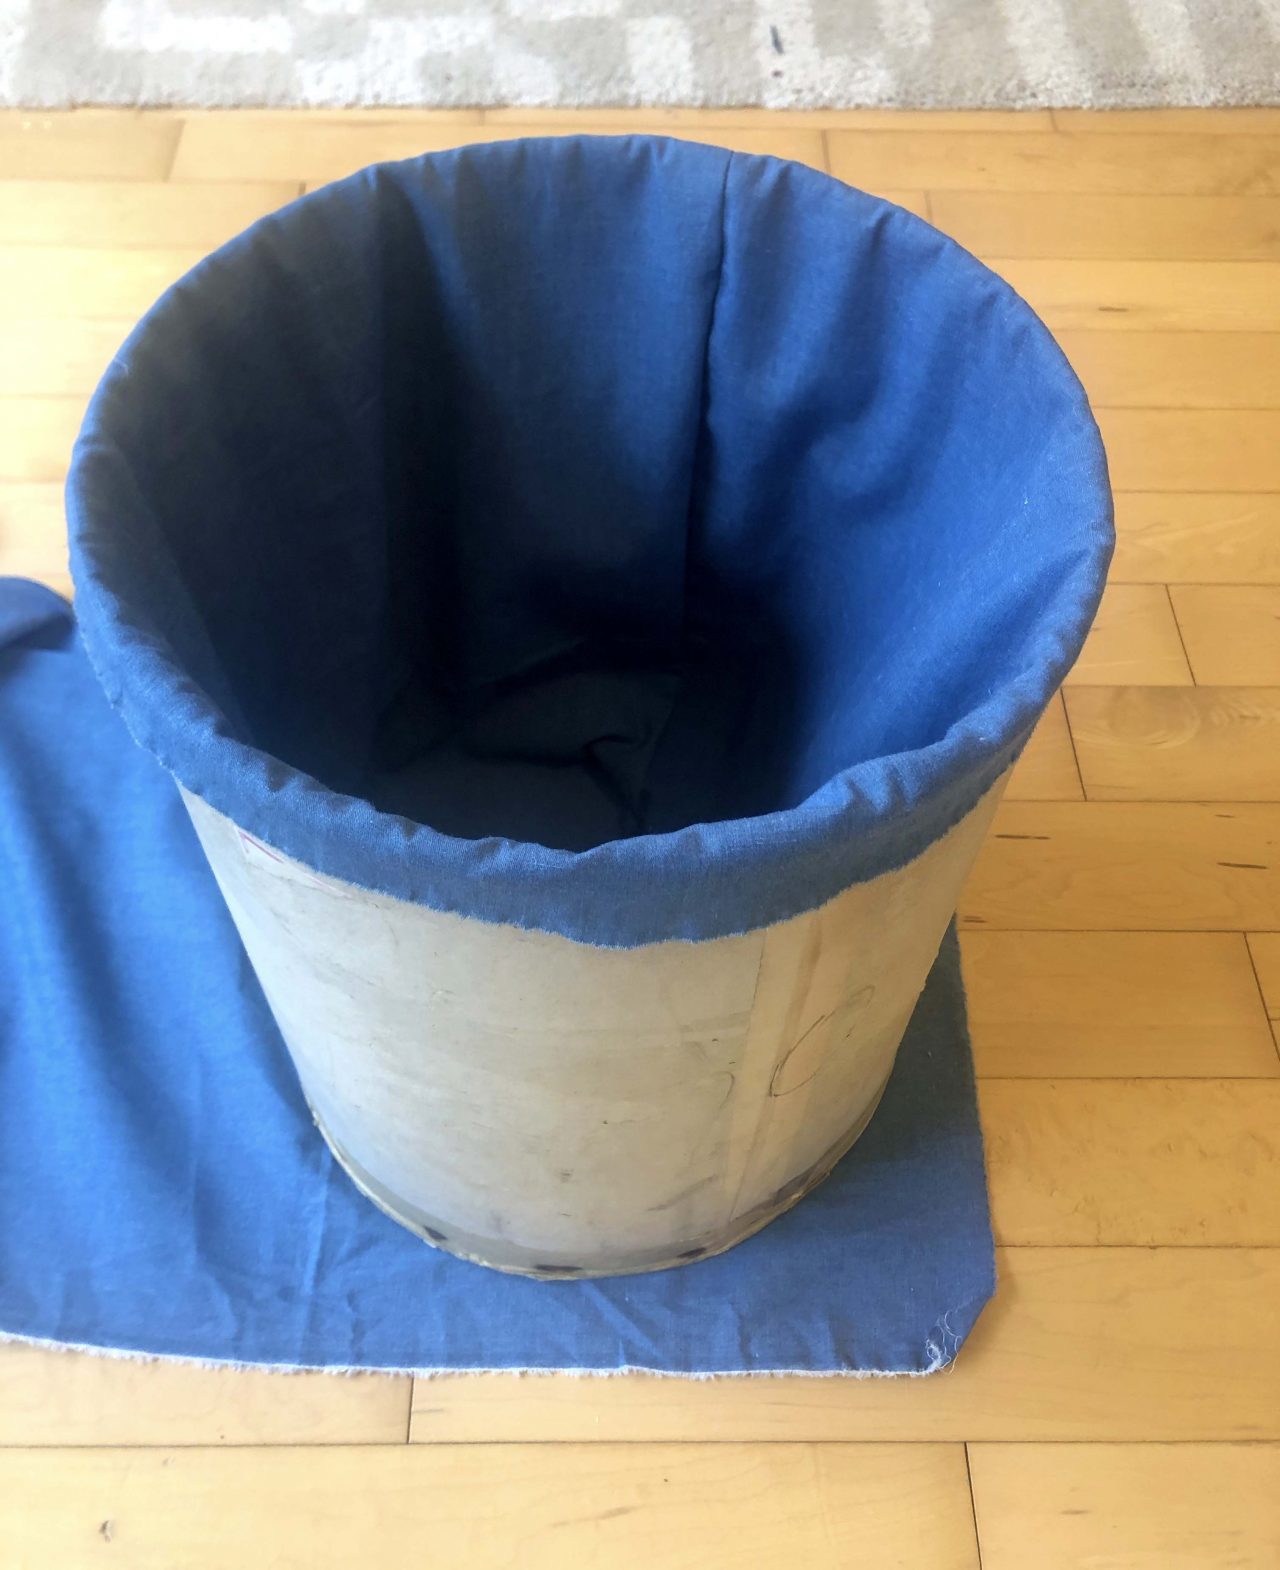
Next, I pinned the circle of fabric to the hemmed “tube” of lining fabric. I folded the hems outward and pinned along the smaller drawn circle.
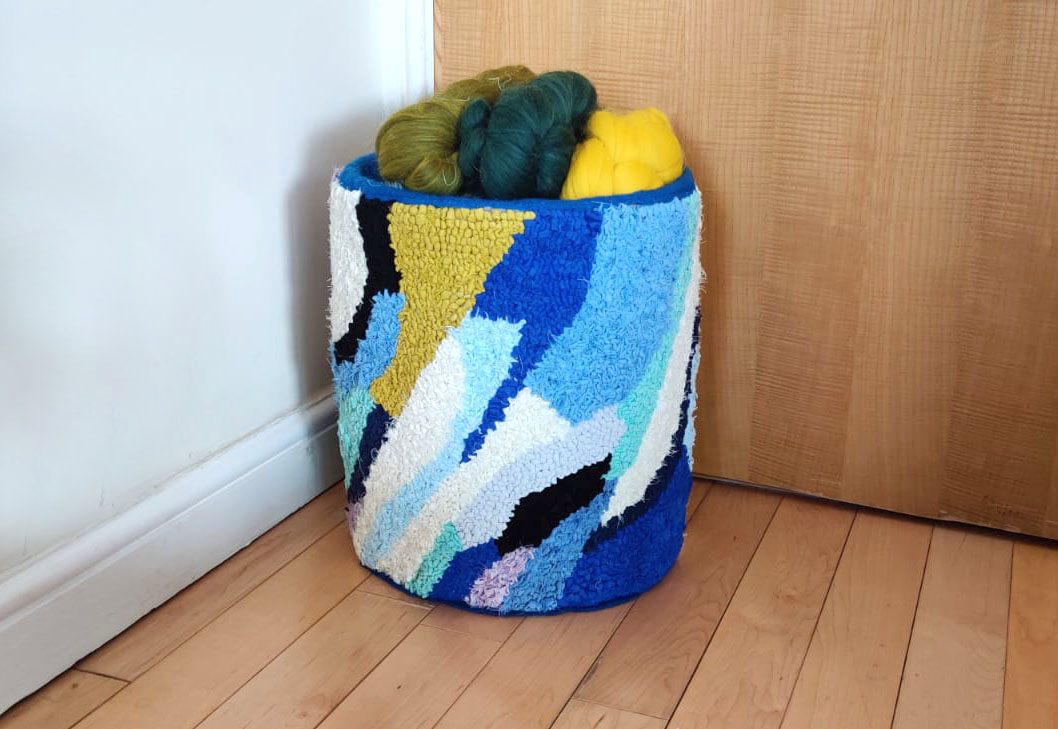
Once I had attached the two pieces together, I then stitched the blue edging of the rag rugged hessian to the lining and slipped it onto the tub. Below is how it turned out…
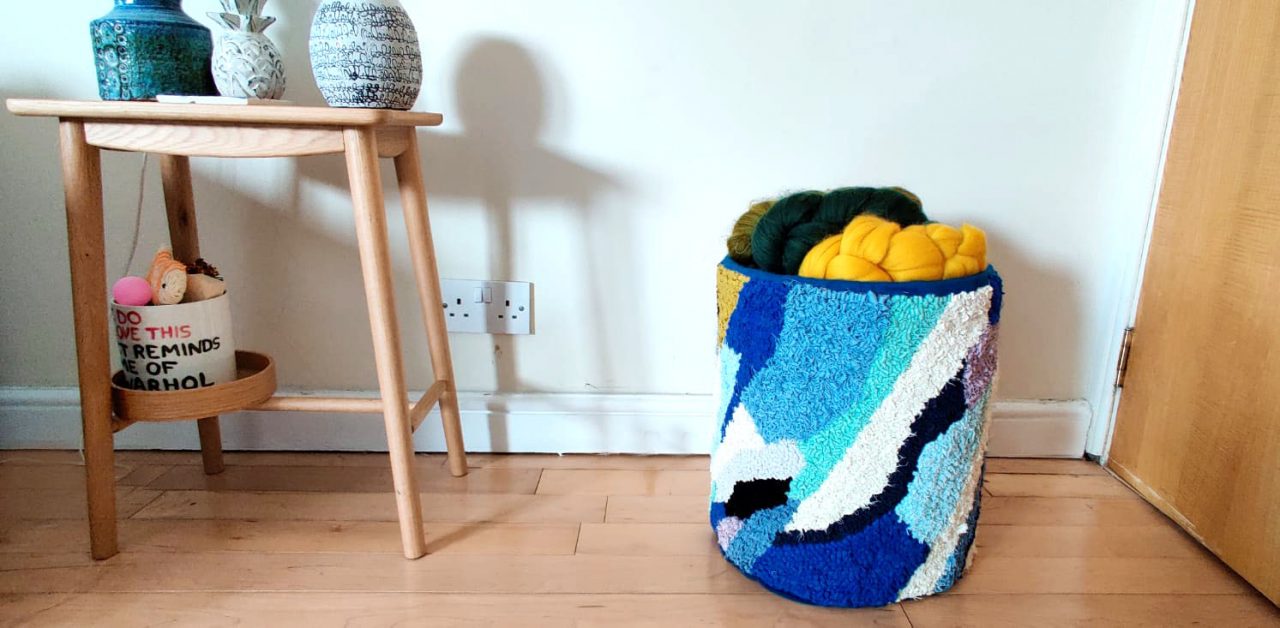
The final laundry basket:
I was extremely happy with the end effect. I’m making good use of it as a storage tub for all my various blanket yarns and craft goodies for the time being. Better photos to come after the lockdown is over 🙂
Right, that’s it for my latest creation. I hope you feel inspired!
As always, if you’d like to be kept informed then why not join our Rag Rug Community on Facebook, follow us on Instagram or join our fortnightly newsletter here.
OR CONNECT WITH US ON SOCIAL MEDIA AT:
Instagram: https://www.instagram.com/raggedlife/
Facebook: https://www.facebook.com/raggedliferagrugs/
Pinterest: https://www.pinterest.co.uk/raggedlife/
Twitter: https://twitter.com/raggedlife
As always, happy rag rugging!
Elspeth x
[…] rag rug over the year. So far, I’ve upholstered a rag rug ottoman, made a rag rug jacket and covered a laundry tub with a beautiful rag rug sleeve. It’s been a proper year […]
[…] the world going to wrack and ruin. I’ve experimented with everything from upholstery with my Rag Rug Laundry Basket to fashion in the form of my Rag Rug […]
[…] it. So far, I’ve done a spot of amateur upholstery whilst making my Rag Rug Ottoman and Rag Rug Laundry Basket and I’ve got ideas coming out of my […]
[…] If liked this and you’re looking for another fun DIY project. Check out our recent post about my rag rug laundry basket here. […]