This year, I’ve been looking to up-skill myself, which is why I’ve taken it upon myself to learn a new form of rag rugging called “twining” (you can read a little more about it in my blog post here).
Twined rag rugs are more popular in the States than they are here in the UK. They are compact compared to our traditional British rag rugs and look almost knitted or plaited (even though they’re not).
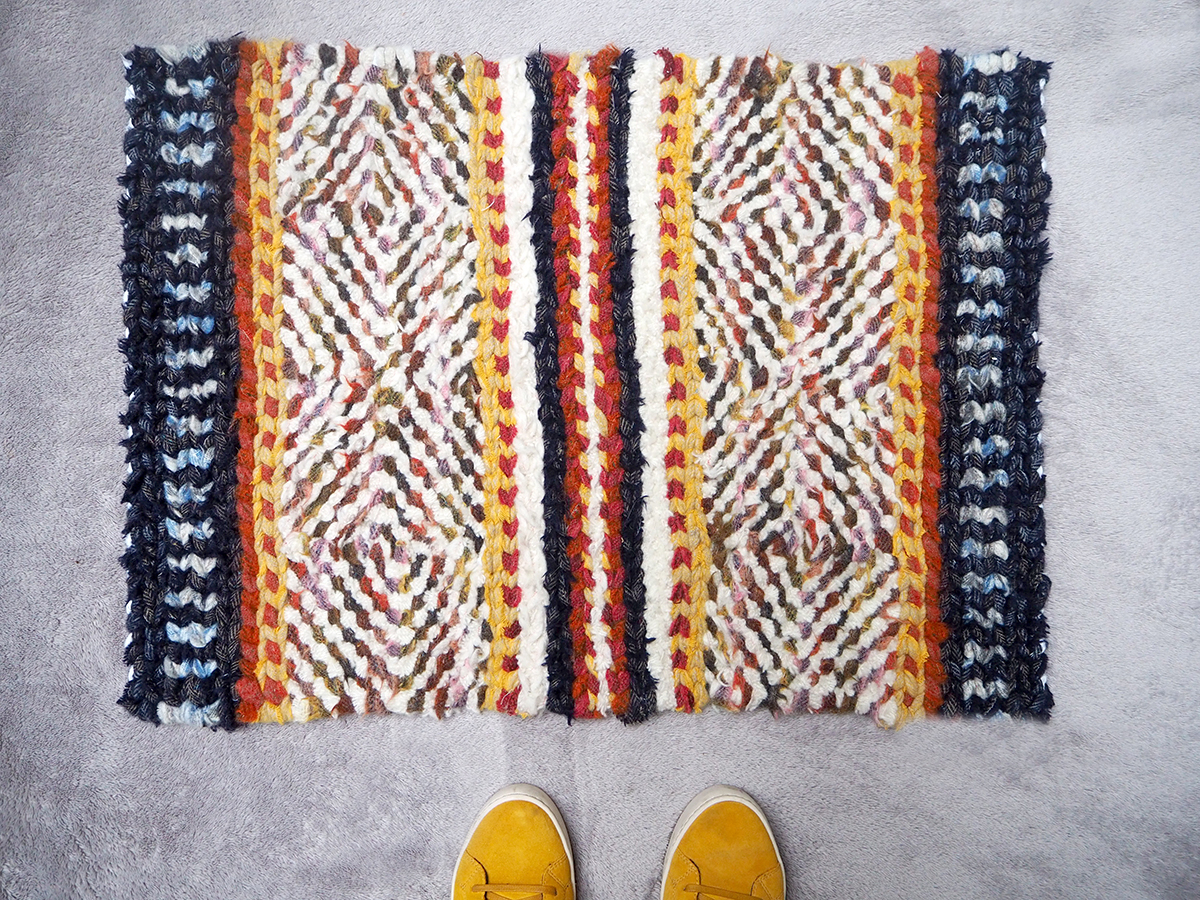
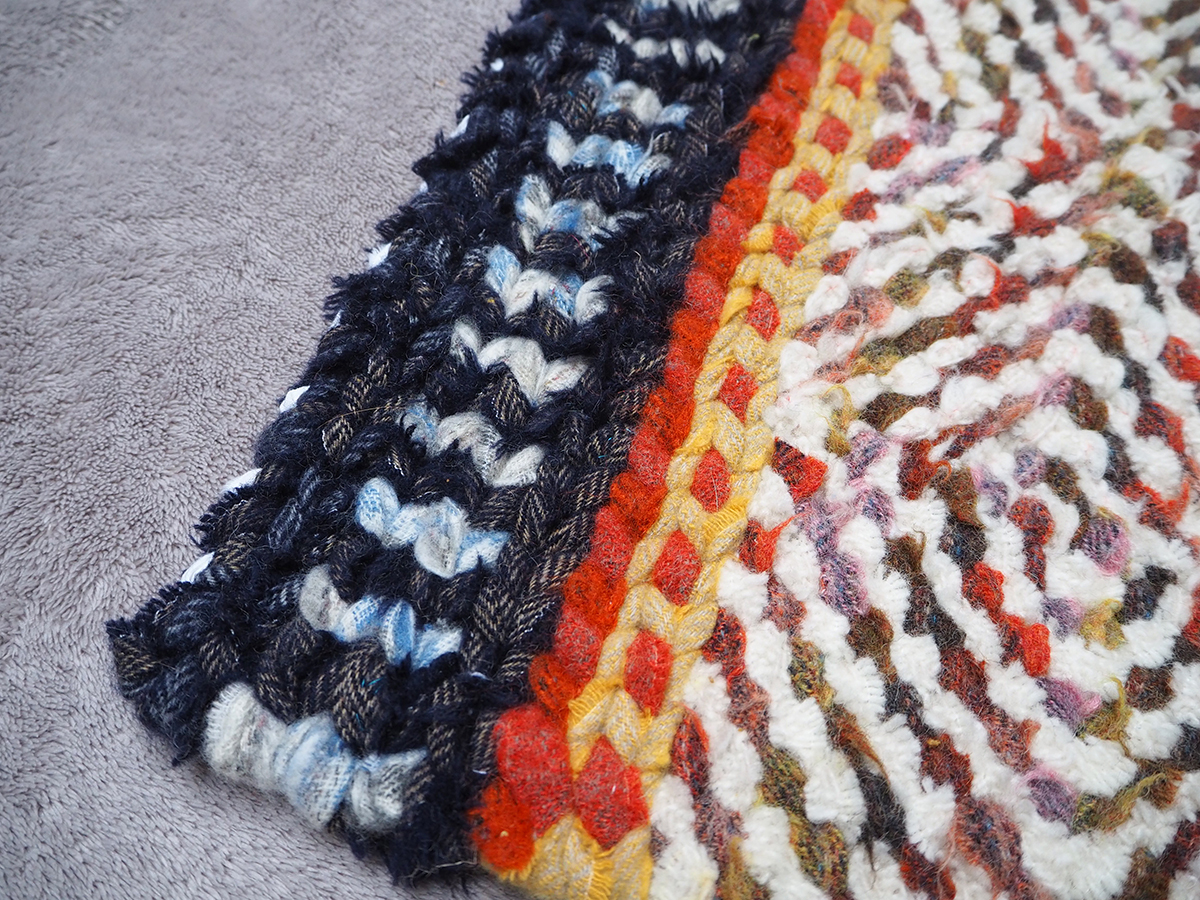
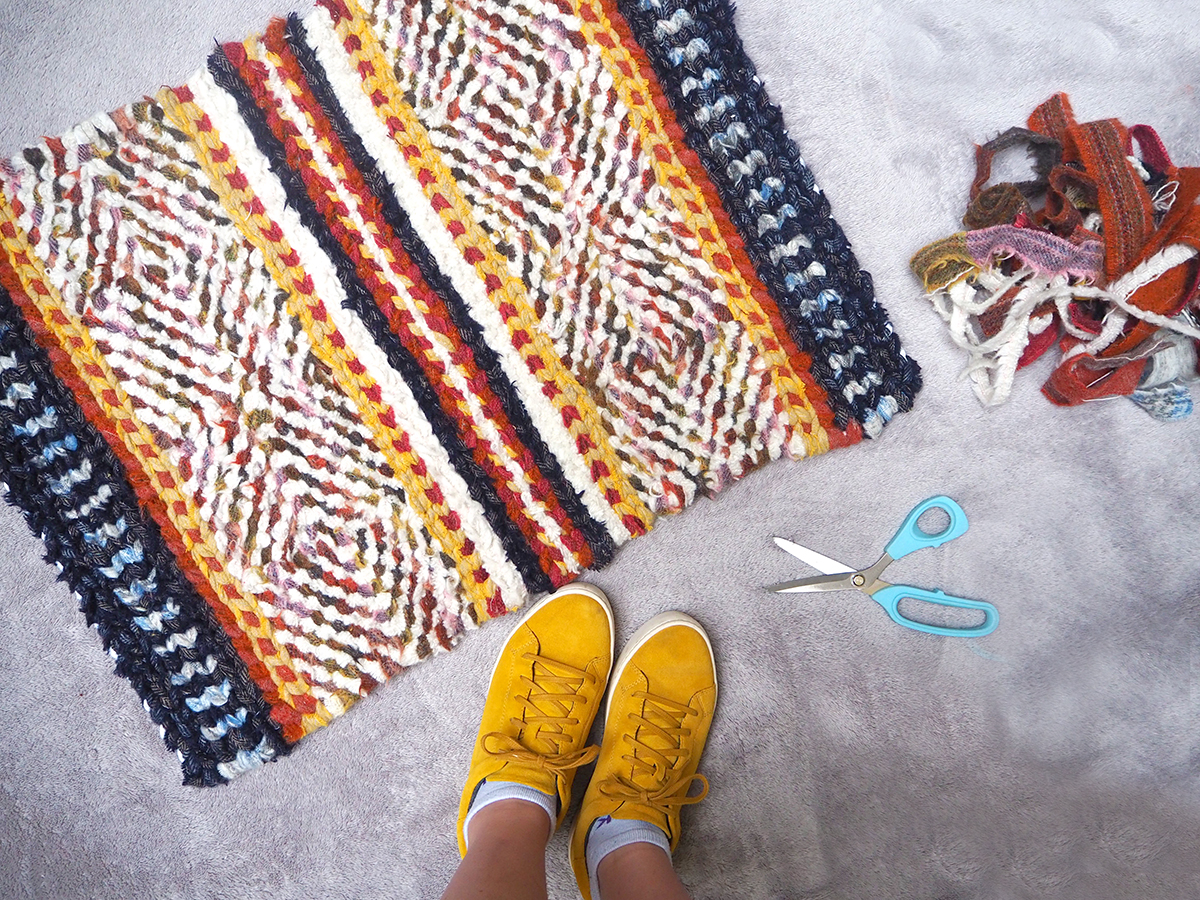
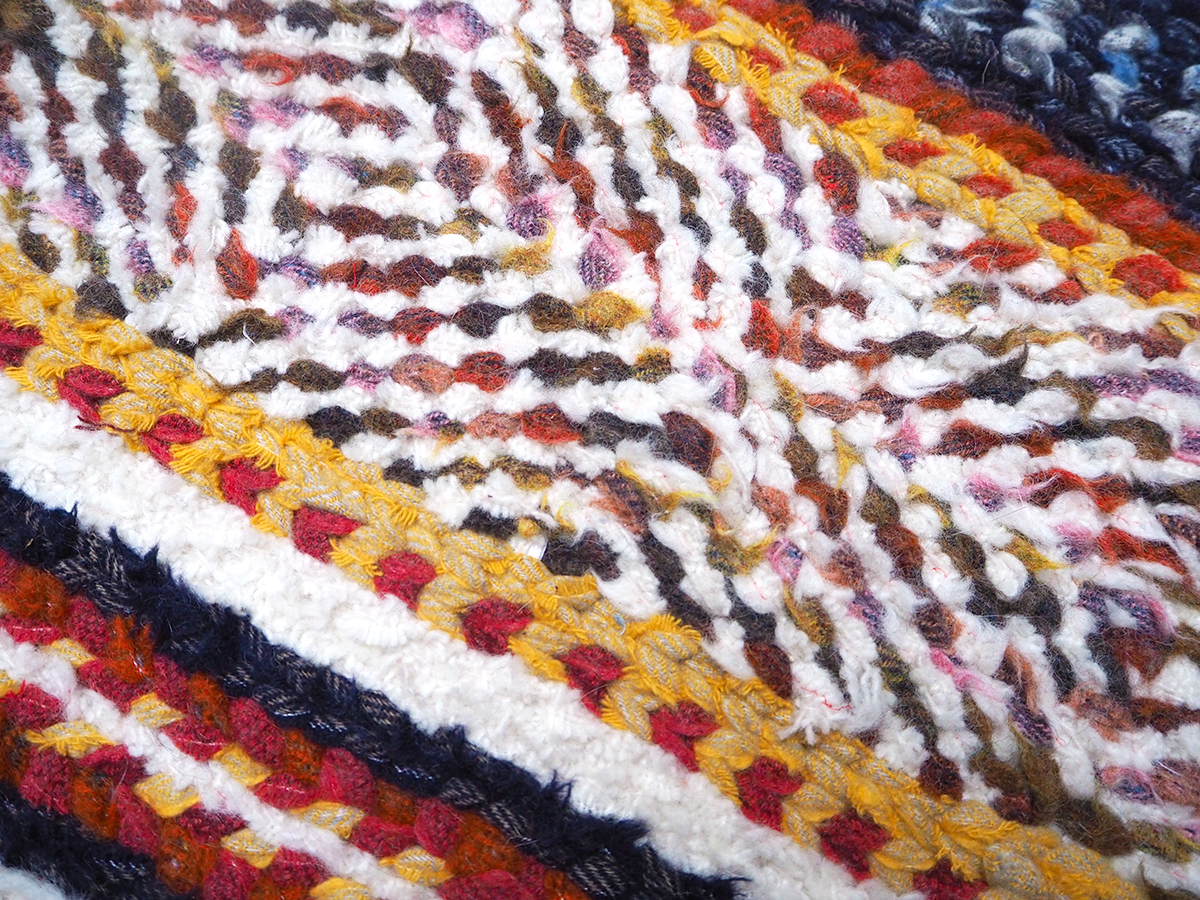
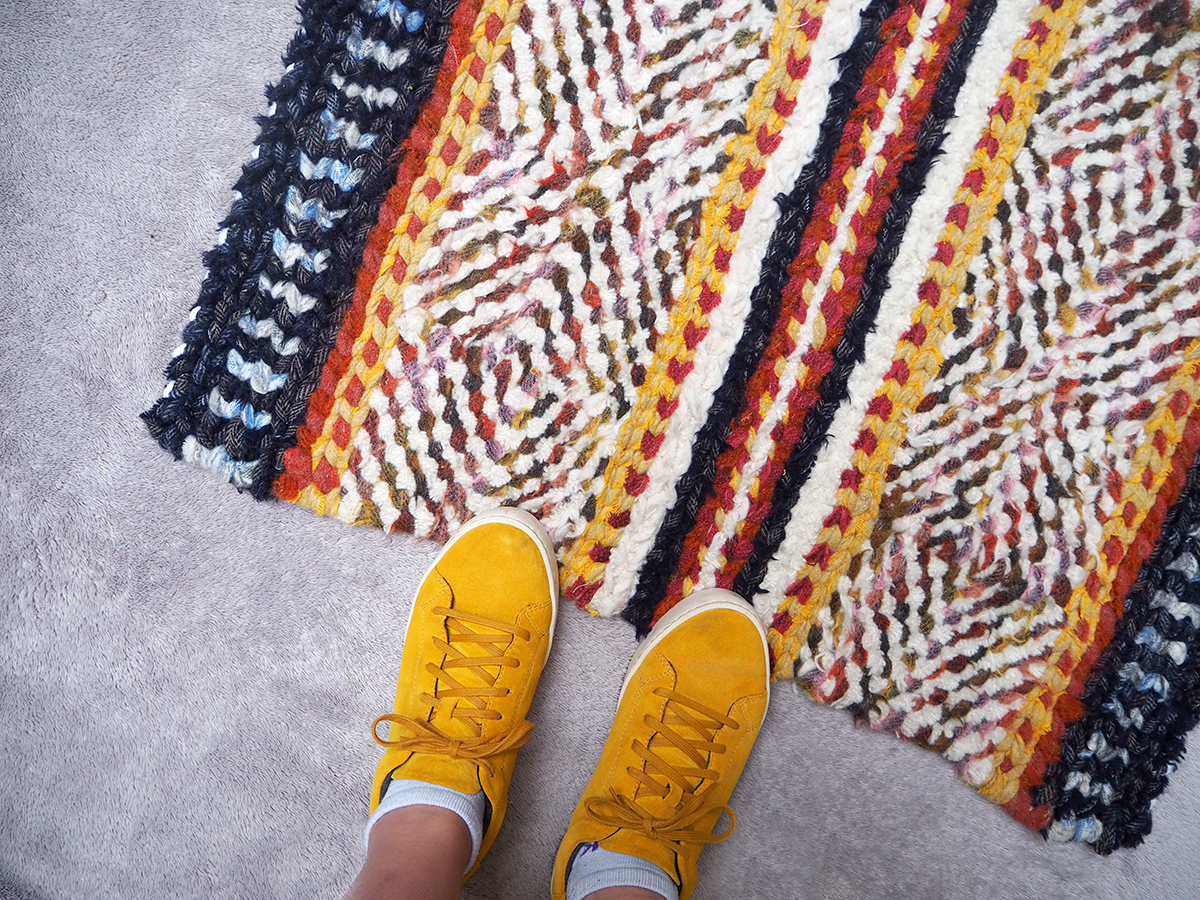
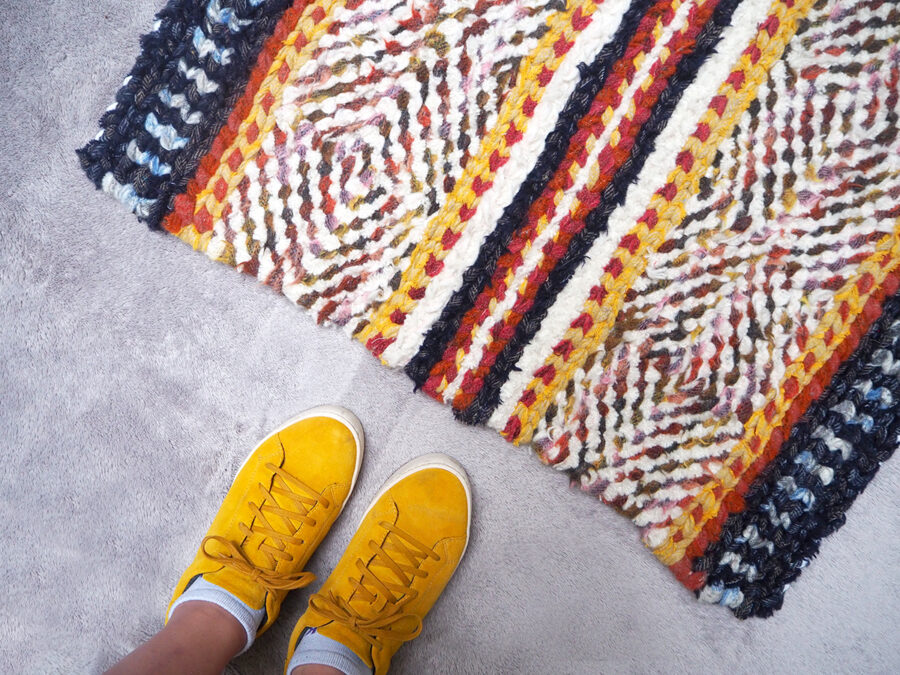
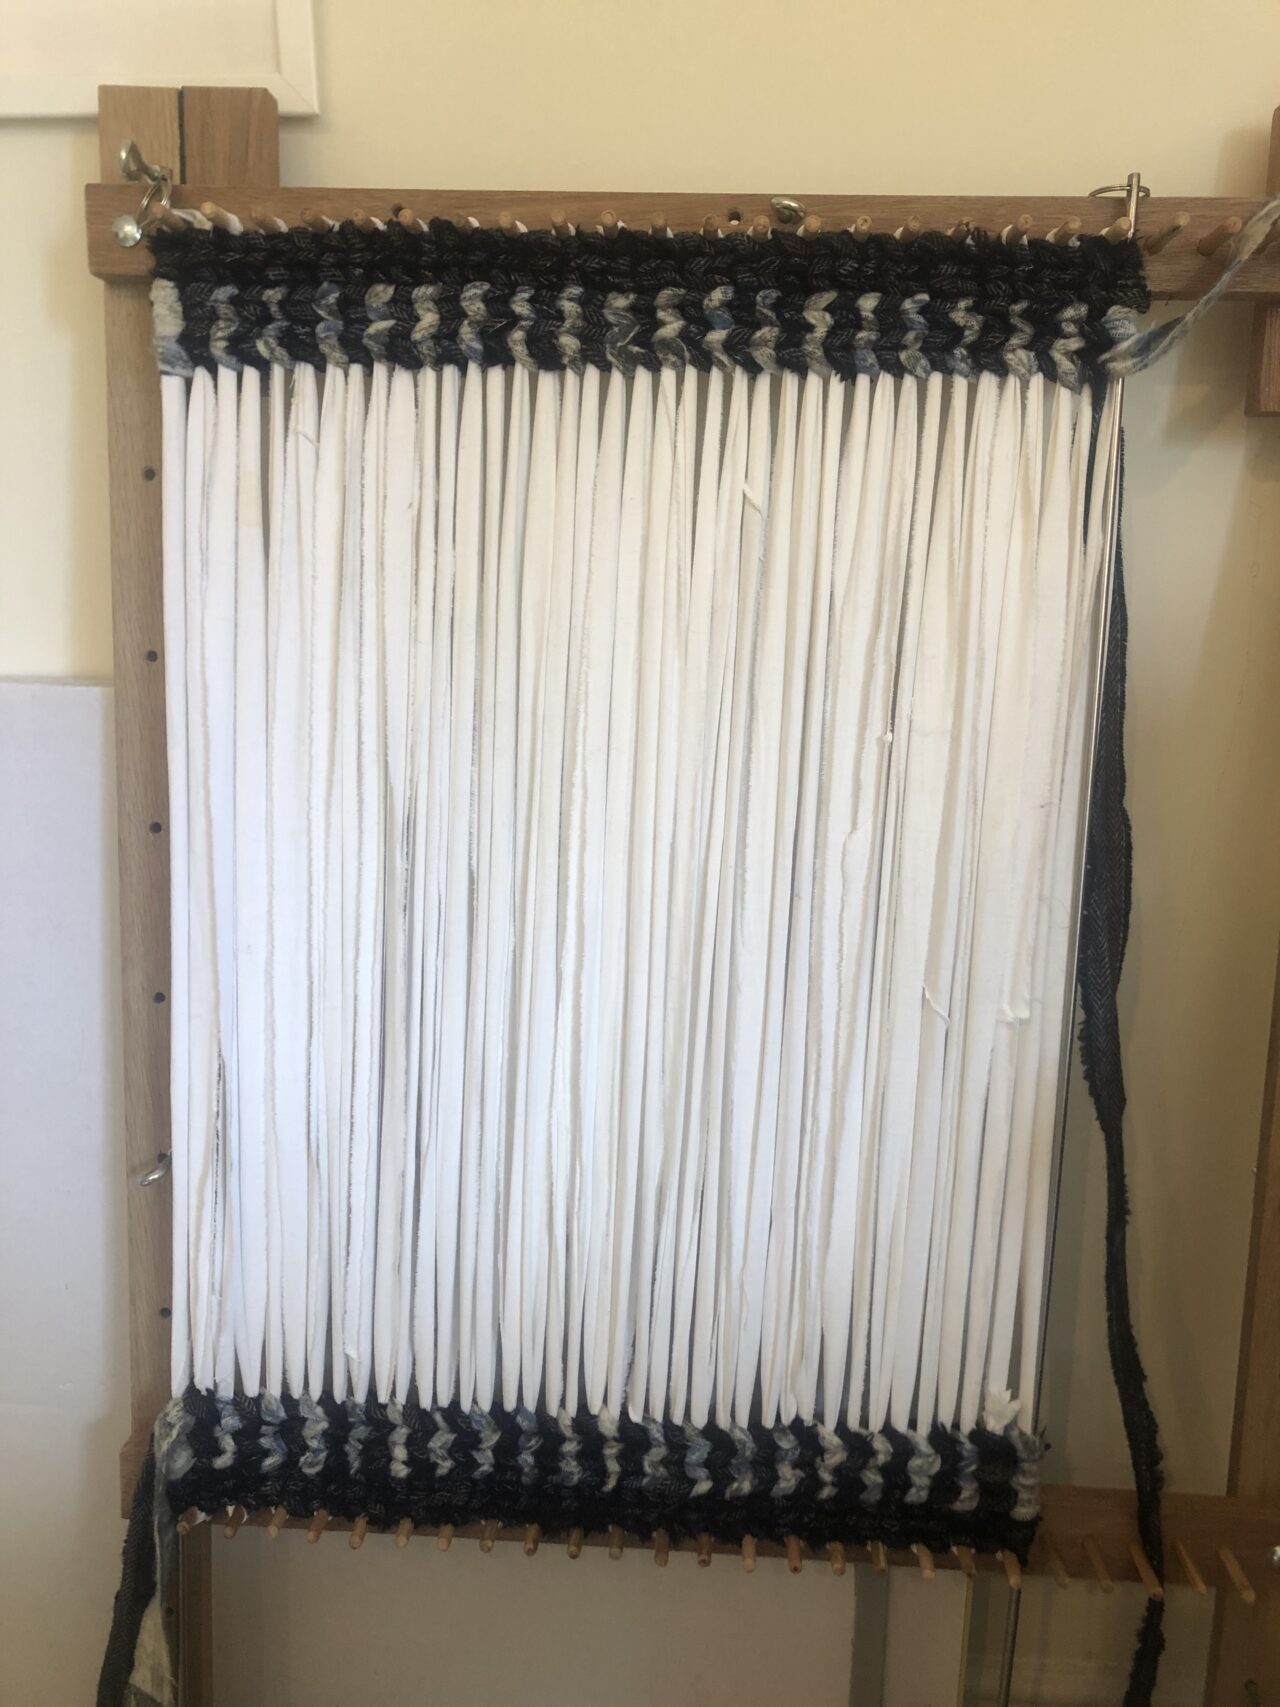
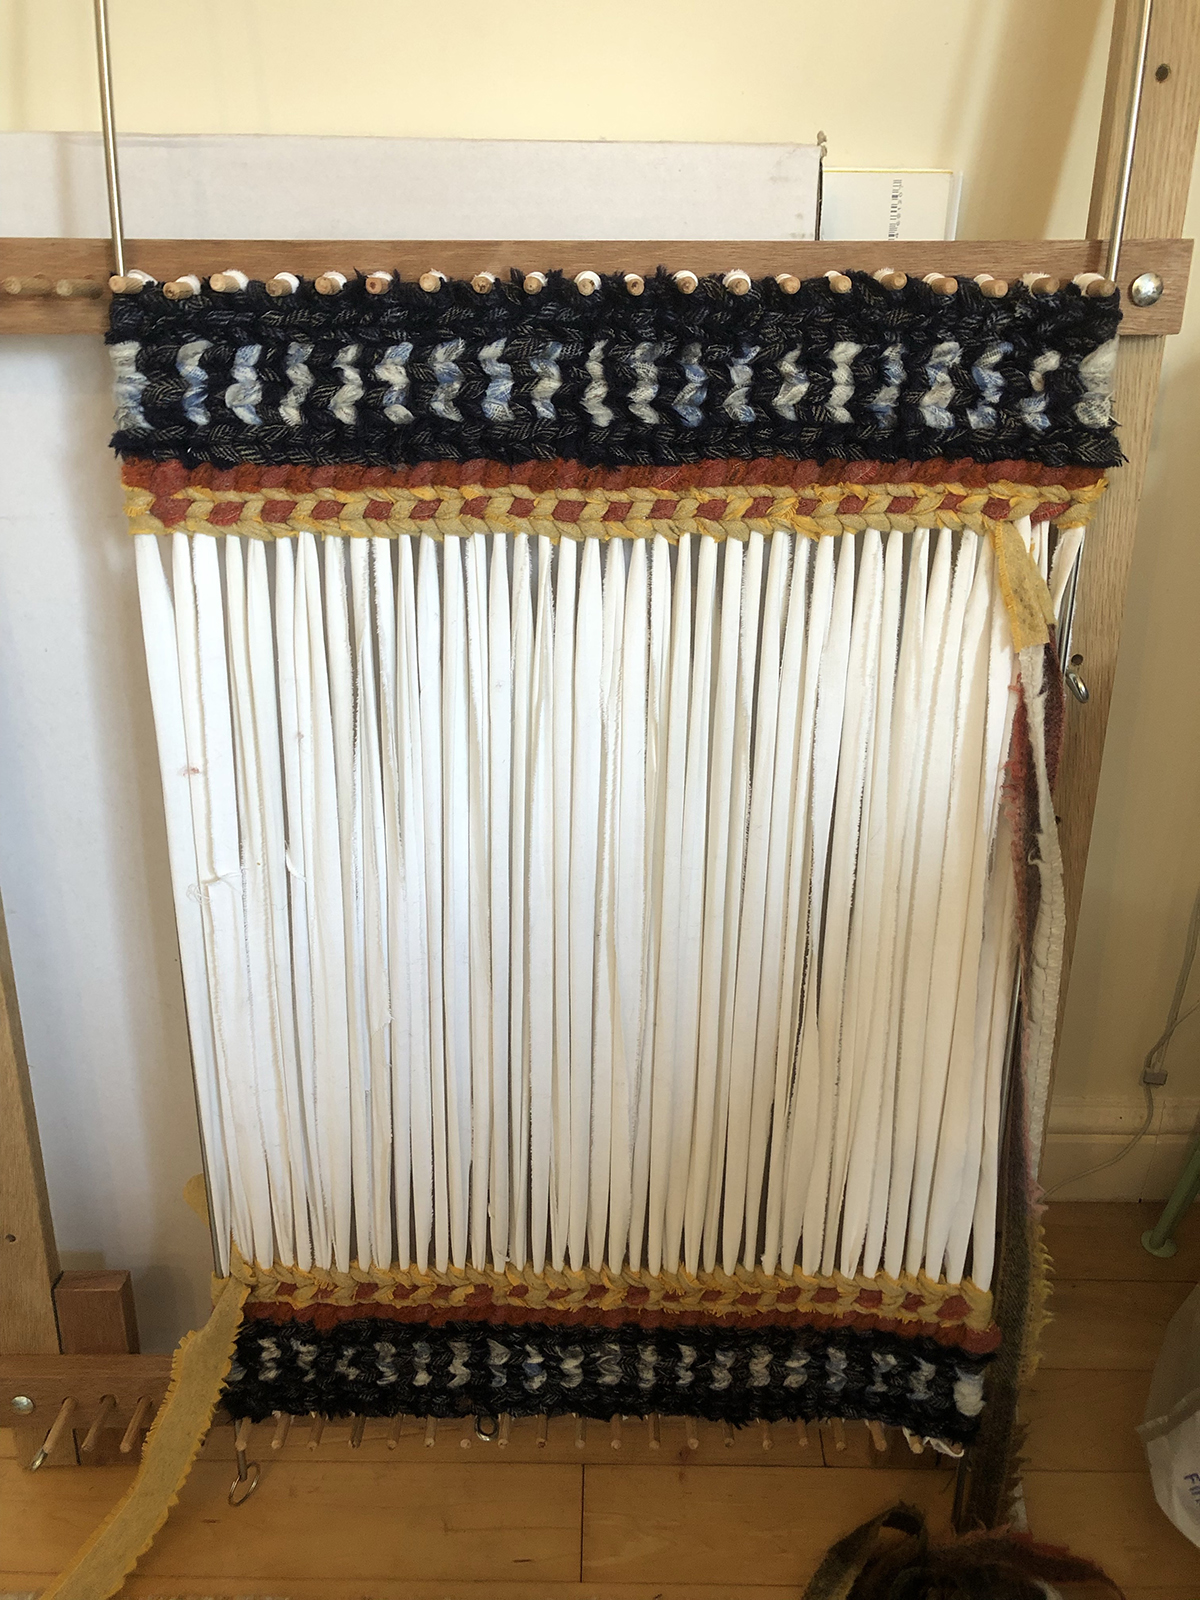
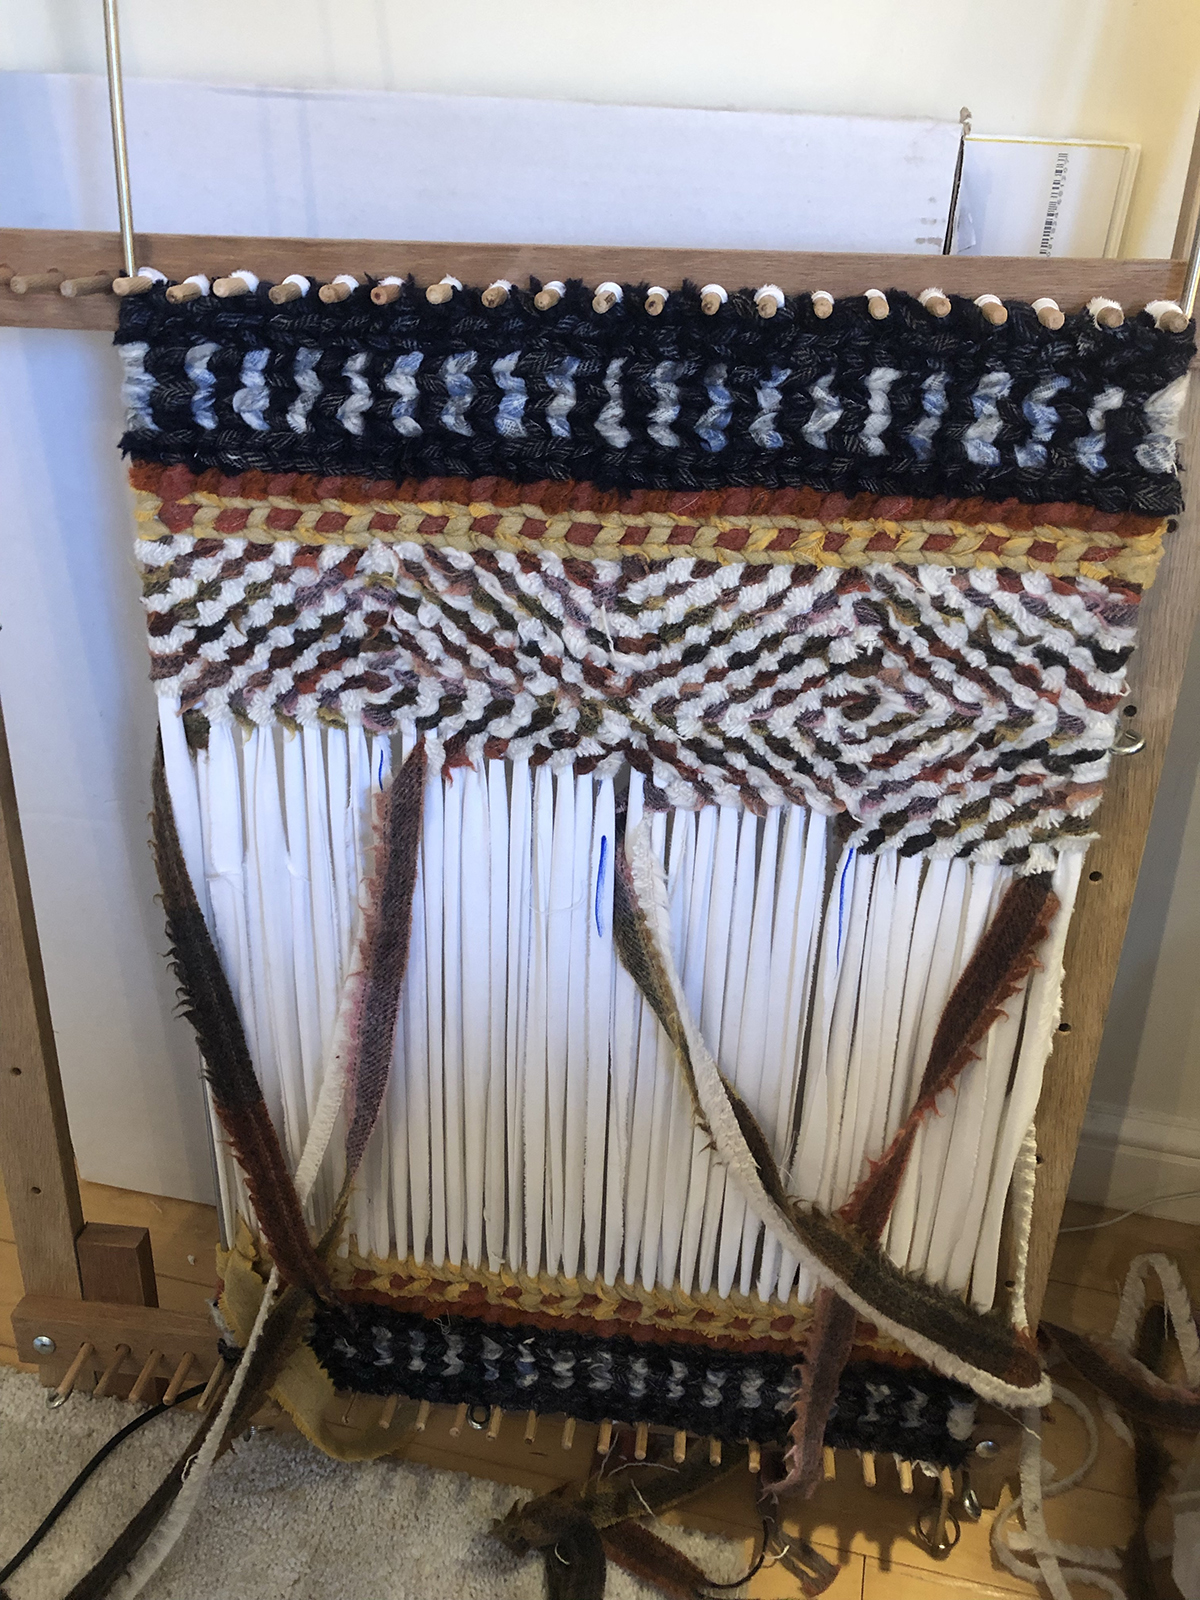
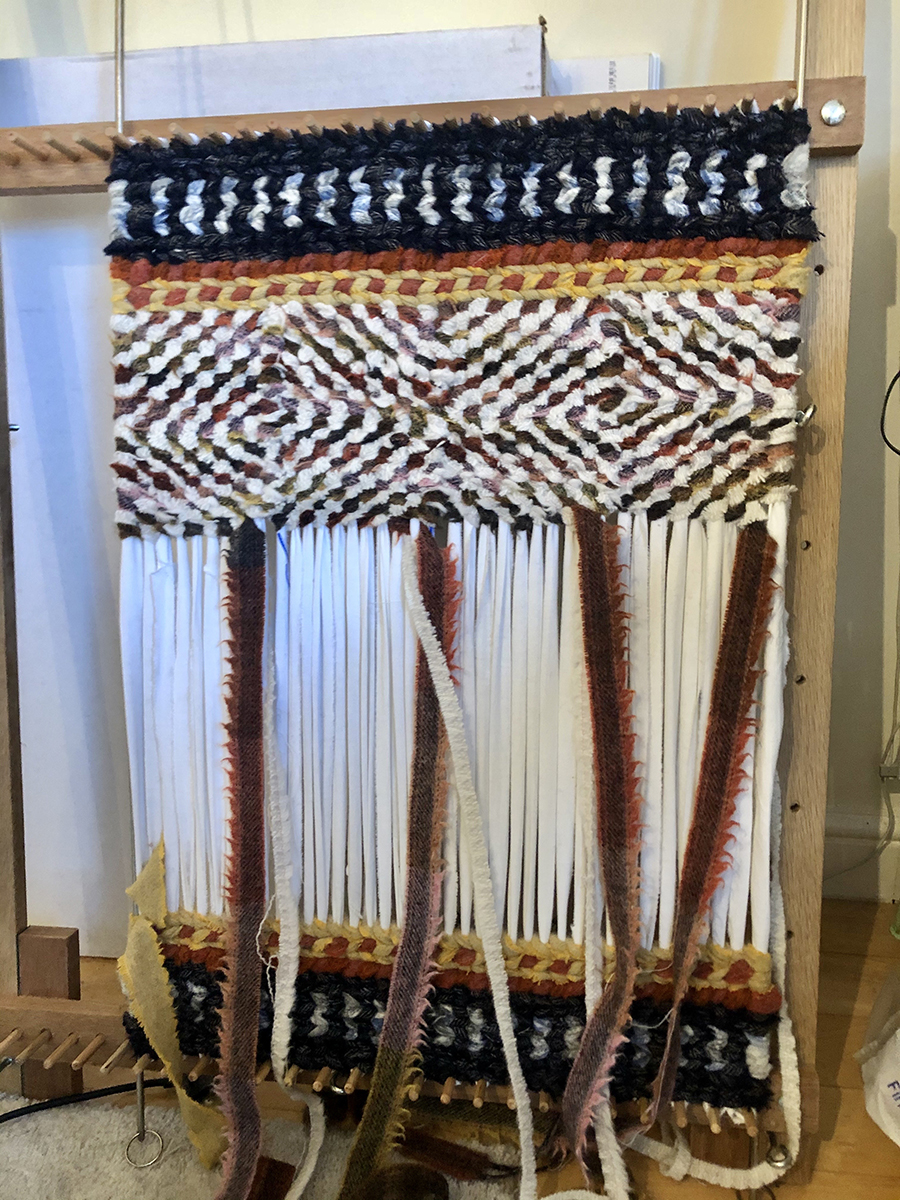
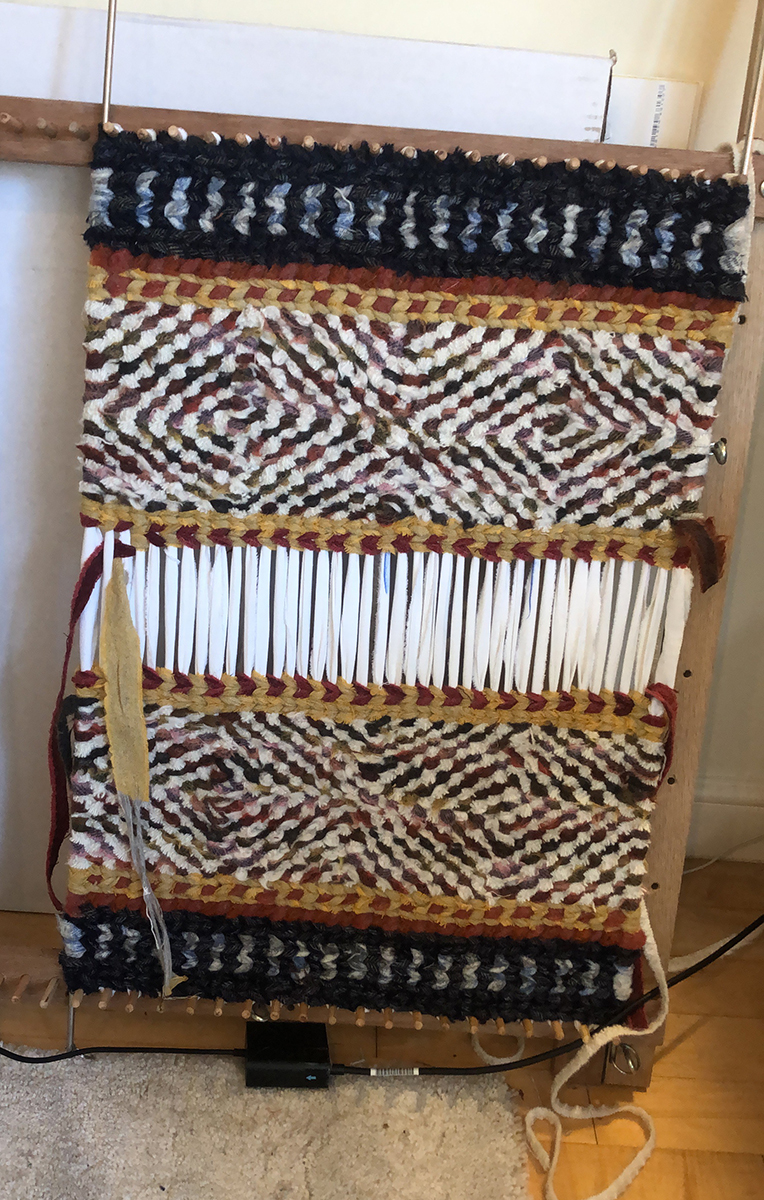
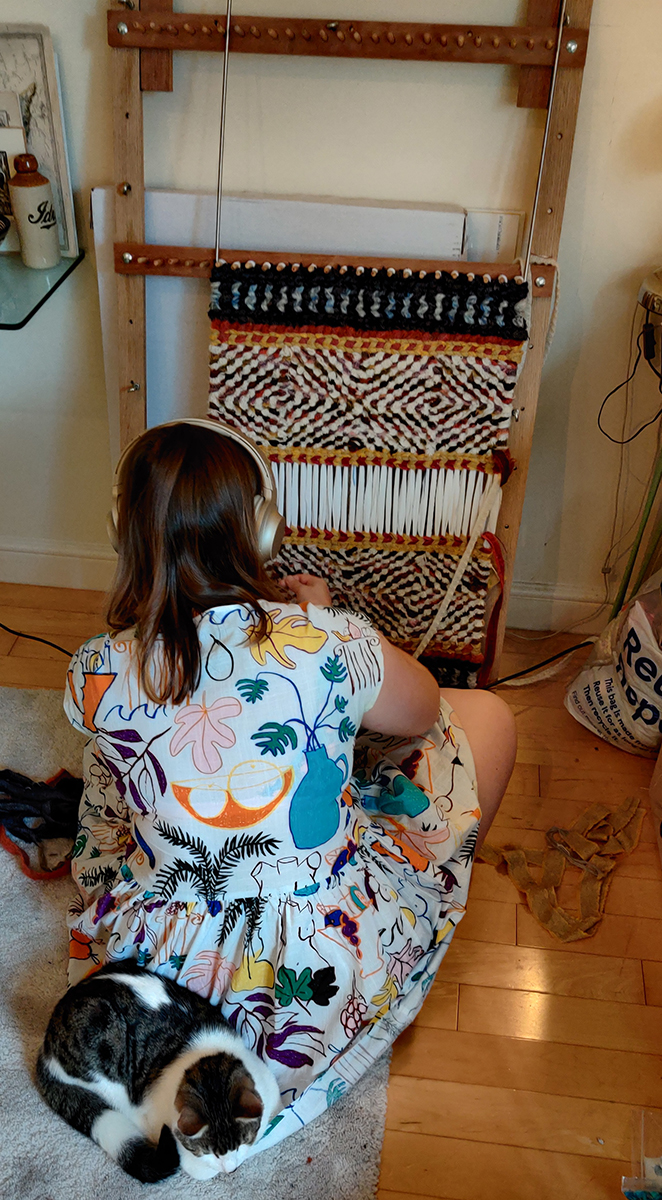
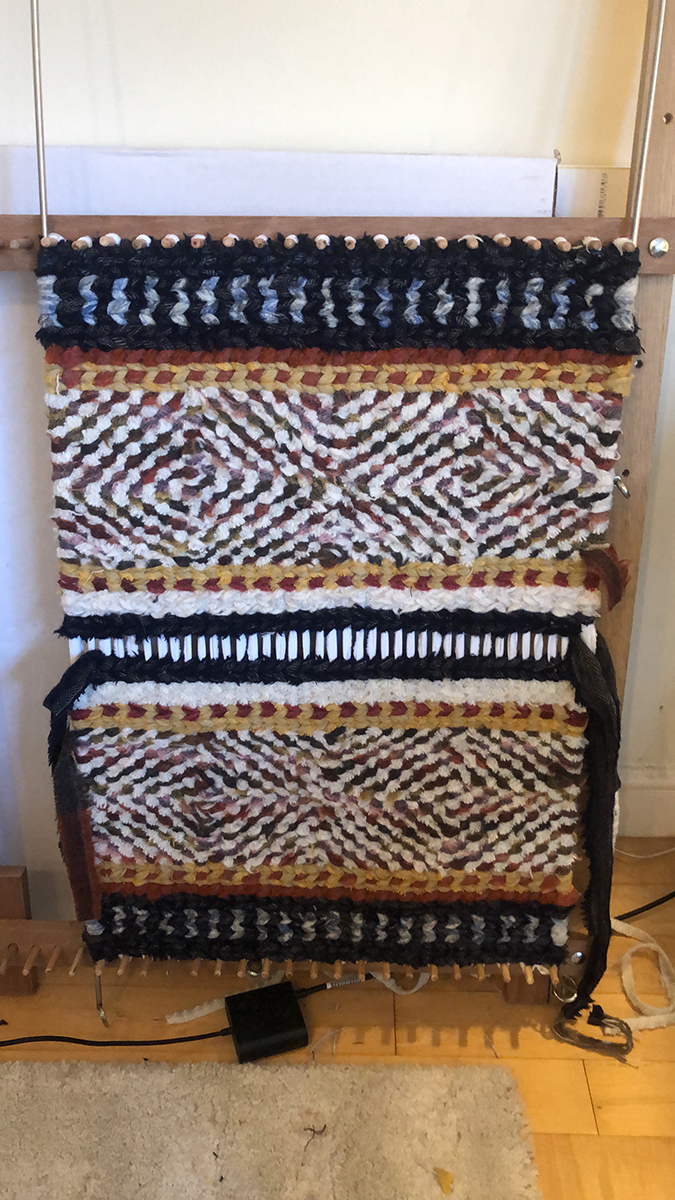
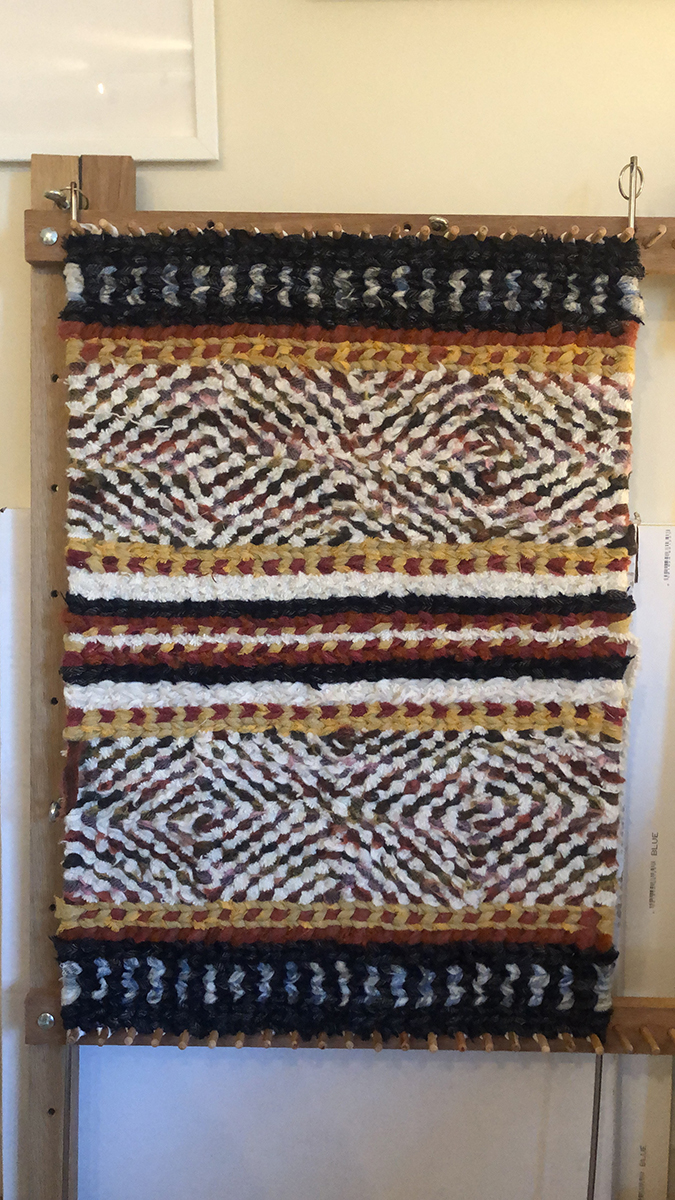
Last week, I finished my first twined rag rug and I’m pretty chuffed with the end result. It took me about two and a half days to make this 75 x 50cm doormat-sized rug. I could have played it safe and made a simple striped rug, but decided to be more ambitious, as you can see from the diamond pattern at each end. Below are a few photos of the finished and work-in-progress twined rag rug, plus read on below for a few learnings I had whilst making my first twined rug.
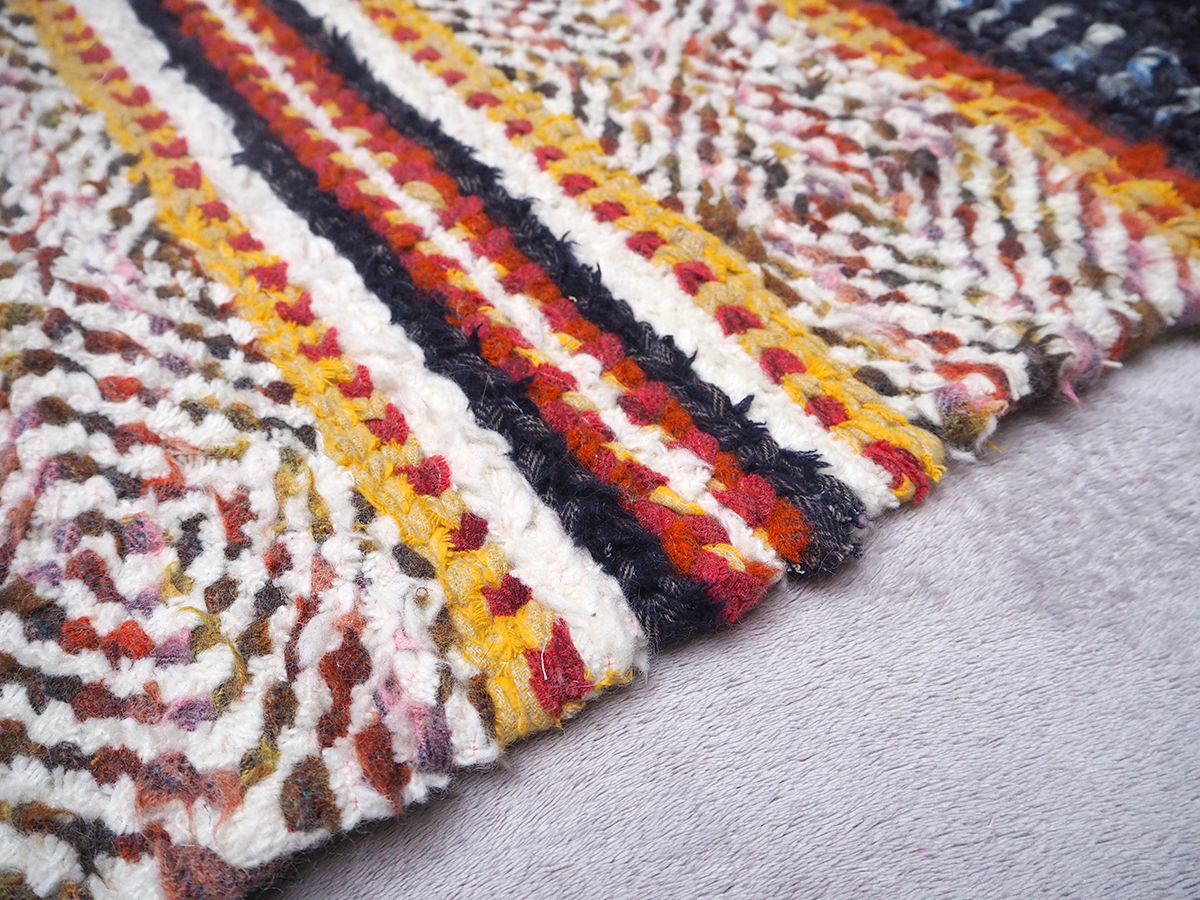
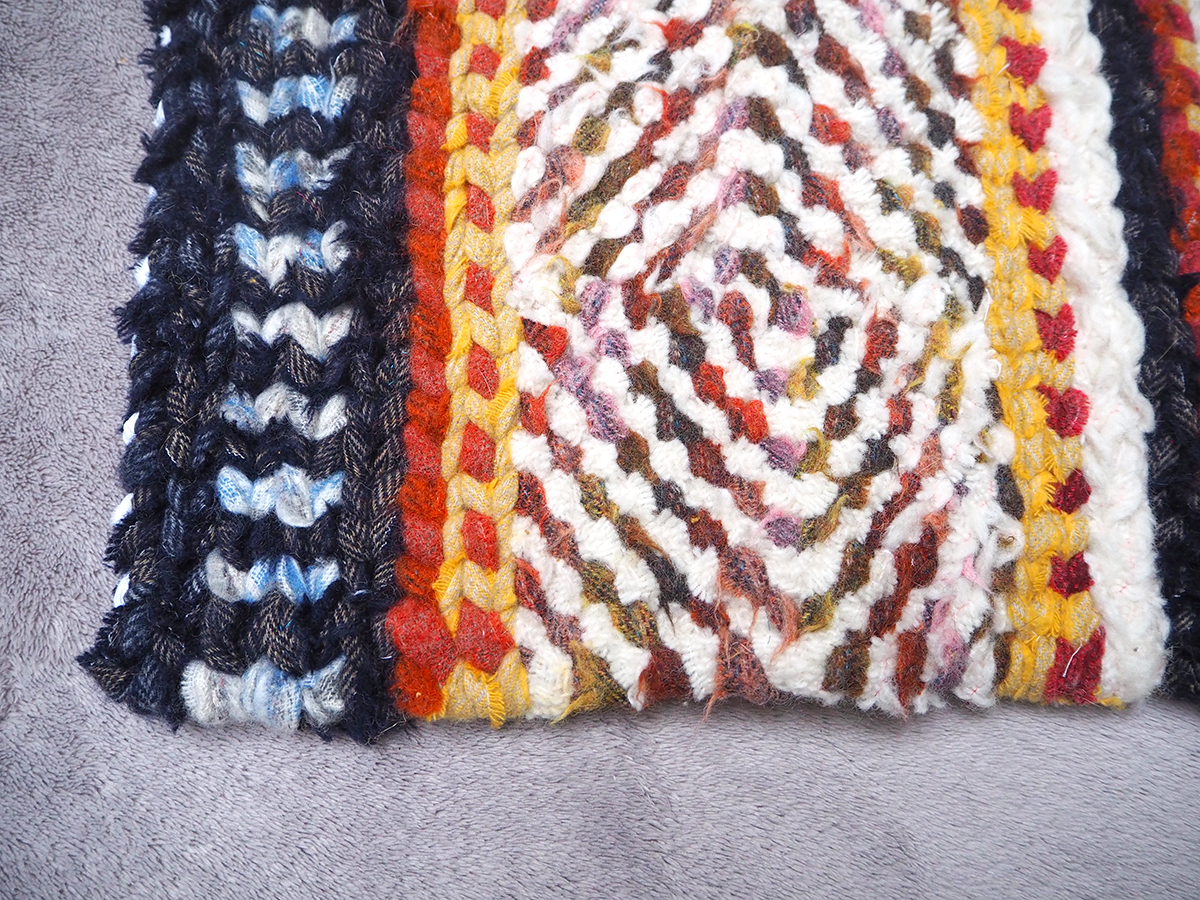
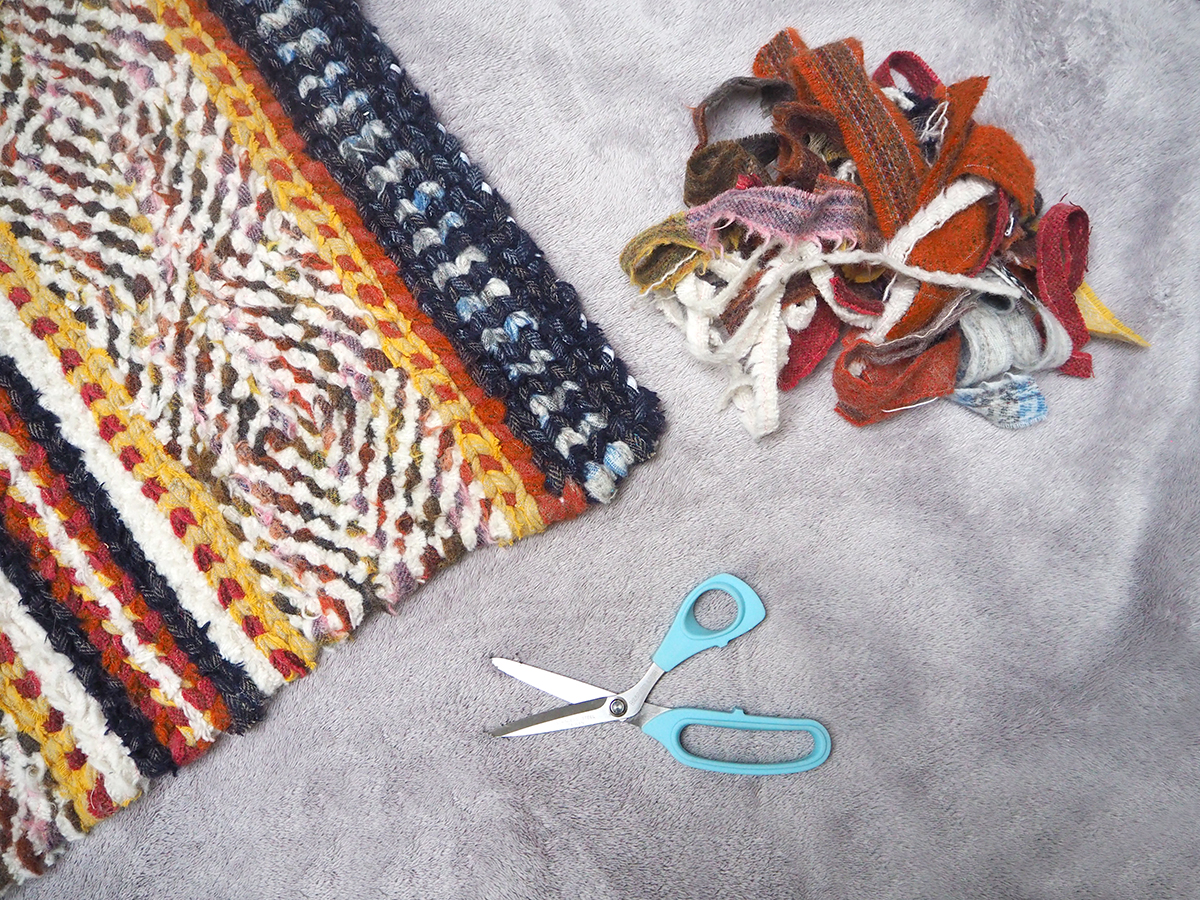


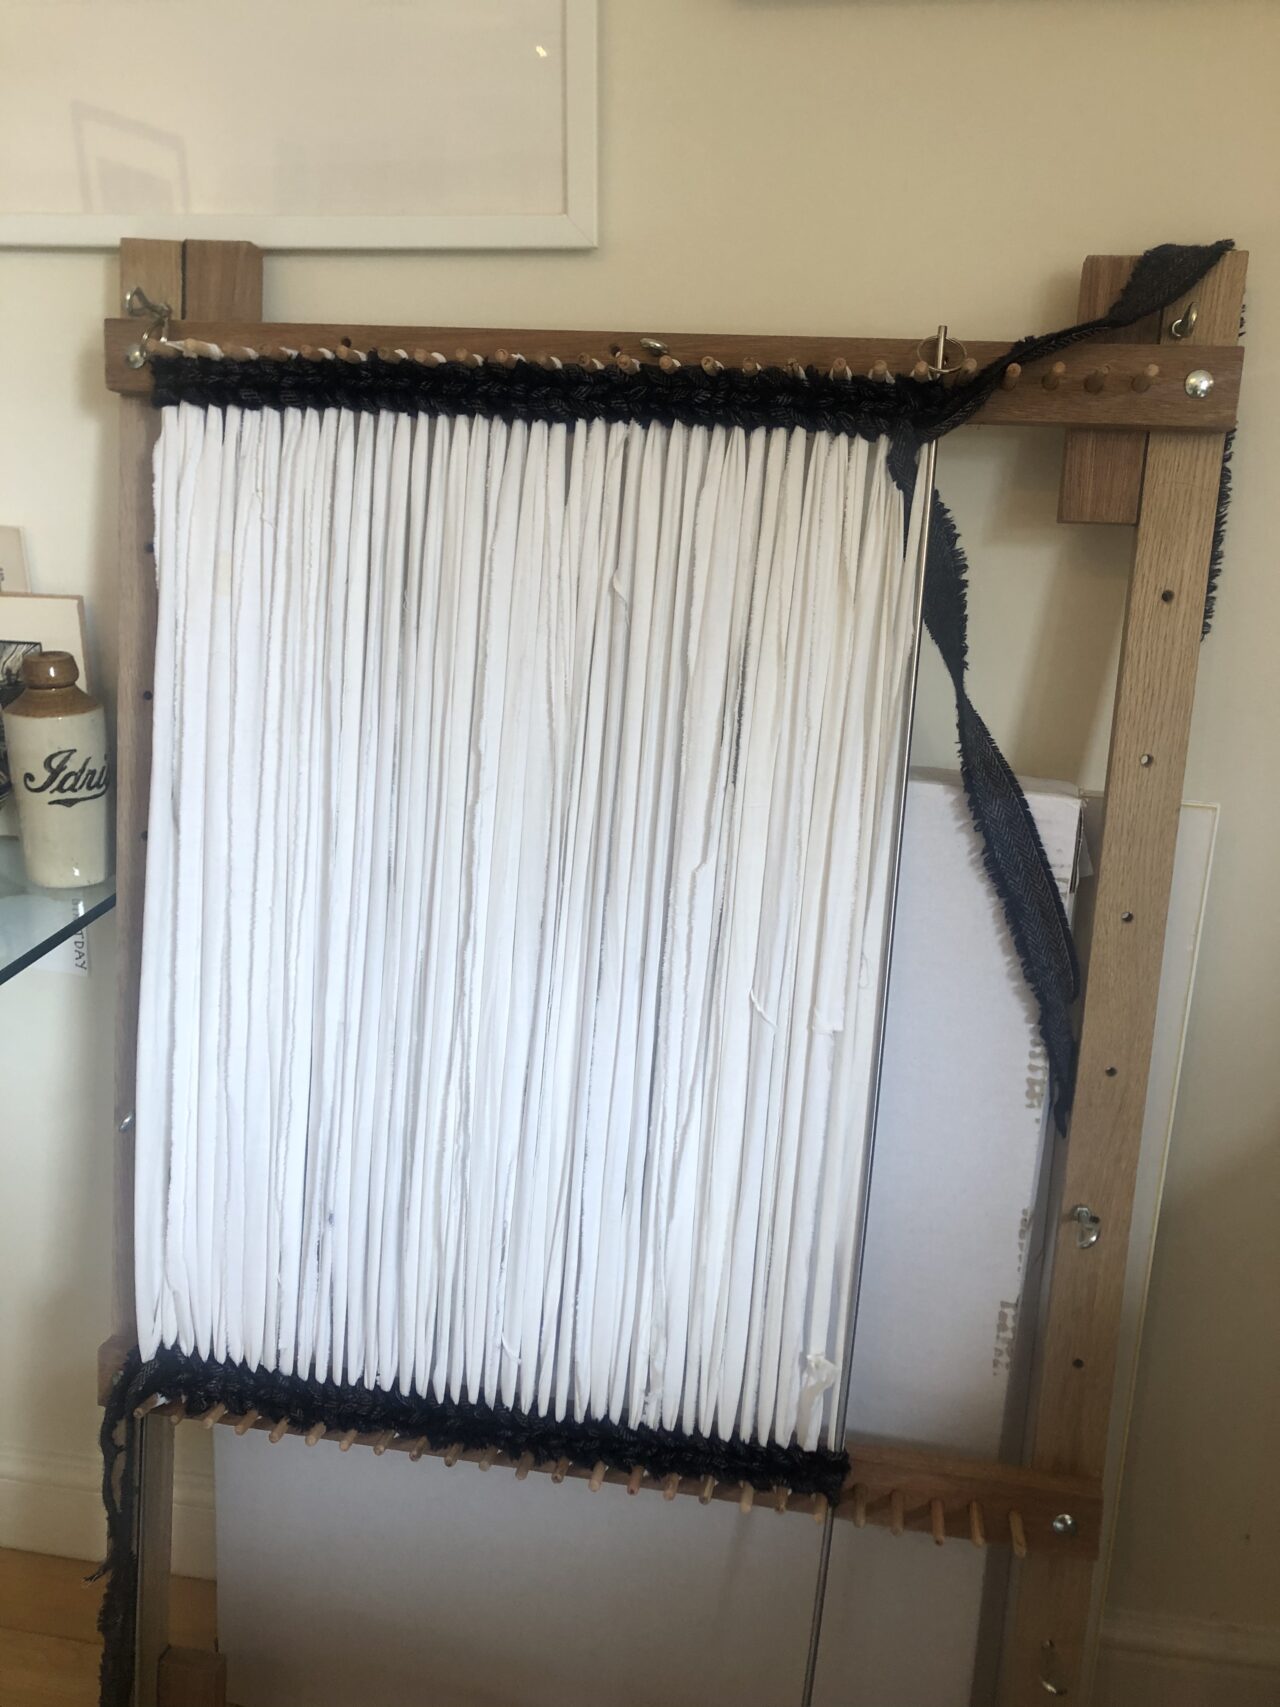
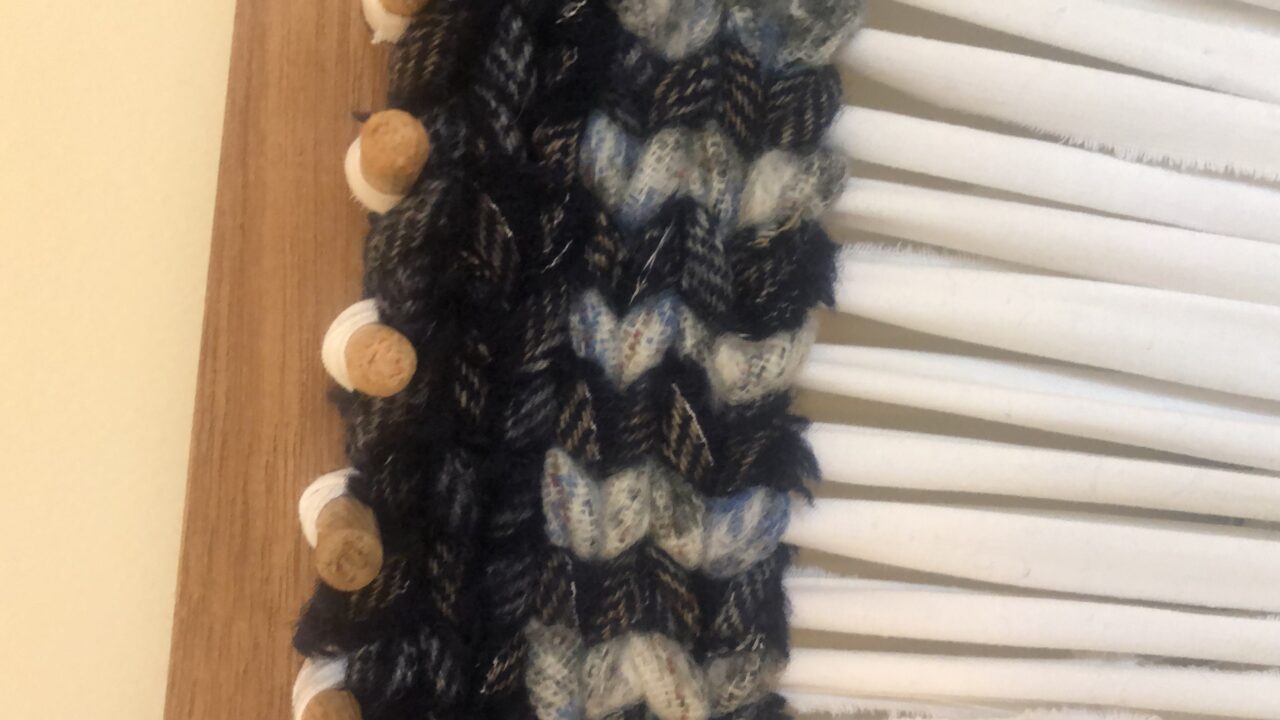
And a few work in progress photos with less than ideal lighting…
My Twined Rag Rug Learnings:
- Choose a colour scheme before you start the rug. My rug used autumn colours, which really helped to tie it all together.
- Our 100% Wool Blanket Yarn looked really lovely twined. I stupidly forgot to calculate how much blanket yarn my first rug took, but I know it was far less than the other forms of British rag rugging. I would guess this 70 x 50cm rug took about three 250g balls. The blanket yarn has also made it super soft.
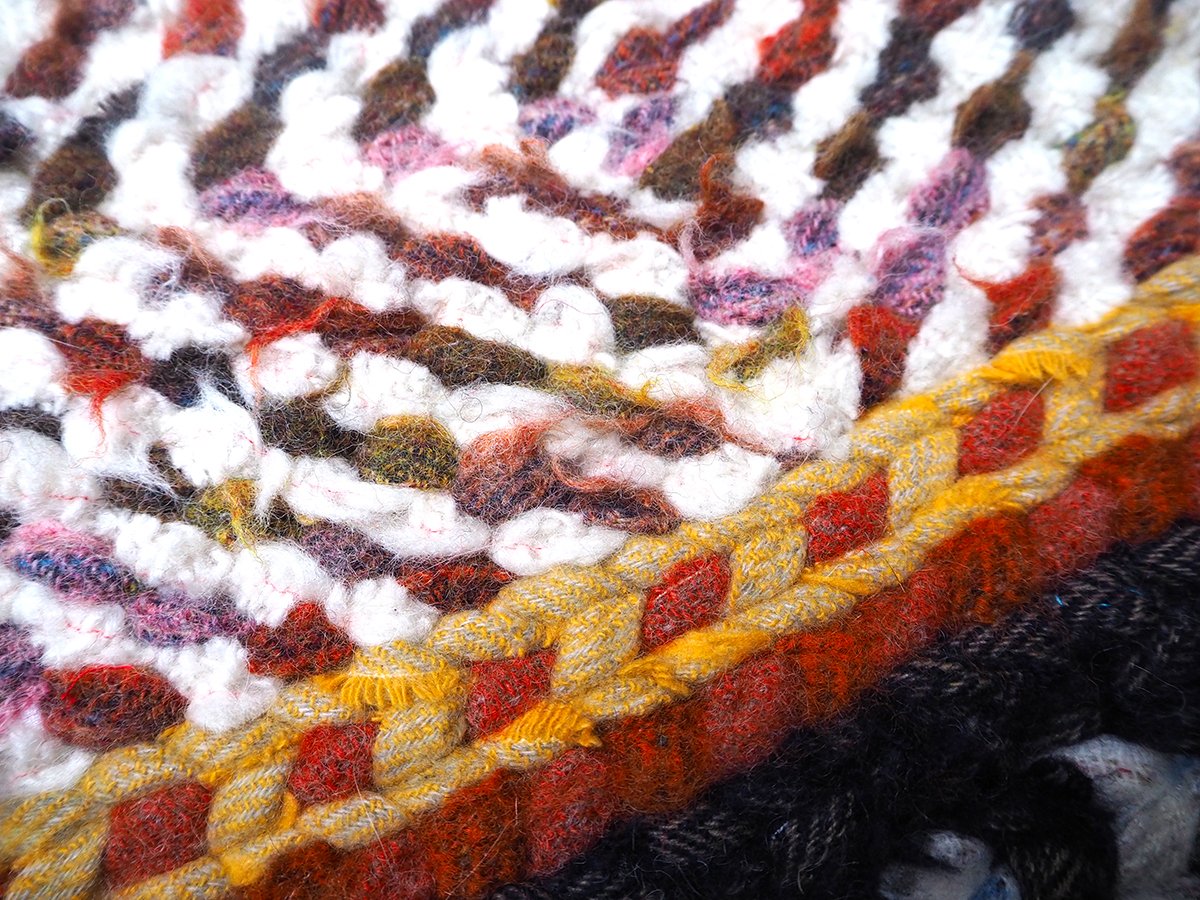
- As you twine, fold the edges of the fabric strips under (like bias binding) for a cleaner appearance. However, with some of the blanket yarn, I deliberately left some of the fringe coming forward to add texture to the twined rag rug.
- If you want design features to stand out, use a plain colour. This is generally the same as with British rag rugging.
- Keeping a consistent thickness of fabric is important. e.g. cut lighter weight fabrics wider to balance the weight of thicker fabrics and vice versa. For my first attempt, I thought I’d take a somewhat lax approach to this rule. So much so that I purposefully tried out cutting certain strips narrower in different areas of the rug. However, when I took my rug off the loom and it “relaxed” the sections of the rug where I’d used slightly thinner strips or lighter weights of fabric sucked in on the edges to create a slightly wiggly edge. Not the end of the world, but a good learning. It would be a lot easier to just work with one type of fabric and uniformly cut your strips the same width.
- Disguising fabric joins is much harder on the edges of your rug than it is midway through a row. Next time, I think I’ll incorporate that into my design. If you want distinct bands of colour, you have to join at the edge though, so it’s a necessary evil.
- For complex patterns, plan out the number of warp strands you’ll need. Depending on your pattern, the number of warp strands you will need could be either an even or odd number. They may also need to be divisible by certain numbers too. I had to change my design when I got to the diamond section, as I hadn’t warped enough strands.
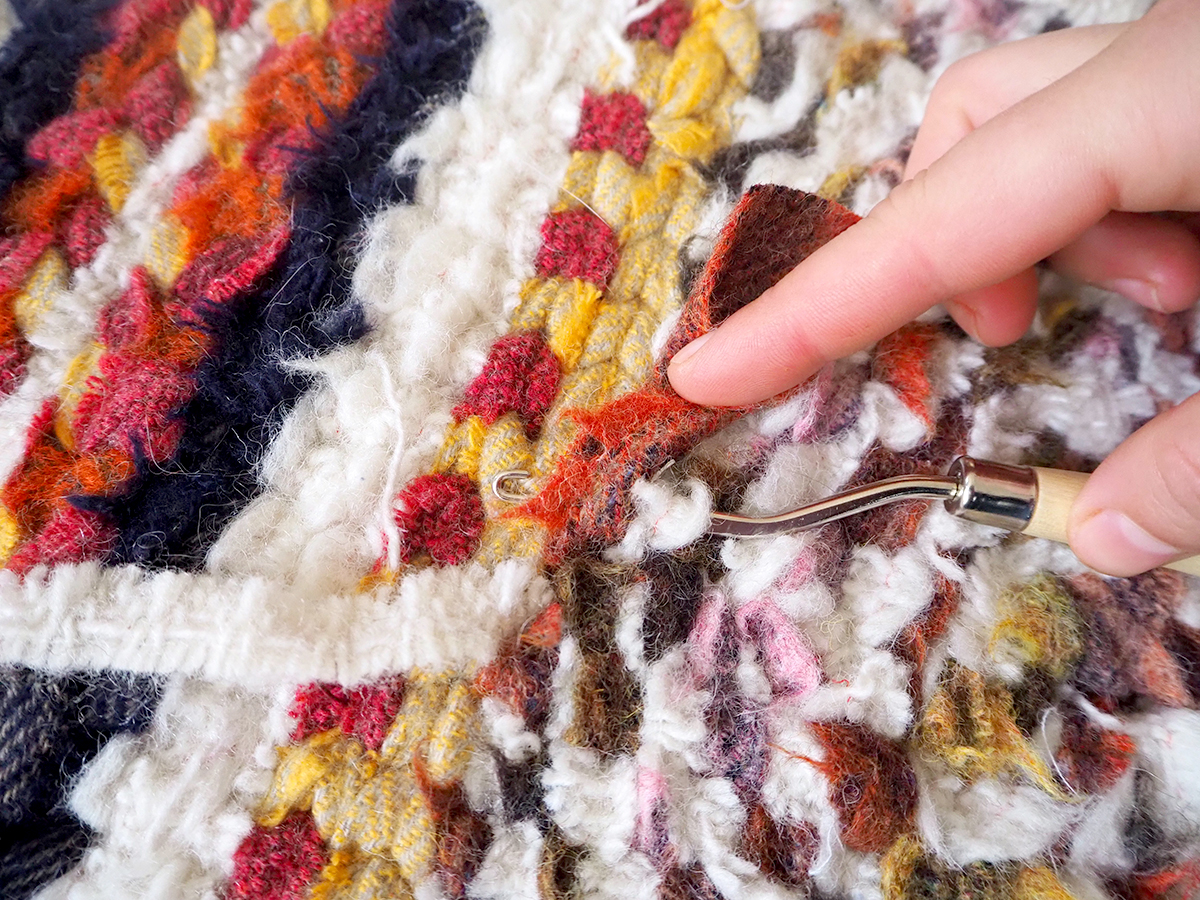
- Sewing in the ends on the back of your rug is actually pretty easy to do with a latch hook. This isn’t a method I’ve seen other twiners use, but did the trick quite nicely.
Thanks for reading! What do you think of my first rug? Comment below to let me know. Or, if you’d like to learn how to twine yourself, why not join me for a Twining Workshop at our cosy HQ in Hertfordshire?
OR CONNECT WITH US ON SOCIAL MEDIA AT:
Instagram: https://www.instagram.com/raggedlife/
Facebook: https://www.facebook.com/raggedliferagrugs/
Pinterest: https://www.pinterest.co.uk/raggedlife/
Twitter: https://twitter.com/raggedlife
As always, happy rag rugging!
Elspeth x
Hi, I’m tying my hand at twined rag rugs myself and i had a question that i can’t seem to find an answer to anywhere… You’re working from both ends. Is that to get your pattern symmetrical? And how do you anticipate when/where they meet in the middle? Especially if your coming from the same direction and can’t connect the fabric? The one tutorial i was following just does a solid colour all the way through, top to bottom. thanks for any help!
Hi Sara, the reason why you work from both the top and the bottom is for a few reasons. 1) It keeps the pattern symmetrical so when you inevitably run out a colour near the middle, it doesn’t mess with the pattern (it’s hard to calculate how far your fabric will go). 2) It anchors the warp in place the top and bottom. If you only work from the top, the warp isn’t secured and can slip off the dowels. 3) It helps to keep tension even for some reason. 4) It’s so hard to do your last row near… Read more »
Absolutely love it 😊💗💕💖
Thanks Jools 🙂
They look beautiful the designs
How much are the looms for twinning and do we get them from you
Hi Anne, apologies for the slow reply. I’m currently having some made here in the UK for sale. It’s been quite some process! Where are you based and I may be able to advise? All the best, Elspeth
Your twined rag rug looks stunning, Elspeth! I love the pattern, colours and beautiful photos.
Thanks Polly! This first rug was quite the learning curve, but I think I got there in the end 🙂
Where did you get your beautiful loom?
Hi Barb, I actually had it made as they’re quite tricky to source here in the UK. I’m in the process of sourcing some to sell here though, so watch this space 🙂
This is a beautiful initiative
thank you so much. am going to make mine
I’m so glad to hear it Ethel – let us know how you get on! 🙂