As most of you know, I’m a textile lady through and through. Rag rugging stole my heart a long time ago and has kept me entertained for years. Well, last Christmas, one of my friends booked for us to go on a watercolouring class this April and I thought I’d share with you what happens when a fabric fiend lets loose with a paintbrush. So, here it goes…
The Venue: Tea and Crafting in Covent Garden:
Hilariously, my friend booked for us to do the watercolour workshop at Tea in Crafting in Covent Garden, where I already run some of my London rag rug workshops. This was great though as I already knew the space was cute, crafty and central. Michelle, the teacher, had dressed the room really nicely with jam jars of flowers in the centre of the table (we later found out that we’d be painting these) and relaxing music on in the background. Being a bit of a craft nerd, I made sure to position myself right up front by the teacher (we don’t bite, I promise) 🙂
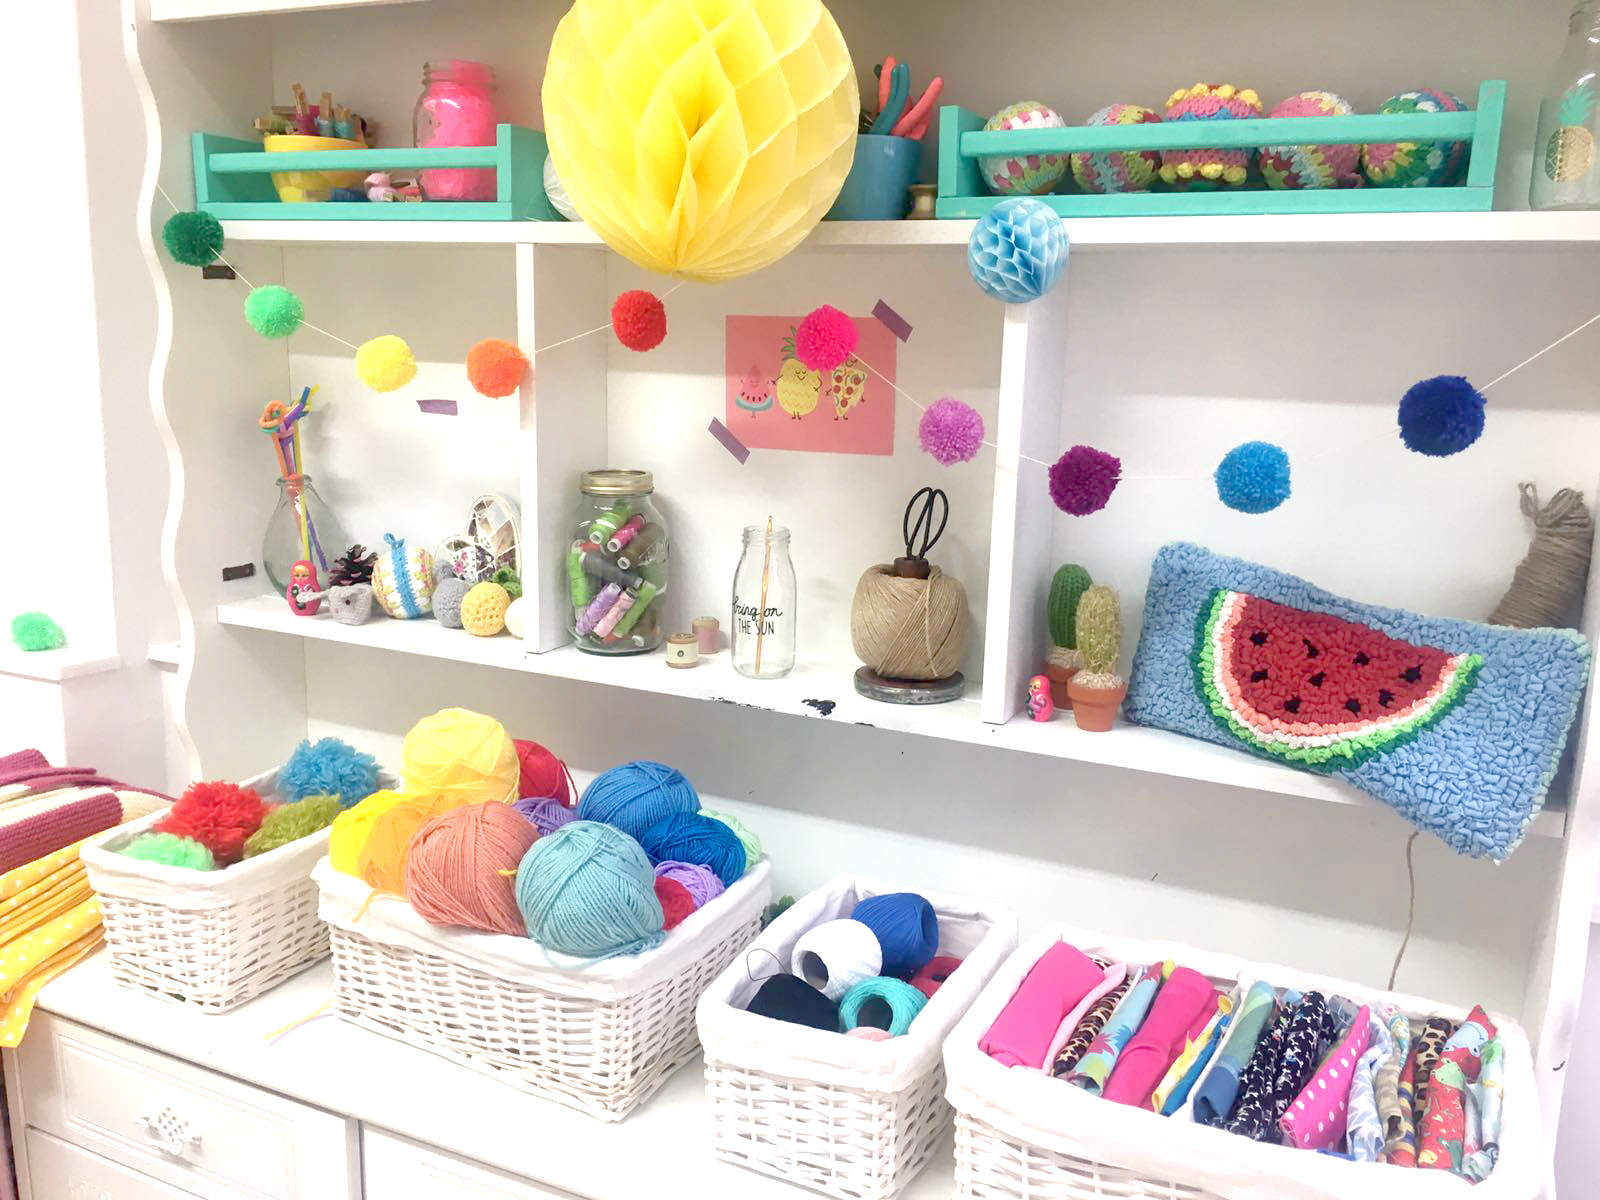
I’m very familiar with Tea and Crafting in Covent Garden as it’s where I run some of my London rag rug workshops. You can even see my watermelon clutch bag making a cameo appearance in this photo…
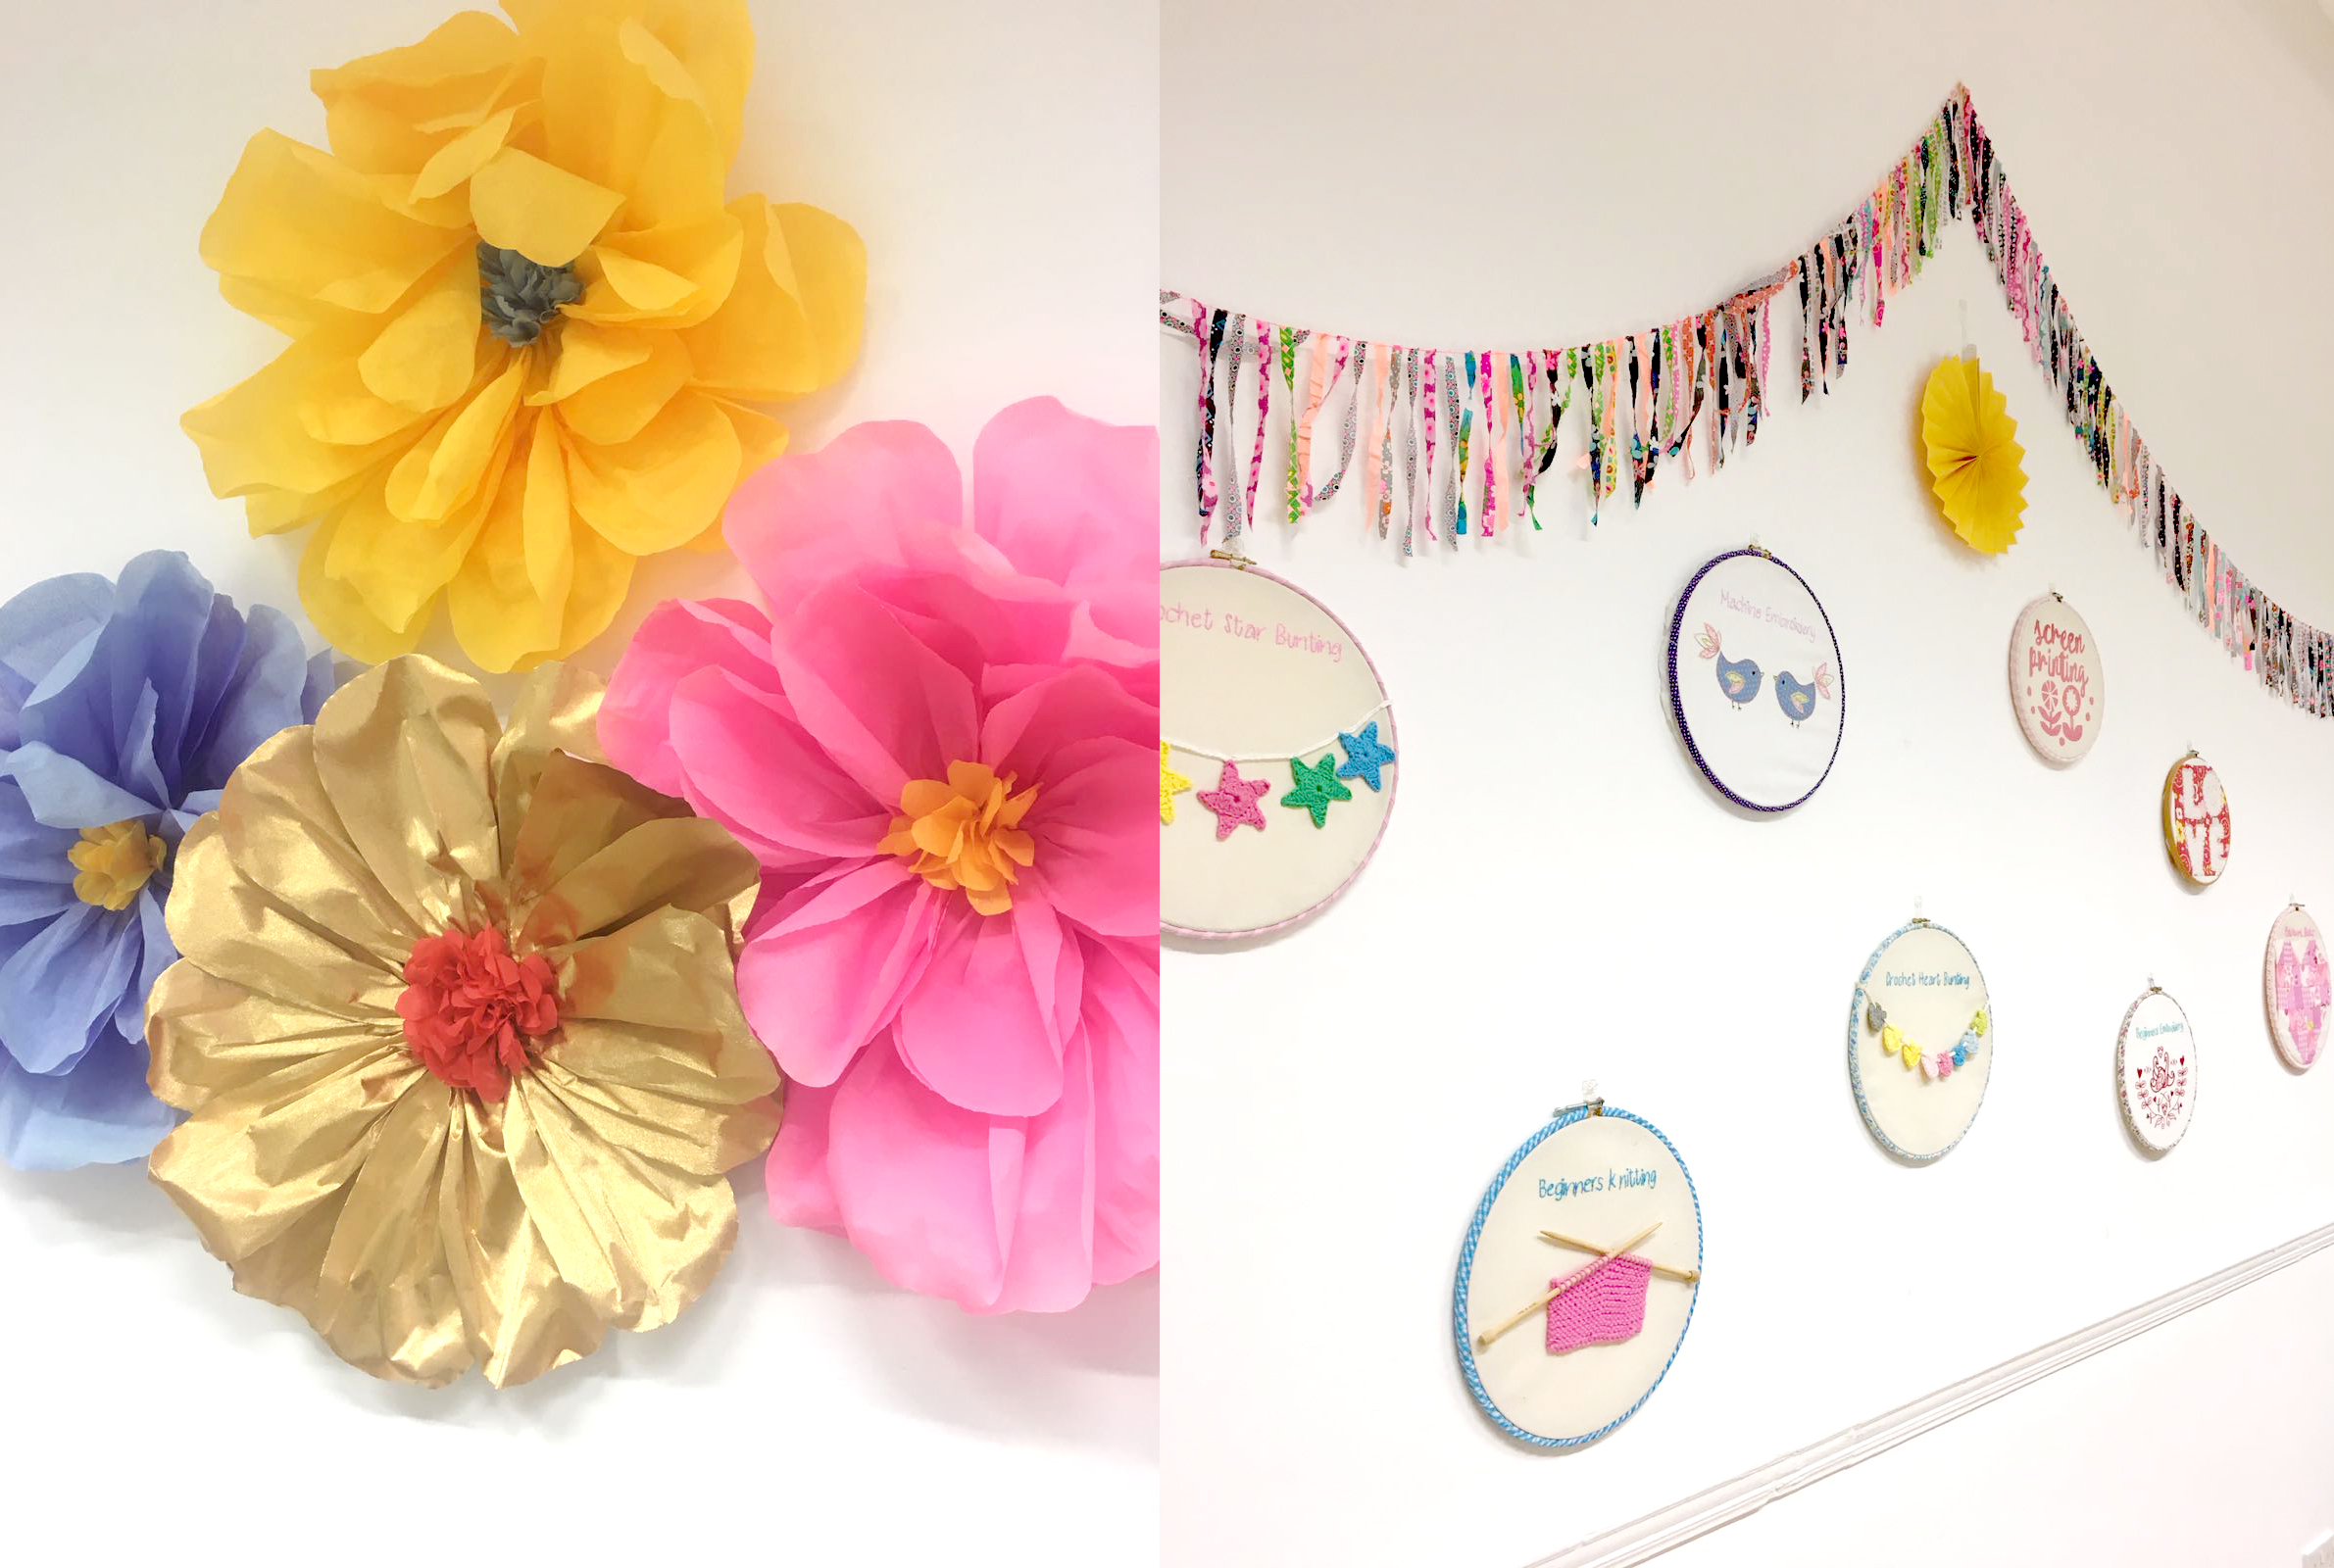
I’m used to seeing the gorgeous paper flowers at Tea and Crafting, but it was nice to see that Jane had brought along her cute craft embroidery hoops from the Camden venue 🙂
Getting Started with Watercolouring:
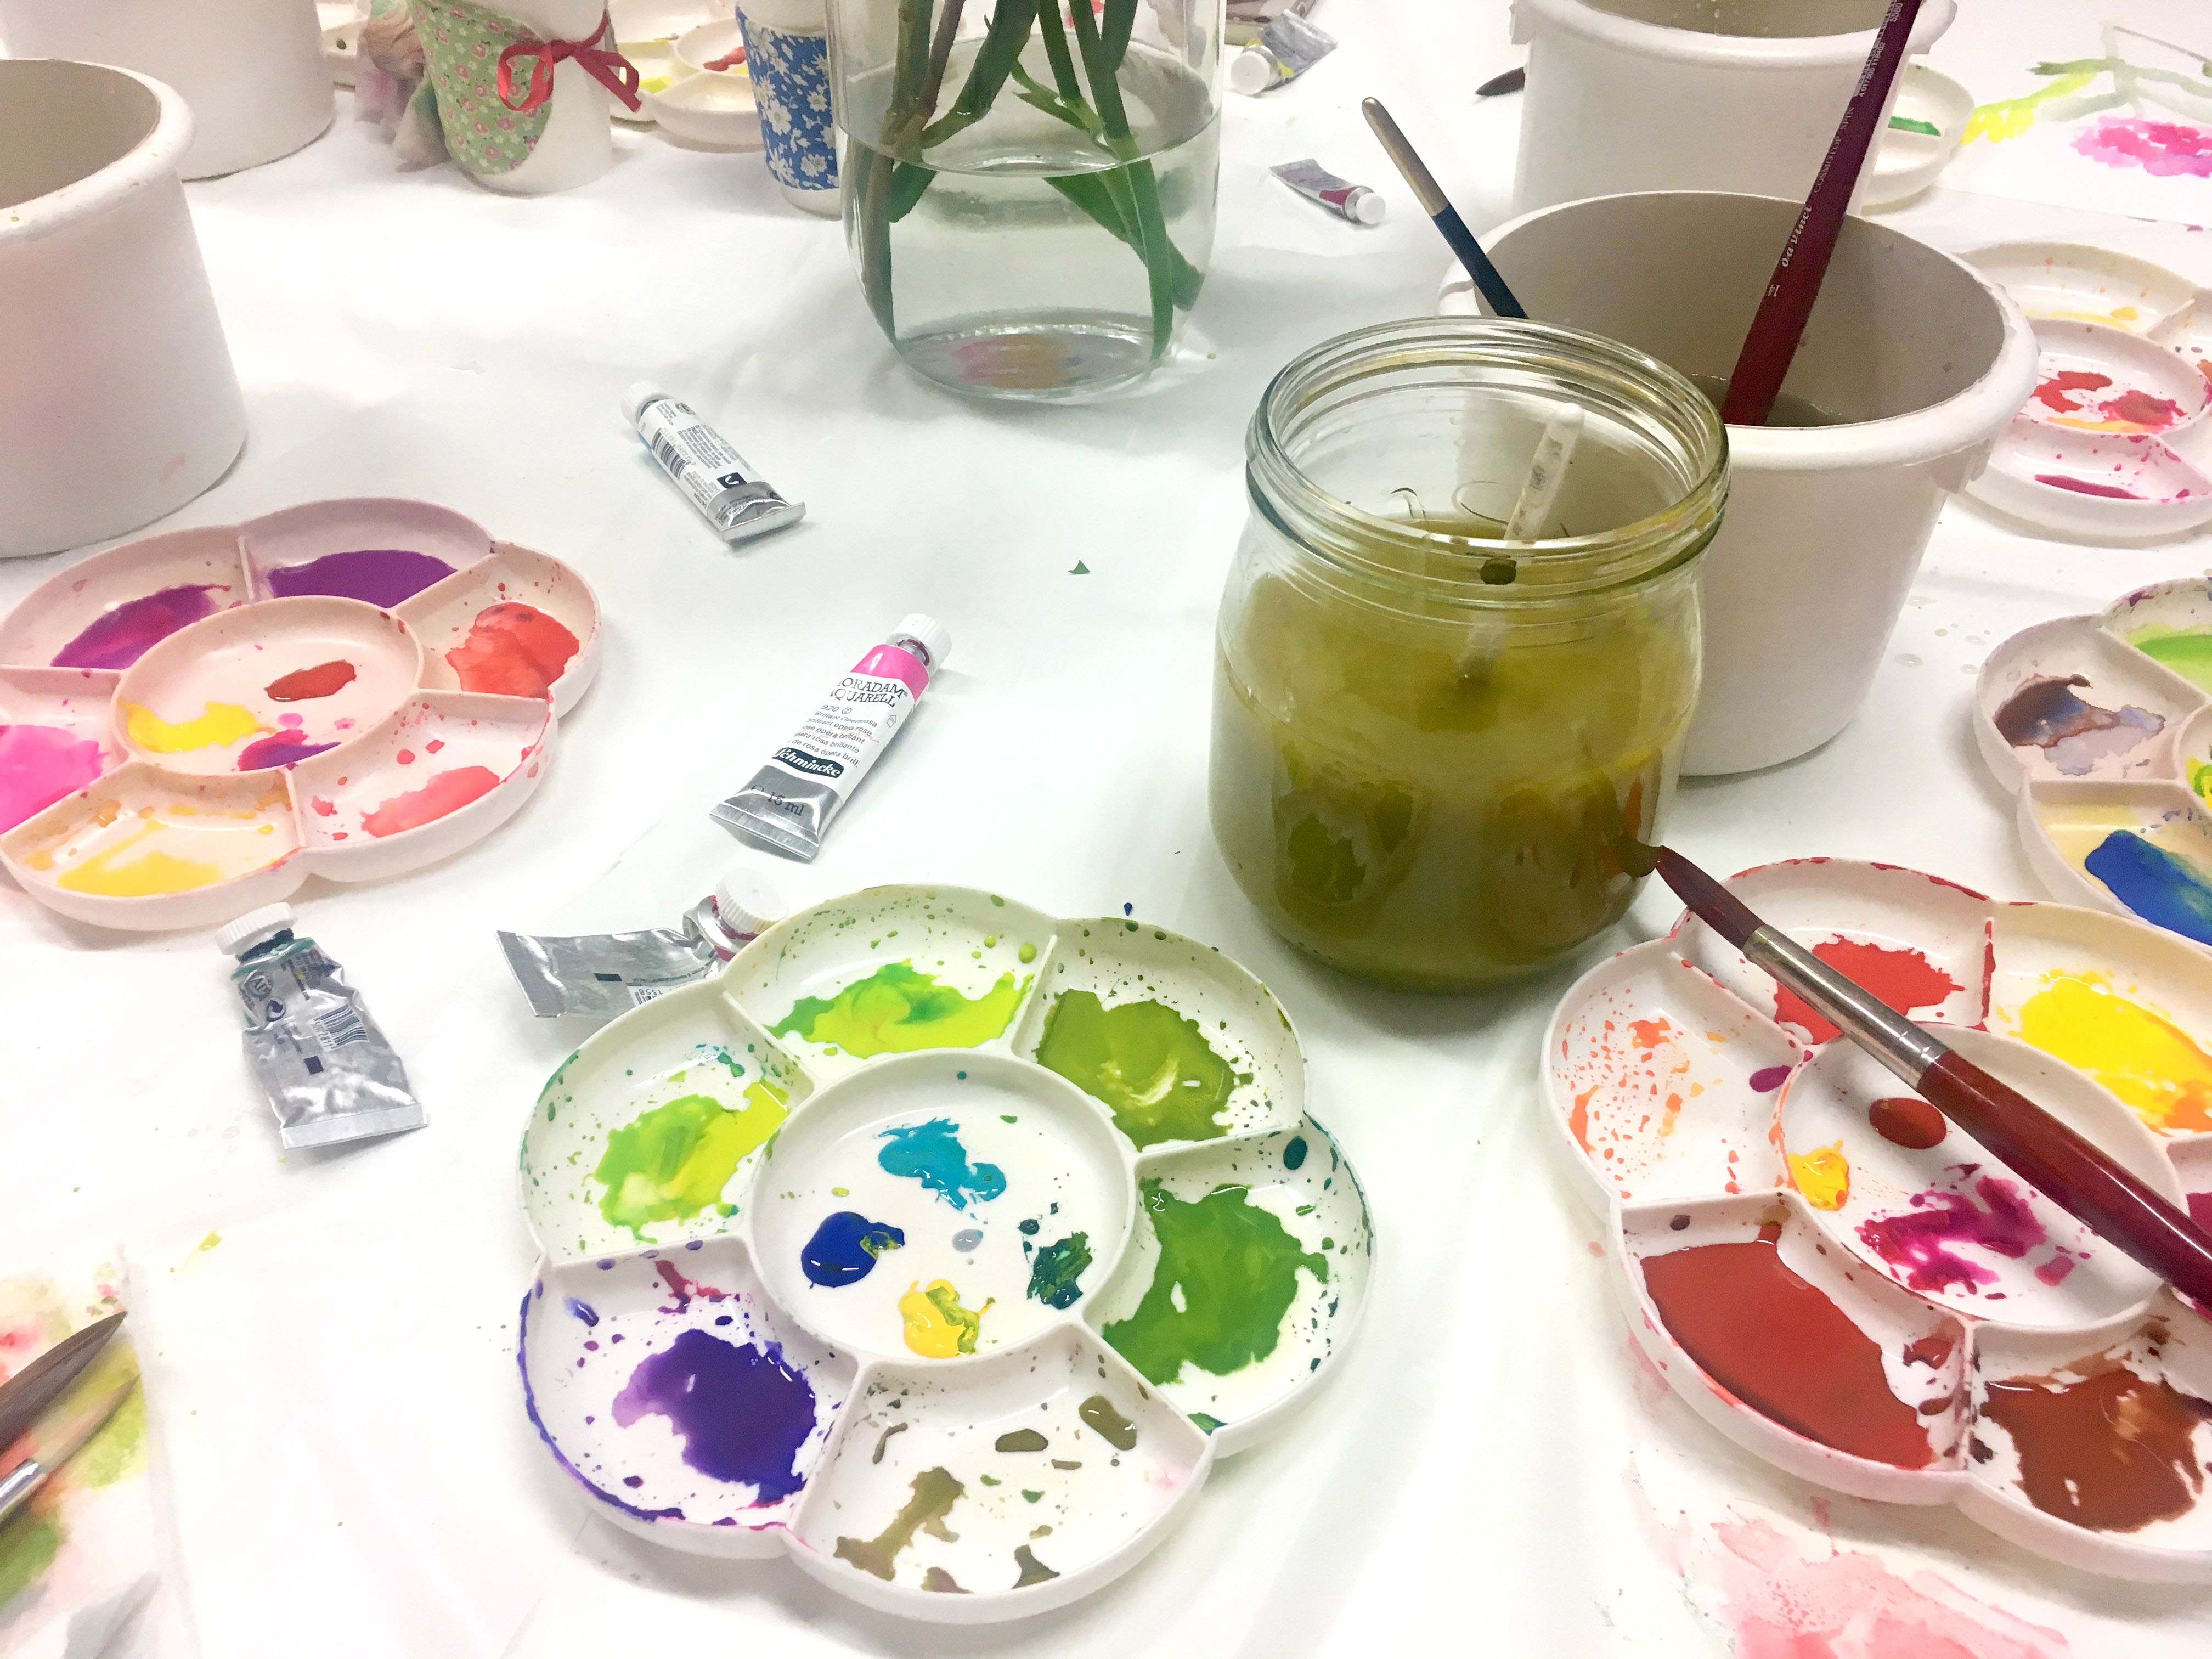
When we arrived, there were a few bits of equipment already laid out on the table and Michelle, our teacher, began by talking us through everything. From what I understood, this is what you need to get started with watercolouring:
- Round Brushes – as beginners, we were using two sizes – a number 6 and a number 10. We started with the larger brush when we were experimenting, then moved onto the number 6 for finer work with the flowers later.
- Watercolour paints – Michelle prefers using tubes of paint to palettes as it is easier to create more intense colours with tubes. She gave us the very useful tip that it is relatively easy to make a whole load of different colours out of only the primary colours… blue, yellow and red, so there’s no need to buy a whole spectrum of tubes when you’re starting out. It’s also important to buy good quality paints as they give a better look and last longer than student paints.
- Paper – it’s important to use thick, good-quality paper for watercolouring as poorer quality papers have a tendency to buckle. Most good craft shops sell specific watercolour paper.
- Daisy palettes – we had two each – one to mix our warm colours and one to mix our cool colours.
- Pot of water – I had my water in a cute Kilner jar but any reasonably sized pot would work.
- Kitchen roll – this was used in between changing paints to ensure that they didn’t mix badly. Weirdly, I actually liked how my messy kitchen roll looked when all the colours had absorbed into it 🙂
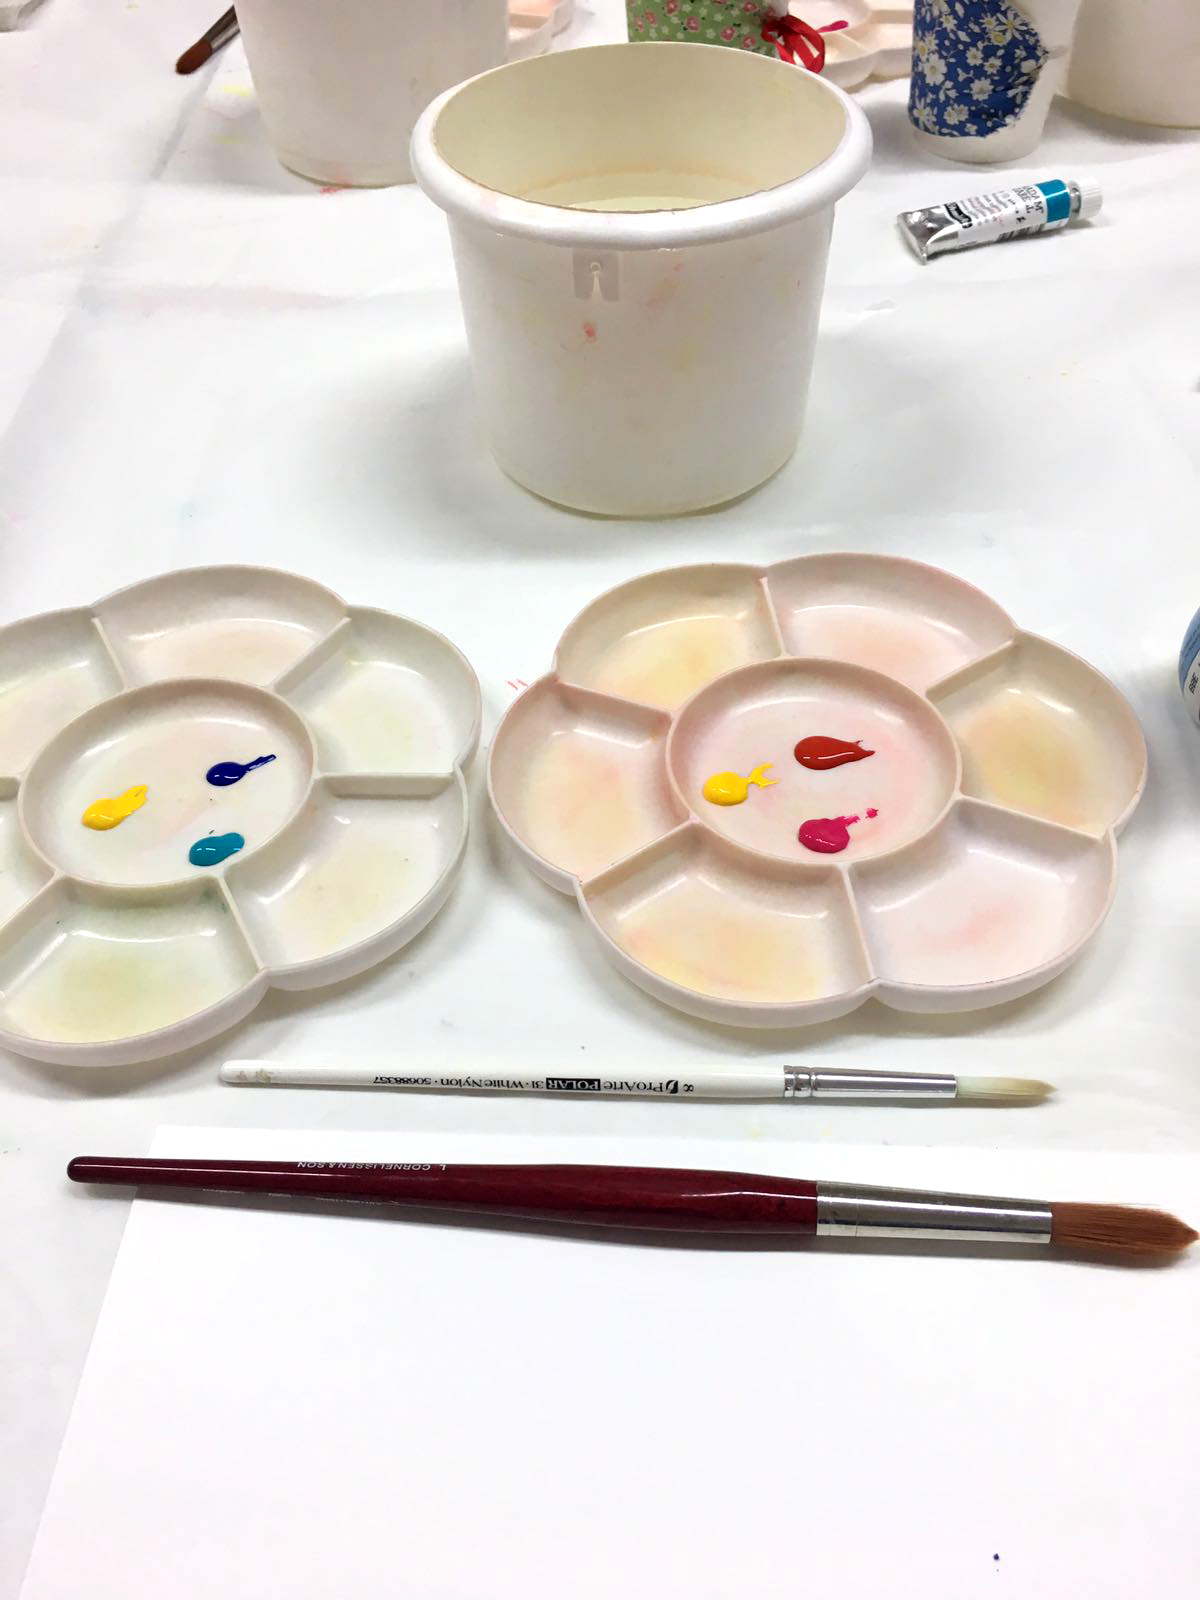
These were a few of the tools we had in our watercolour workshop… brushes, paper, palettes, water and paints.
Once we’d learnt what was what, we went onto a few watercolour exercises, to help us get into the groove…
Watercolouring Exercises:
– Brush Experimentation:
Our very first experiment was to get used to the brush and the pressure needed to create thinner or thicker lines. We also had a go at using the brush head to create leaf shapes and I was particularly pleased with how my leaf stem and comets turned out. Here were our first forays into watercolouring…
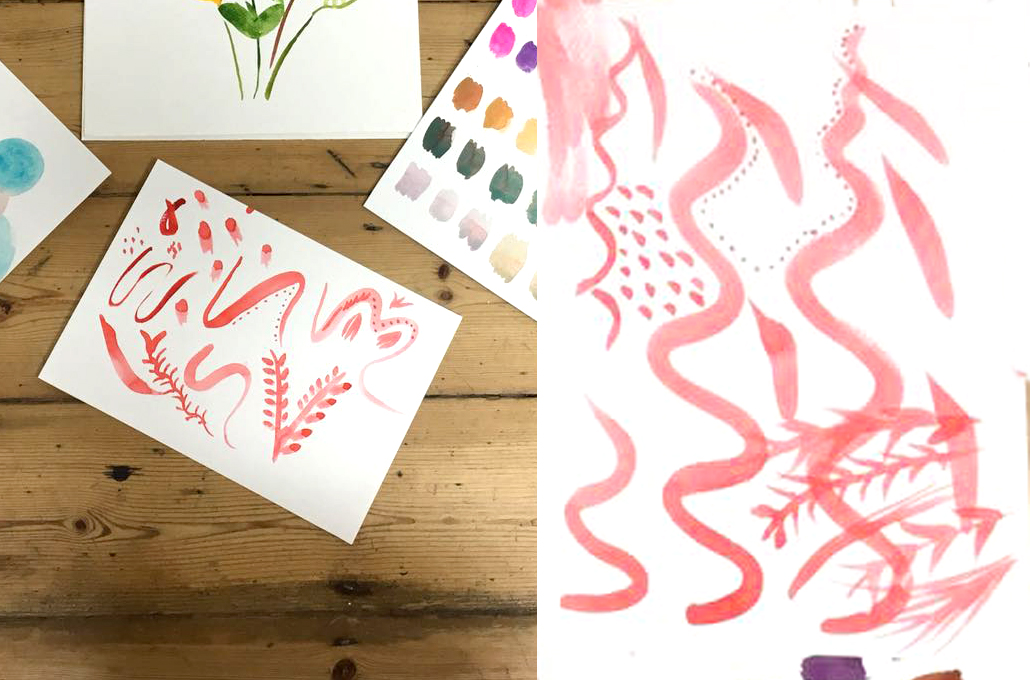
We spent around five minutes getting used to the pressure needed to create thinner and thicker lines with the brush. My experimentation is on the left and my friend Kate’s is on the right. Even at this stage, it was becoming obvious that we both had distinctly different styles…
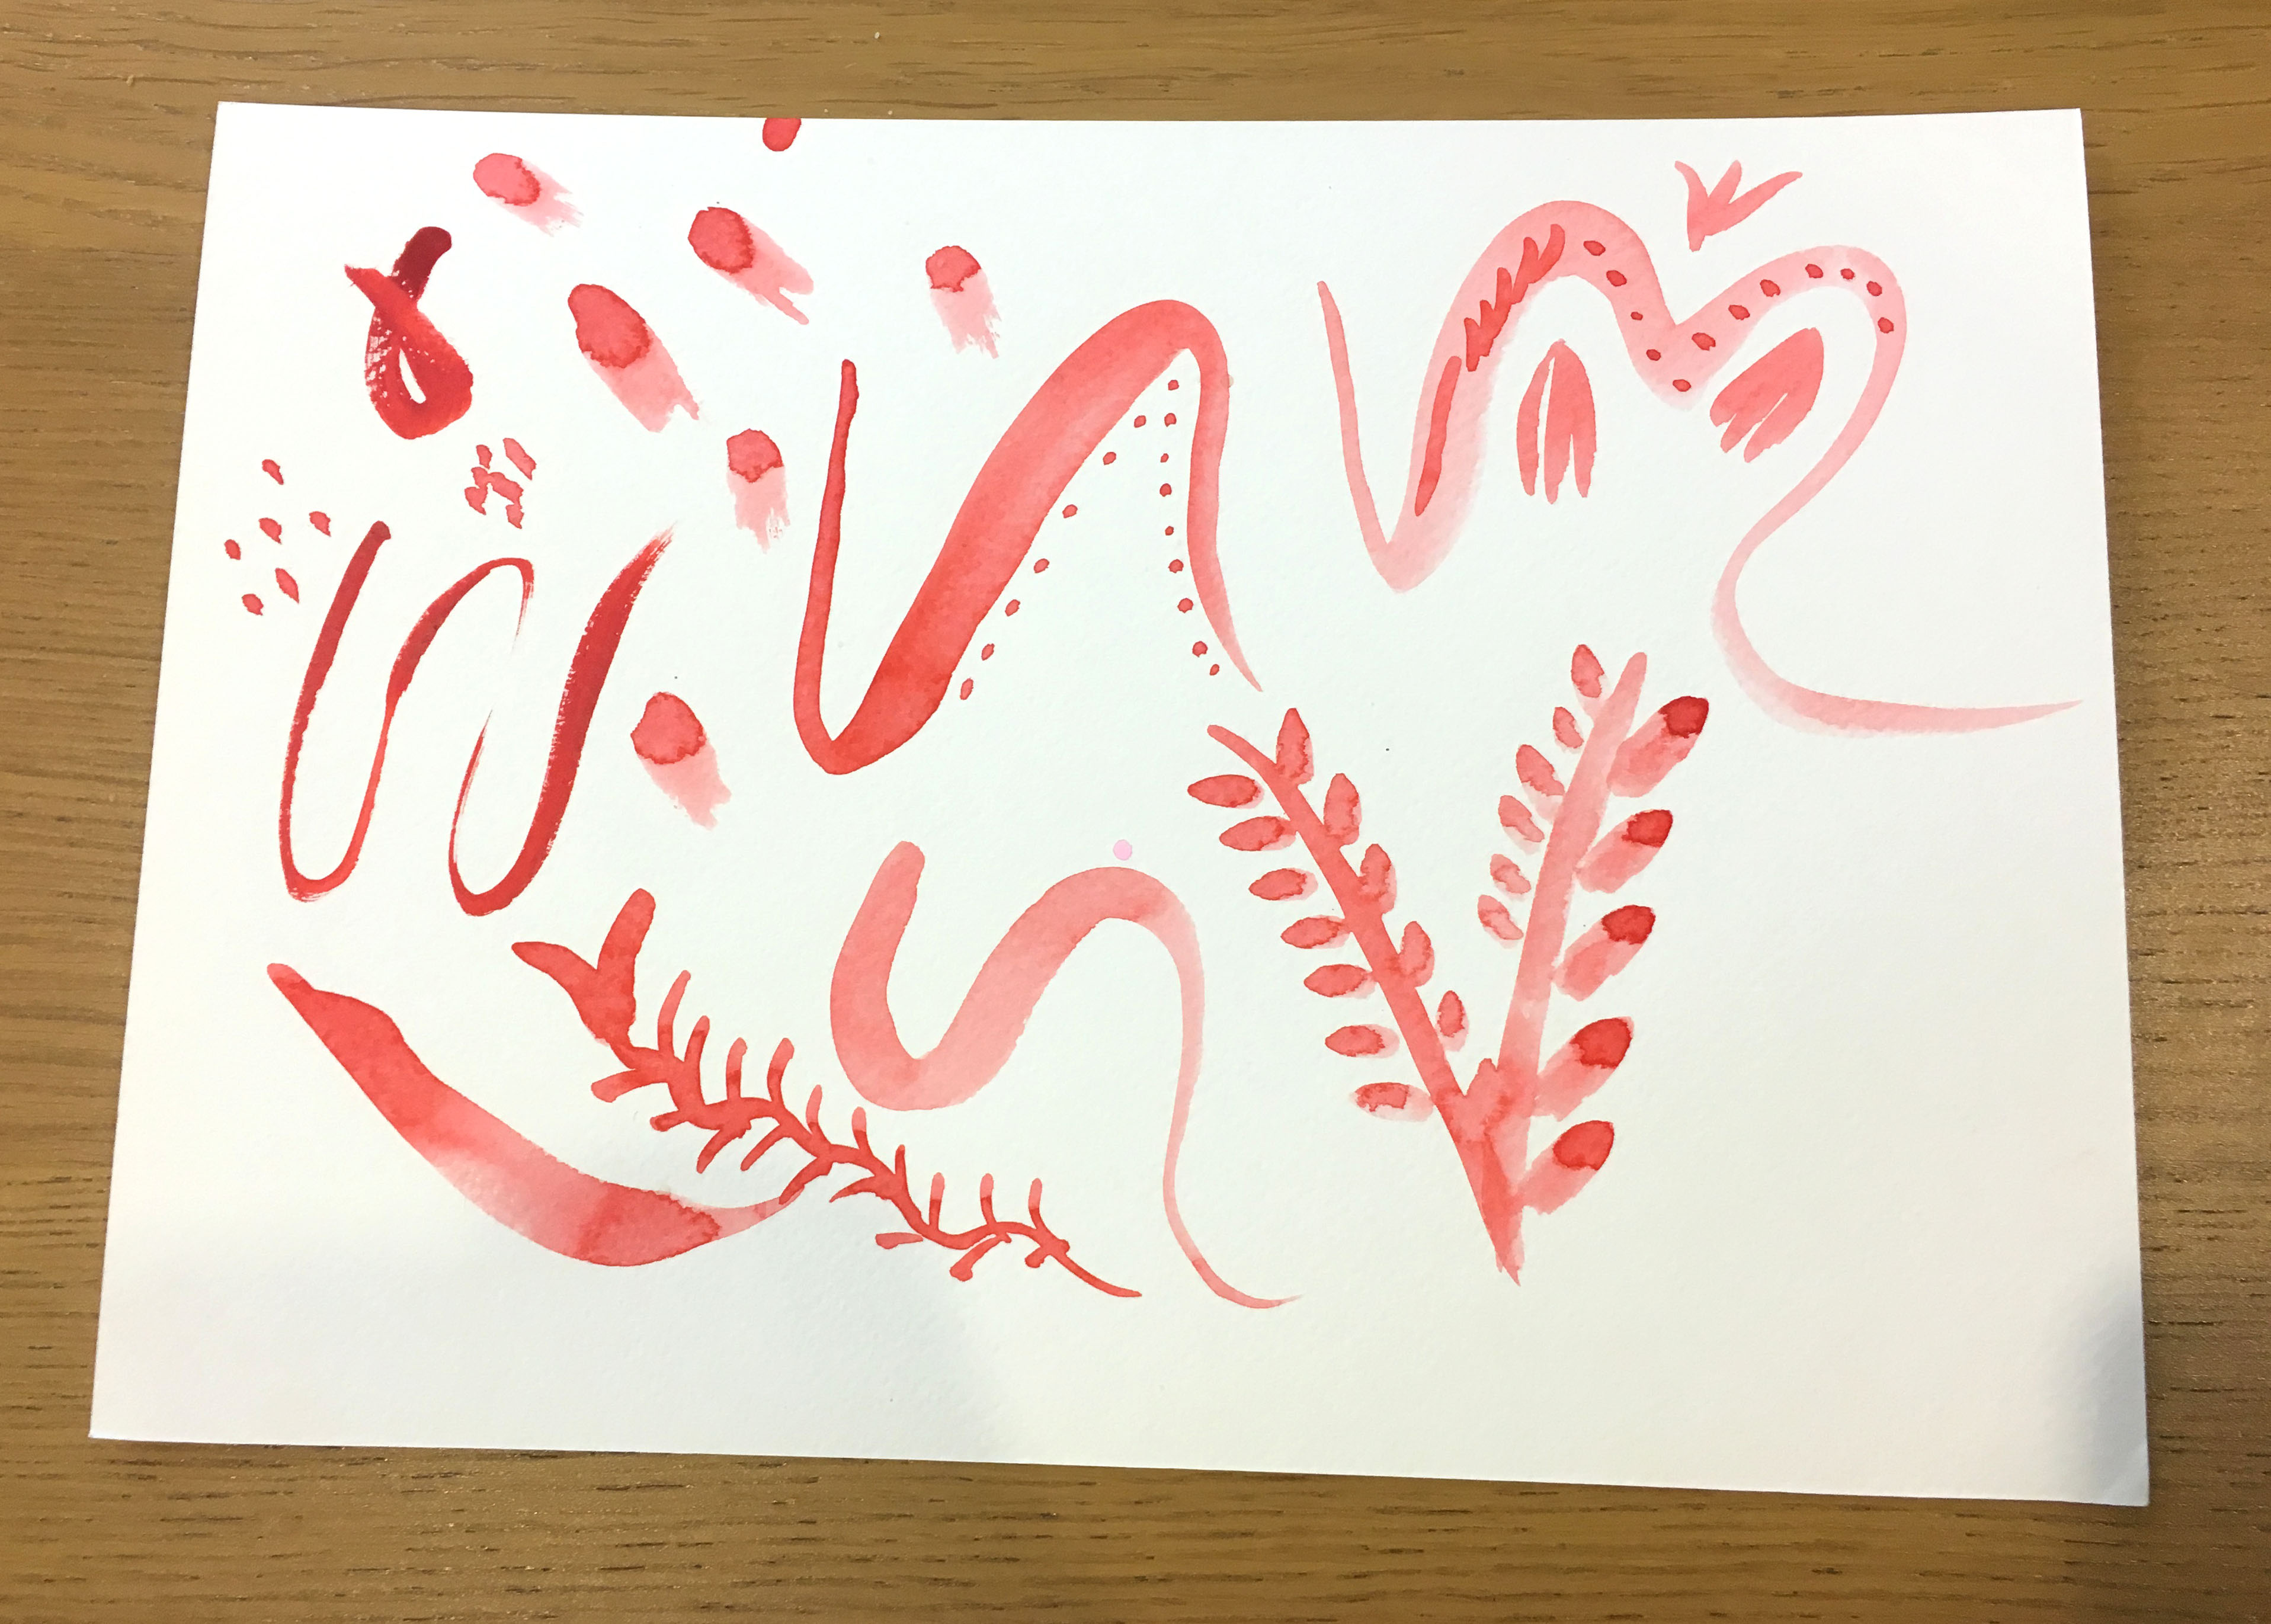
It was quite good fun just letting go and seeing what happened with the brush.
– Colour Experimentation:
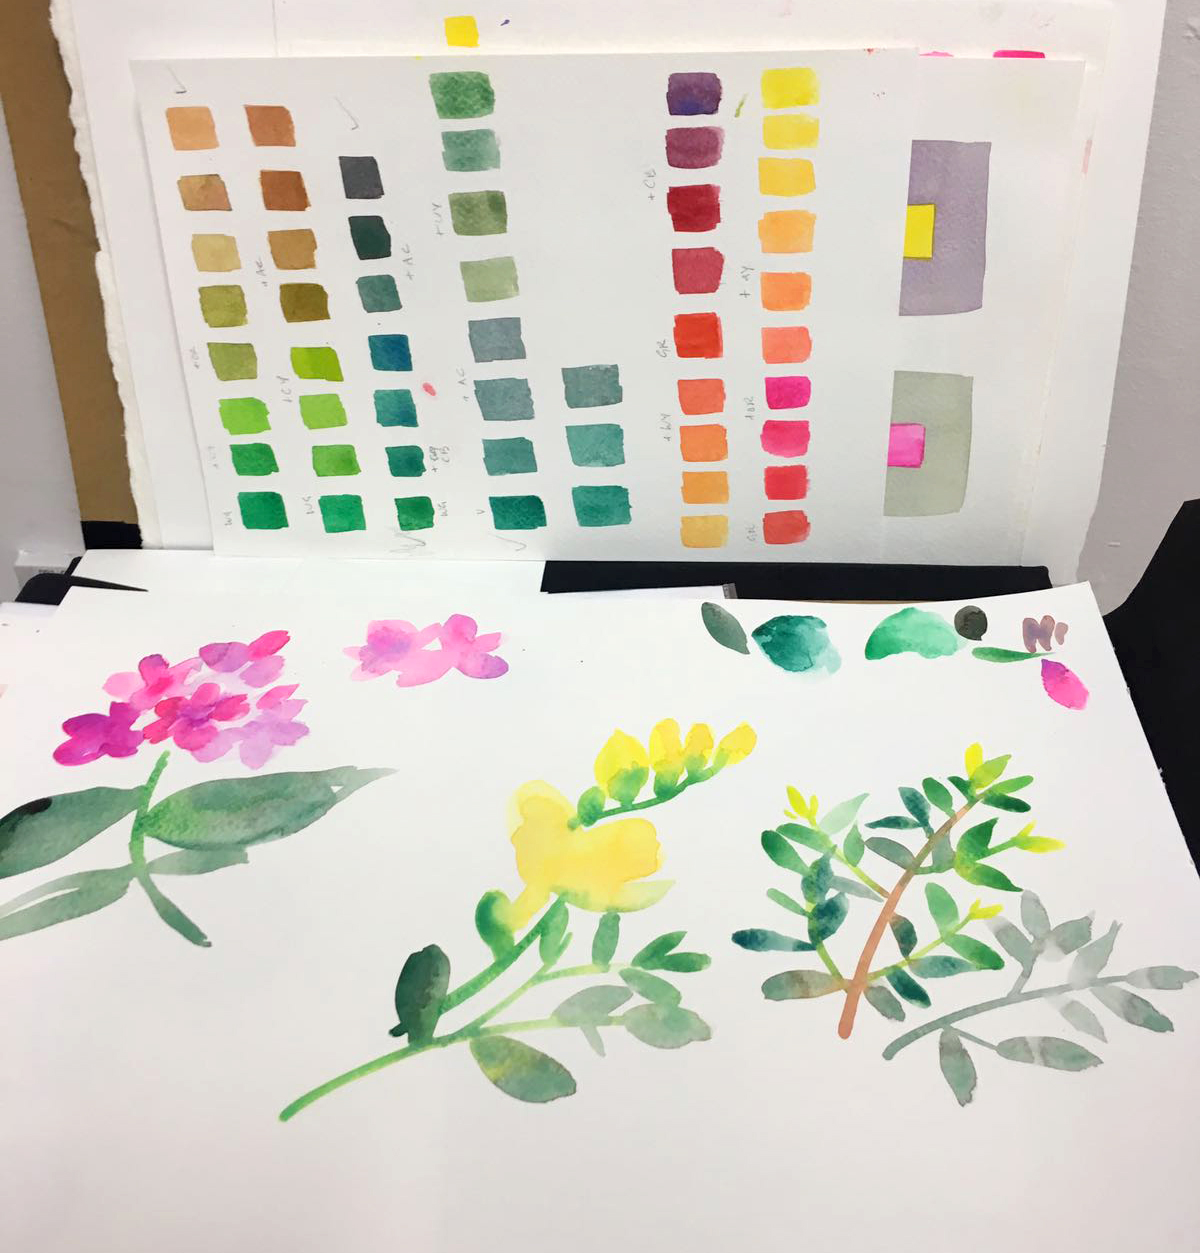
Next, Michelle taught us how to mix our blue, red and yellow paints together to create a spectrum of different colours. We also practiced transitioning to different shades of the same colour and increasing the amount of water on the brush to increase or decrease the opacity:
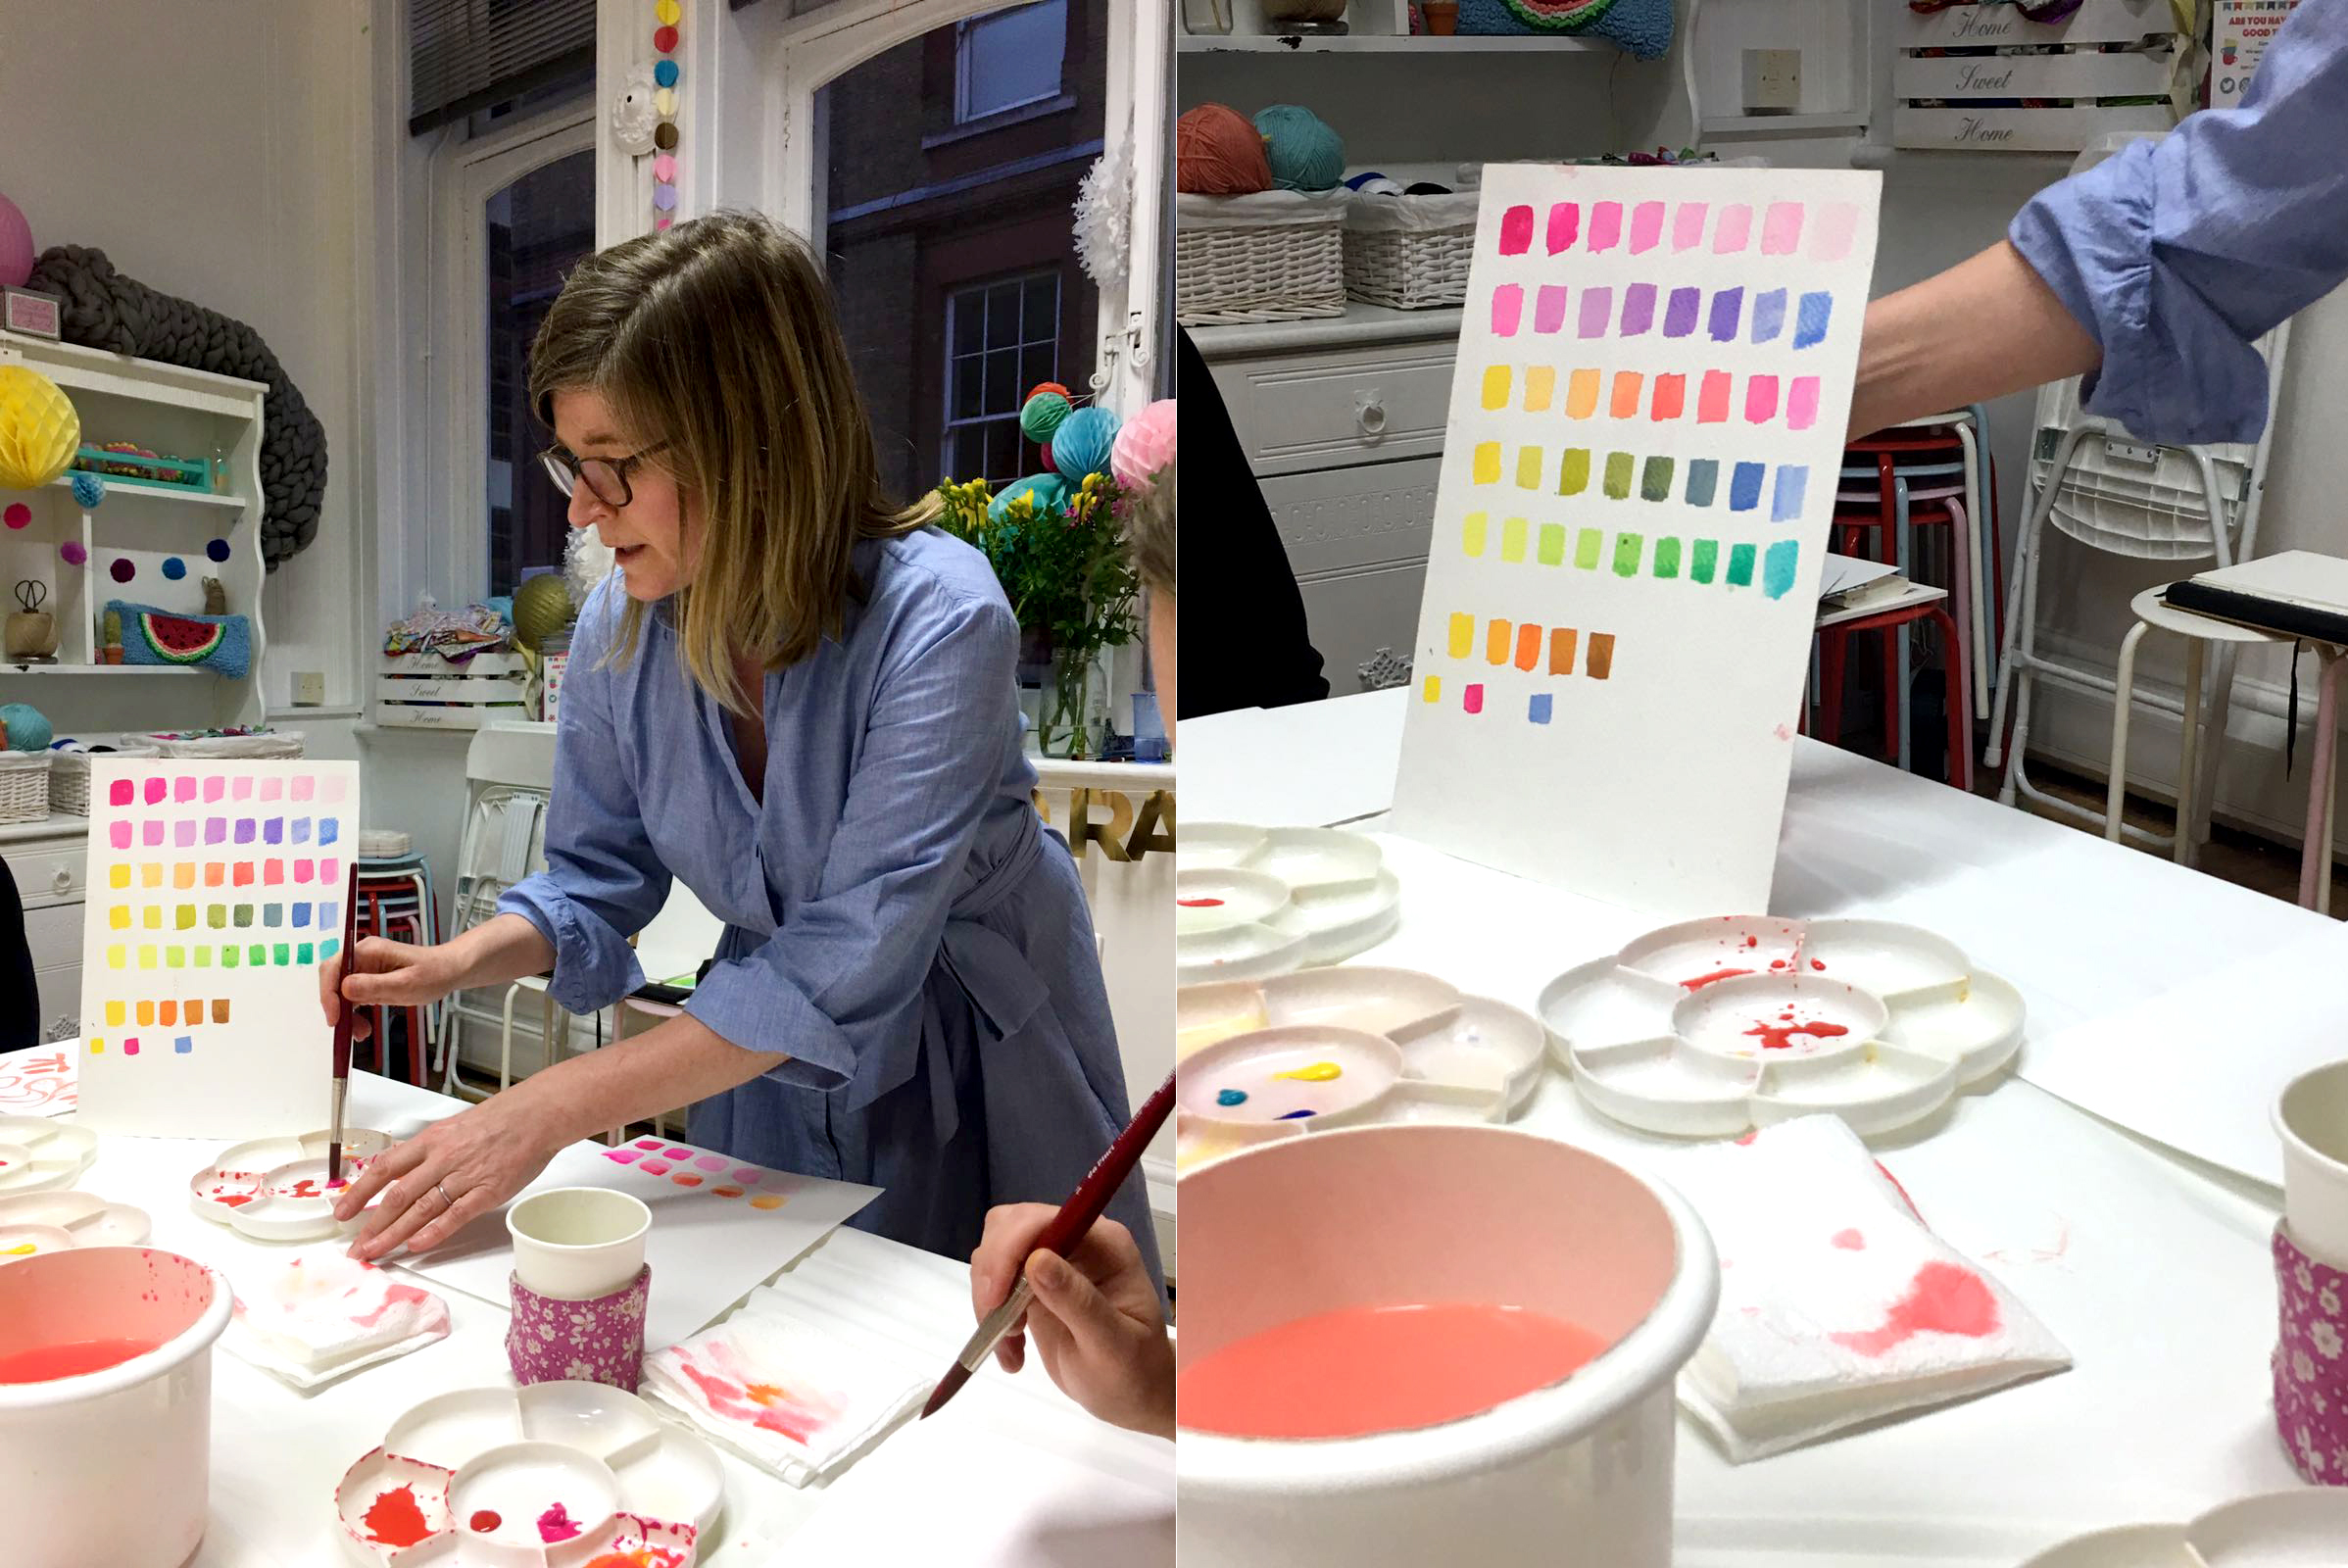
Our watercolour teacher Michelle said she could spend hours making these cute watercolour charts. I think they’d look lovely as a birthday card with calligraphy on top 🙂
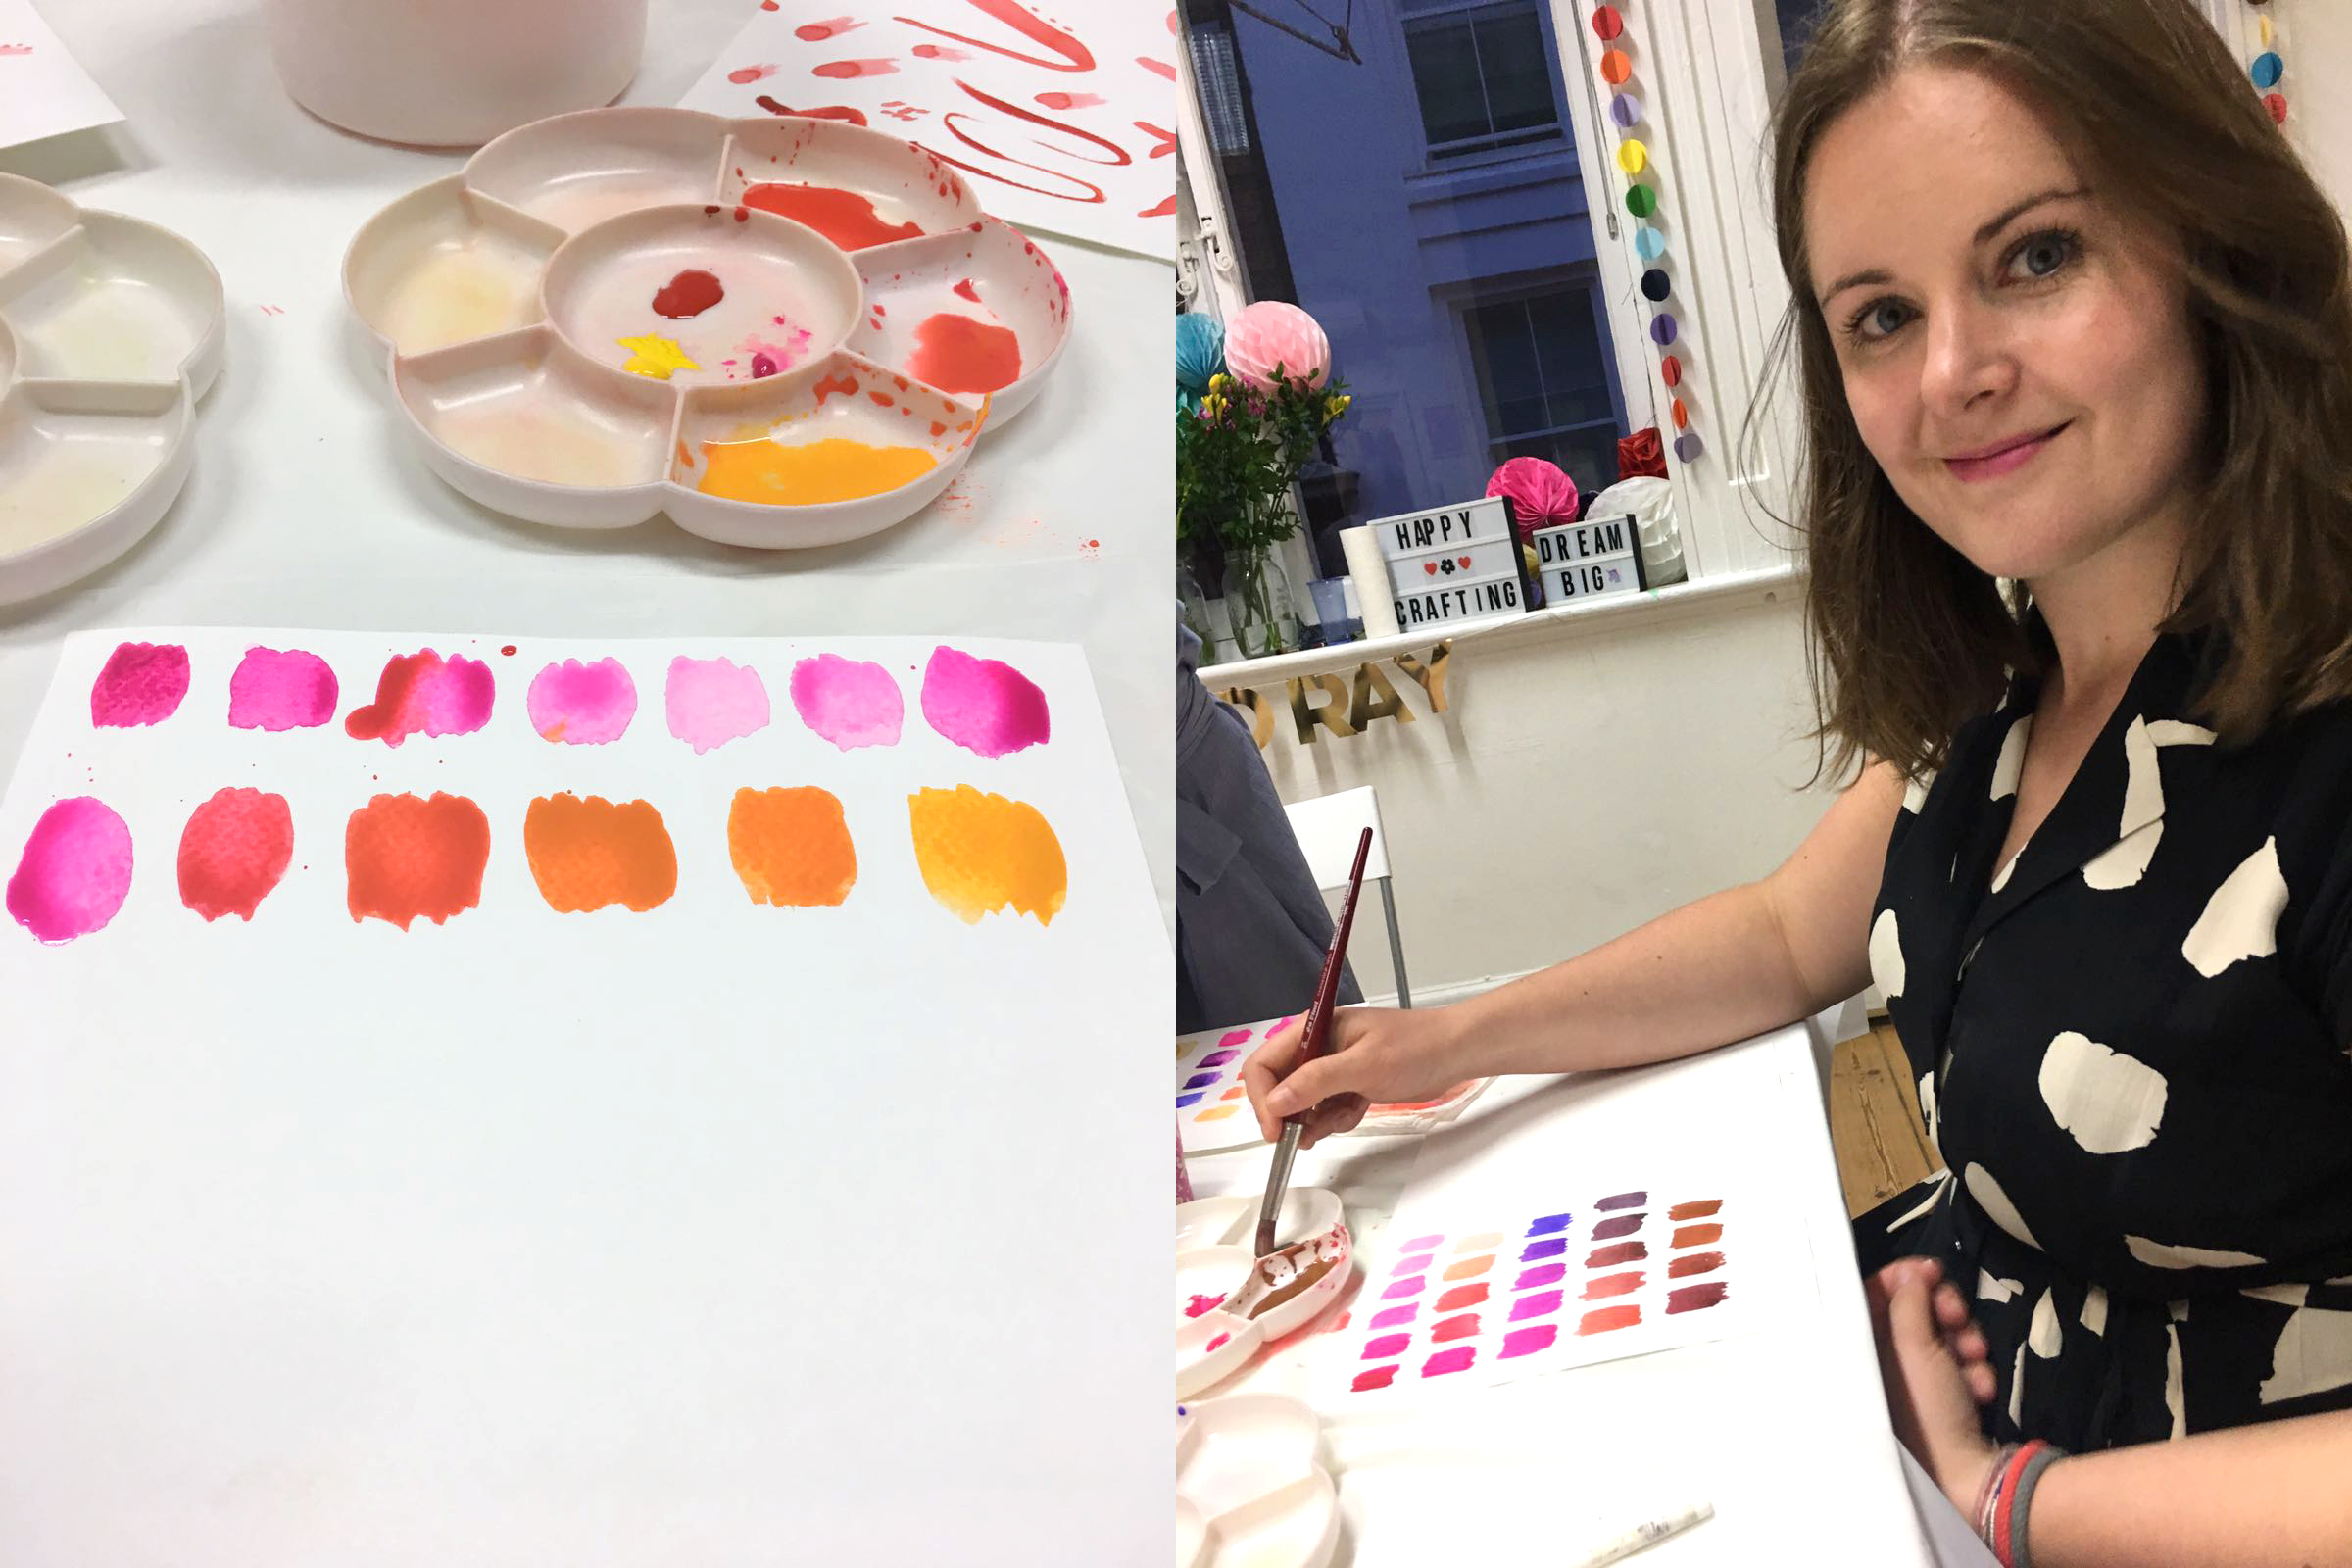
Here you can see mine and Kate’s colour charts being built up….
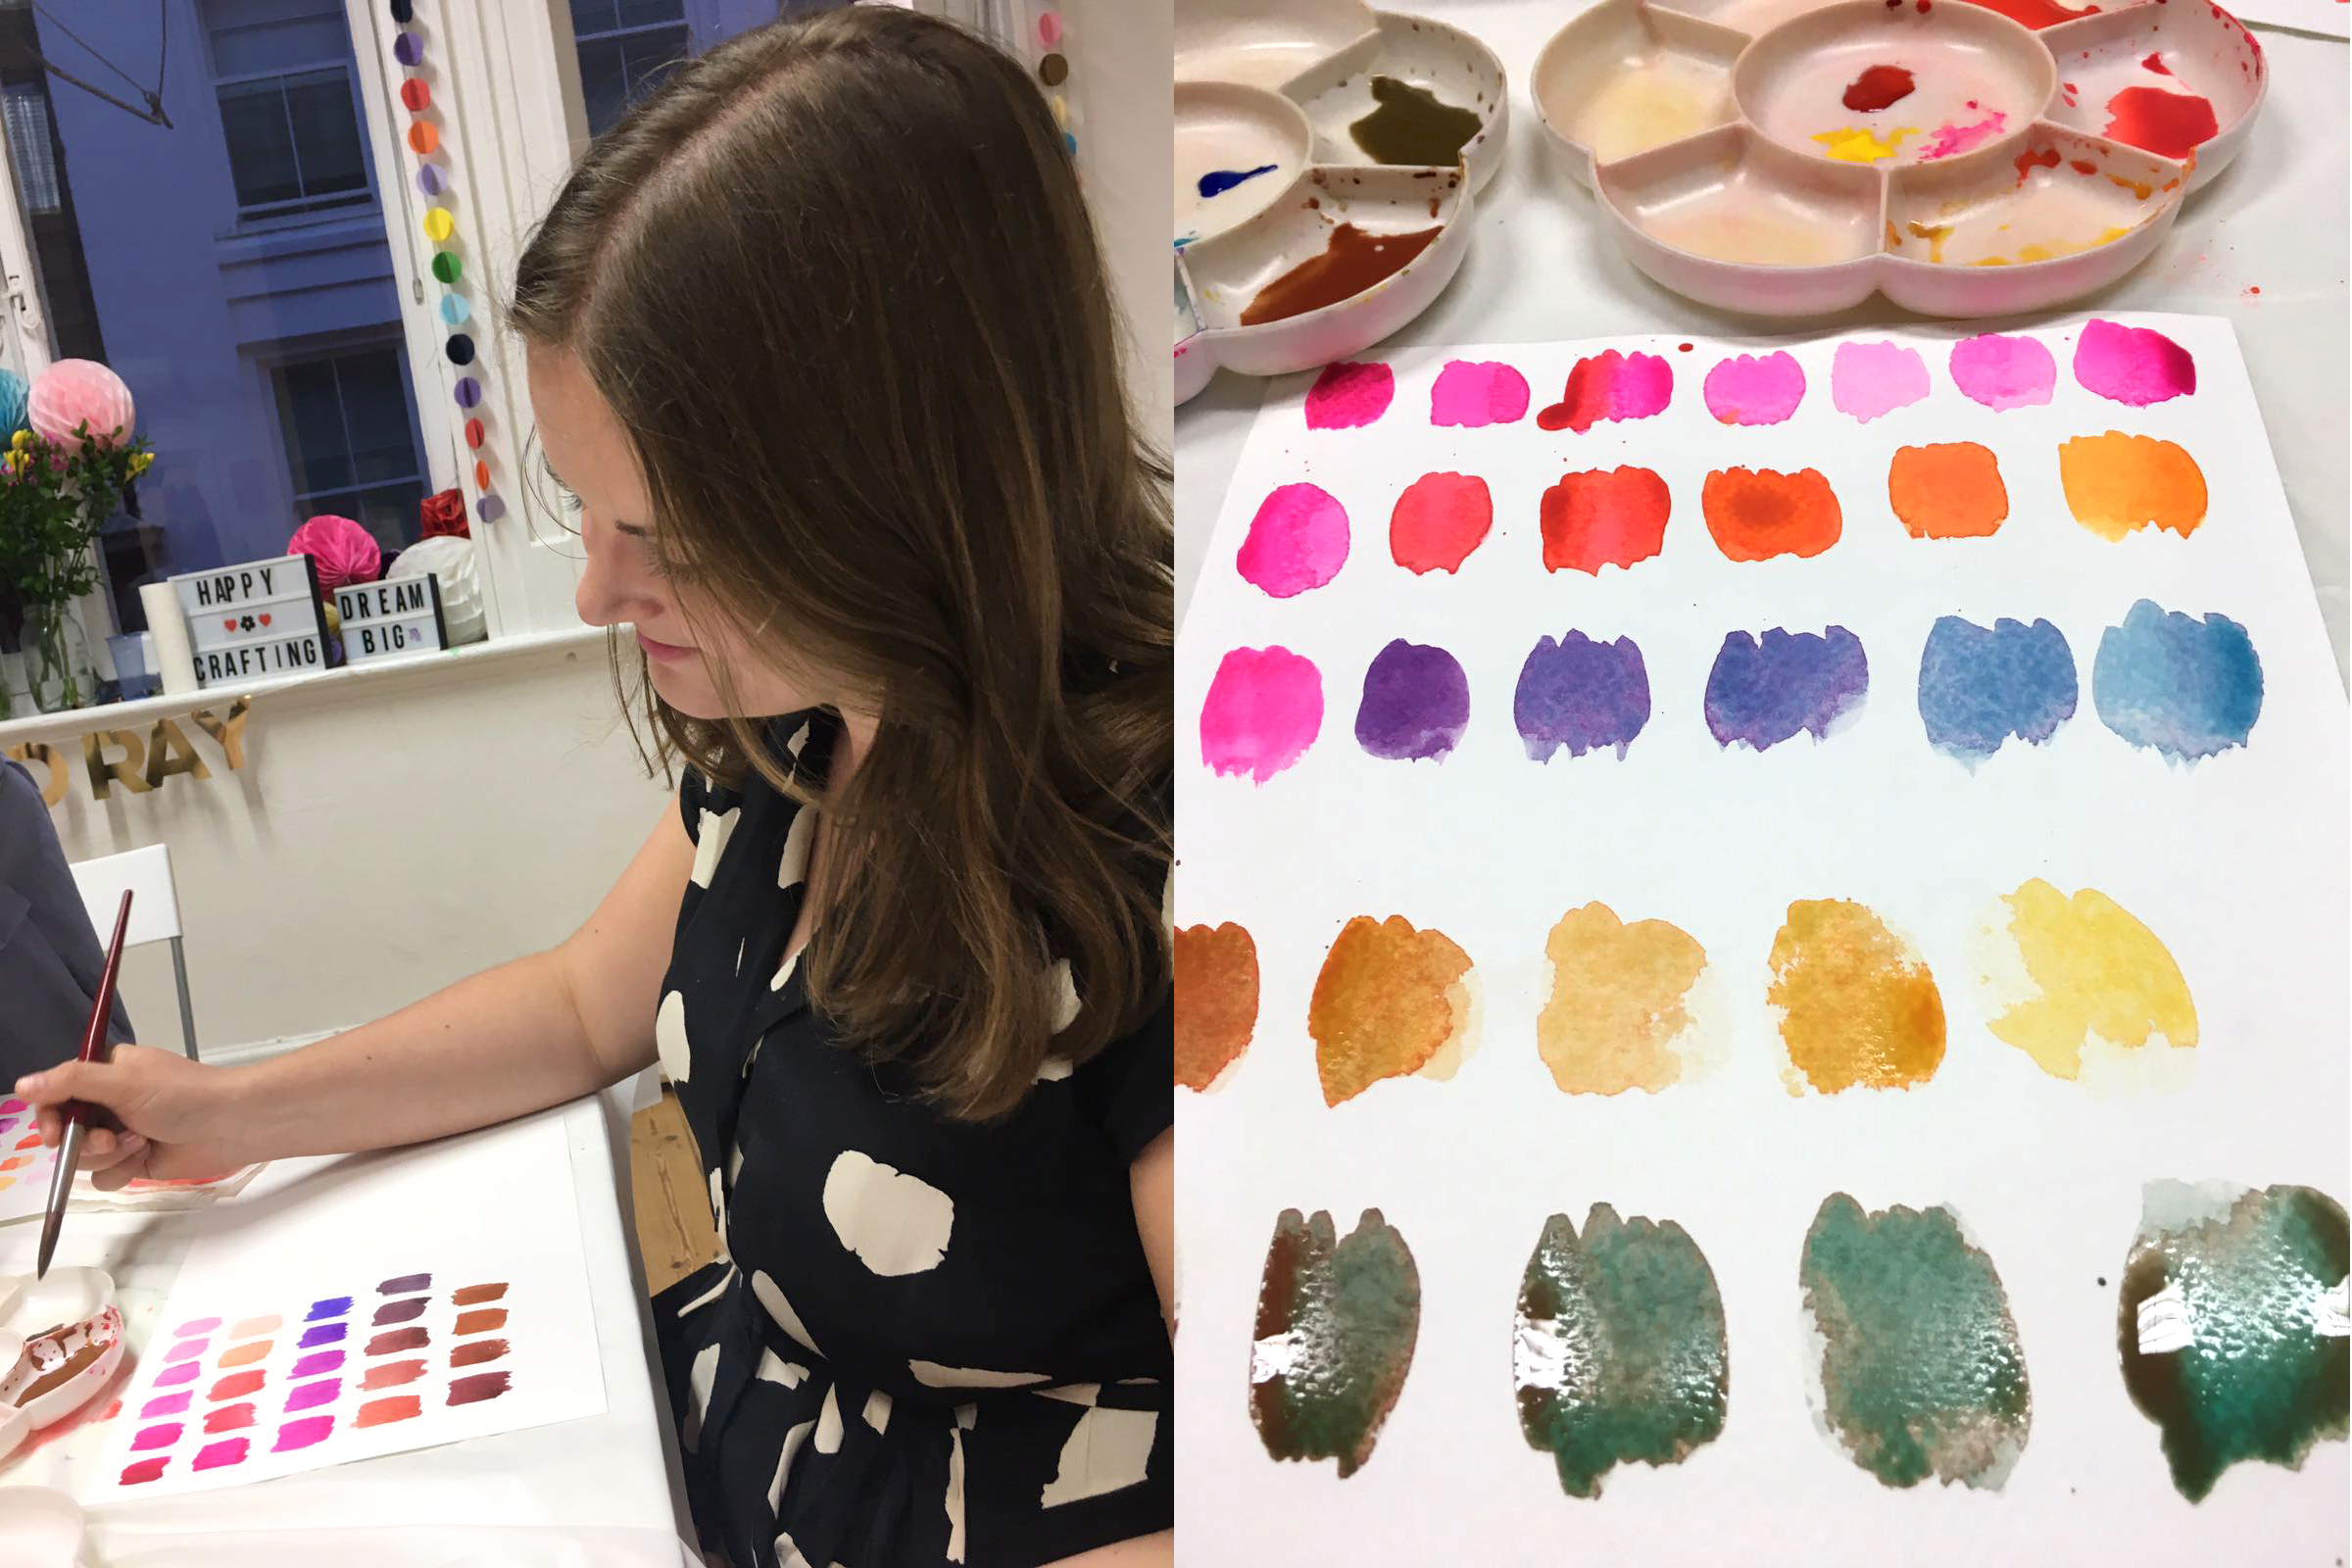
Kate managed to experiment her way all the way to green whereas I never made it past the browns and greys!
– Blending Experimentation:
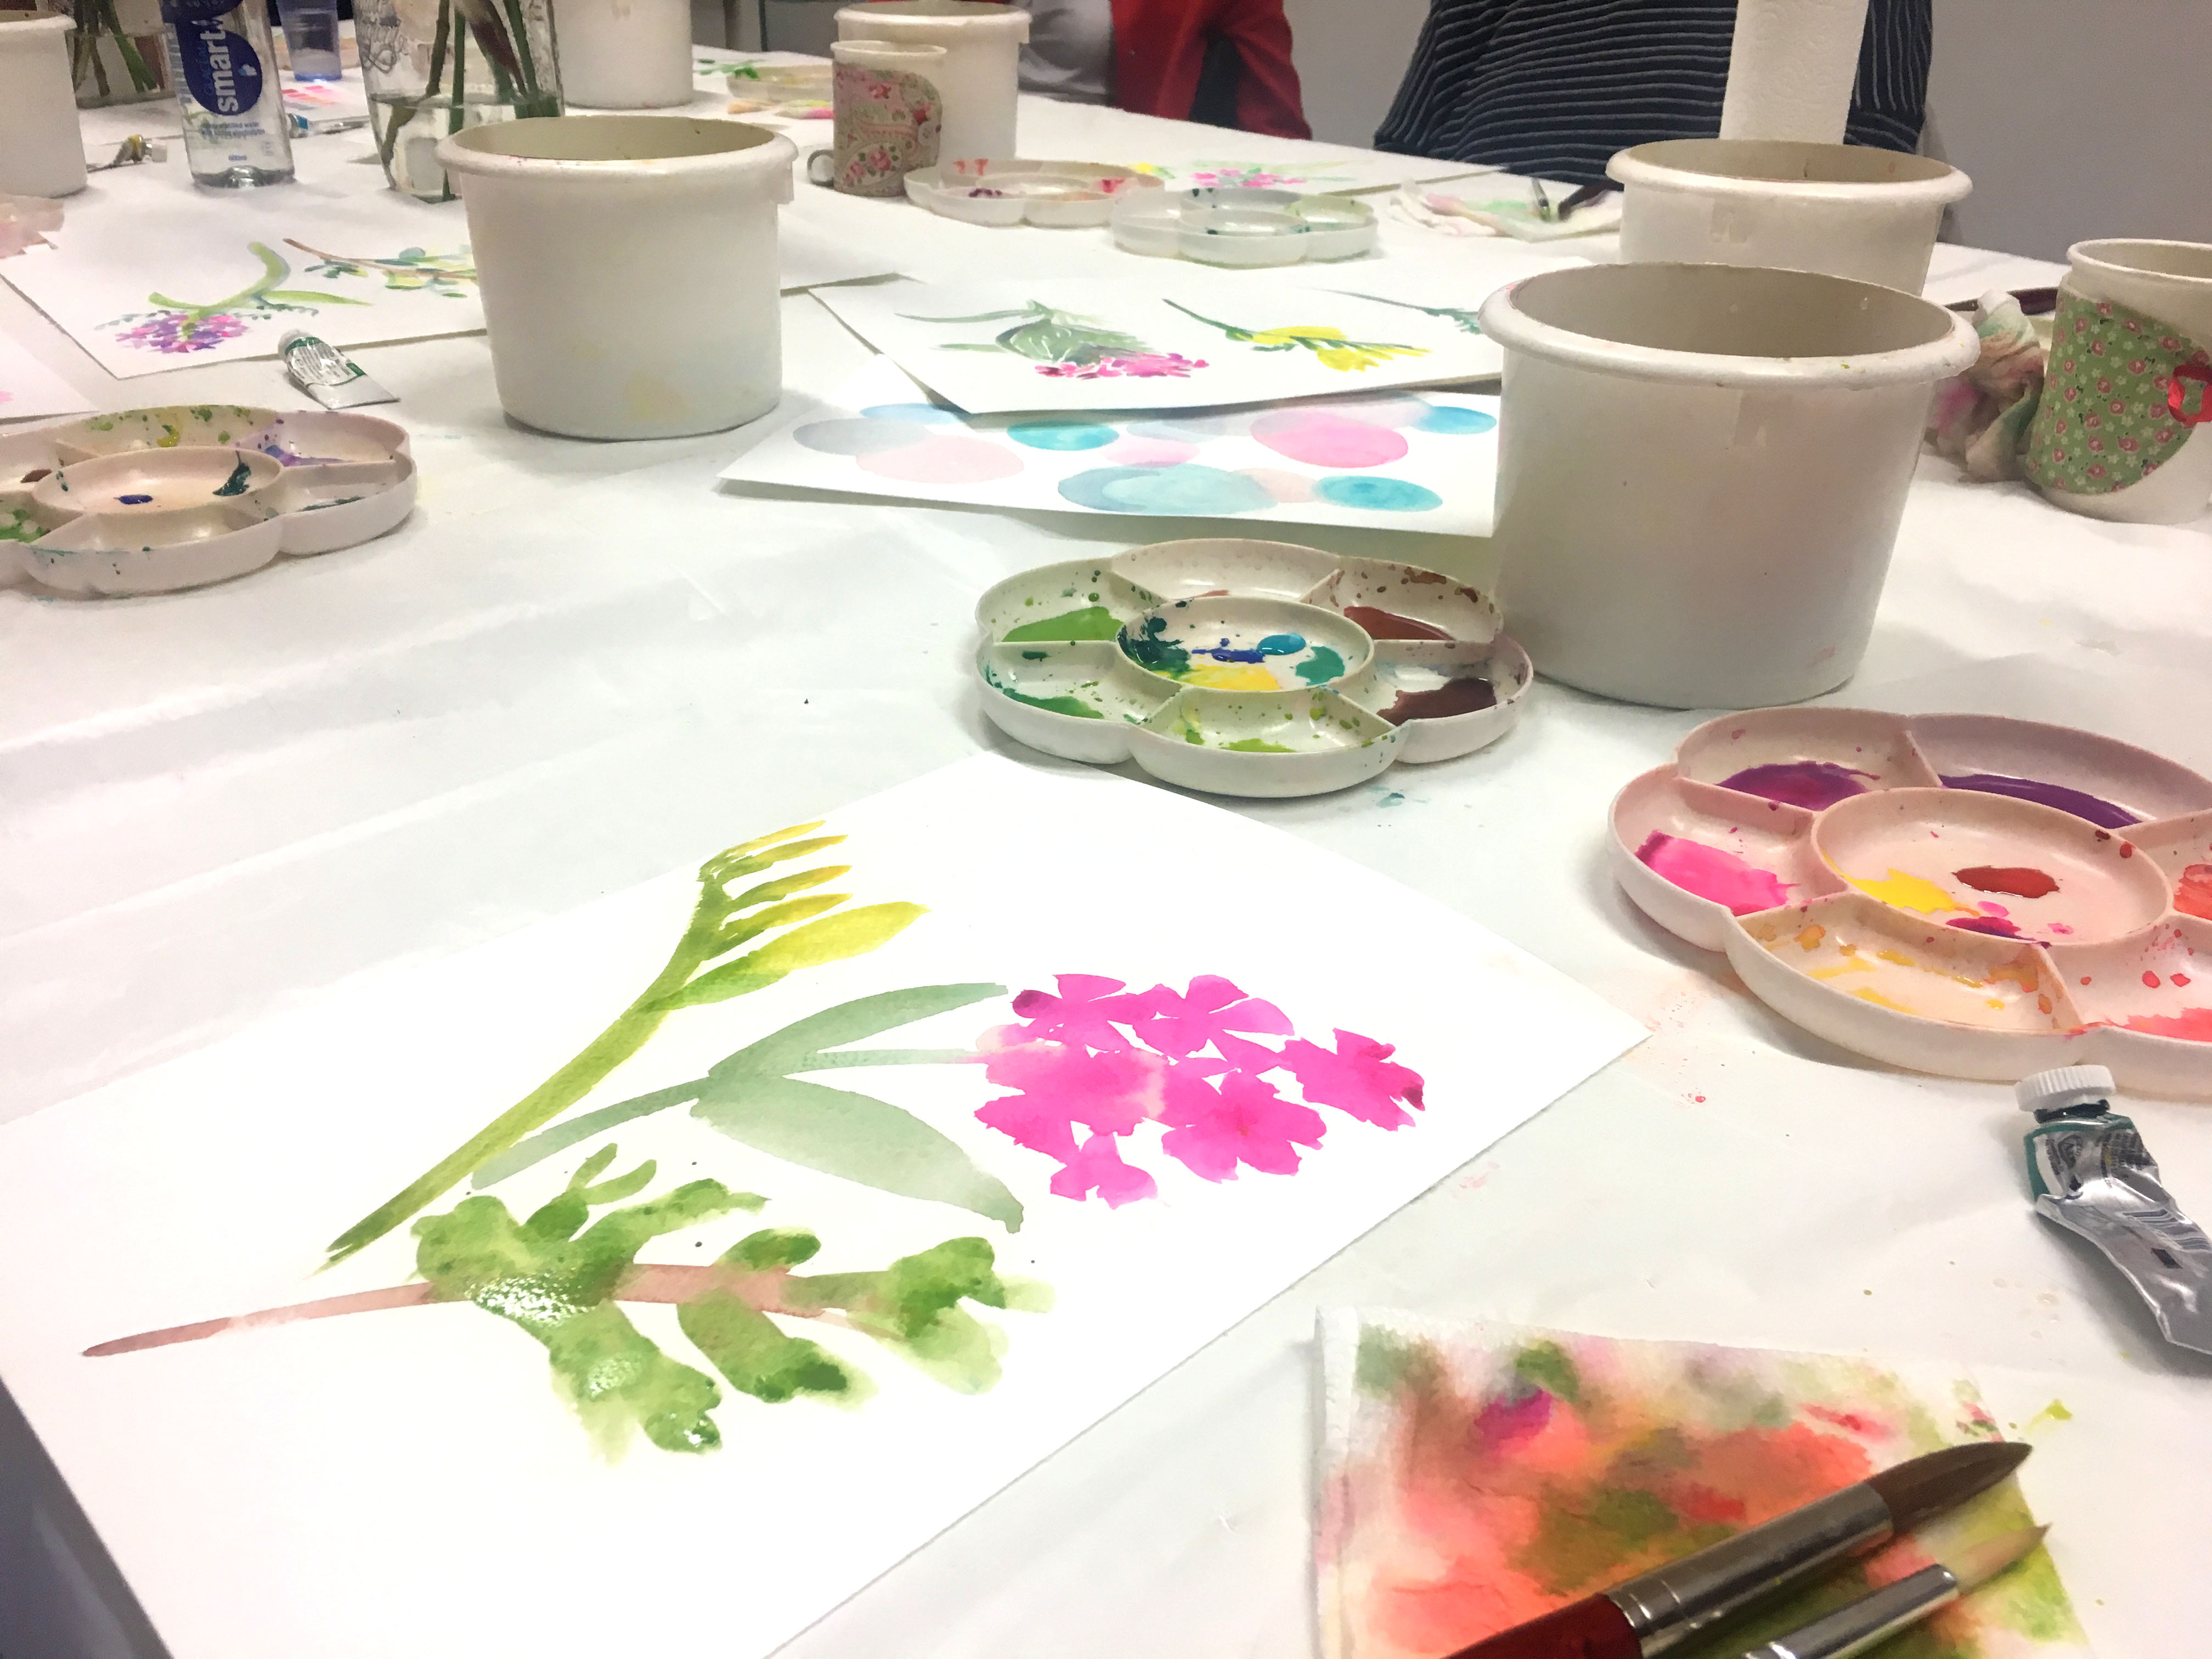
One of Michelle’s favourite exercises for getting to grips with watercolour painting, is to create an A4 sheet of circles. She asked us to mix a series of different colours that we felt complemented each other in our daisy trays. We then filled a piece of paper with circles of different sizes using our large brush. Where the circles joined, they would blend together slightly to create a gorgeous mottled effect. We also played around with shading the edges of certain circles and Kate overlapped a few of hers…
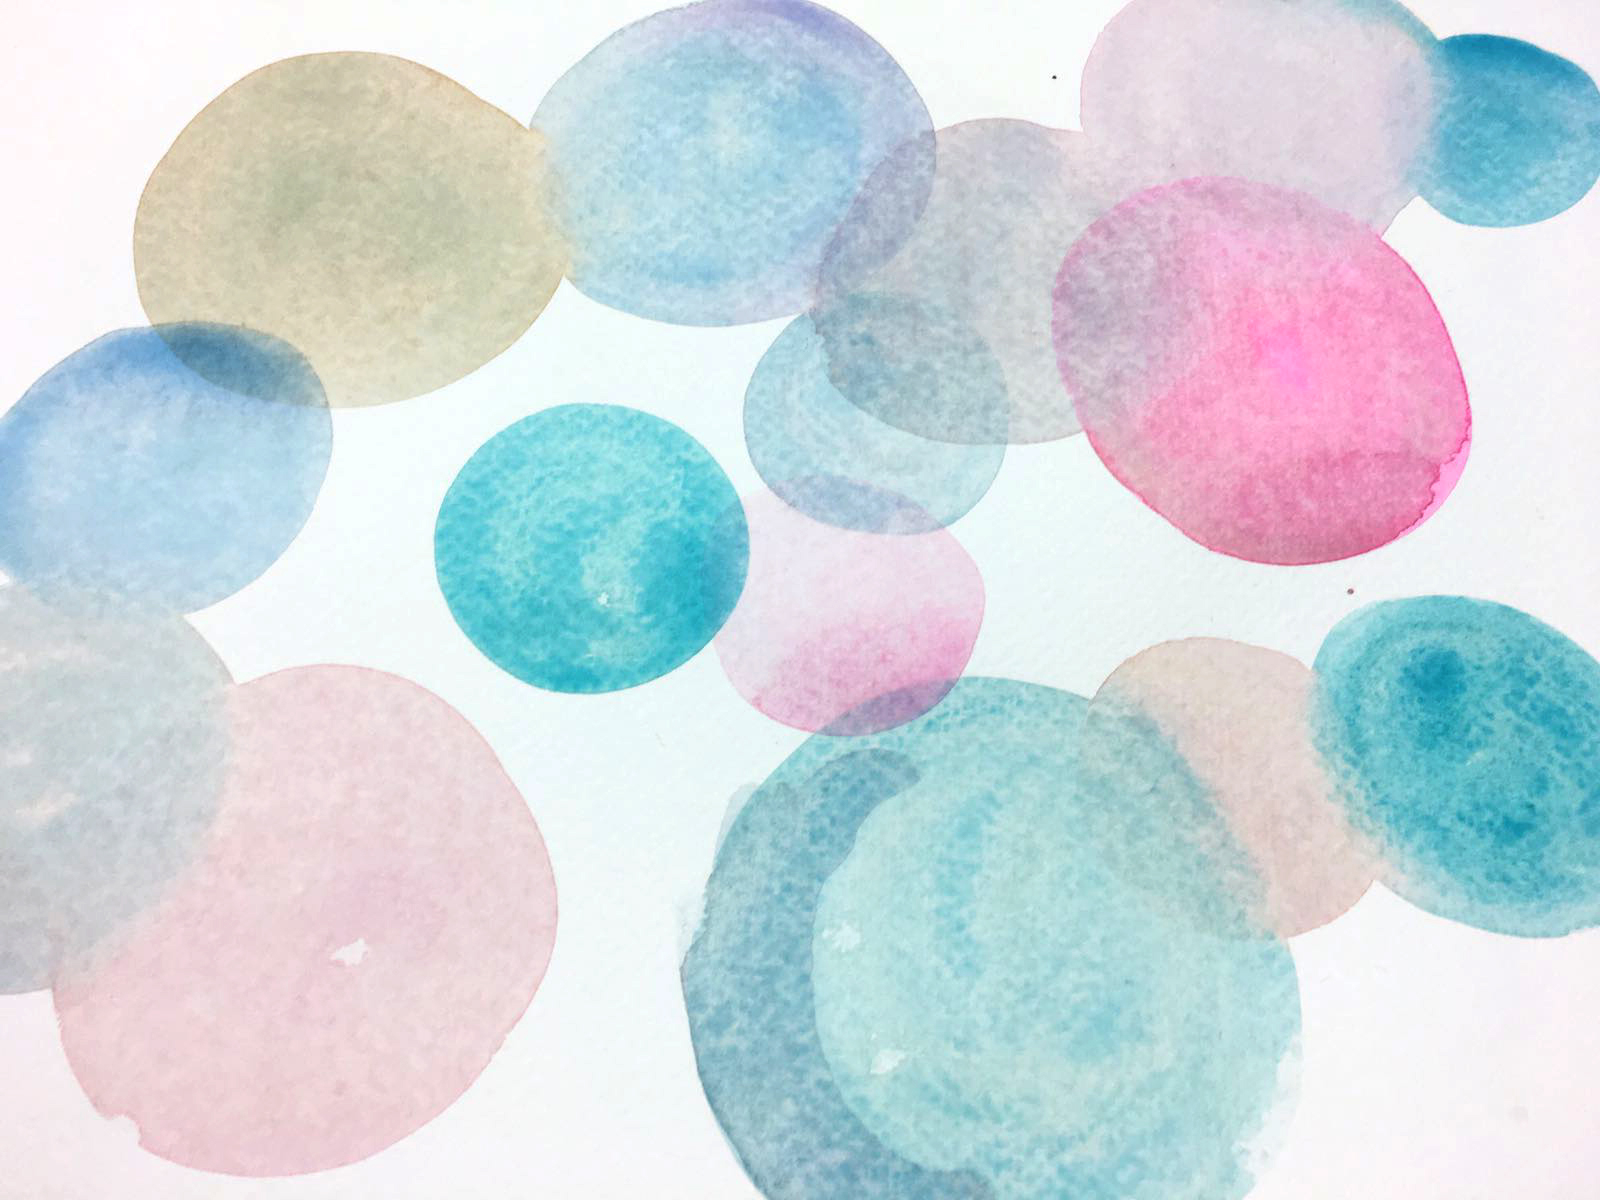
These were Kate’s watercolour circles. I particularly like the shading on the blue circle at the bottom.
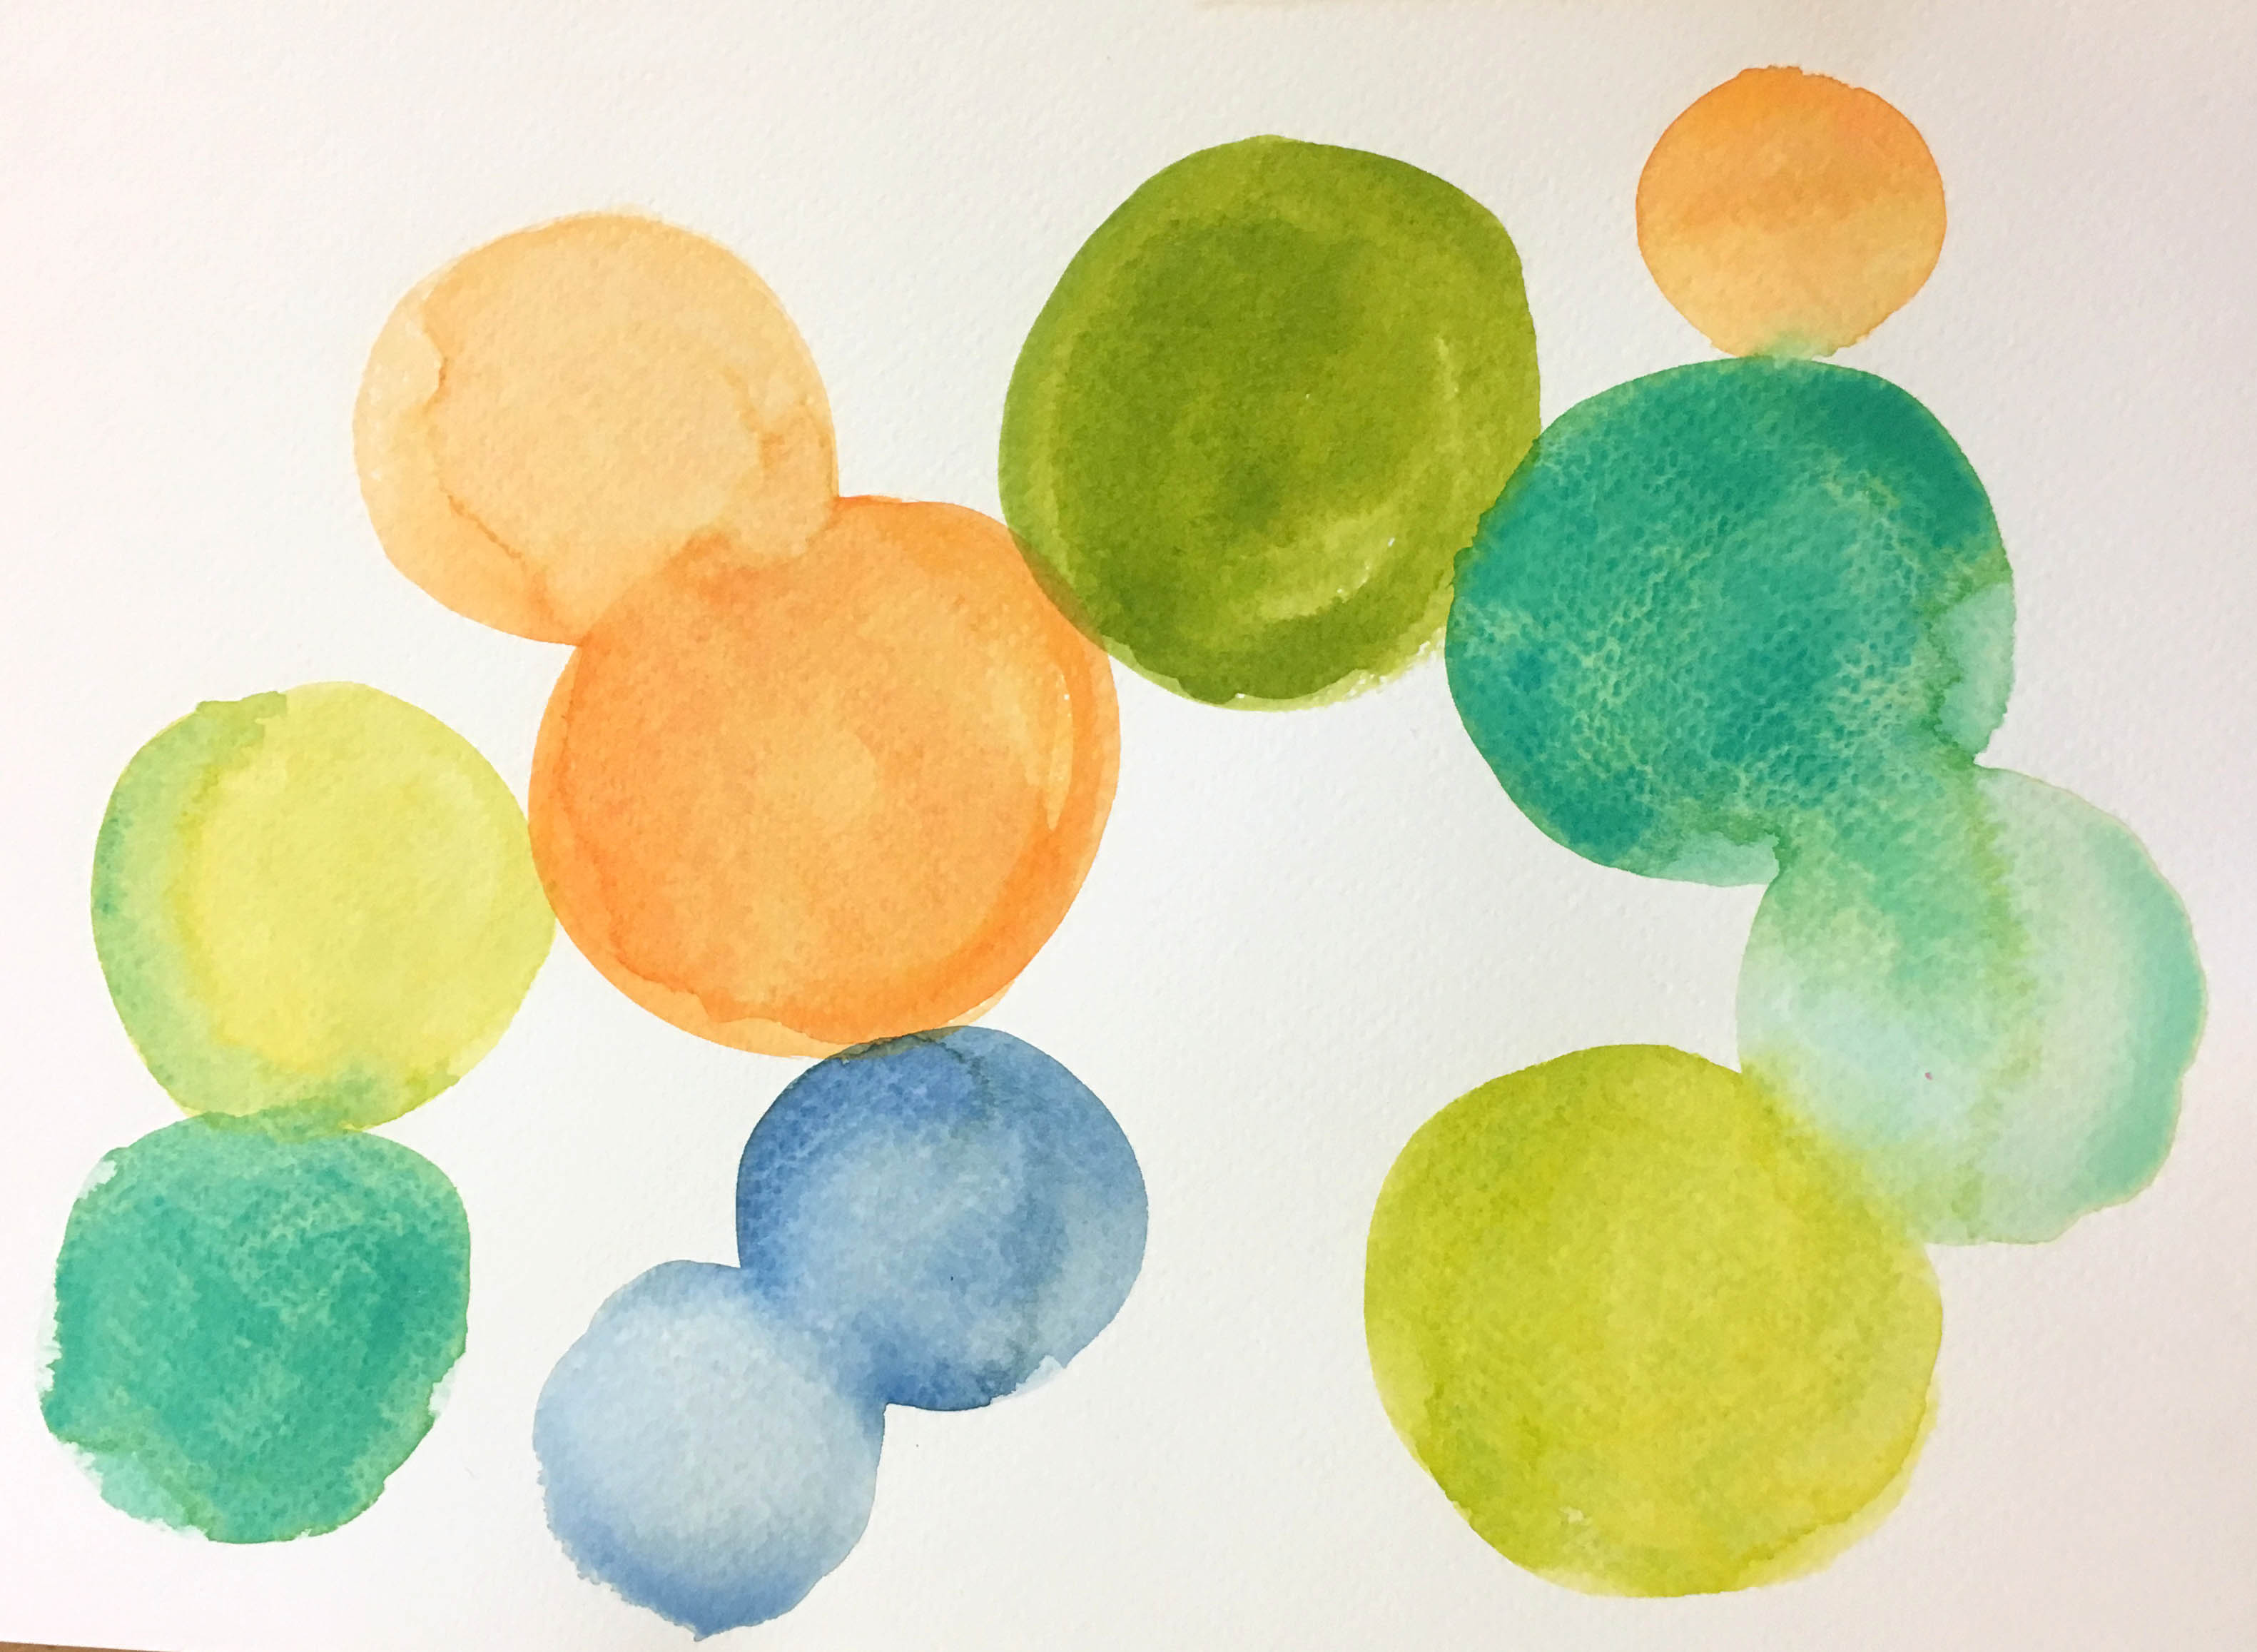
And I chose a completely different colour scheme of greens and yellows and blues…
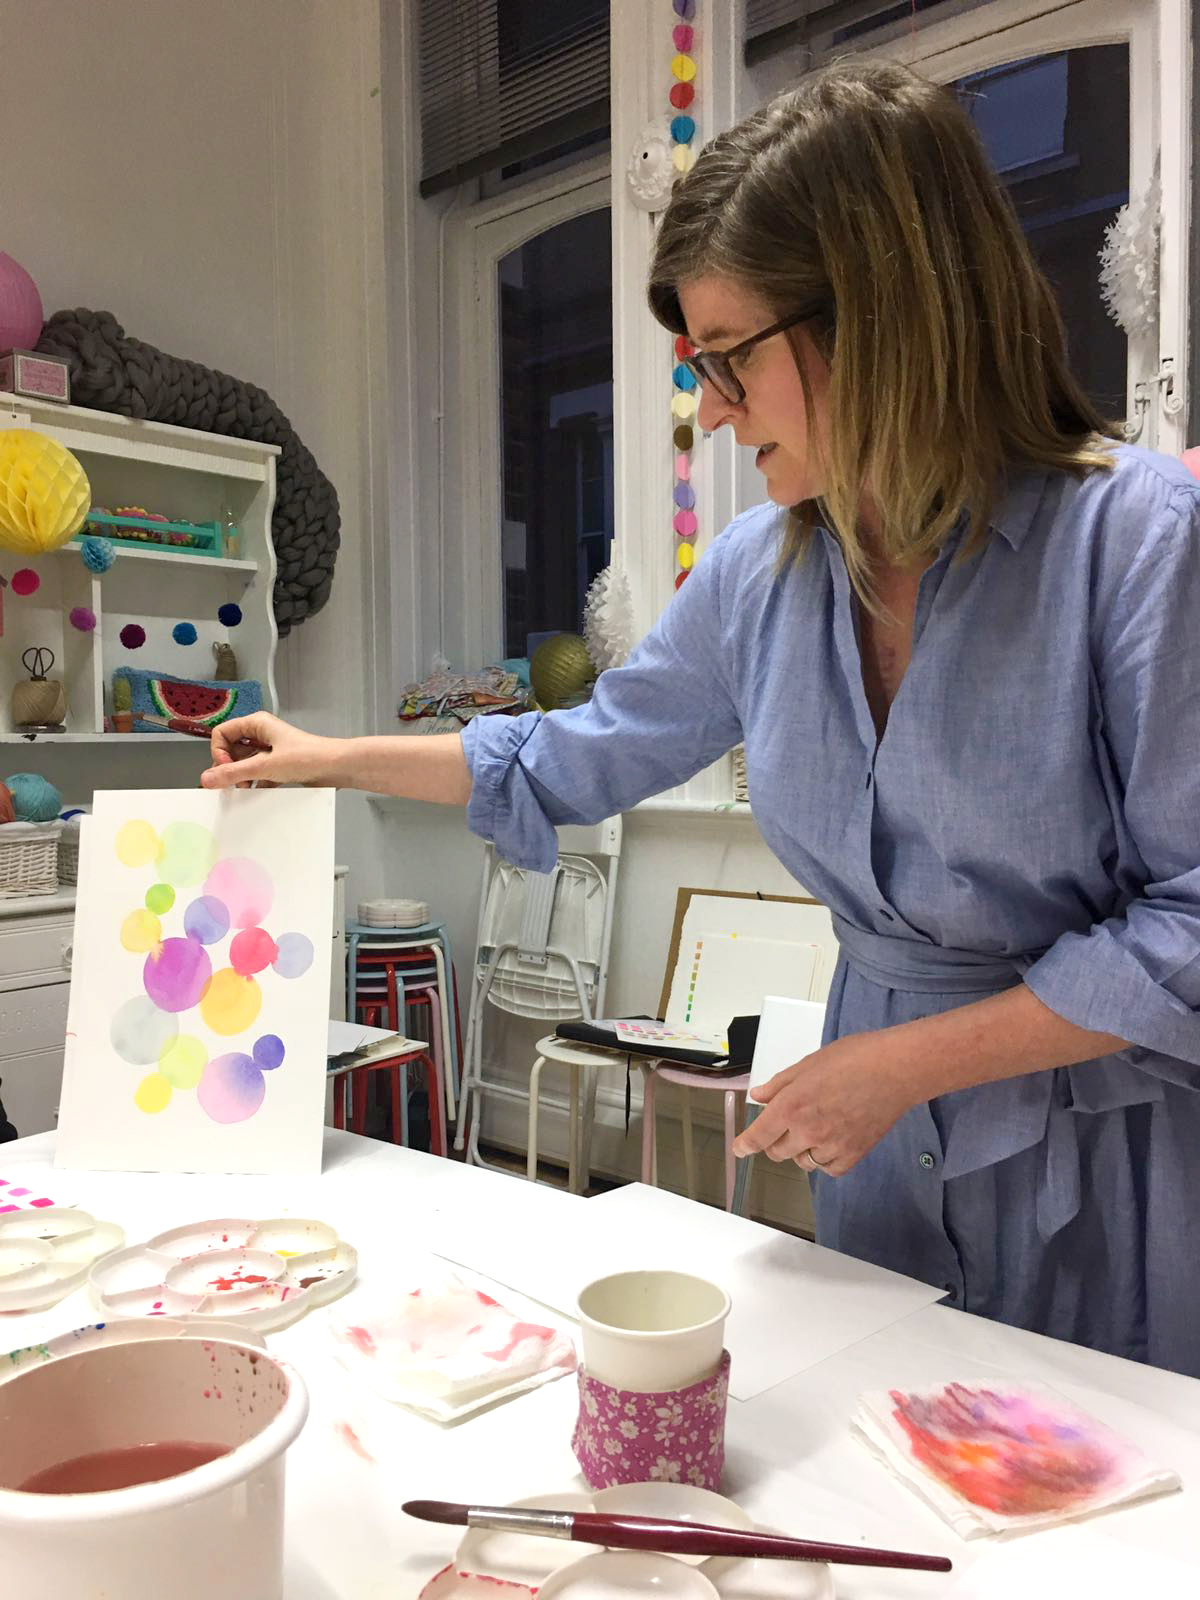
Our watercolour teacher Michelle showing us how to blend our circles together. My aforementioned colourful kitchen roll in the foreground!
Flower Painting:
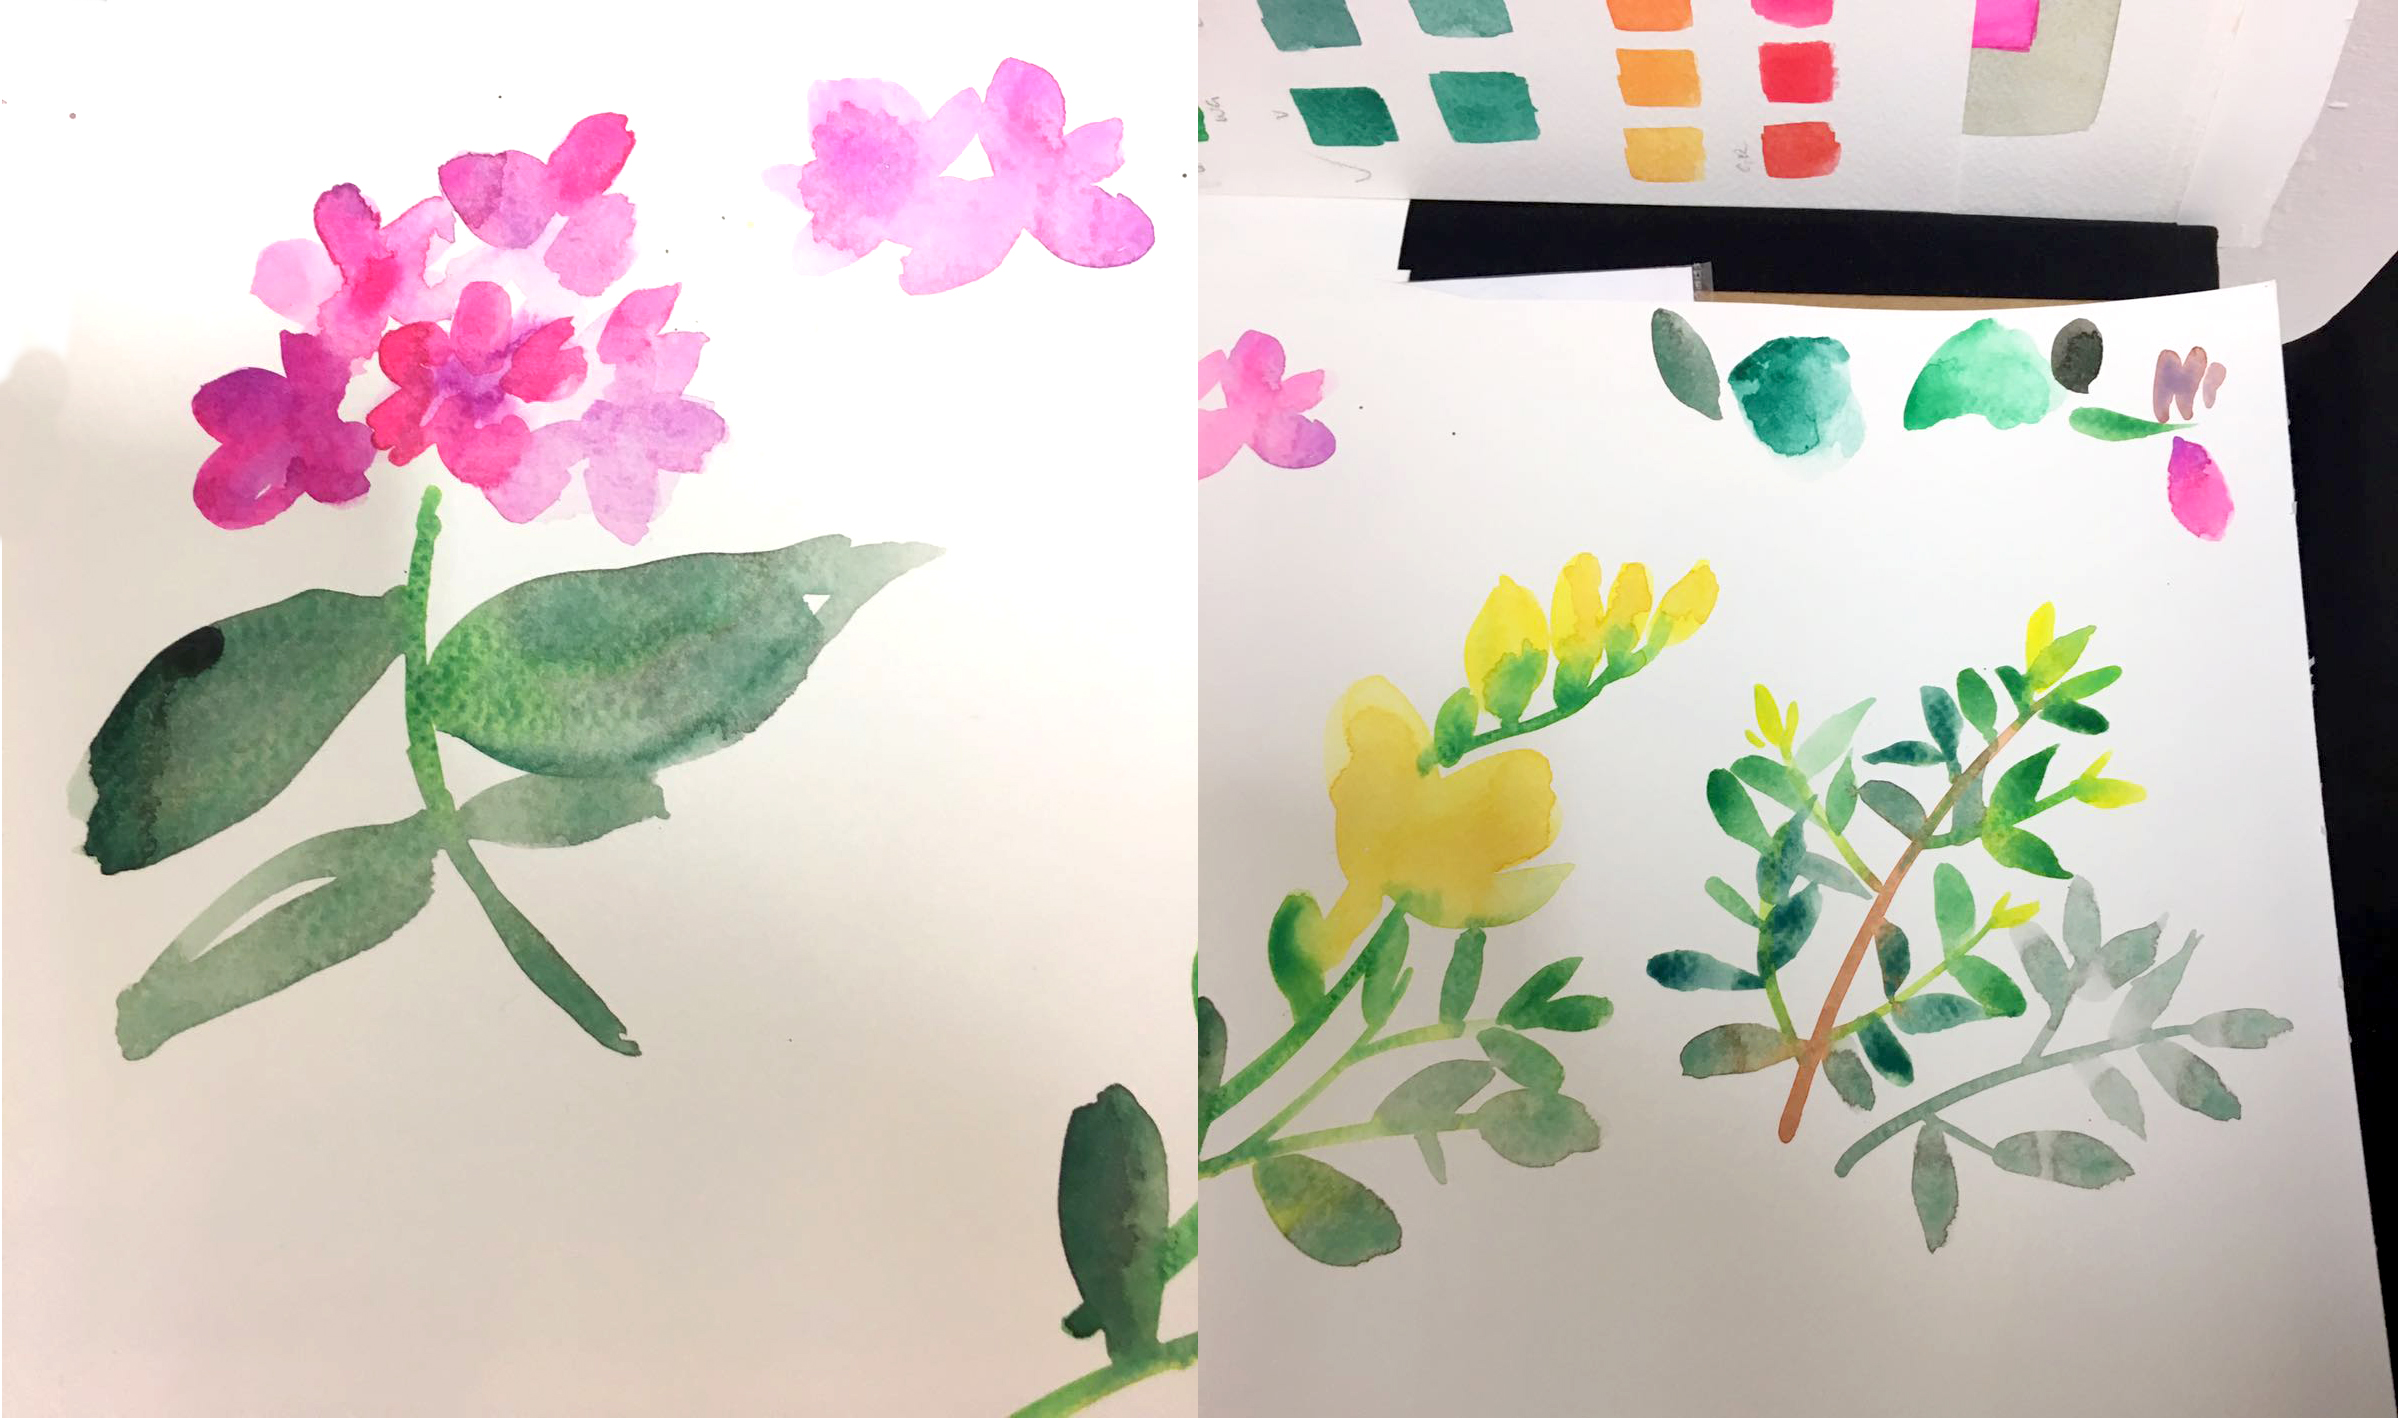
Once we’d done our watercolour experiments, we moved onto the main event… flower painting. Michelle had brought along cute bouquets of yellow freesias, pink stocks and box hedge cuttings (is that what they’re called?). She showed us techniques for creating the different shapes of the flowers and foliage then set us loose painting…
You can see the flowers we were asked to paint in the centre of the tables.
Kate and I were truly embracing the messy artist lifestyle… just look at that water!
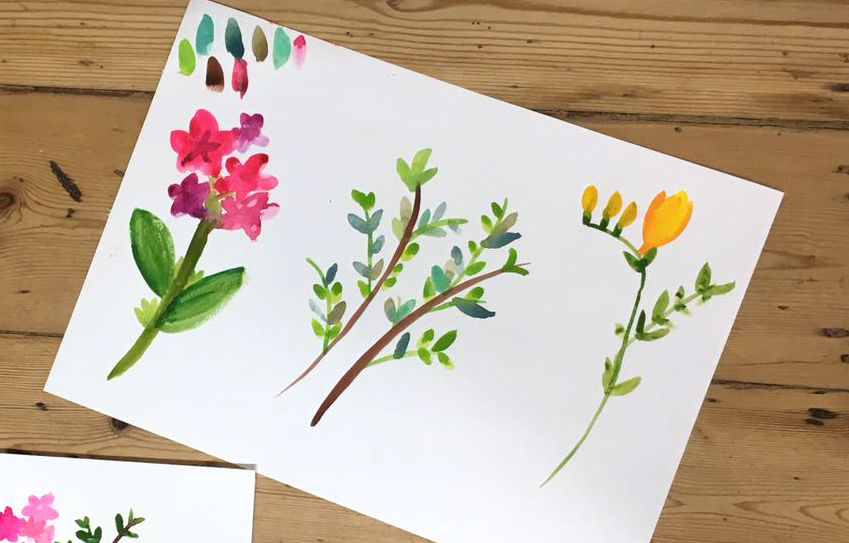
It took about 20-30 minutes for me to paint this little display of different watercolour flowers. There are elements I liked about each of the different flowers and bits I wasn’t so sure about.
Even though we had the same exact subject and teaching, it’s amazing to see how different mine and Kate’s paintings looked.
One of the other ladies on the watercolour workshop picked it up very quickly (she already did art in her spare time) and this is a clandestine photo of her flowers, which looked sooo good!
– Our final watercolour experiment:
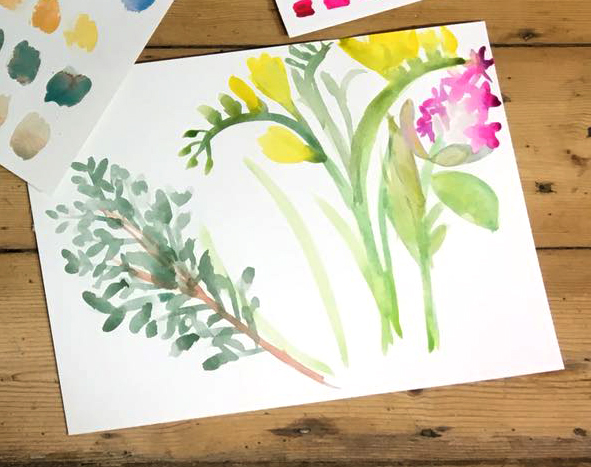
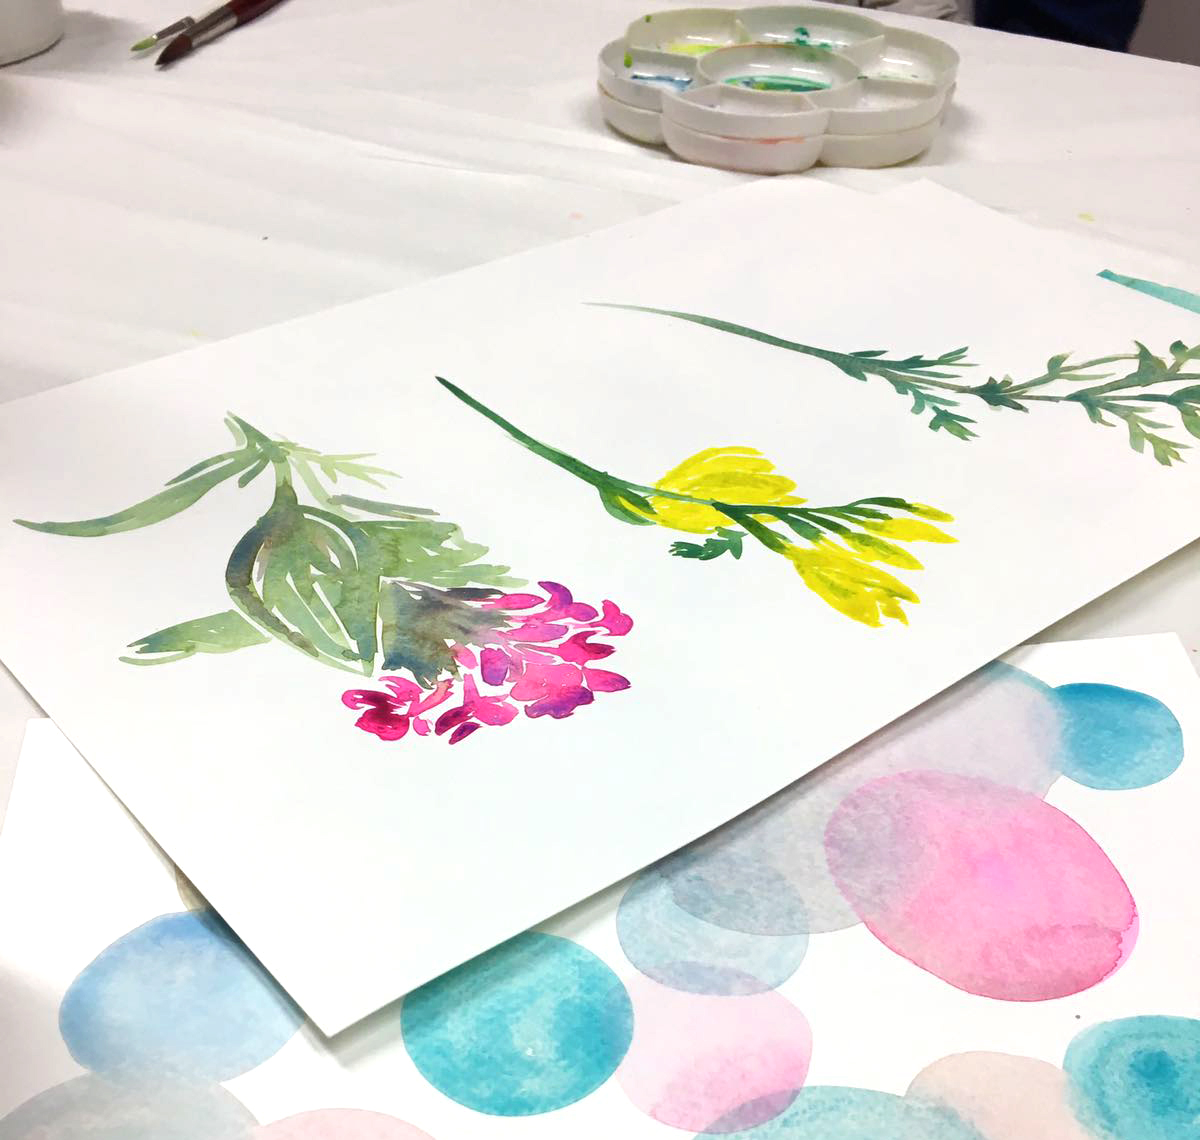
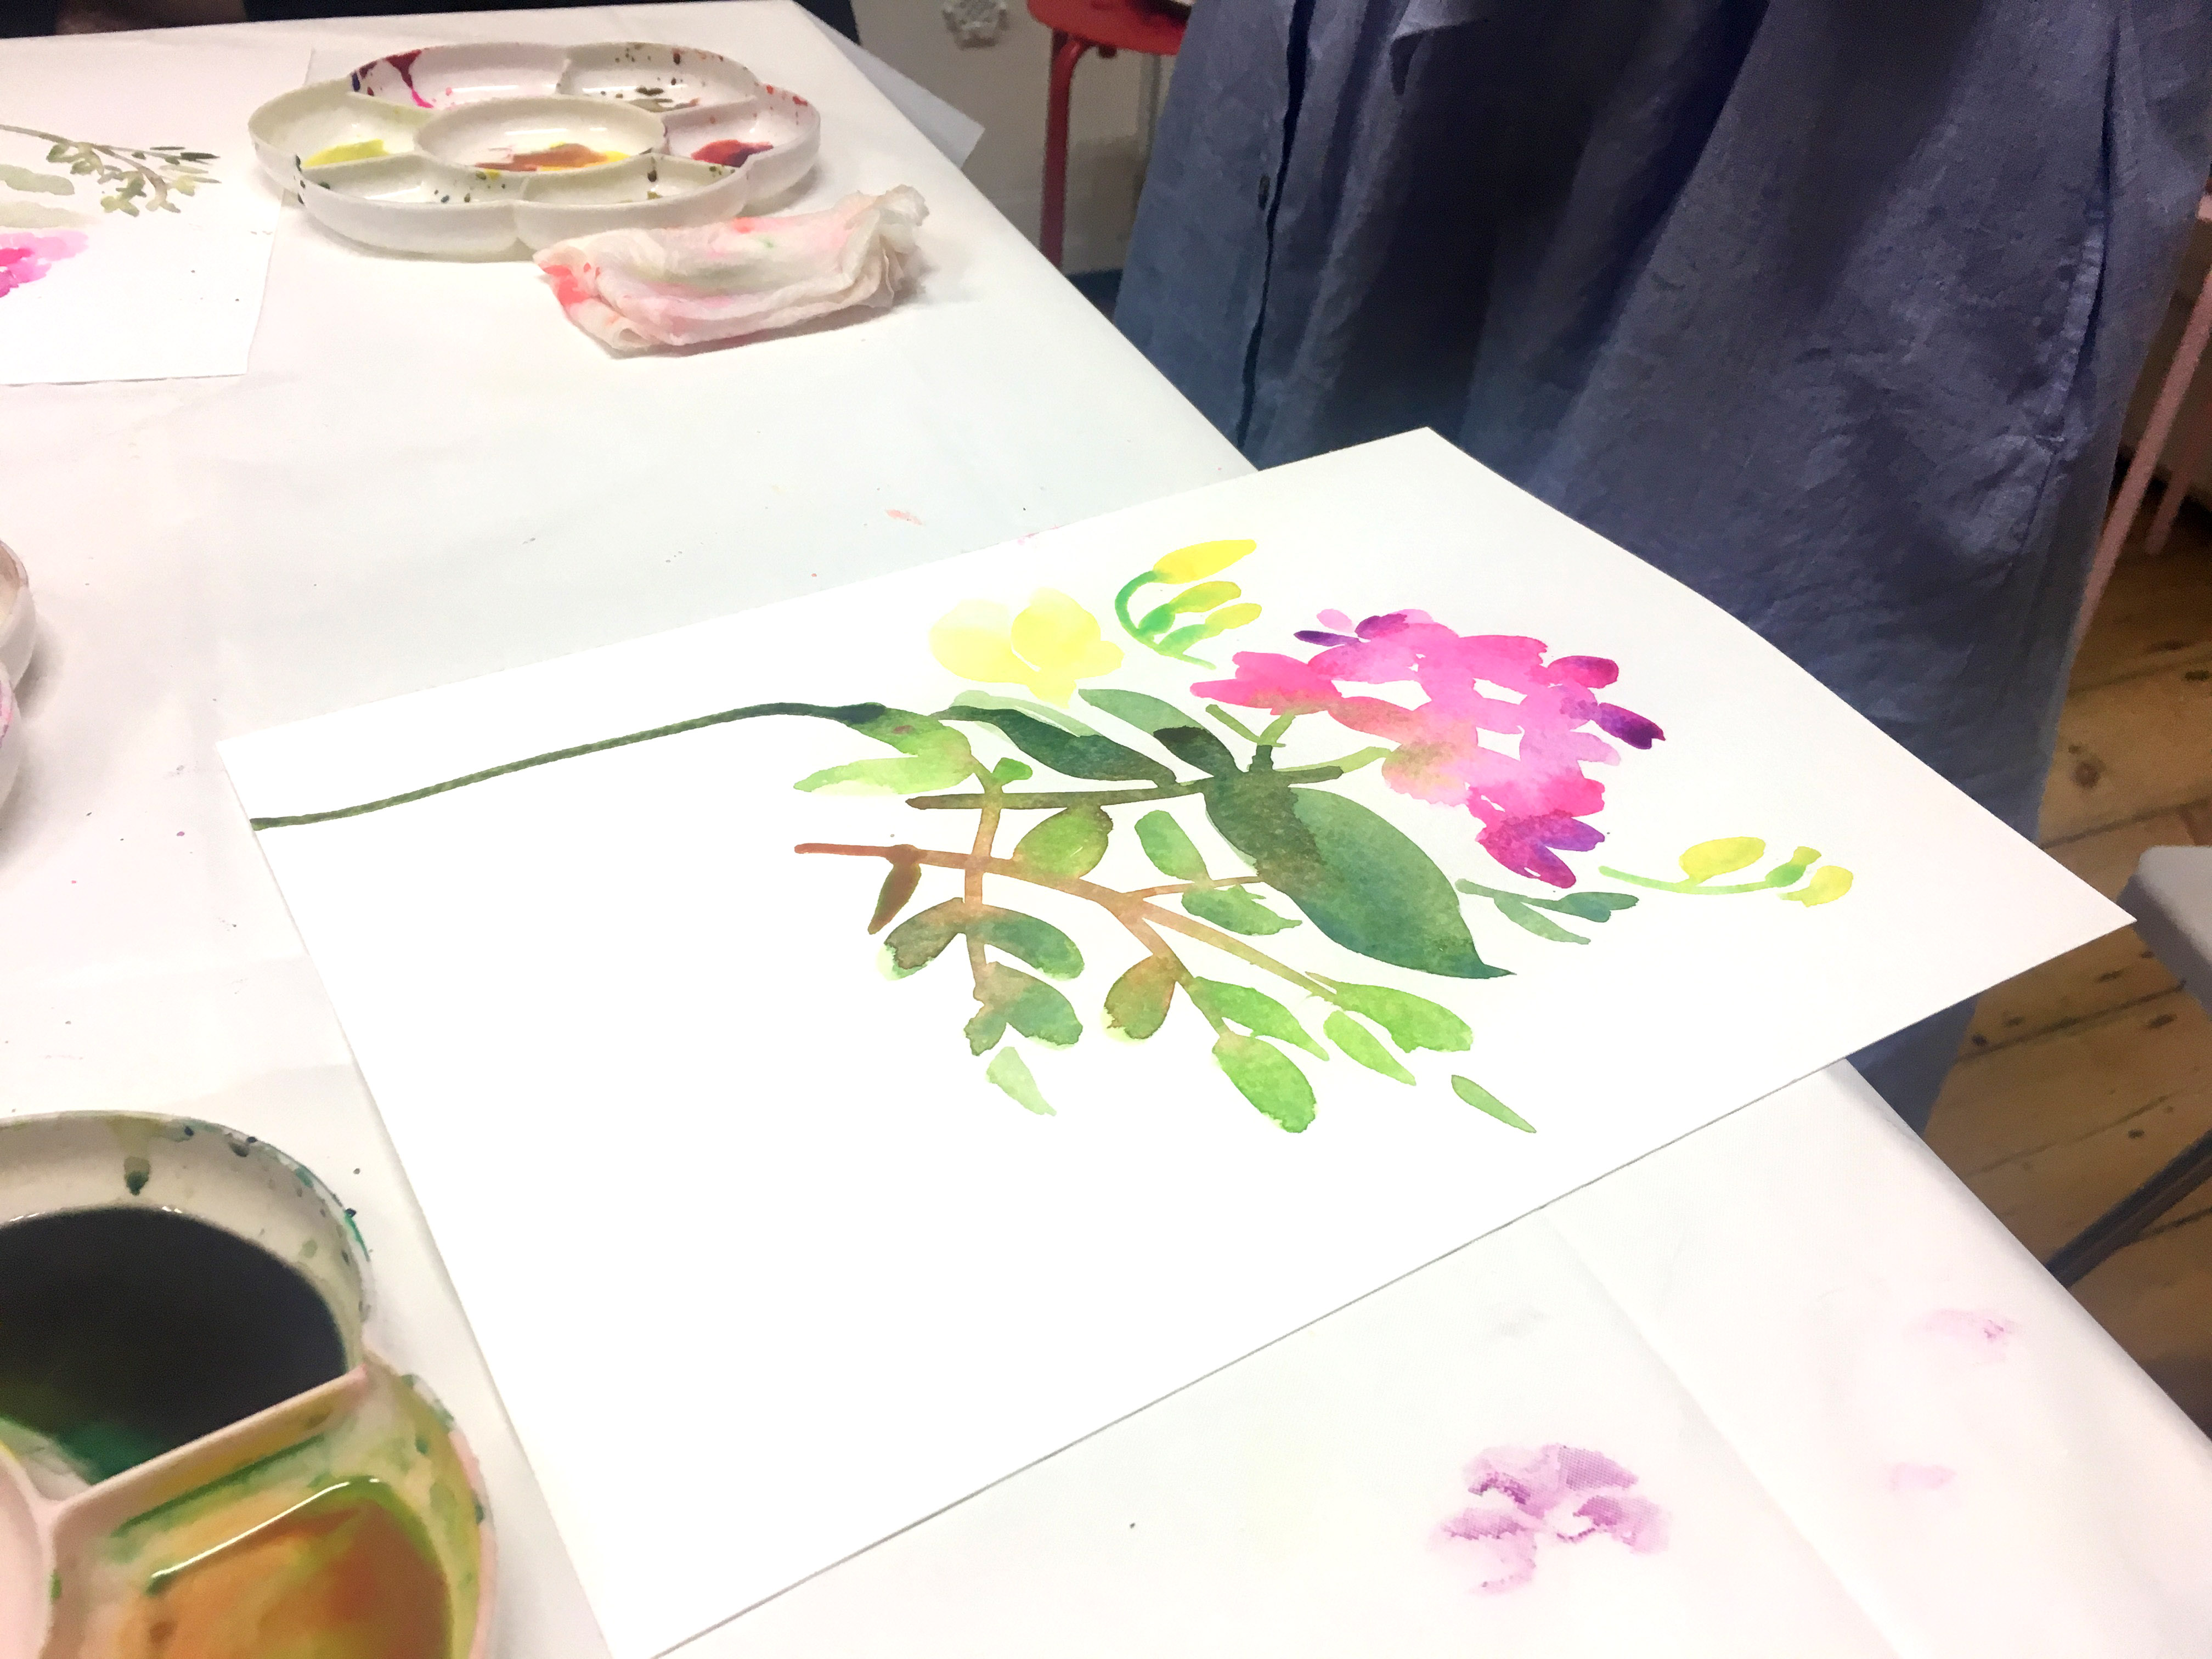
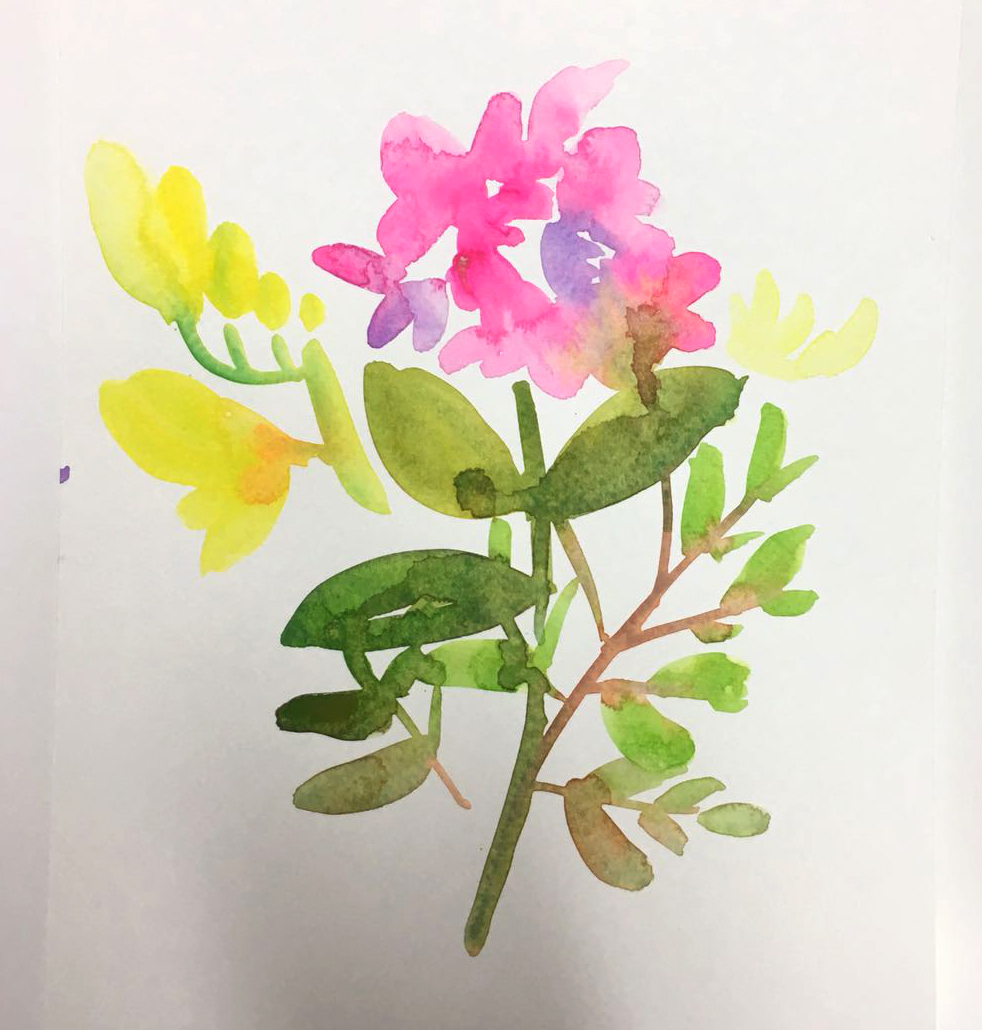
Ten minutes before the end of the watercolour workshop, Michelle gave us three minutes to sketch the same flowers that we’d been agonising over for half an hour. Her theory was that people overthink what they’re doing and sometimes get better results when they’re freer with the brush. Well, I think she might be right because here is the flower compilation I did in three minutes, which I actually think looks a lot better than the one above, which took me nearly thirty minutes. What do you think?
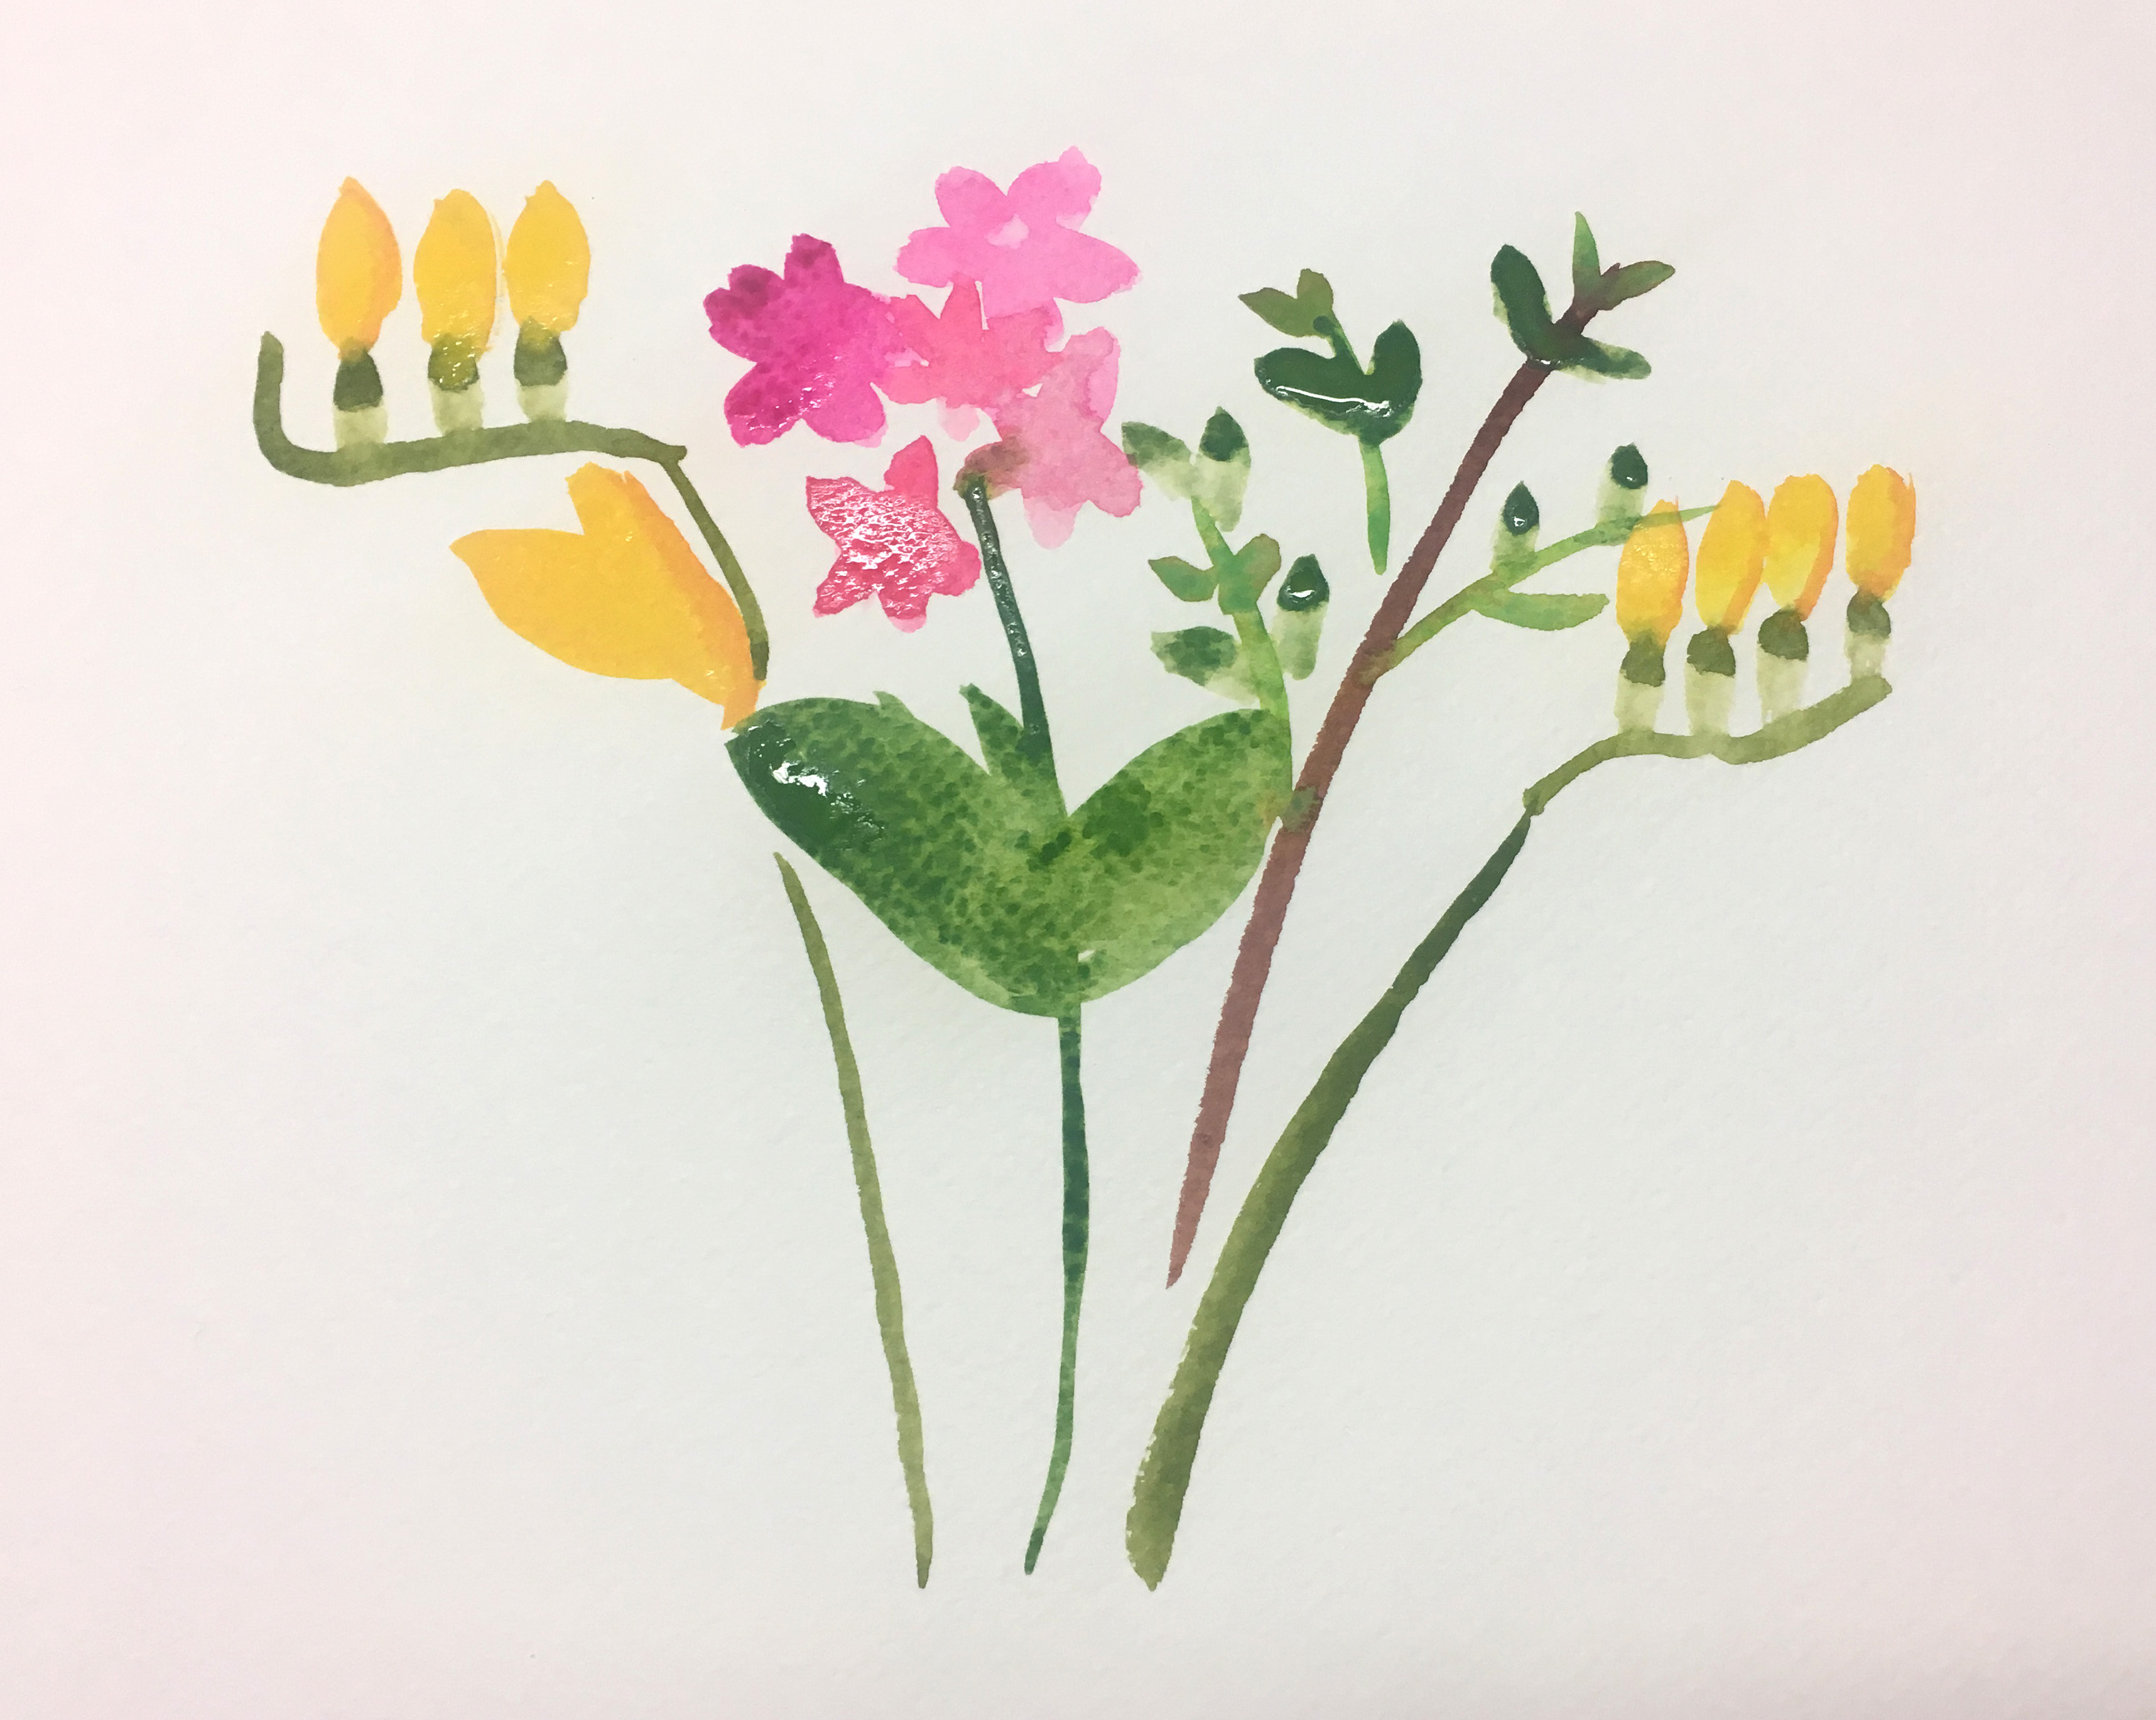
My watercolour masterpiece was still wet when this photo was taken.
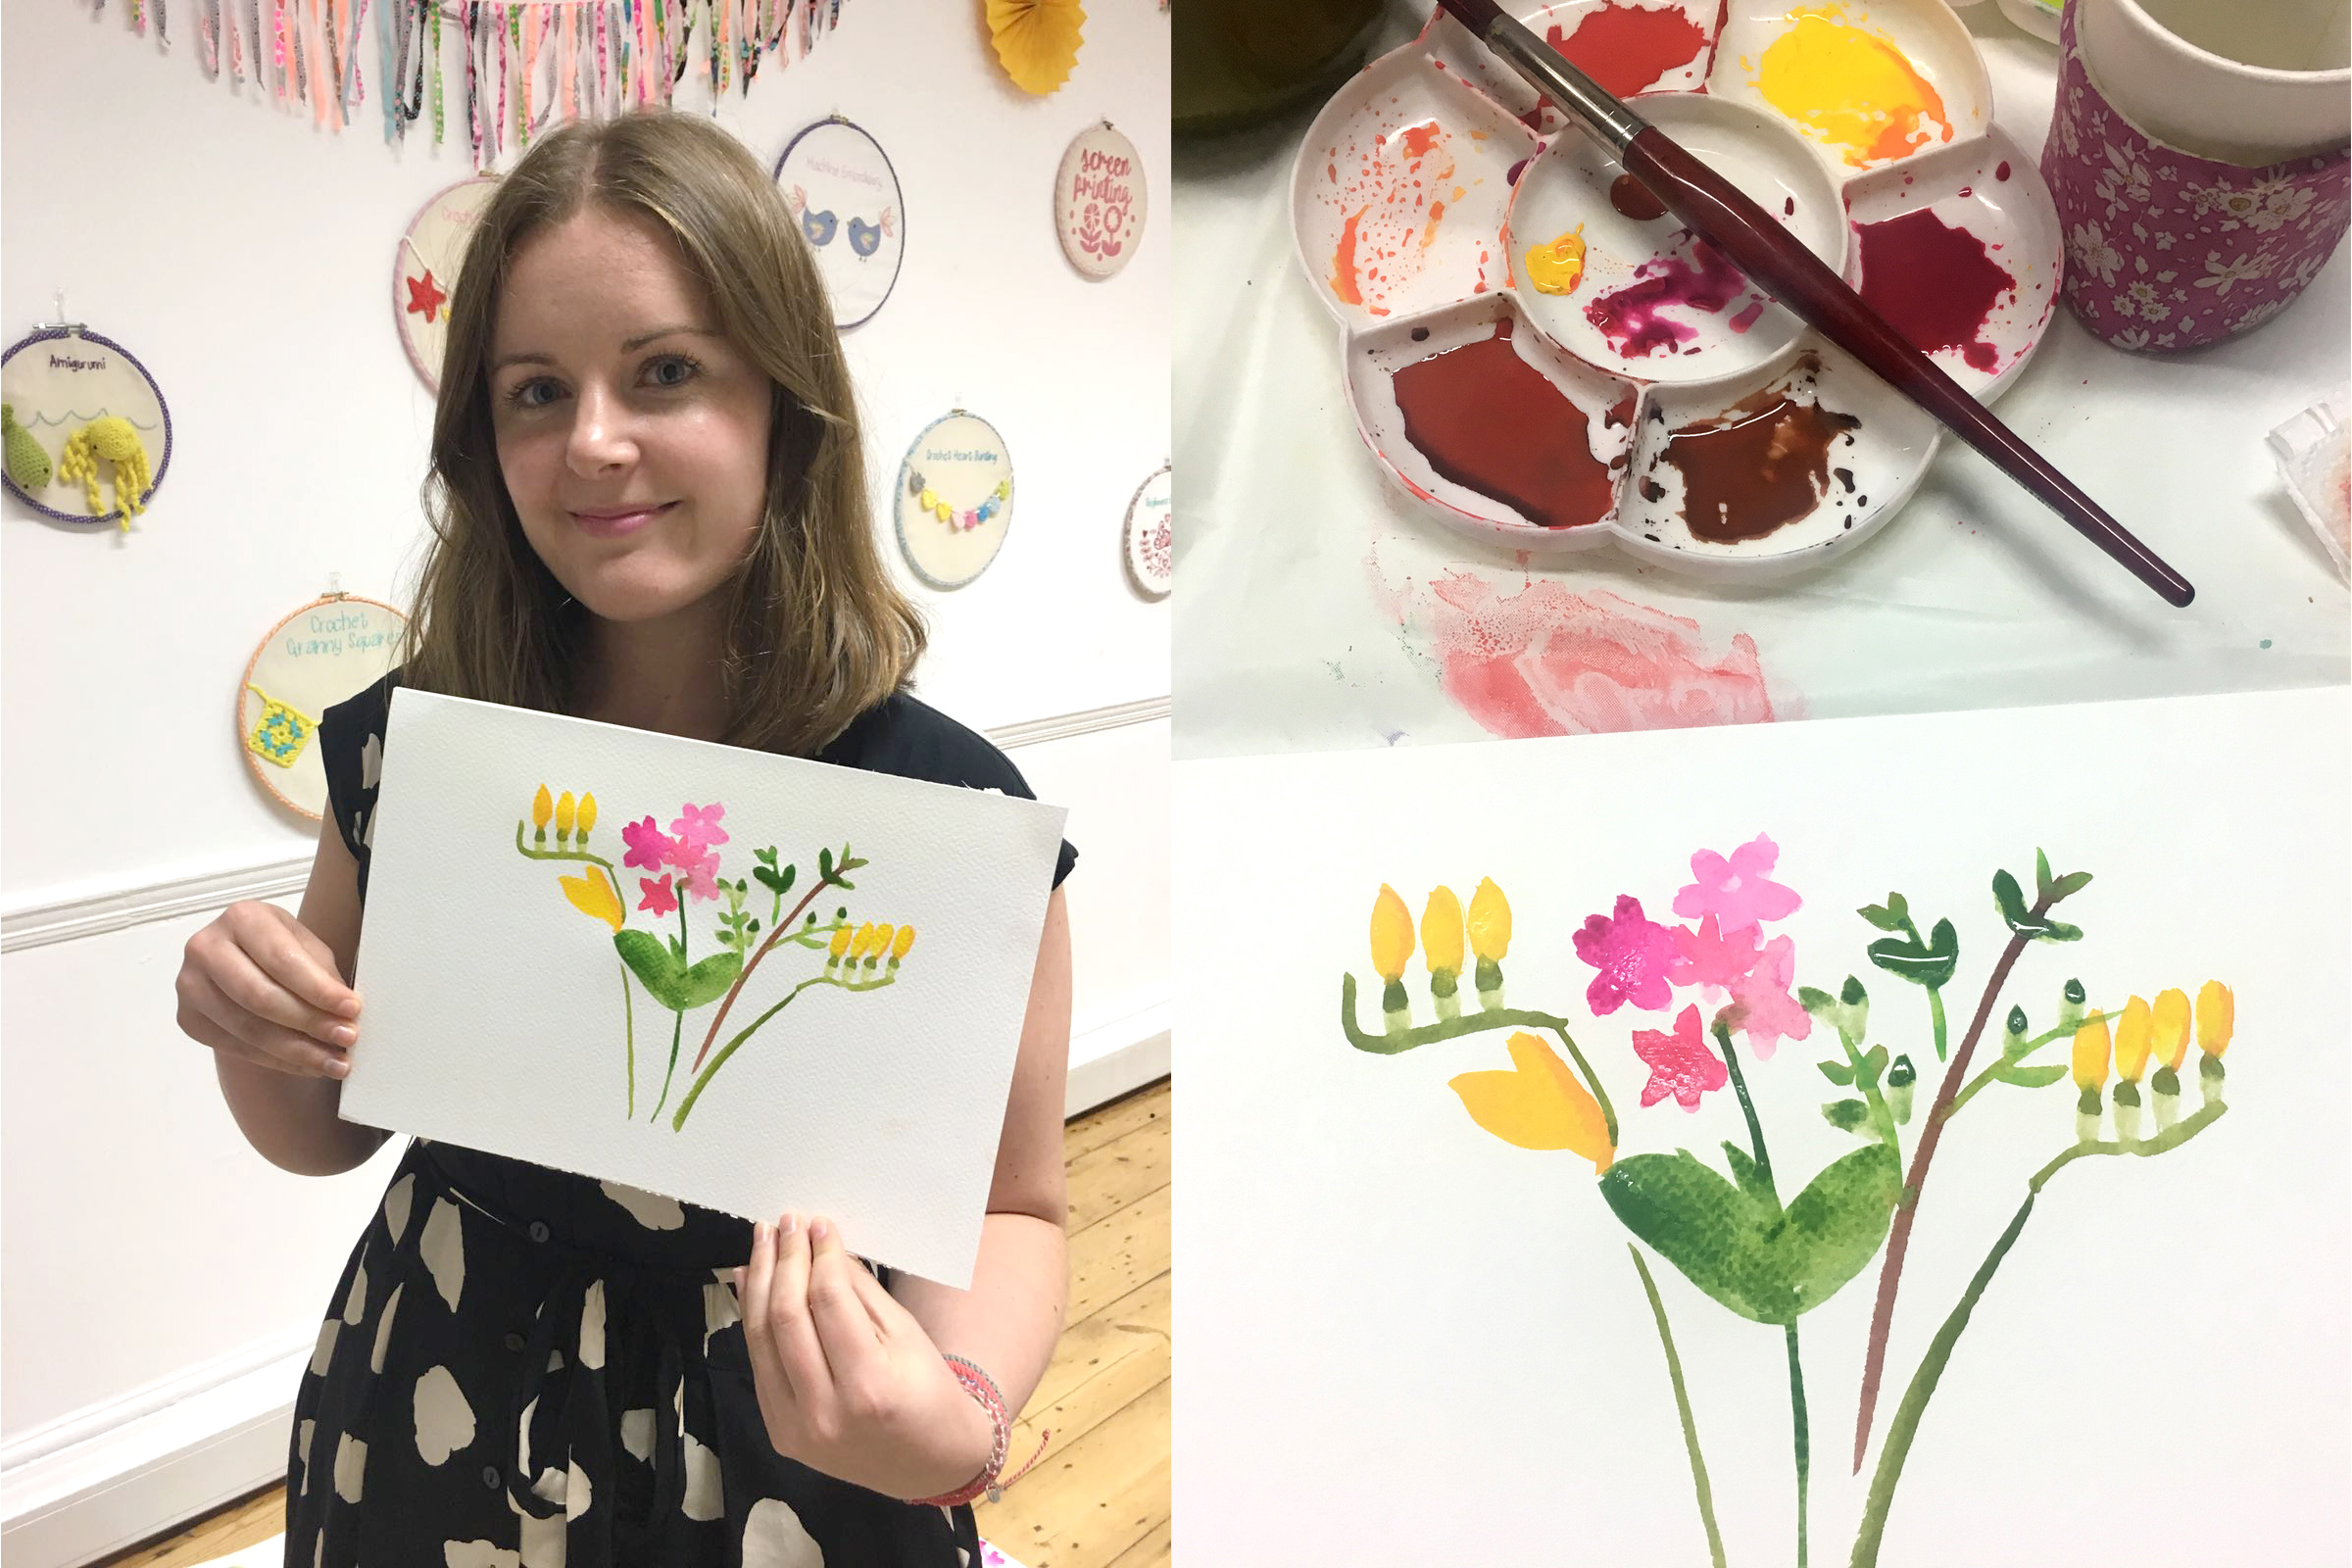
I was particularly pleased with my bright yellow freesia 🙂
And here was Kate’s three minute creation 🙂
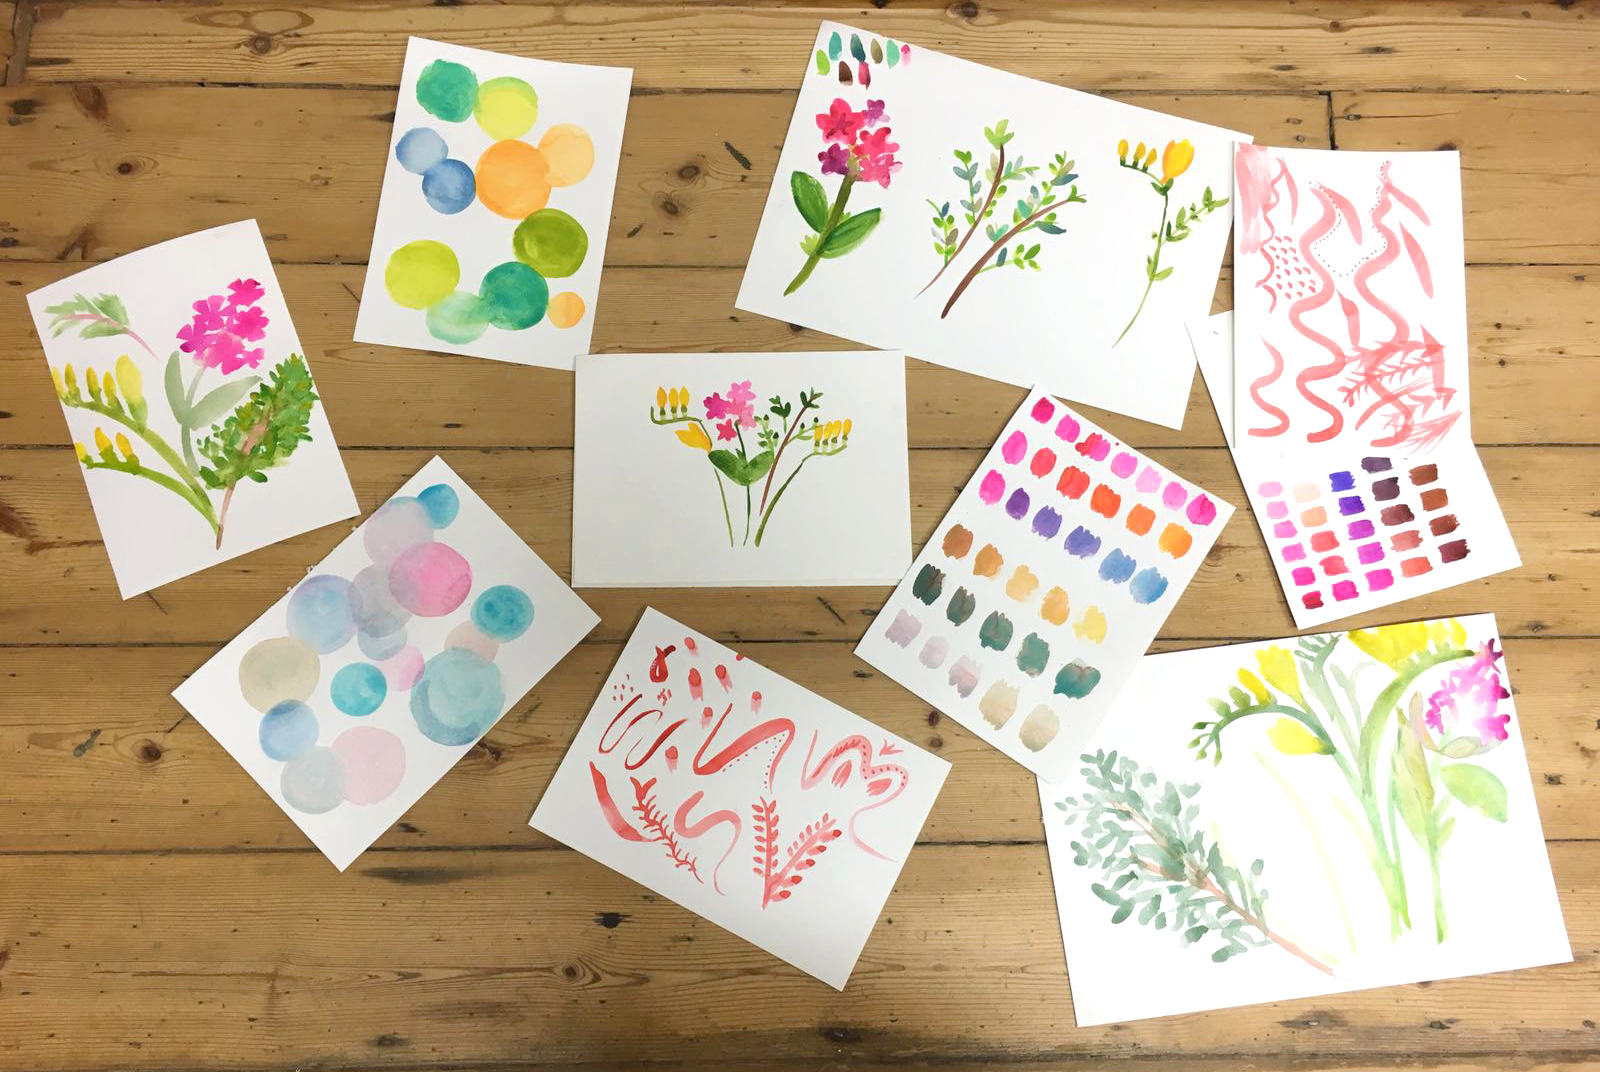
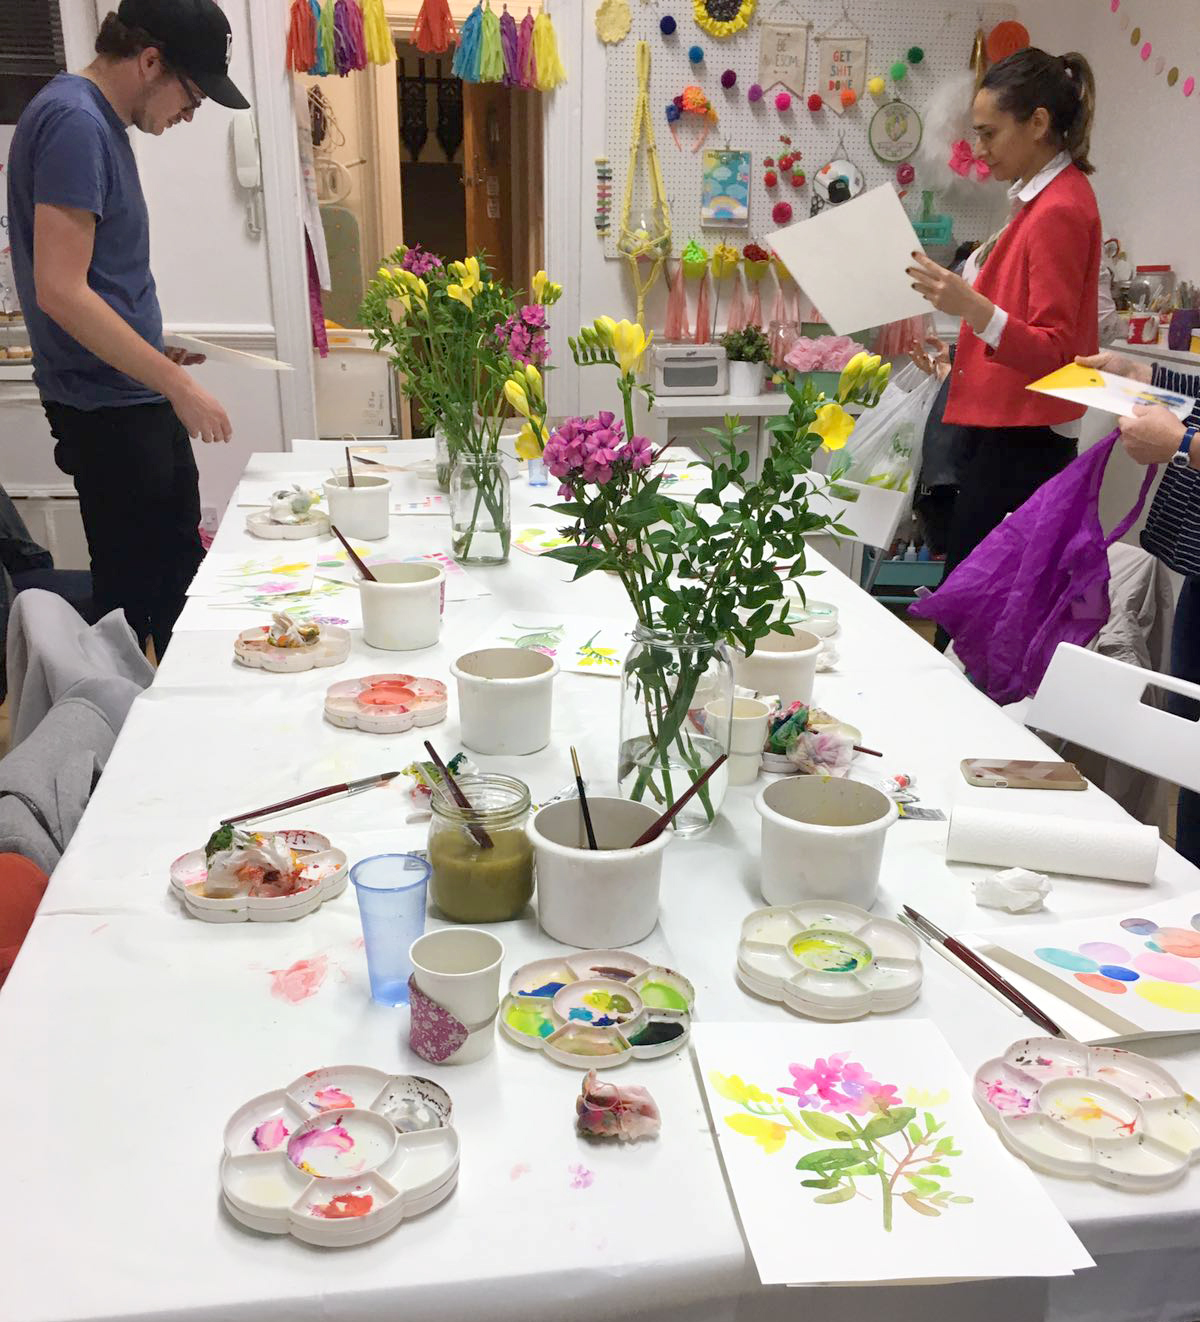
Here you can see all our watercoloury goodness in one place…
And here is some of Michelle’s work for you to see how it should actually be done 🙂
These were the flowers Michelle painted during the class. She’s an expert at creating depth and vibrancy.
Gorgeous modern watercolour flowers by our watercolour teacher Michelle.
This is what happened when Michelle gave herself two minutes to paint the flowers in front of her…
There’s a reason why Michelle is the watercolour teacher…
Thanks for the fun night out Kate 🙂

My friend Kate 🙂
If you’d like to be the first to hear what fun shenanigans we’re up to, why not sign up for our Rag Rug Inspiration Newsletter here or join our Rag Rug Community on Facebook here for advice, resources and gorgeous rag rug photos.
OR CONNECT WITH US ON SOCIAL MEDIA AT:
Instagram: https://www.instagram.com/raggedlife/
Facebook: https://www.facebook.com/raggedliferagrugs/
Pinterest: https://www.pinterest.co.uk/raggedlife/
Twitter: https://twitter.com/raggedlife
Happy crafting everyone!
Elspeth x