Since I made my first inaugural rag rug outfit back in 2004, I’ve made many many rag rug cushions. What’s more, since founding Ragged Life in 2014, I’ve taught hundreds of people how to rag rug cushions in my workshops. All in all, they’re a project I feel pretty confident with, so I thought I’d compile together my best tips on how to make one, including design, preparation and assembly. I hope you find my pearls of wisdom useful, but of course, if you have any questions or suggestions please do comment below 🙂
Why Make a Rag Rug cushion?
A cushion is a small, manageable project, which makes it a great starter project for anyone new to rag rugging, or even crafting entirely. A cushion is less daunting than some of our larger projects and when you see progress being made relatively quickly, it’s easy to stay motivated.
Cushions are an easy way to give a space a new lease of life. It’s difficult to cheaply transform a space, but cushions can change the feel of an area without major work or splashing the cash. Cushions can add a pop of colour, tie schemes together or add texture to a slightly flat looking space. In the interior design world, they one of the most fun items to experiment with.
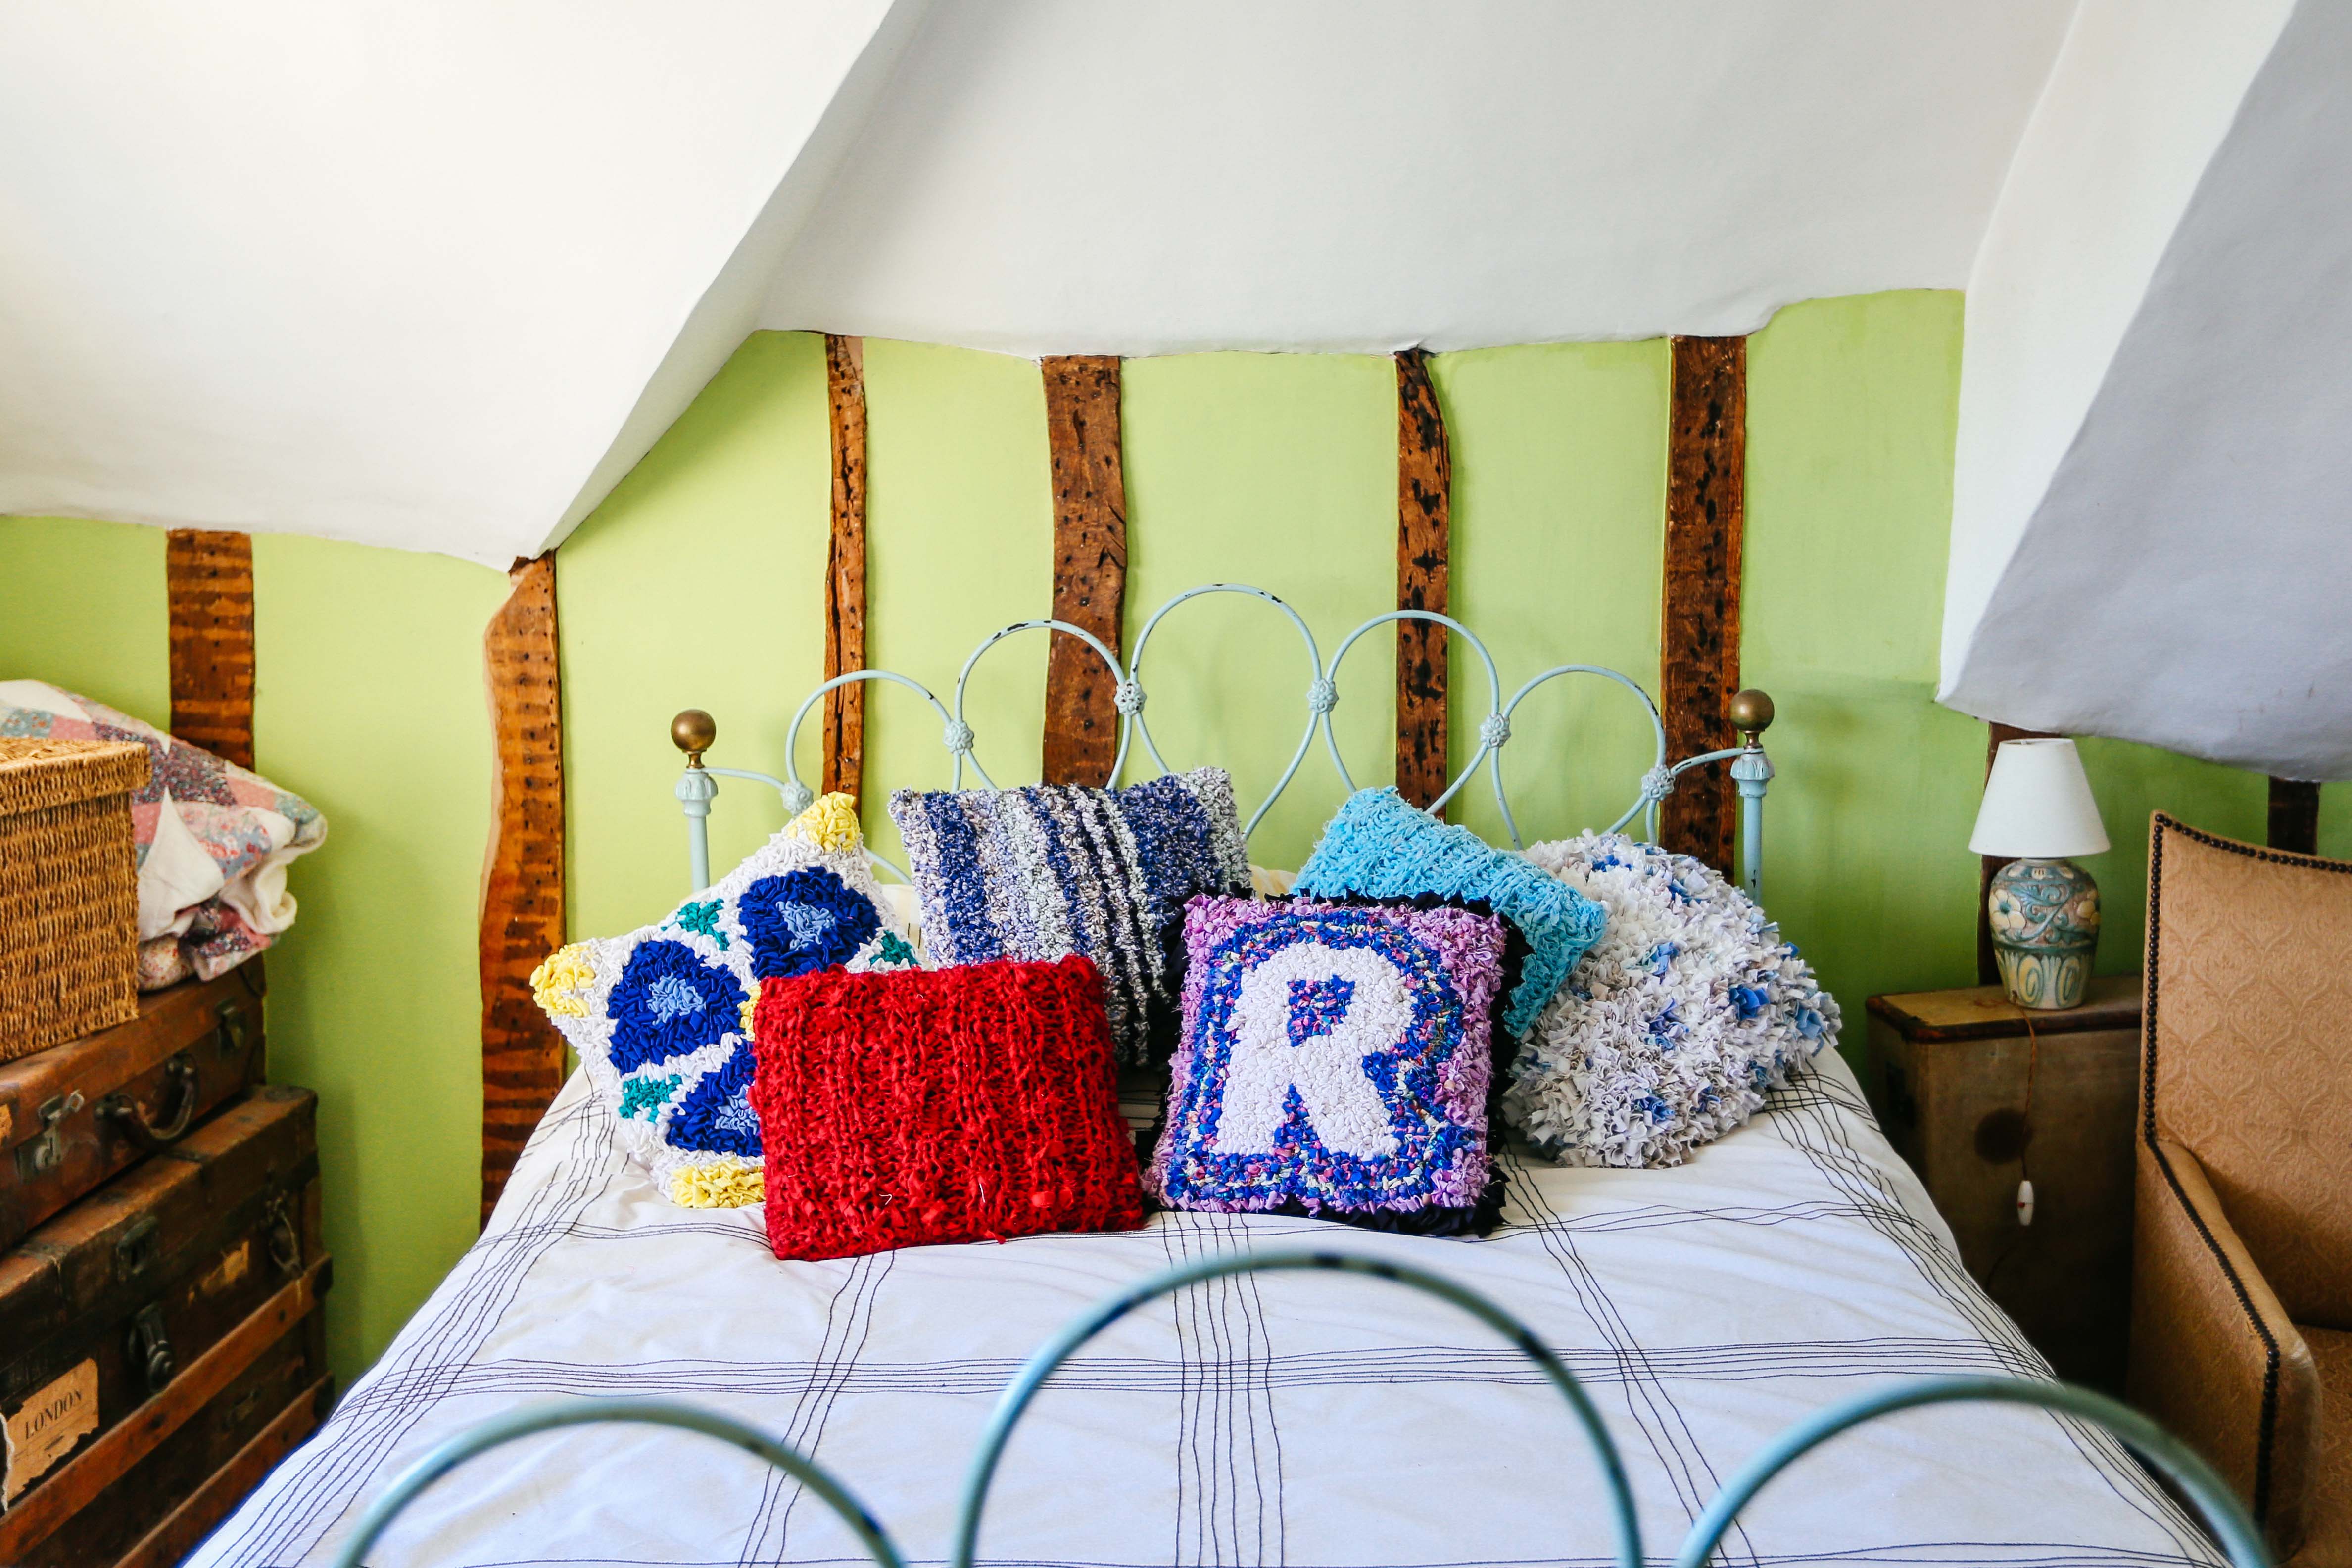
Rag rug cushions are a great canvas for creativity. They’re small enough to not feel daunting, but large enough for you to be able to achieve pretty much any design (if you choose the right techniques). Don’t believe me? Click here to browse some of my past students’ work or take a look at some of their cushions below…
Former Students’ Rag Rug Cushions:
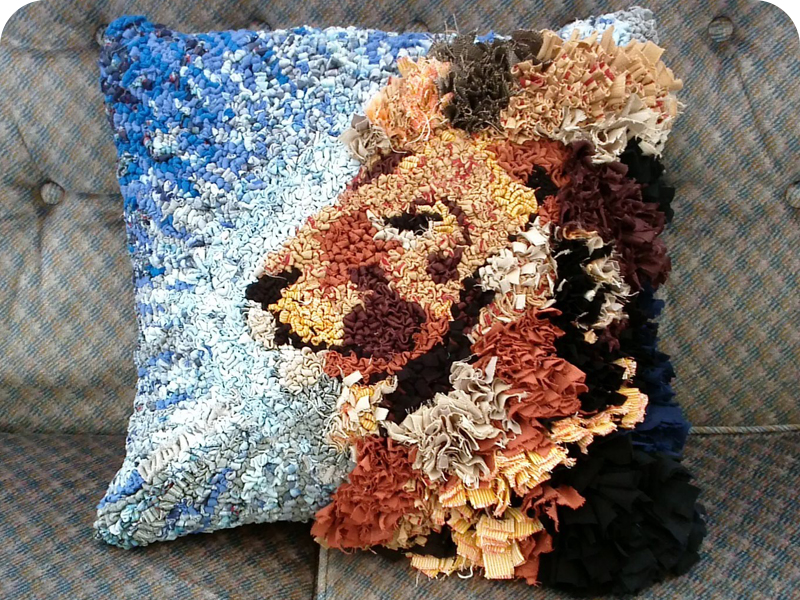
Monica absolutely floored me when she sent through this spectacular rag rugged lion cushion. Now that’s what I call a showstopper Mary Berry!
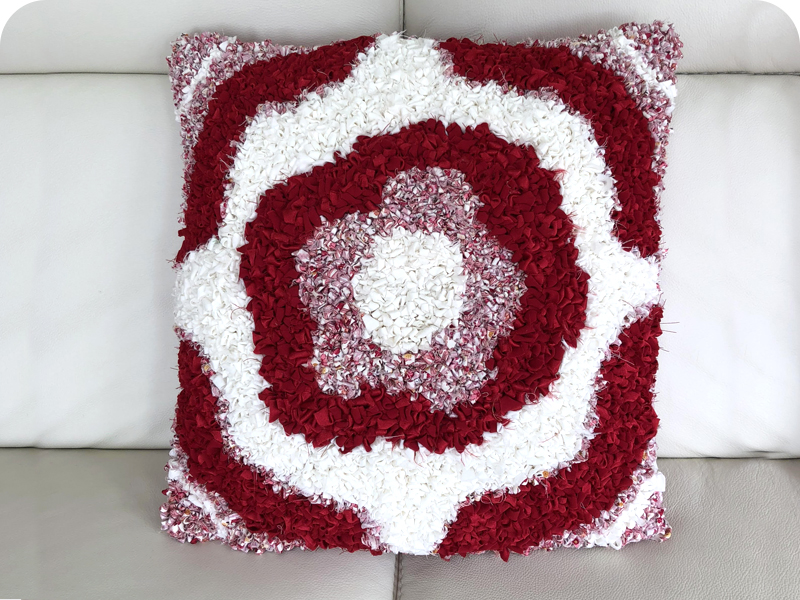
I absolutely love this quirky cushion design by former student Julie. I think it demonstrates perfectly how effective a simple colour scheme can look.
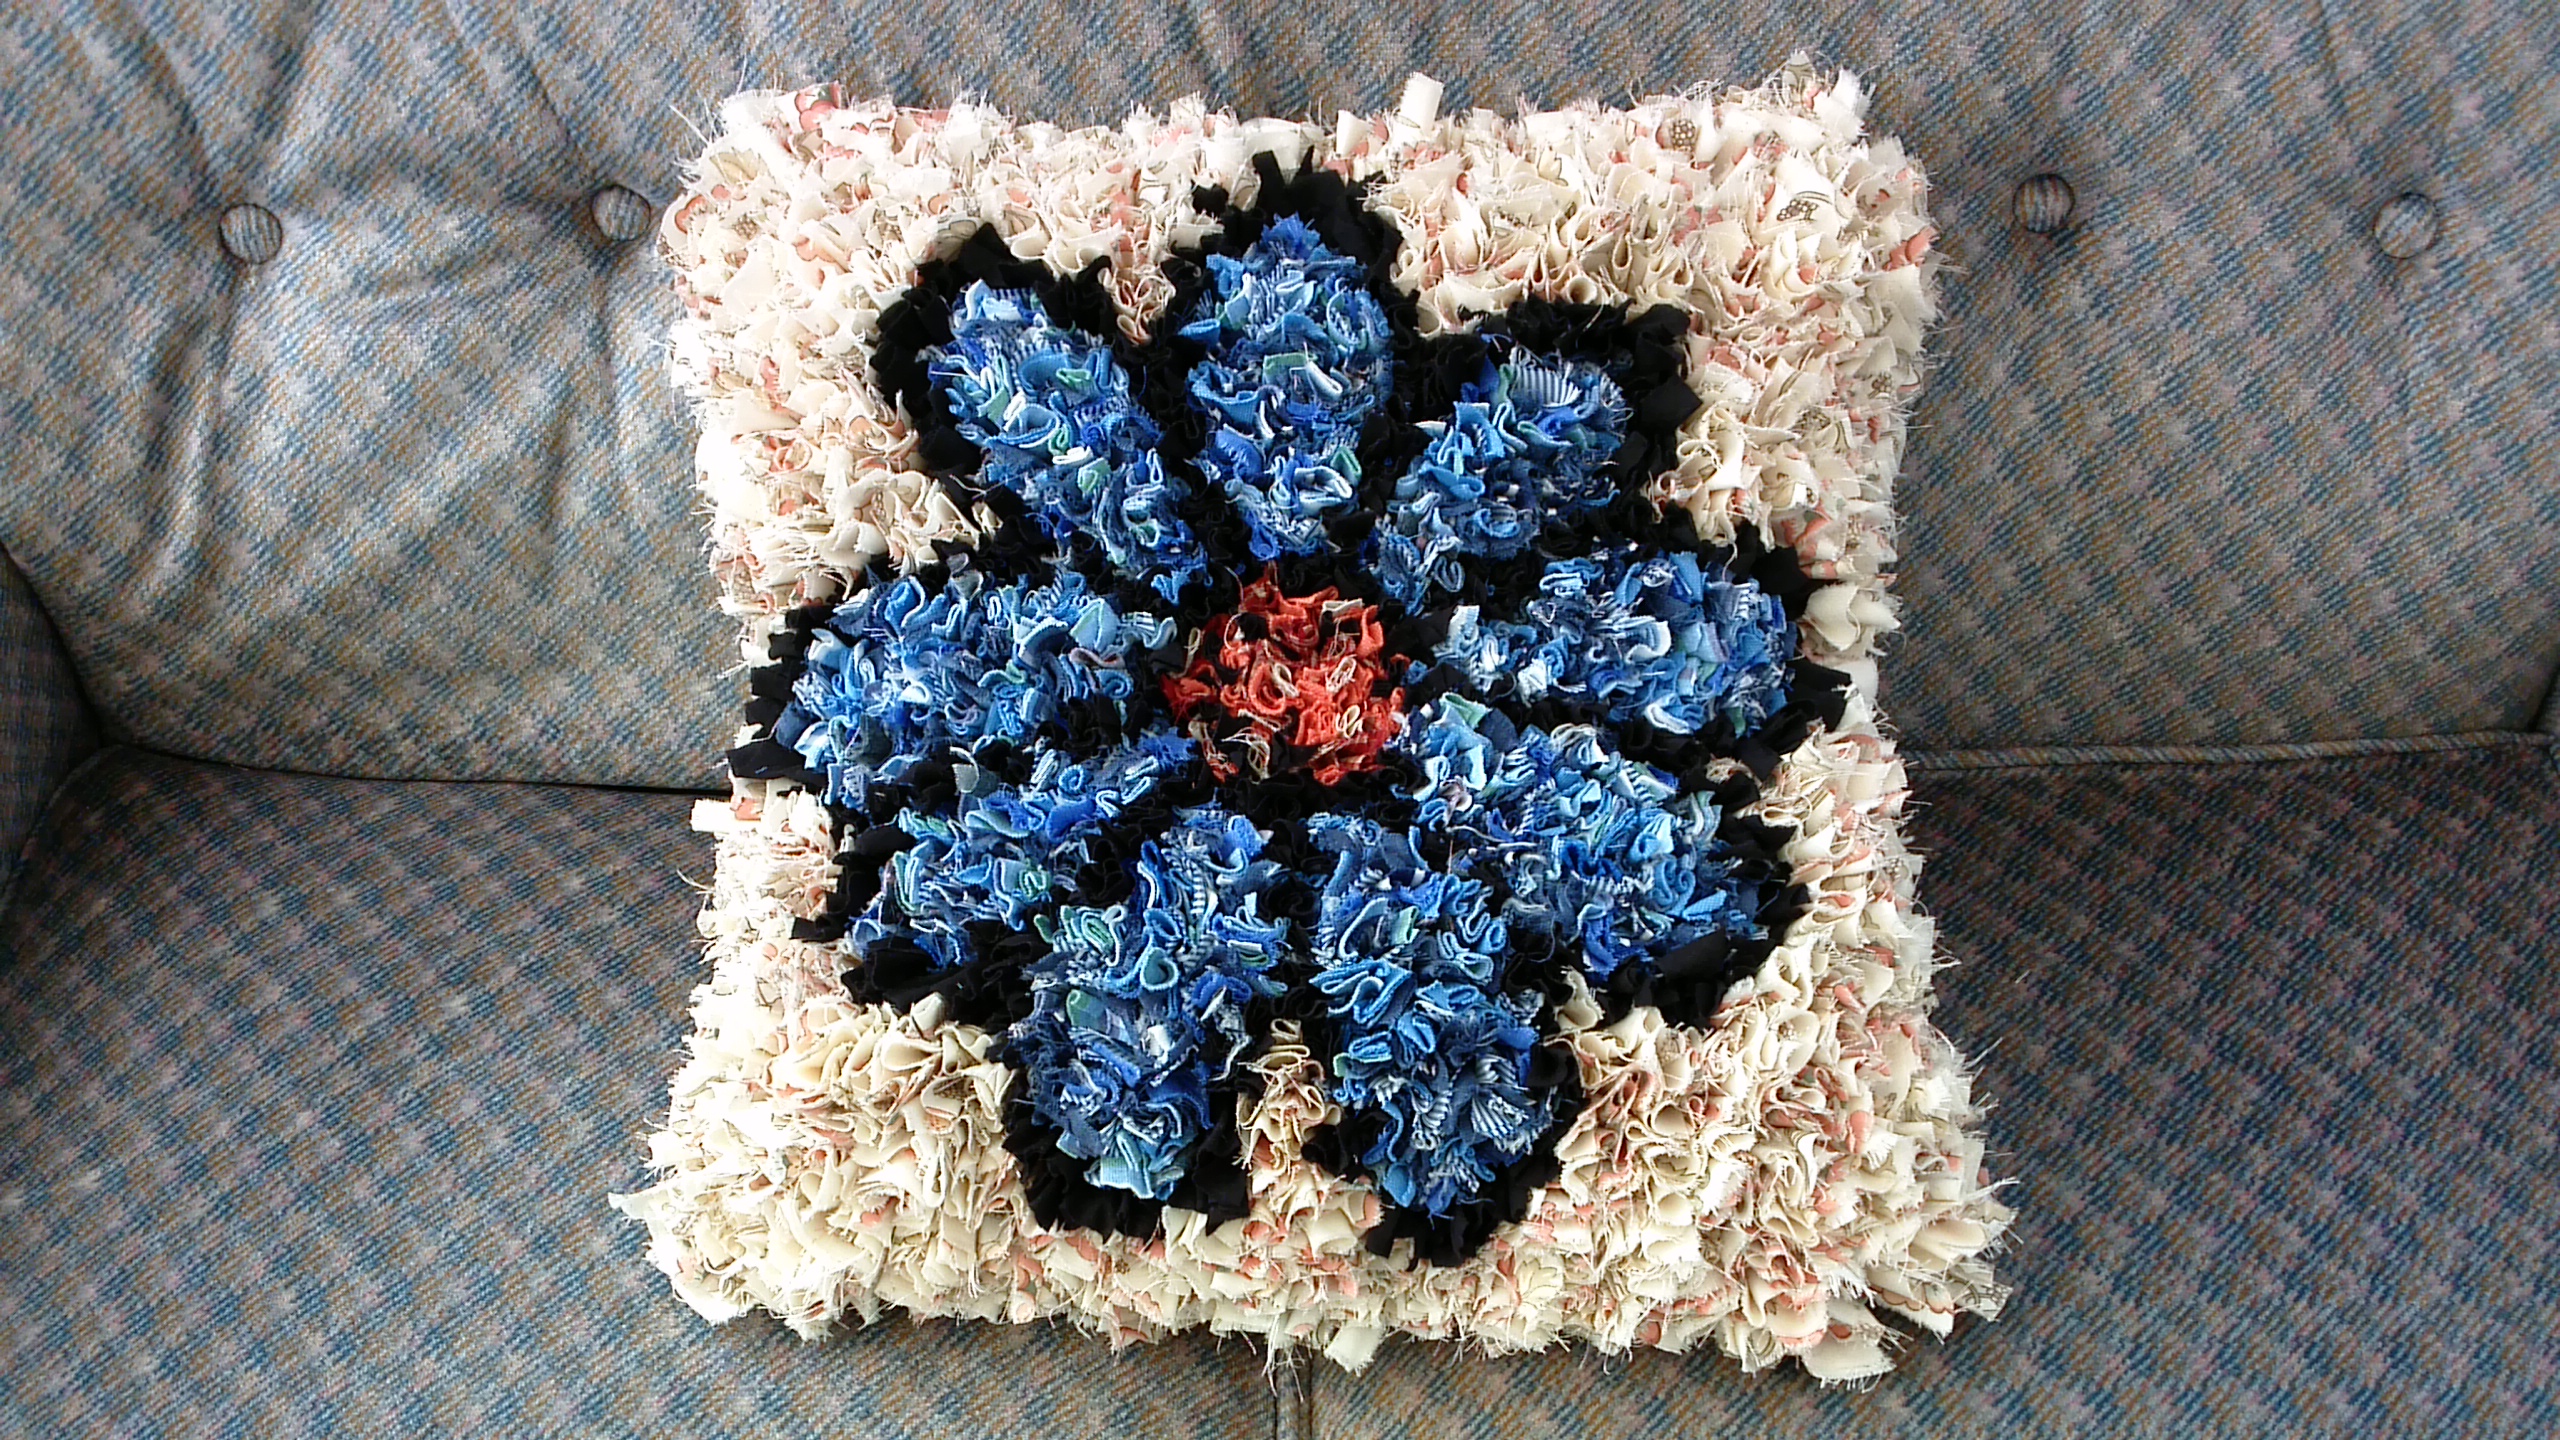
To make this gorgeous shaggy rag rug cushion, Monica used almost 3/4 of one side of a king sized duvet cover for the cream outer and re-used the back and cushion pad of an old cushion to make up it up. If that isn’t recycled, I don’t know what is. Amazing job Monica!
Monica started this rag rug cushion in one of my Full Day Rag Rug Workshops in Hertfordshire and although it was already looking great when she left at the end of the day, the finished article is just spectacular!
As with all rag rug work, you can make something not only unique, but also sentimental. By choosing fabrics with meaning, for example, old baby clothing, dad’s old shirt or even curtains from your first house, you can be reminded of happy memories. It also means you don’t have to throw away those precious bits of material, but instead of them clogging up your loft or wardrobe, you can reinvent them by transforming them into something new that can be passed down through the family. Neat huh!
Ragged Life Rag Rug Cushions:
What would a rag rug cushion blog post be without photos of some of my favourite Ragged Life cushions? These cushions are all fairly simple in design, but you can really tailor the colours and design to your individual home.
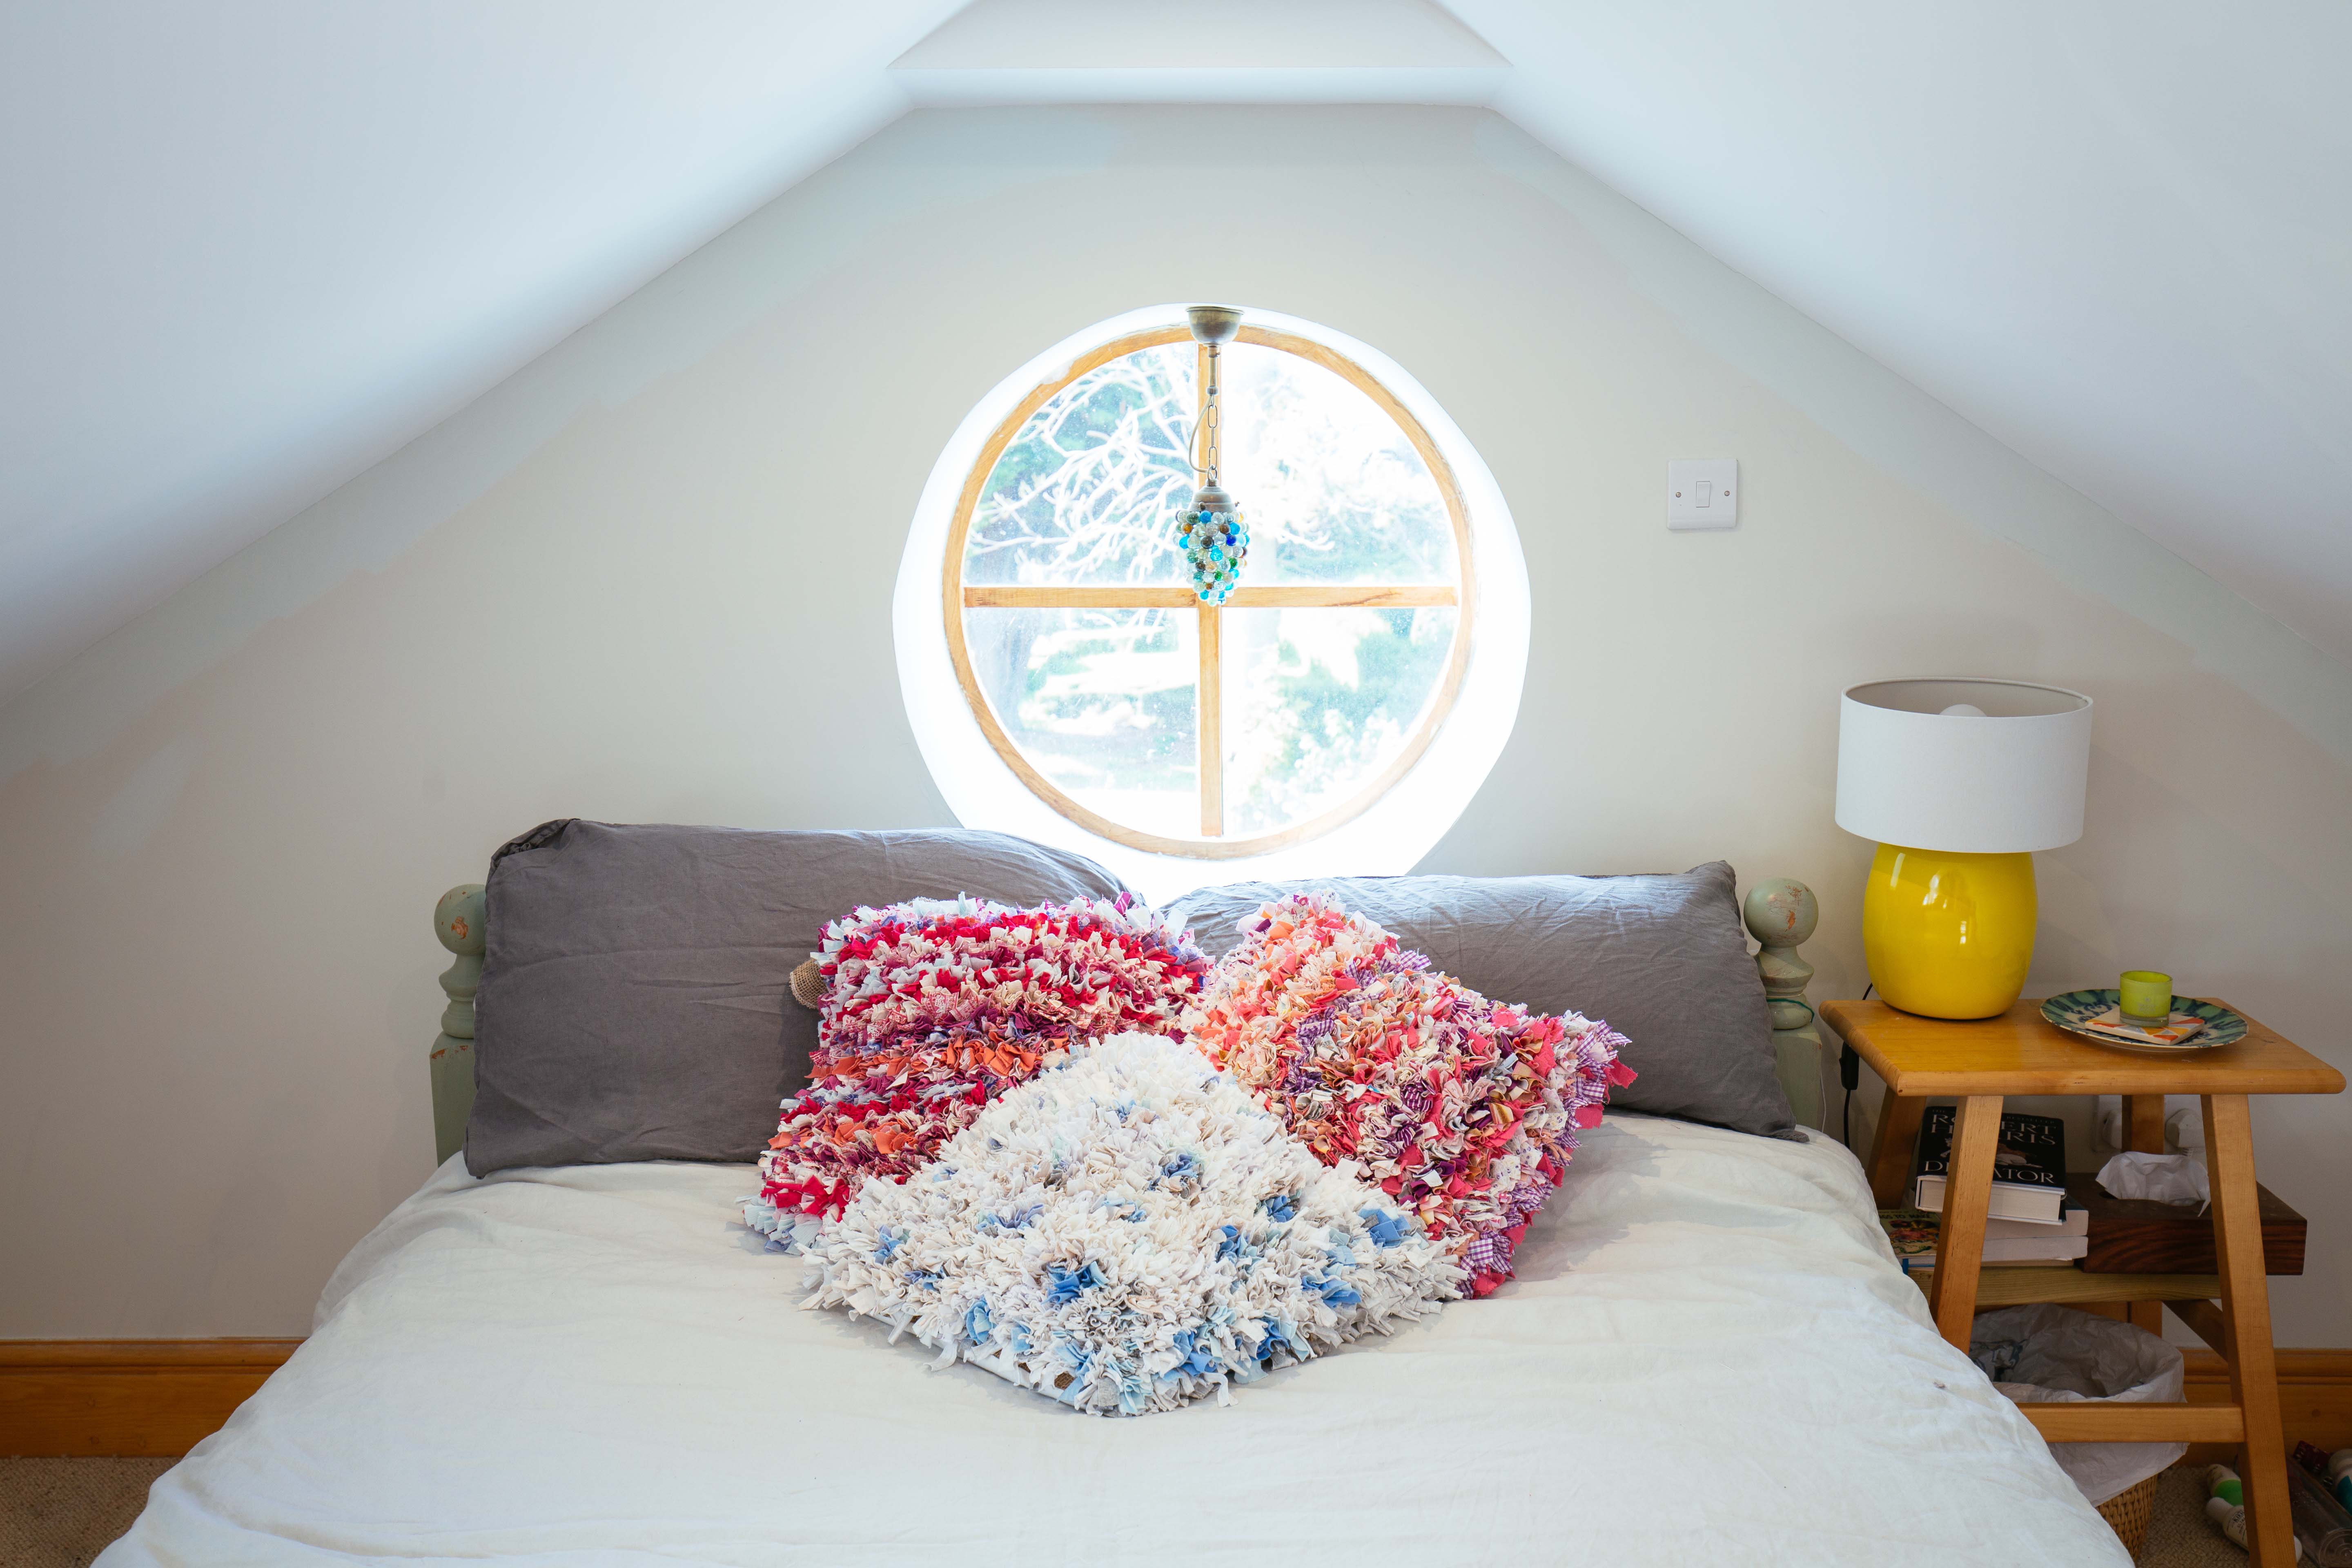
Rag rug cushions on bed.

I was so pleased with how the blanket yarn looked when it was loopy rag rugged.
This is what my first t-shirt yarn rag rug cushion looked like.
Rag Rug Cushions
Now that you’re feeling inspired, onto the practical making part…
How to Make a Rag Rug Cushion:
You will need:
To make a rag rug cushion, you will need some basic rag rug tools. You can either buy a Ragged Life Rag Rug Cushion Kit which has all the basic tools and instructions you need to make a rag rug cushion or you can buy the materials separately. If you are unfamiliar with the tools of rag rugging then this Introduction to the Rag Rug Tools video gives a good summary. Below is what you will need…
For the rag rugging:
- Rag Rug Latch Hook or Rag Rug Spring Tool
- Rag Rug Gauge (optional)
- Rag Rug Scissors (or very sharp fabric scissors)
- Hemmed Cushion Hessian (our piece in the Rag Rug Cushion Kit makes a 40 x 40cm cushion. Remember, the weave of the hessian is very important).
- Rags (any old clothing or fabric can be used, but we recommend using easy fabrics like jersey or cotton to begin with. You can read our fabric recommendations here. Six men’s shirts will fill the cushion face, or about 300-350g of our 100% Wool Blanket Yarn).
For the assembly:
- Backing fabric (I recommend thick cotton or linen)
- Sewing machine / Needle and thread
- Zipper foot (optional, but preferred)
- Pins
- Iron
- 40 x 40 cm cushion pad
- 2 large buttons and needle & thread (optional)
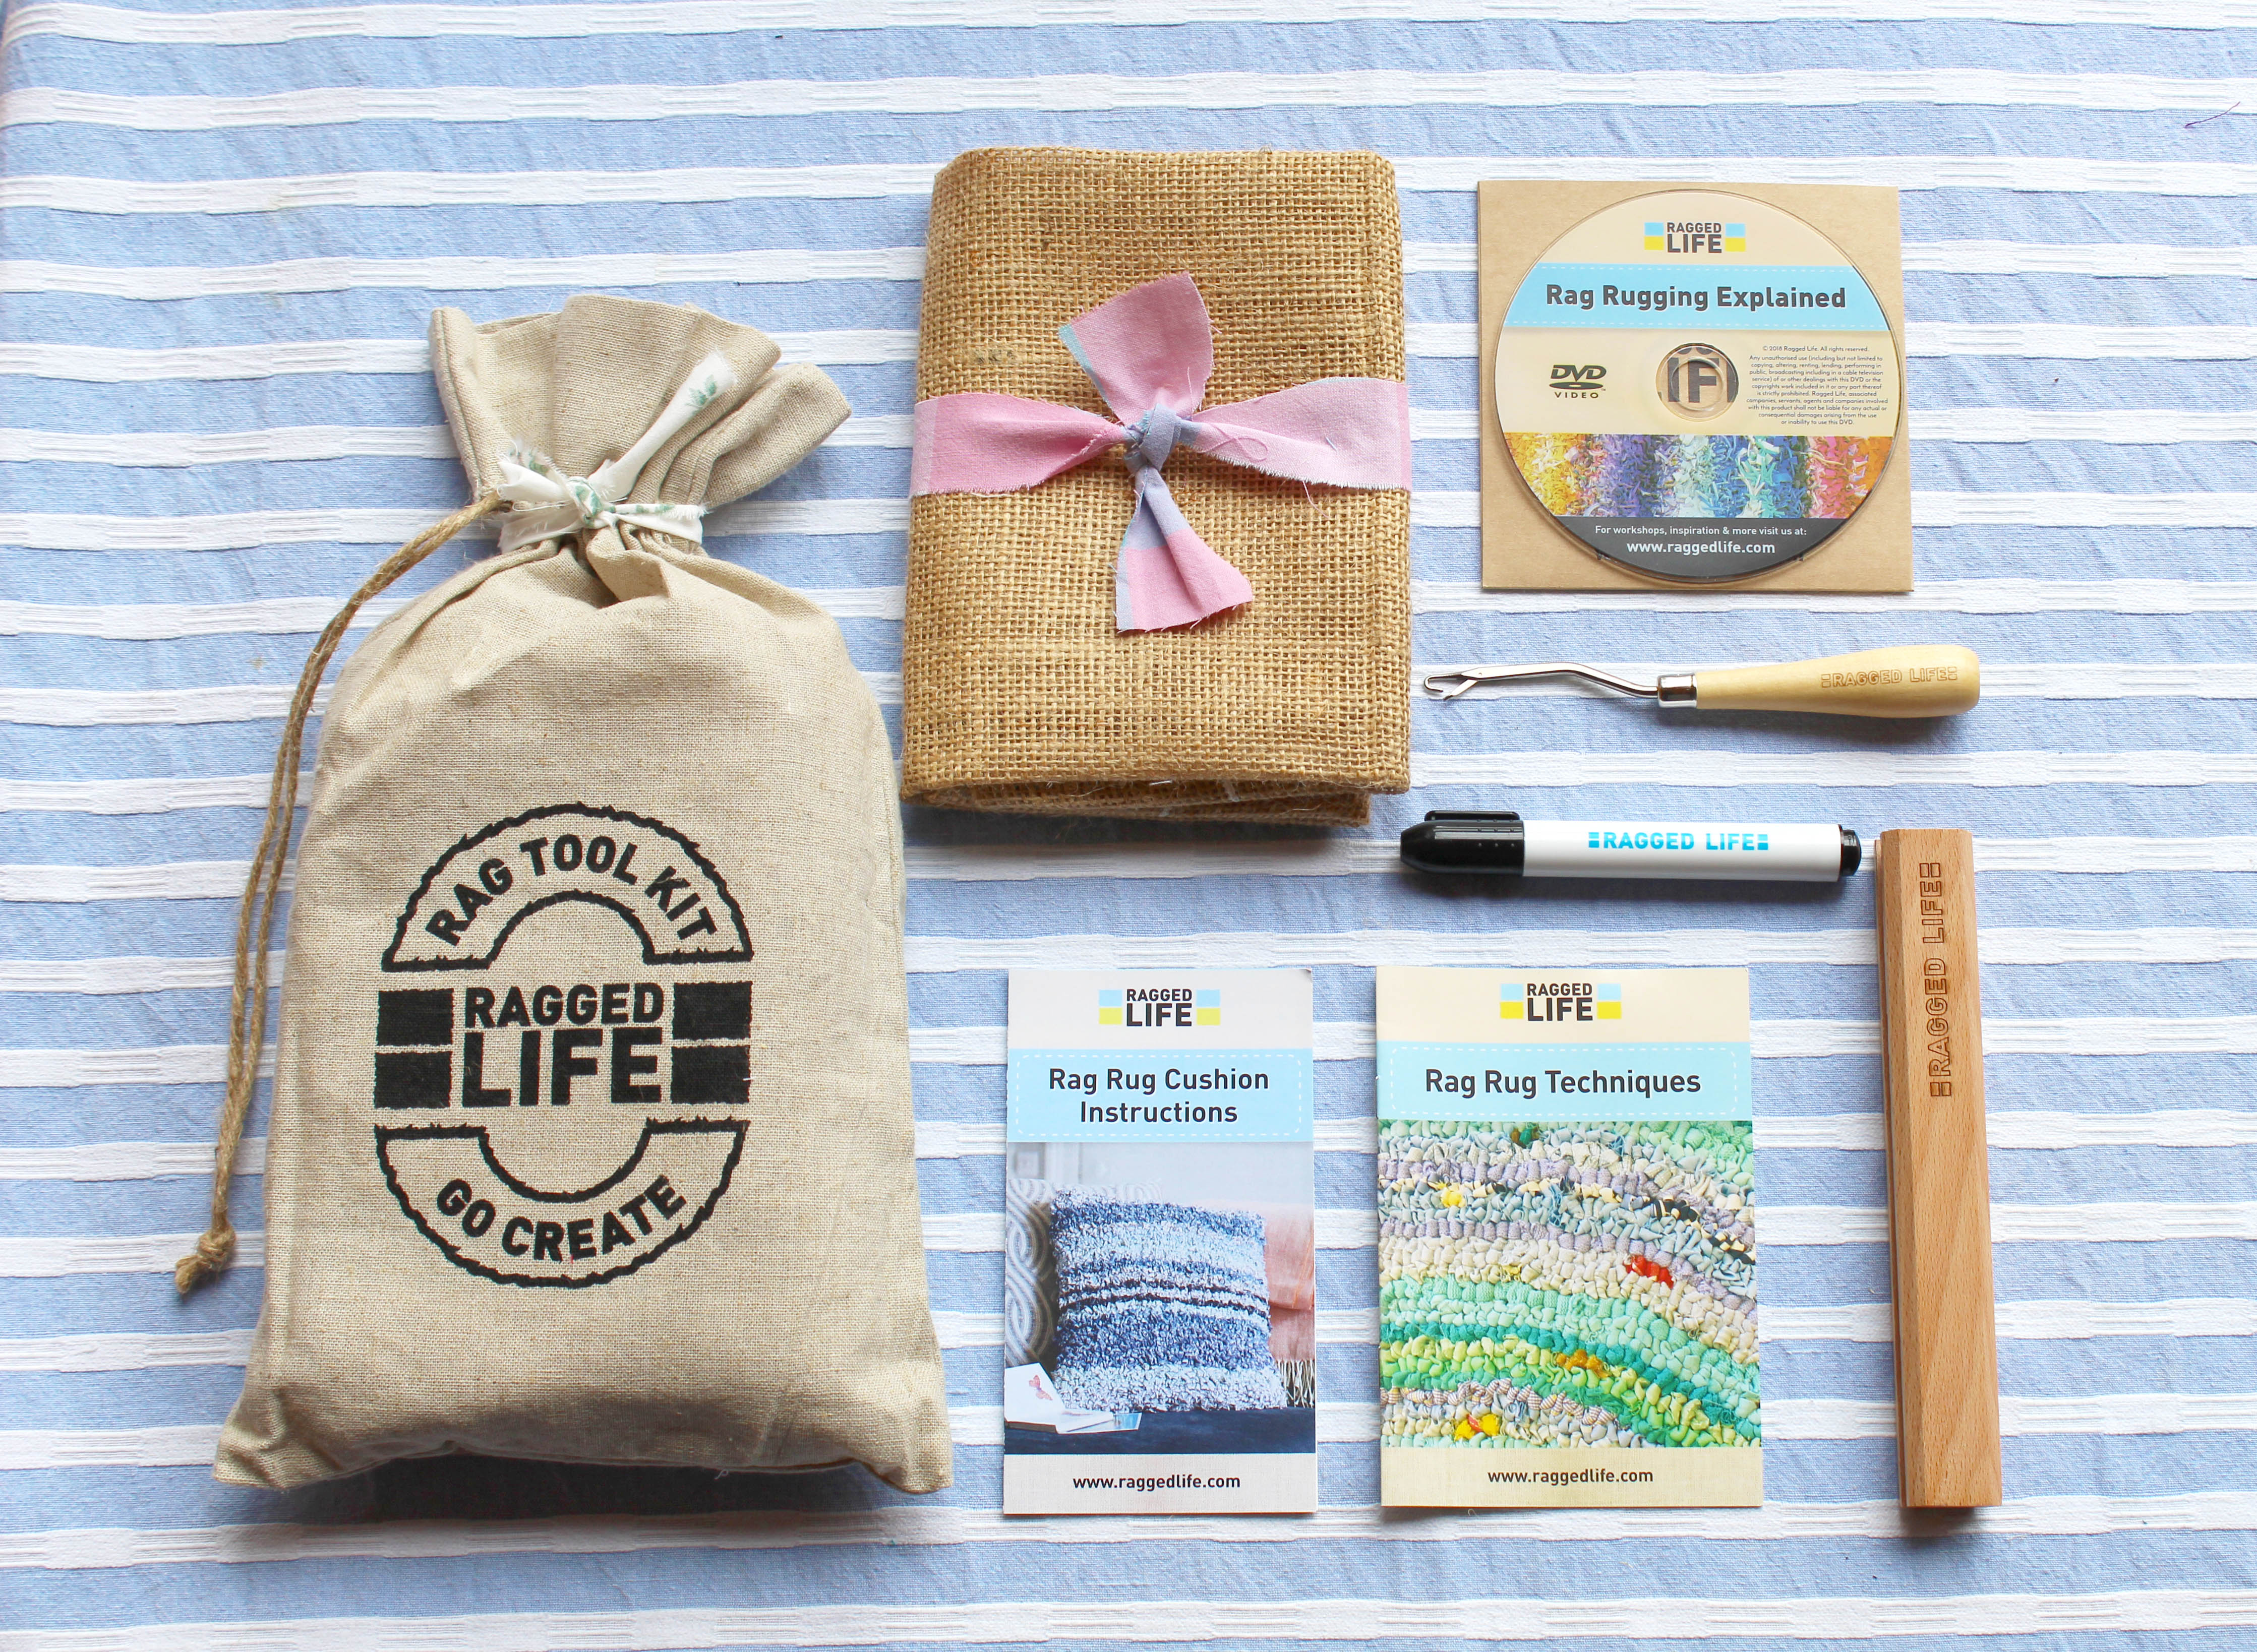
Our Ragged Life Rag Rug Cushion Kit has all the tools and instructions needed to get you started.
Making the rag rug cushion front:
Choose your design:
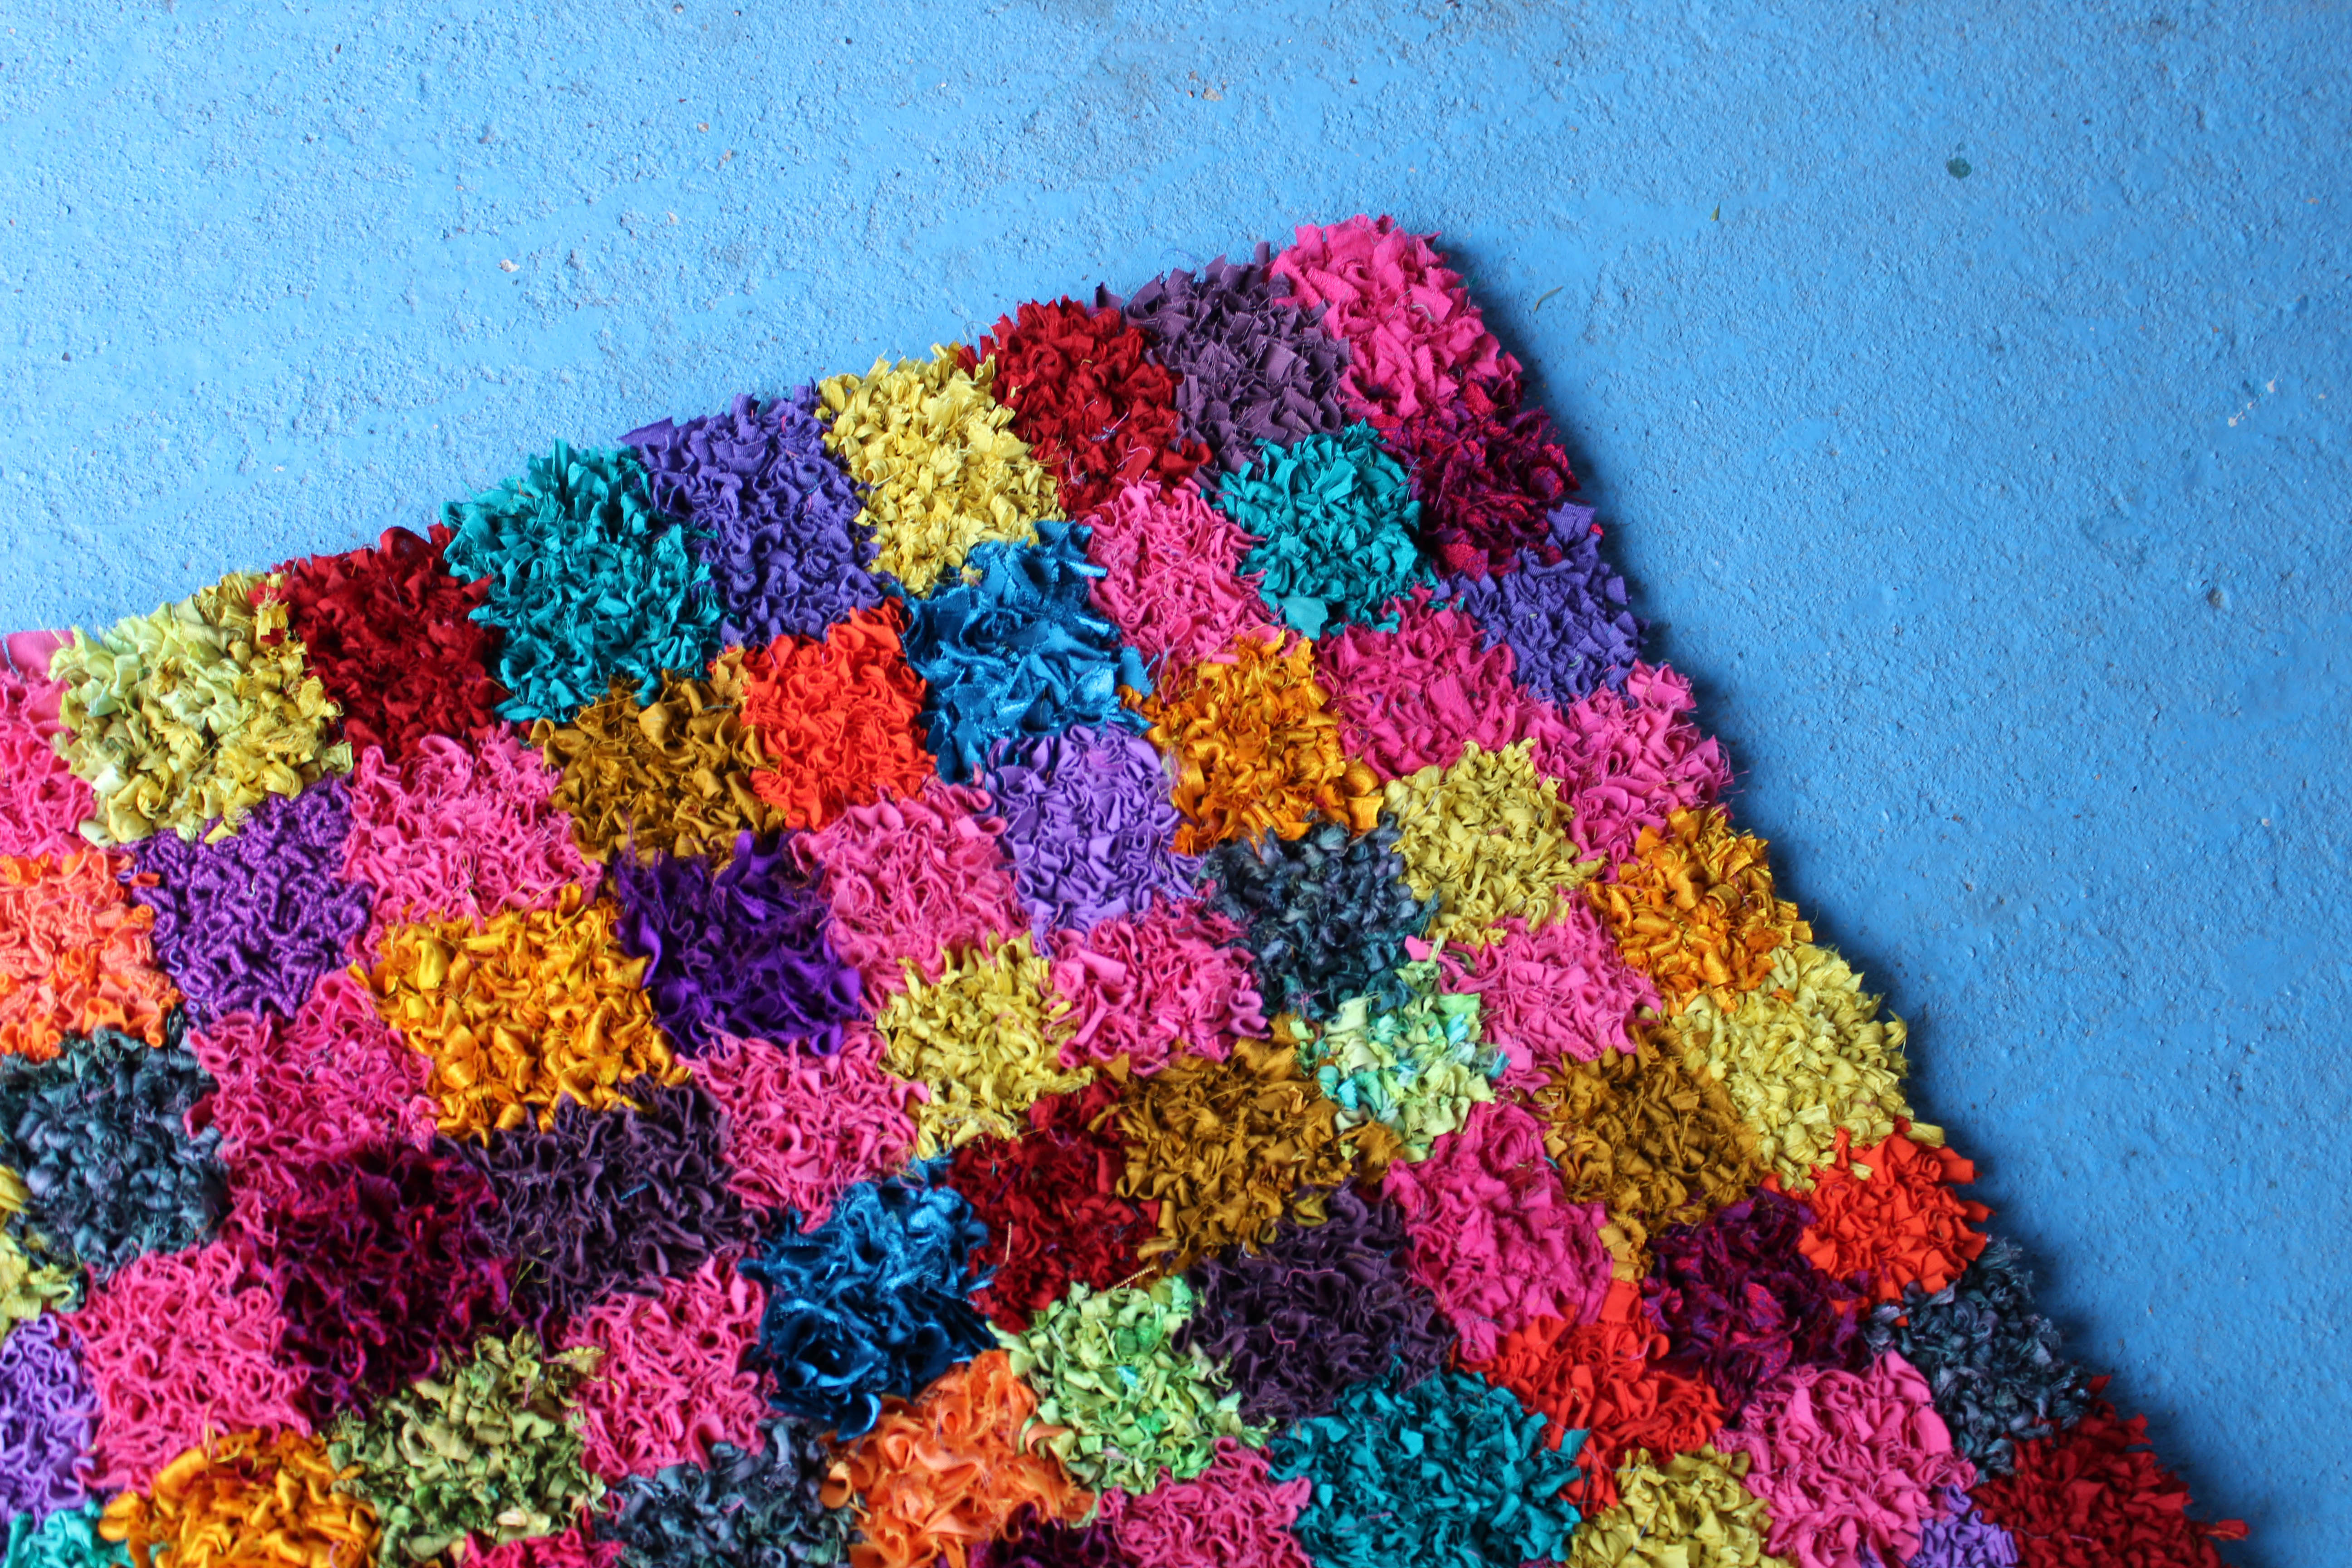
For any first rag rug project, we recommend that you keep your design simple. Geometric designs like stripes, spots, check and chevron work very well, as the texture of the rag rugging does most of the design work for you.
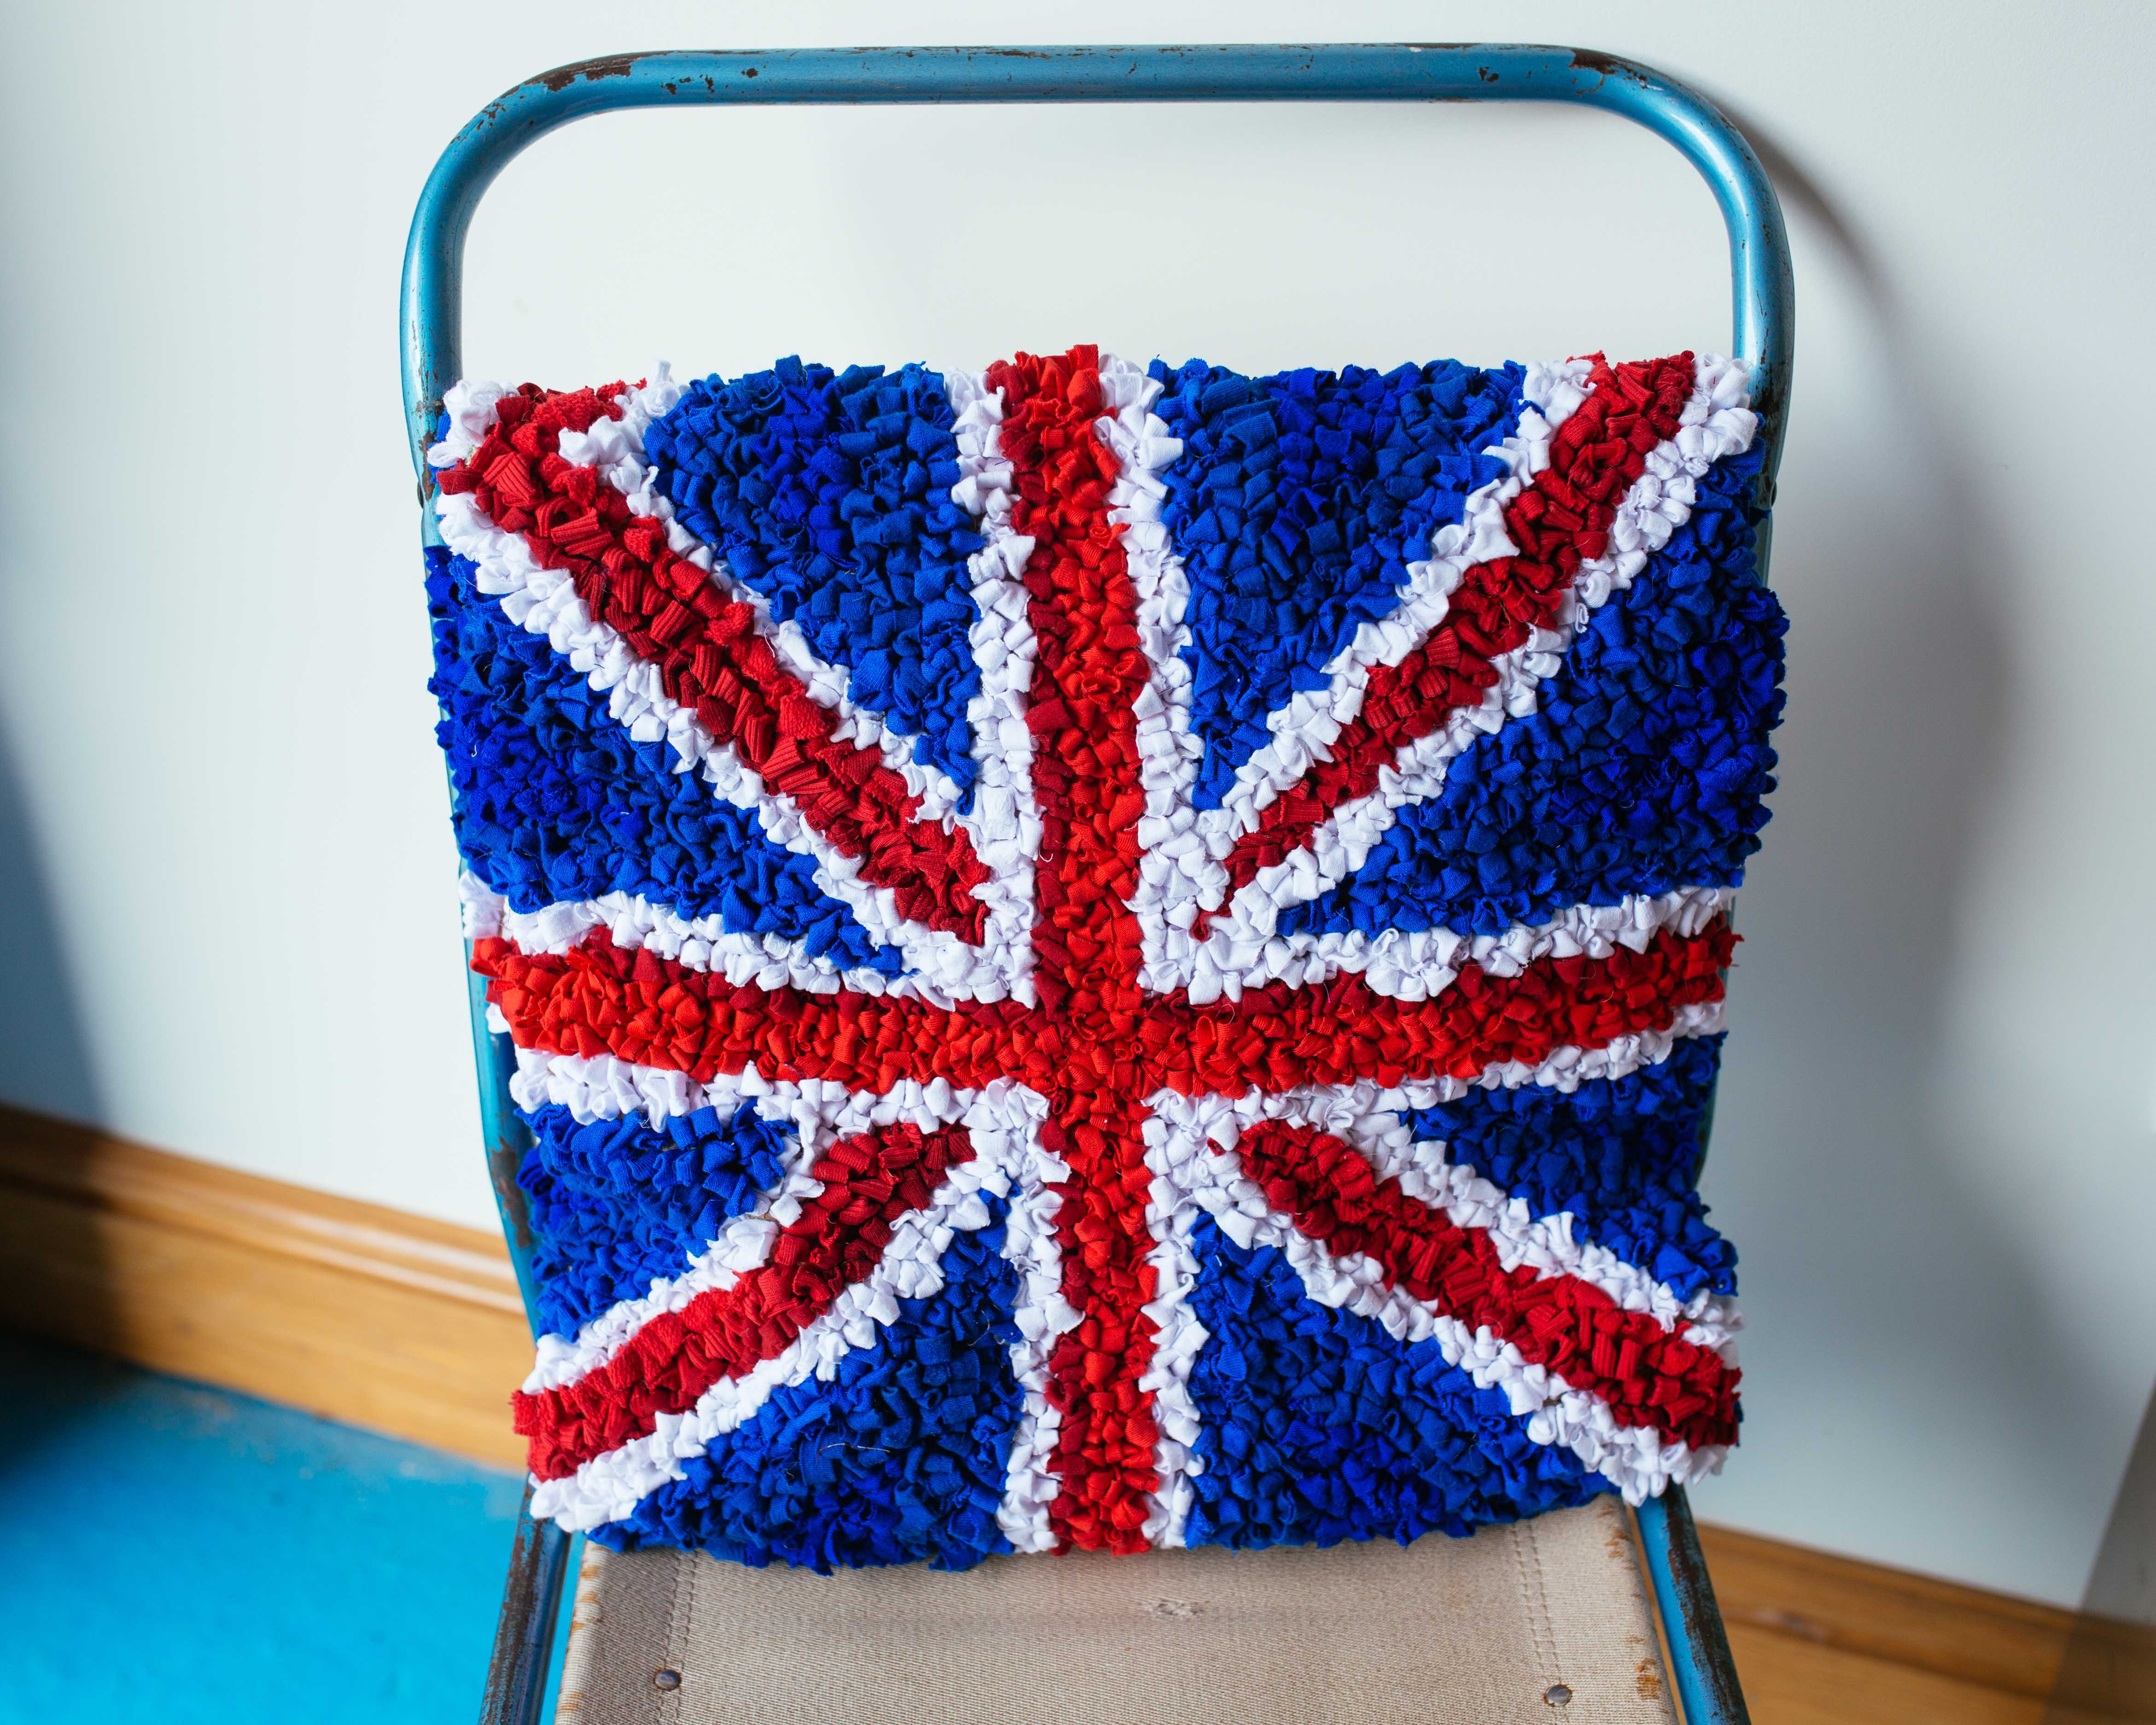
Simple, geometric designs work particularly well in rag rug.
However, once you’ve had a bit of practice, you can achieve pretty much anything you set out to in rag. Just look at Victoria Goulden‘s Frida Kahlo, for example…
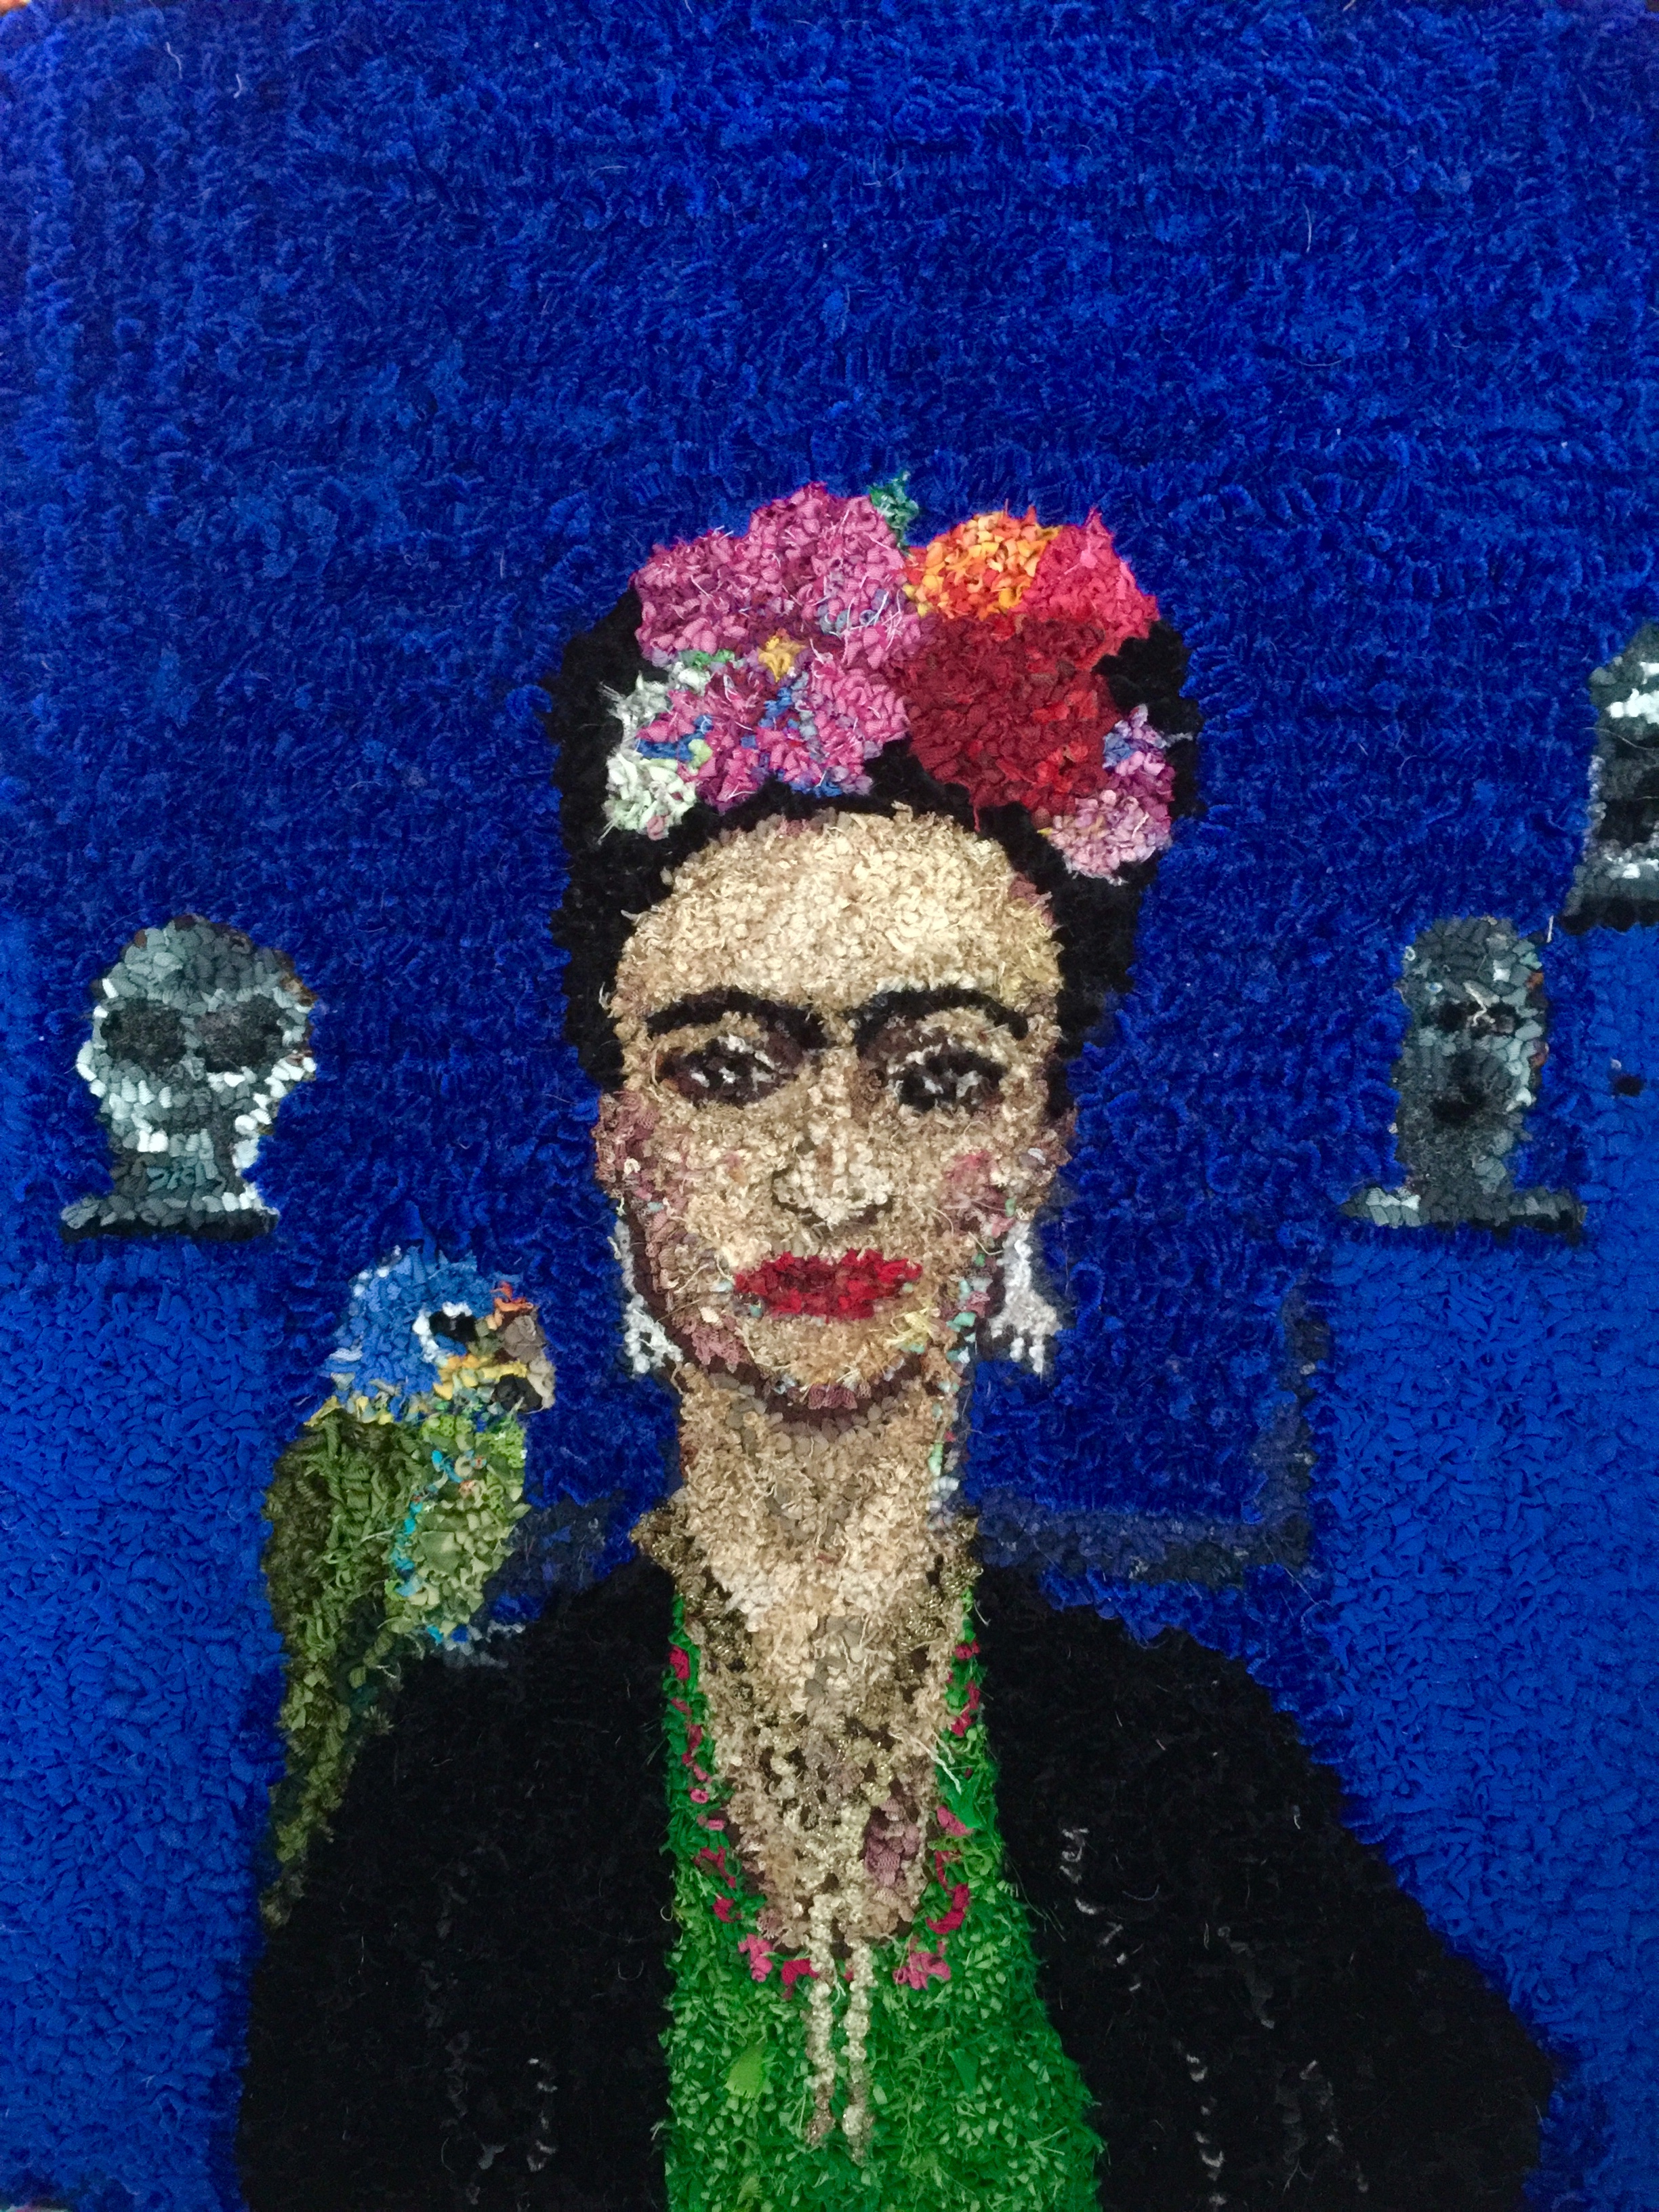
Victoria Goulden builds lots of detail into her designs.
Sketch your design onto the hessian:
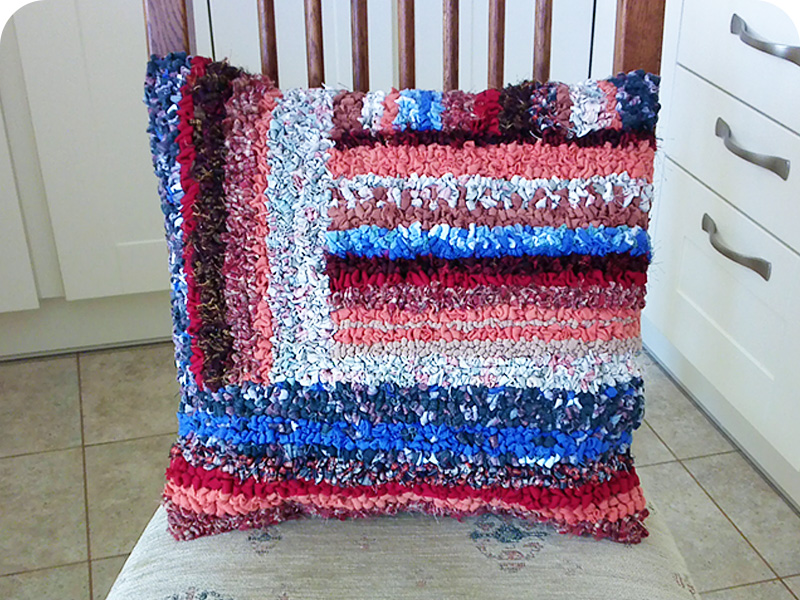
If you have chosen to make an entirely randomly rag rugged cushion or a striped one like below then you do not need to sketch anything onto the hessian as you can simply rag rug in rows from one end of the hessian to the other following the weave.
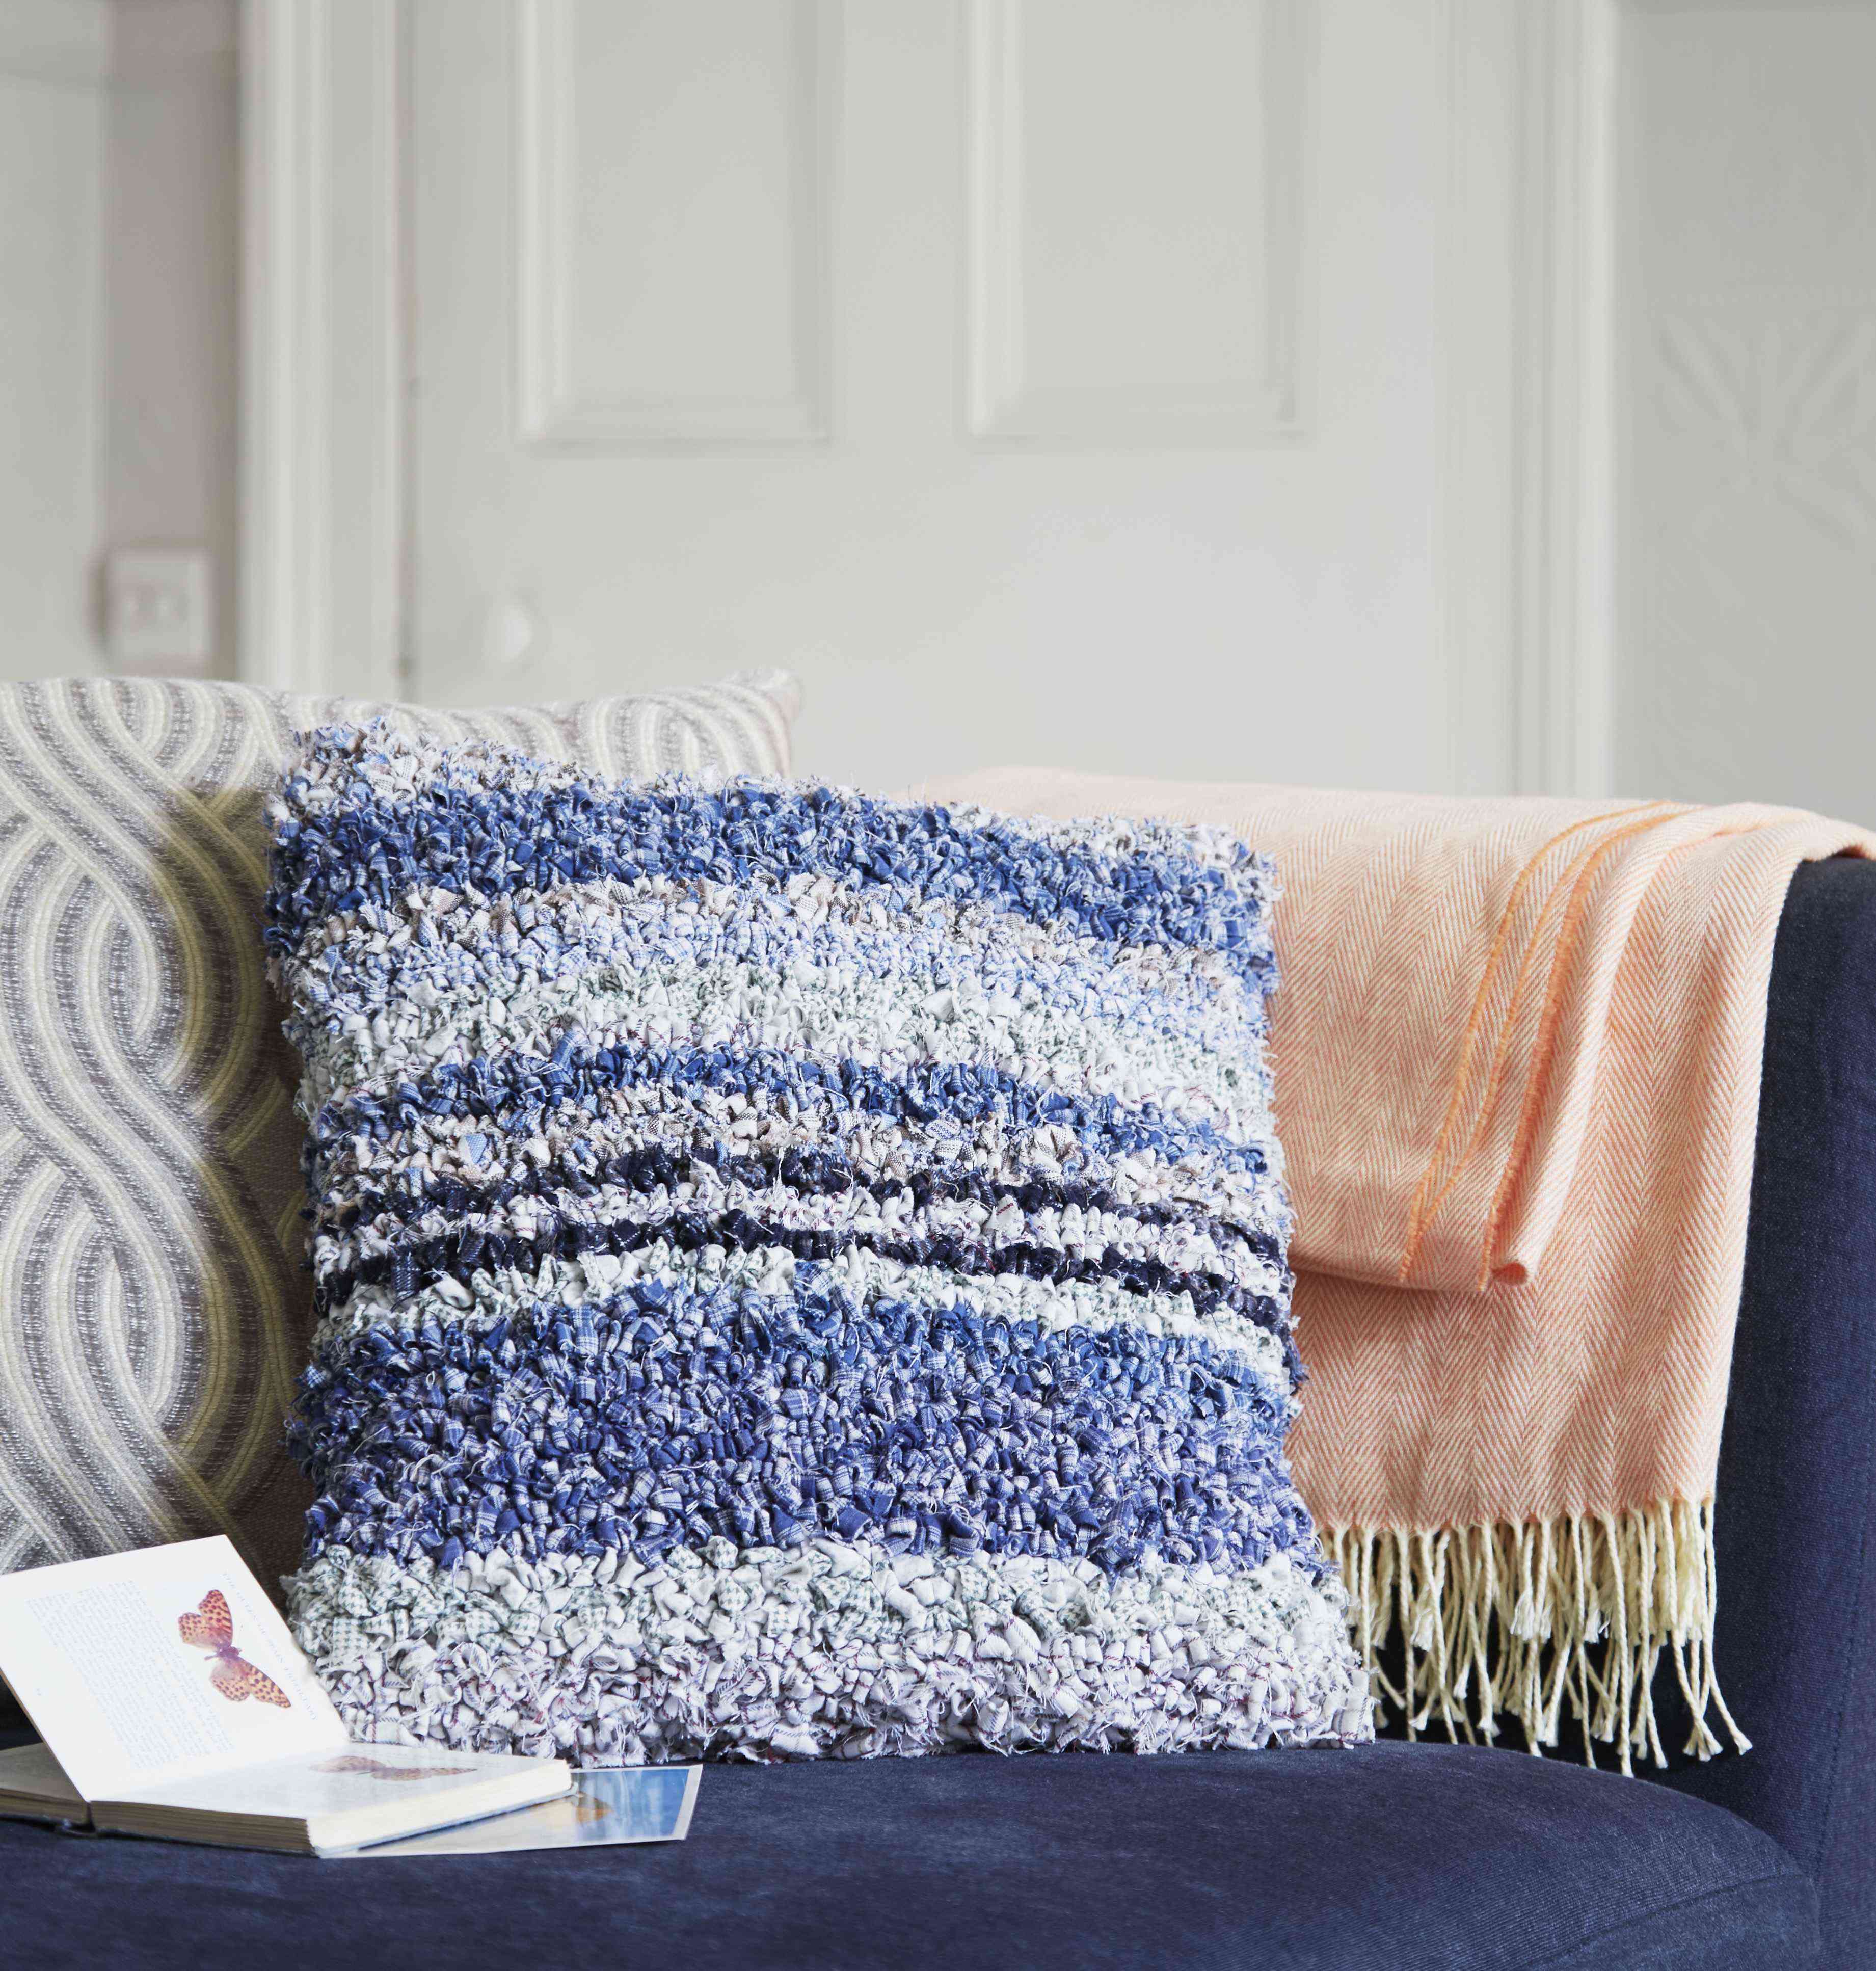
This cushion was built up in rows from one end of the hessian to the other.
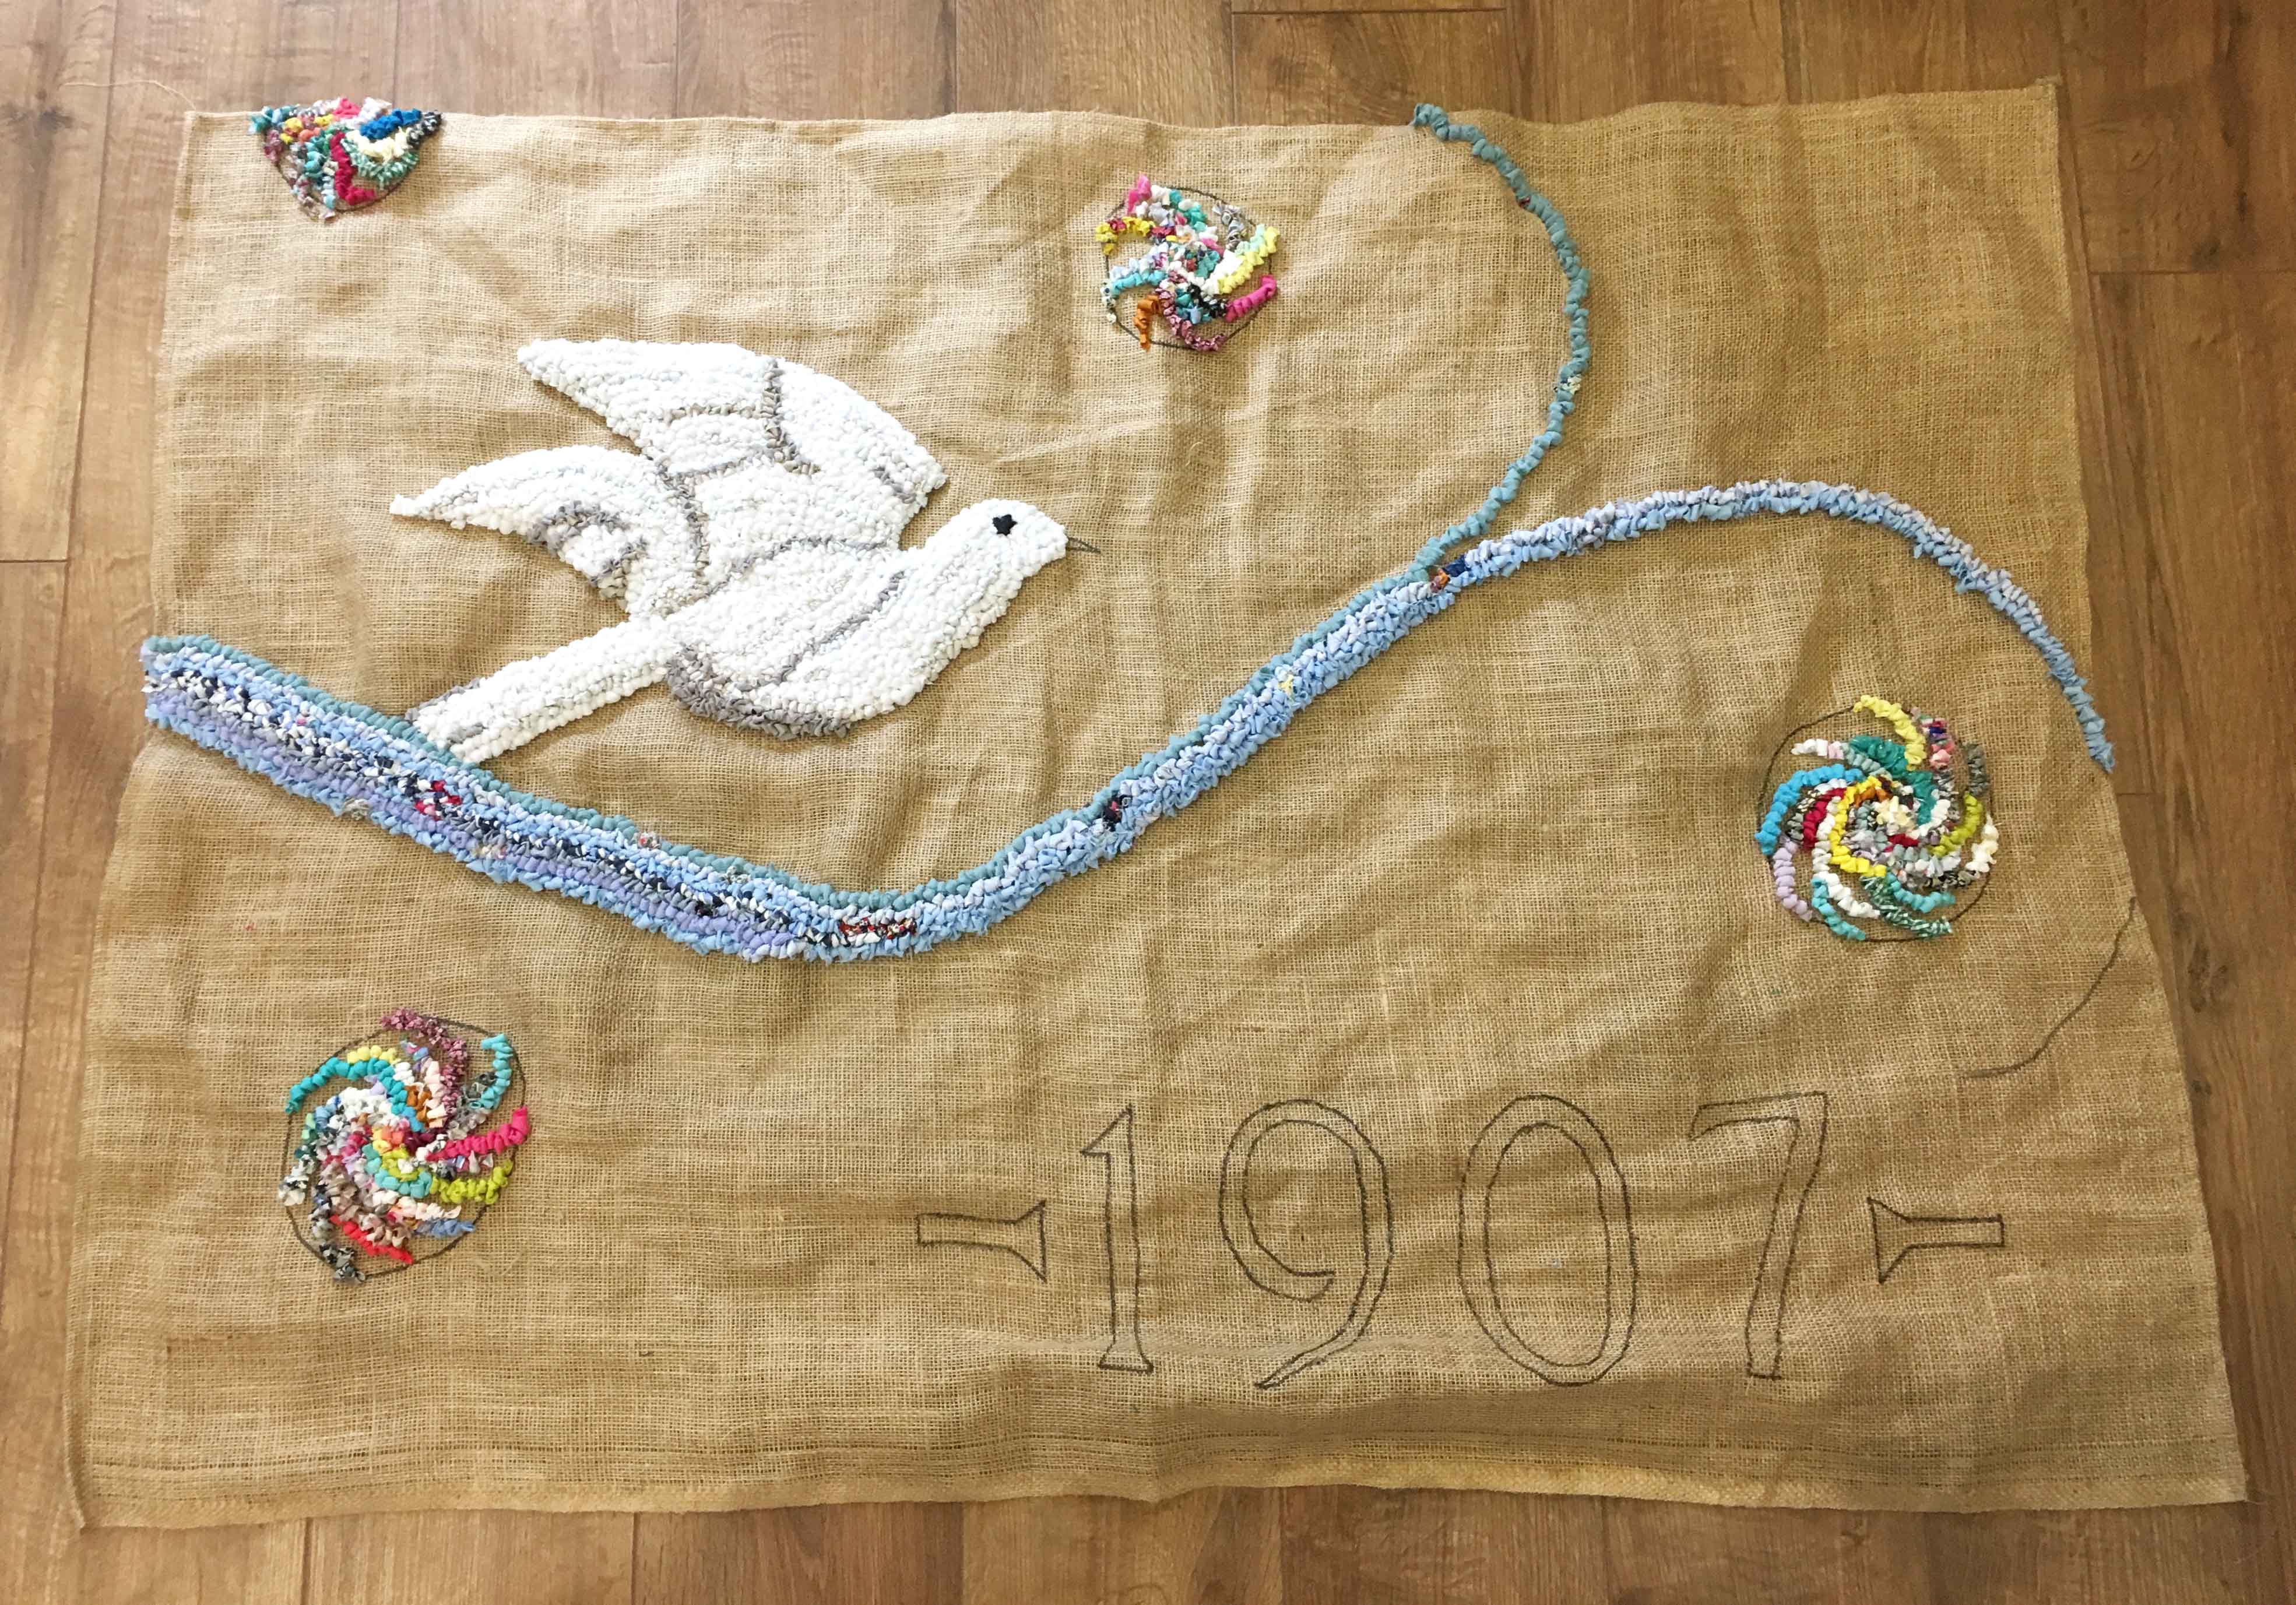
However, if you have a slightly more intricate design in mind then it always helps to sketch out your design onto the hessian using a marker pen beforehand. You don’t need to build in all the detail at this stage, as that will be done with the rag rugging itself. Just mark out the outlines of shapes and key lines. Remember, it doesn’t matter if you make a mistake with the pen as the rag rugging will cover any errors. If you’re worried about this process then you can always trace your design through the hessian (e.g. by putting the paper with the design on behind the hessian), as the holes make the hessian slightly transparent.
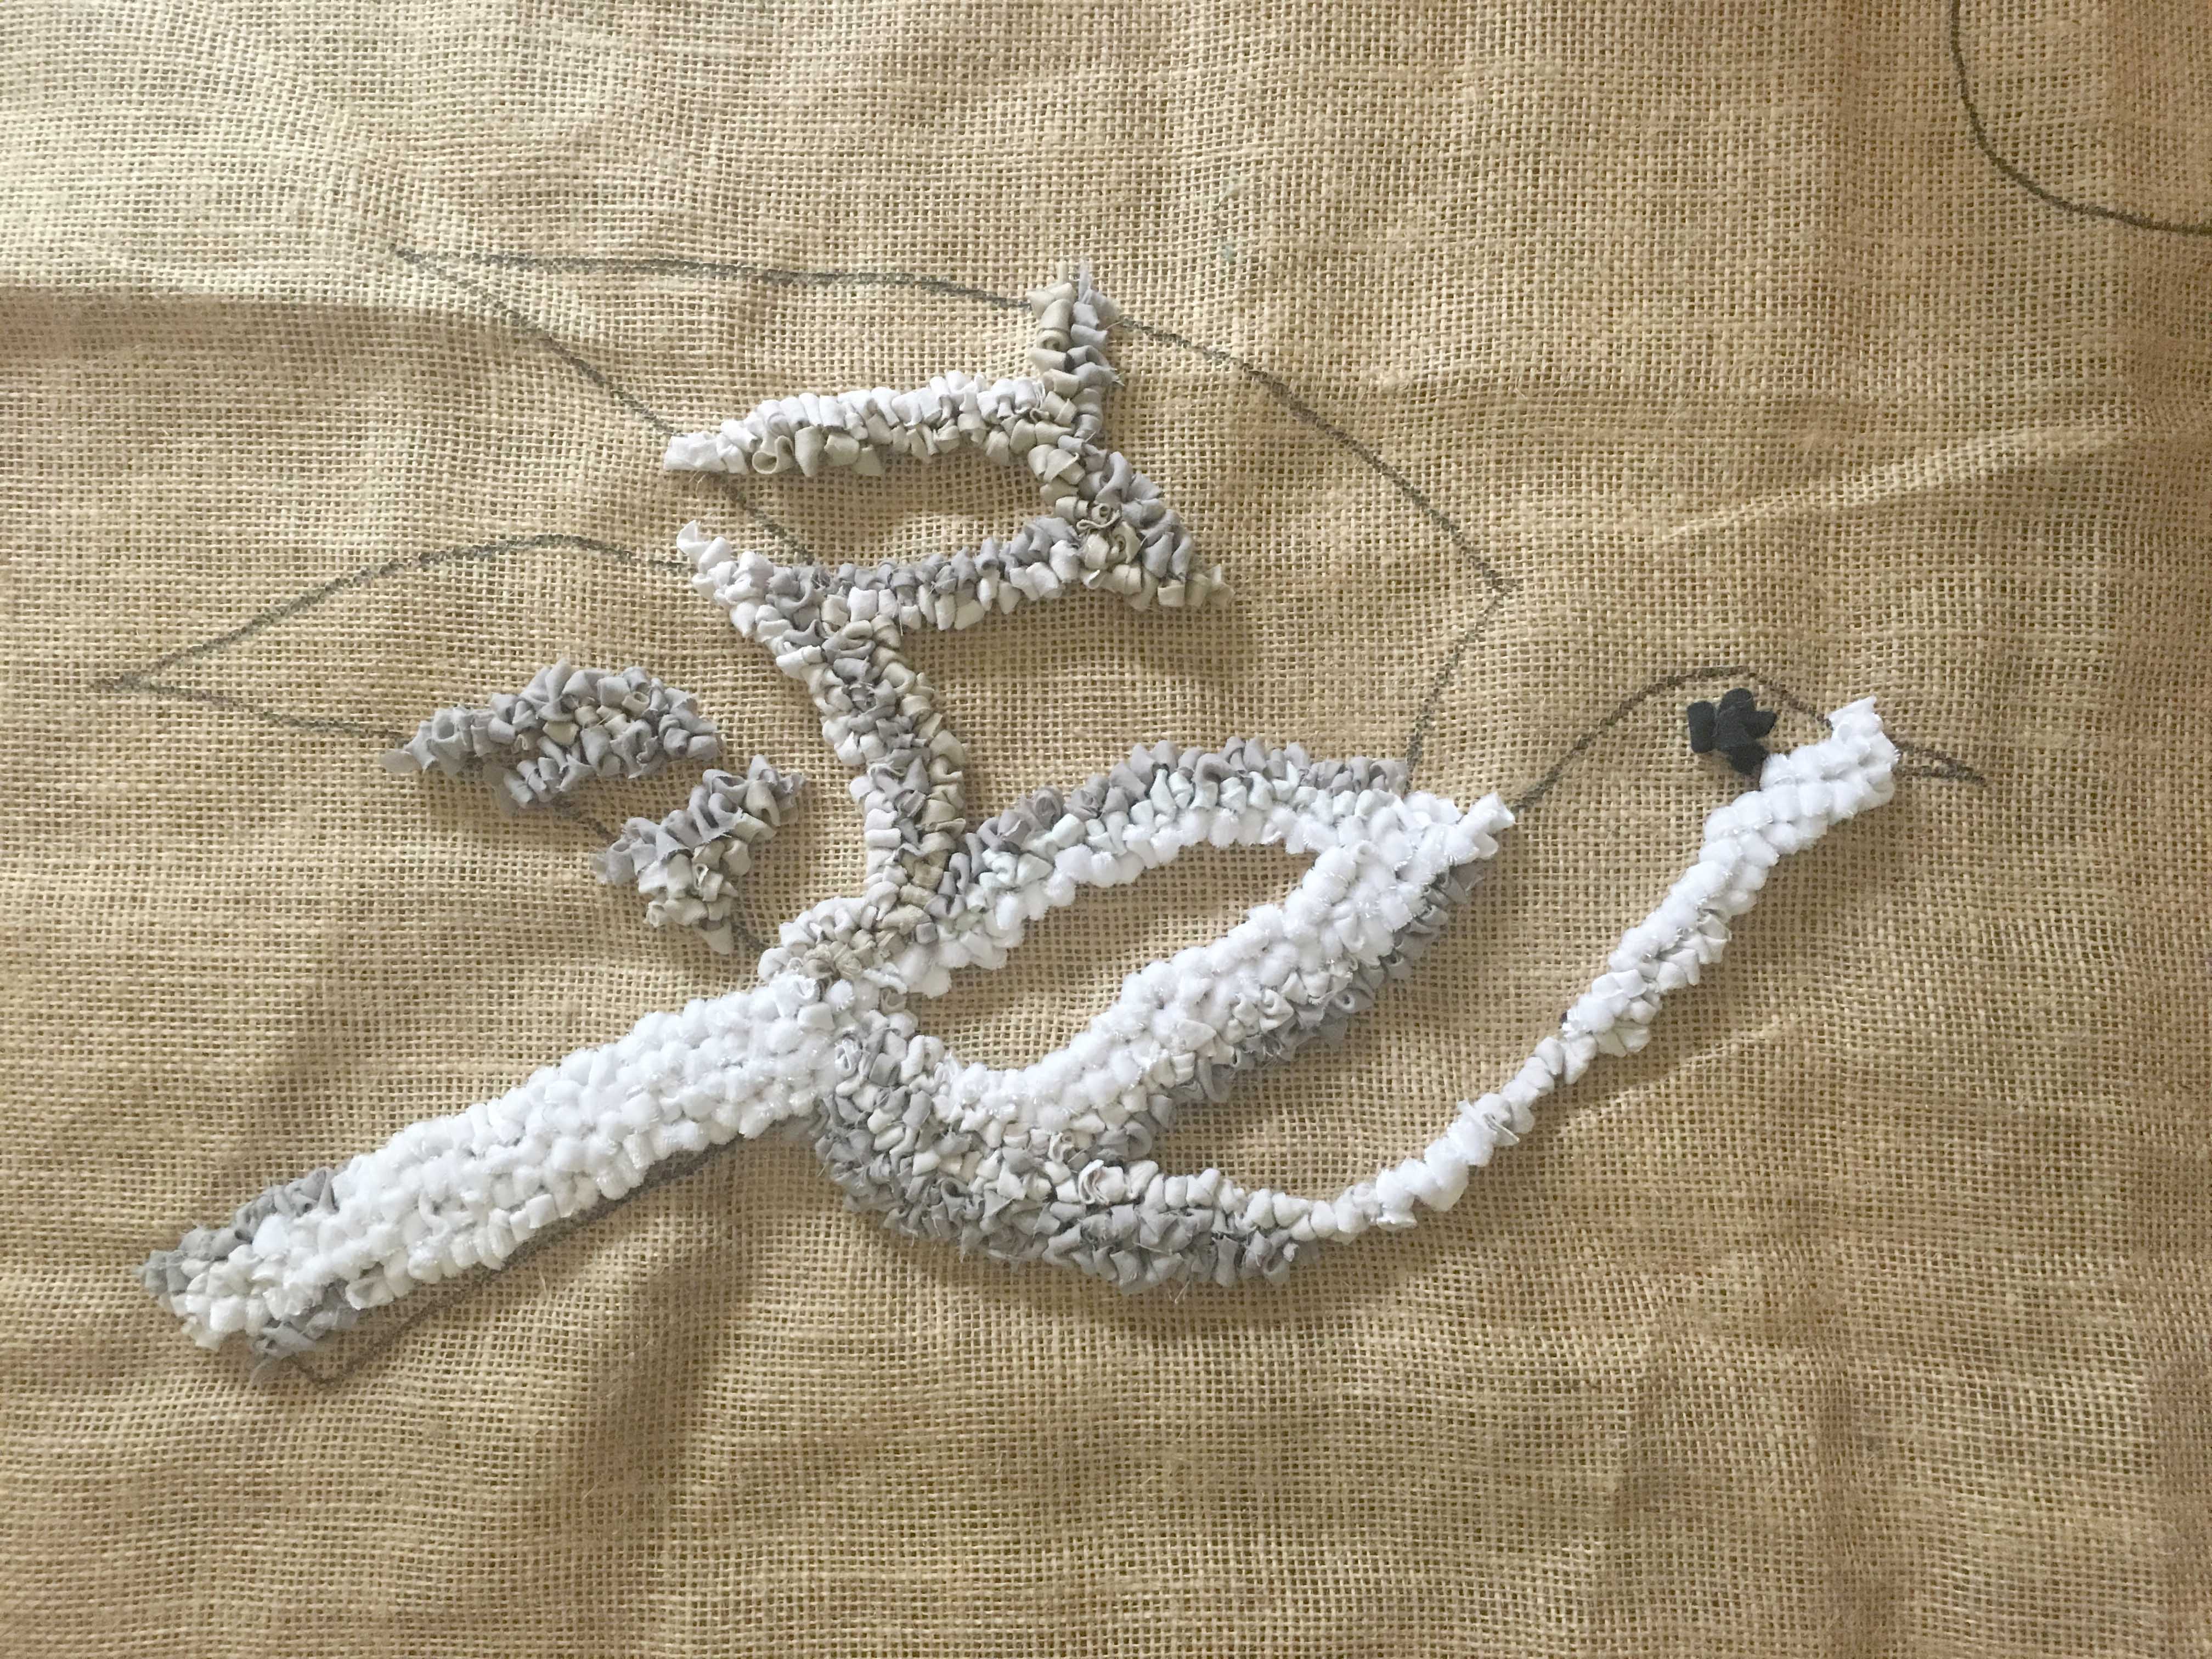
Here I sketched the basic outline of a dove onto the hessian.
I built in the detail of the dove using the fabrics themselves.
Choose your rag rug technique:
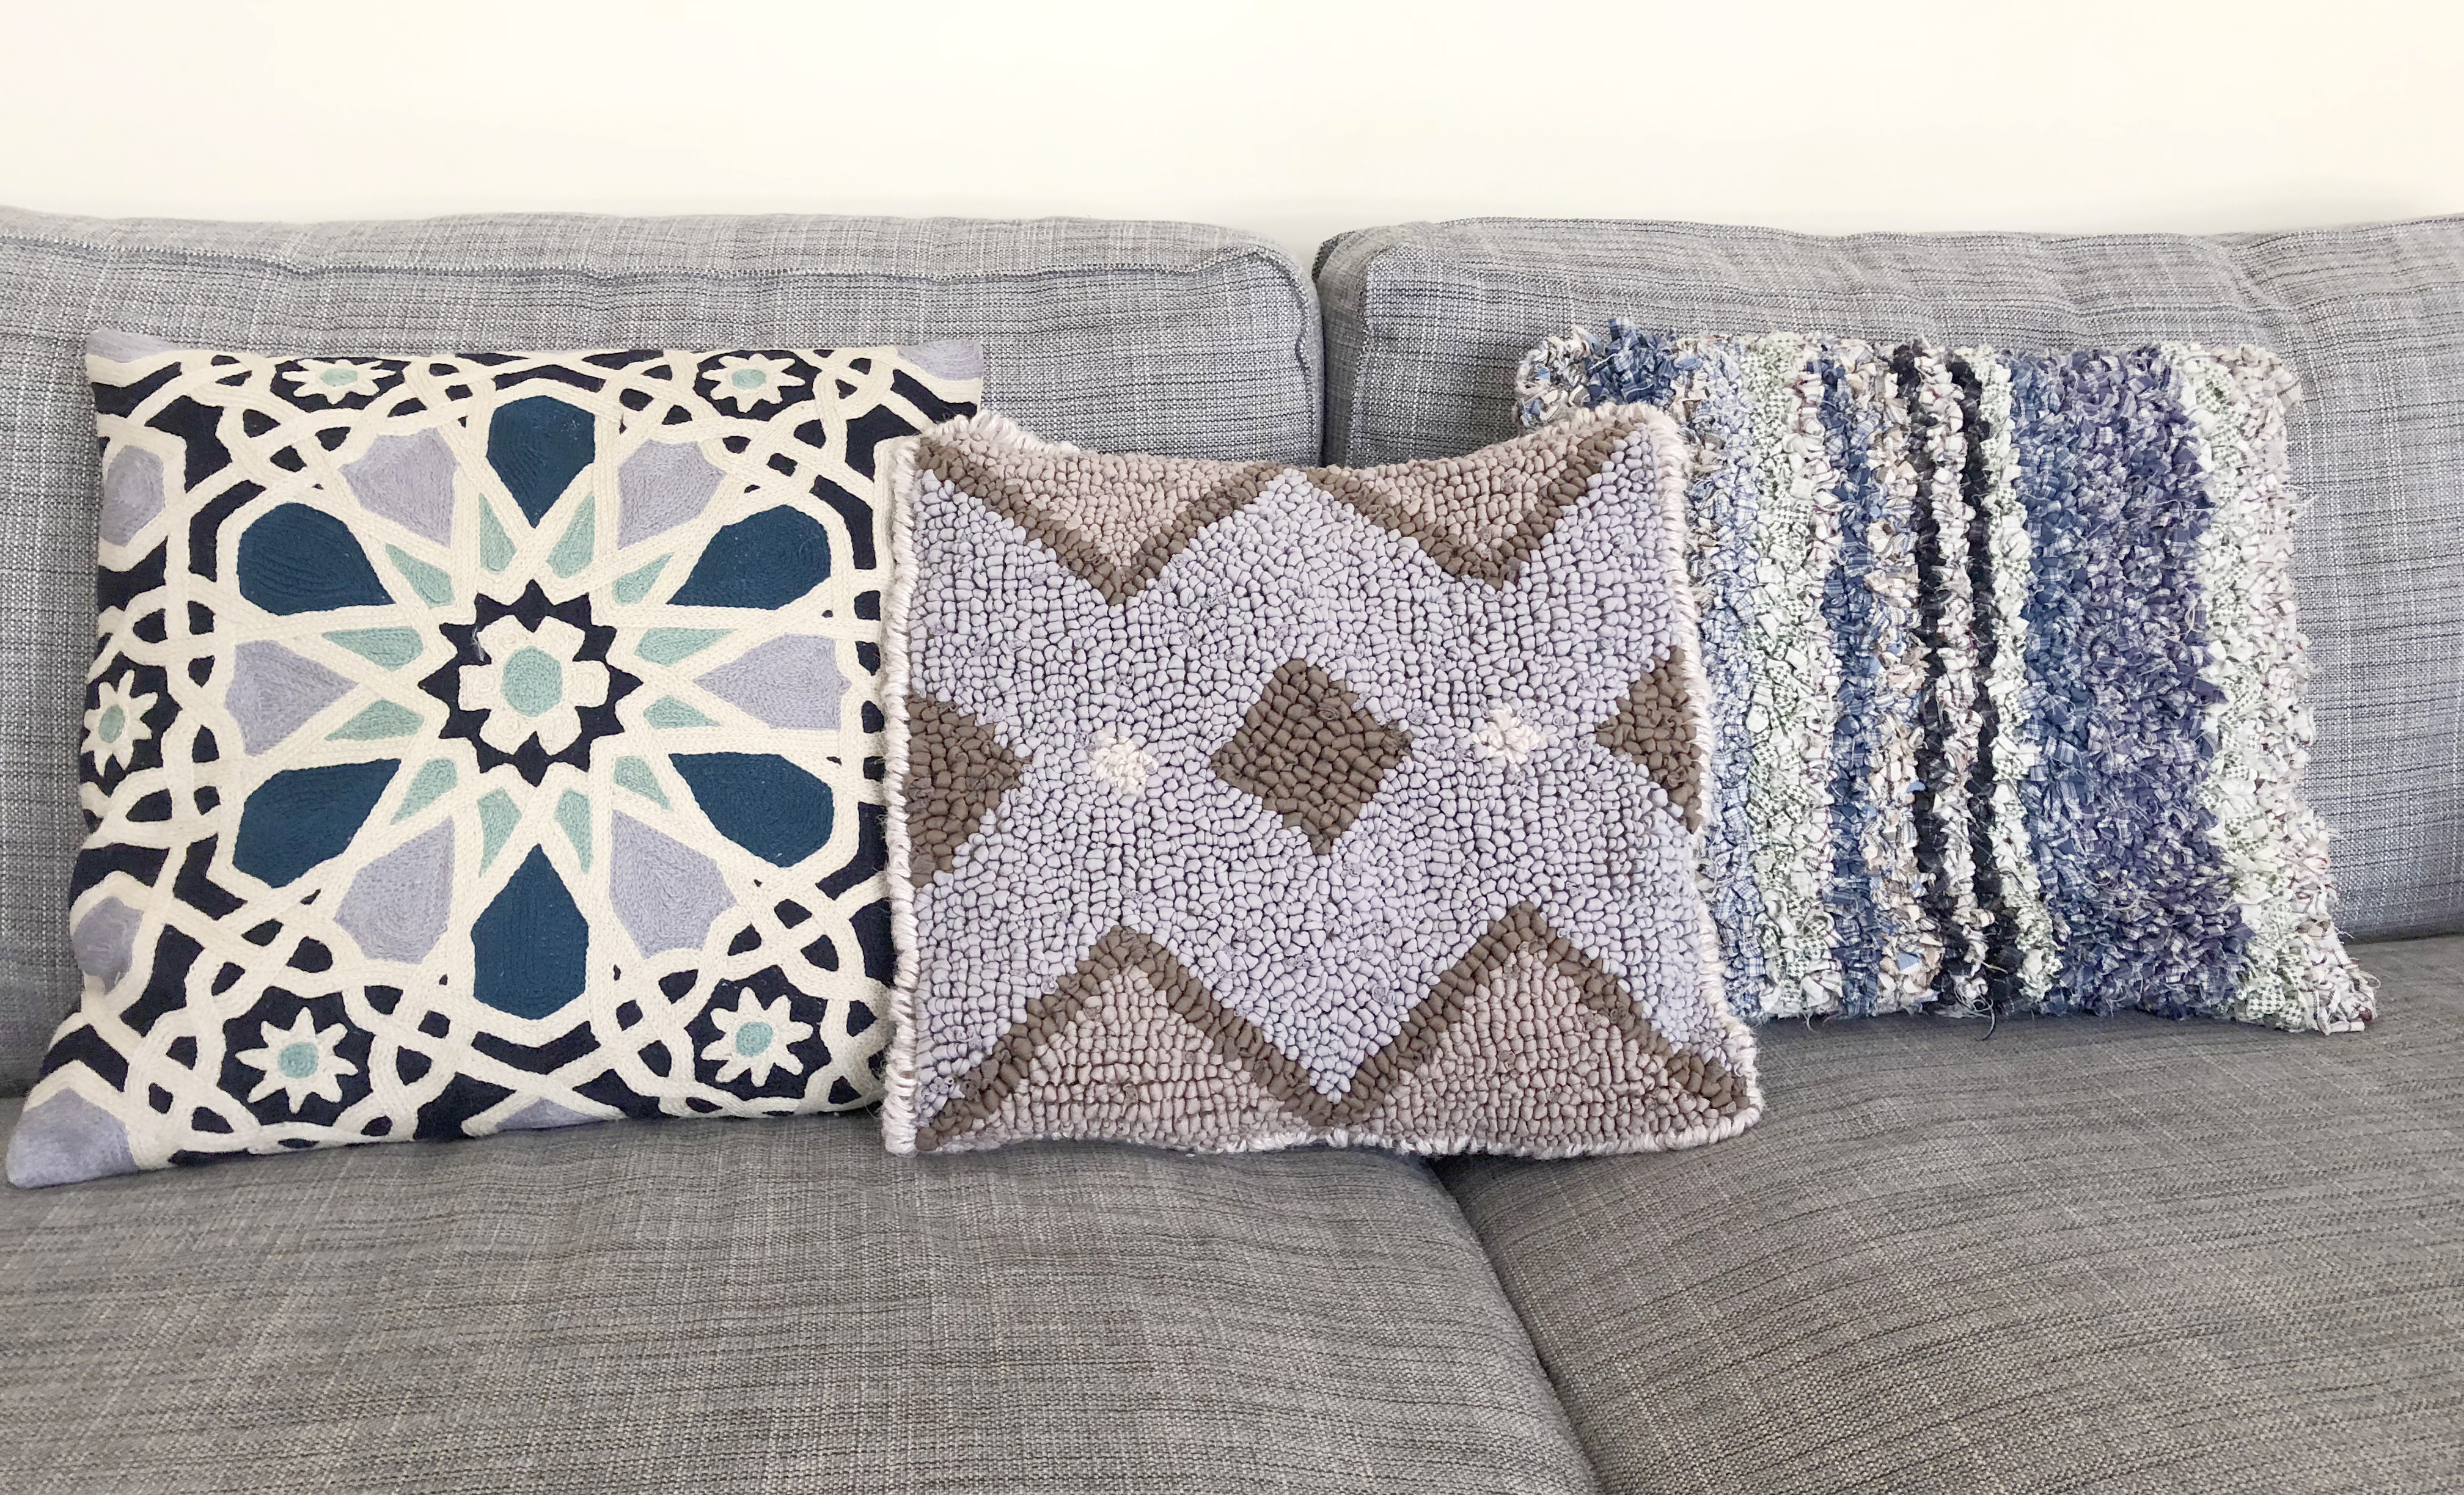
Within rag rugging, you can choose either the shaggy, short shaggy or loopy rag rug techniques. Shaggy rag rugging gives a soft, luxurious pile, but can look a little wild. Loopy rag rugging allows for a crisp design with proper detail, but is slightly trickier to do. The short shaggy rag rug technique is a hybrid of the previous two, so gives a medium pile with a relatively defined design. Below you can see the differences…
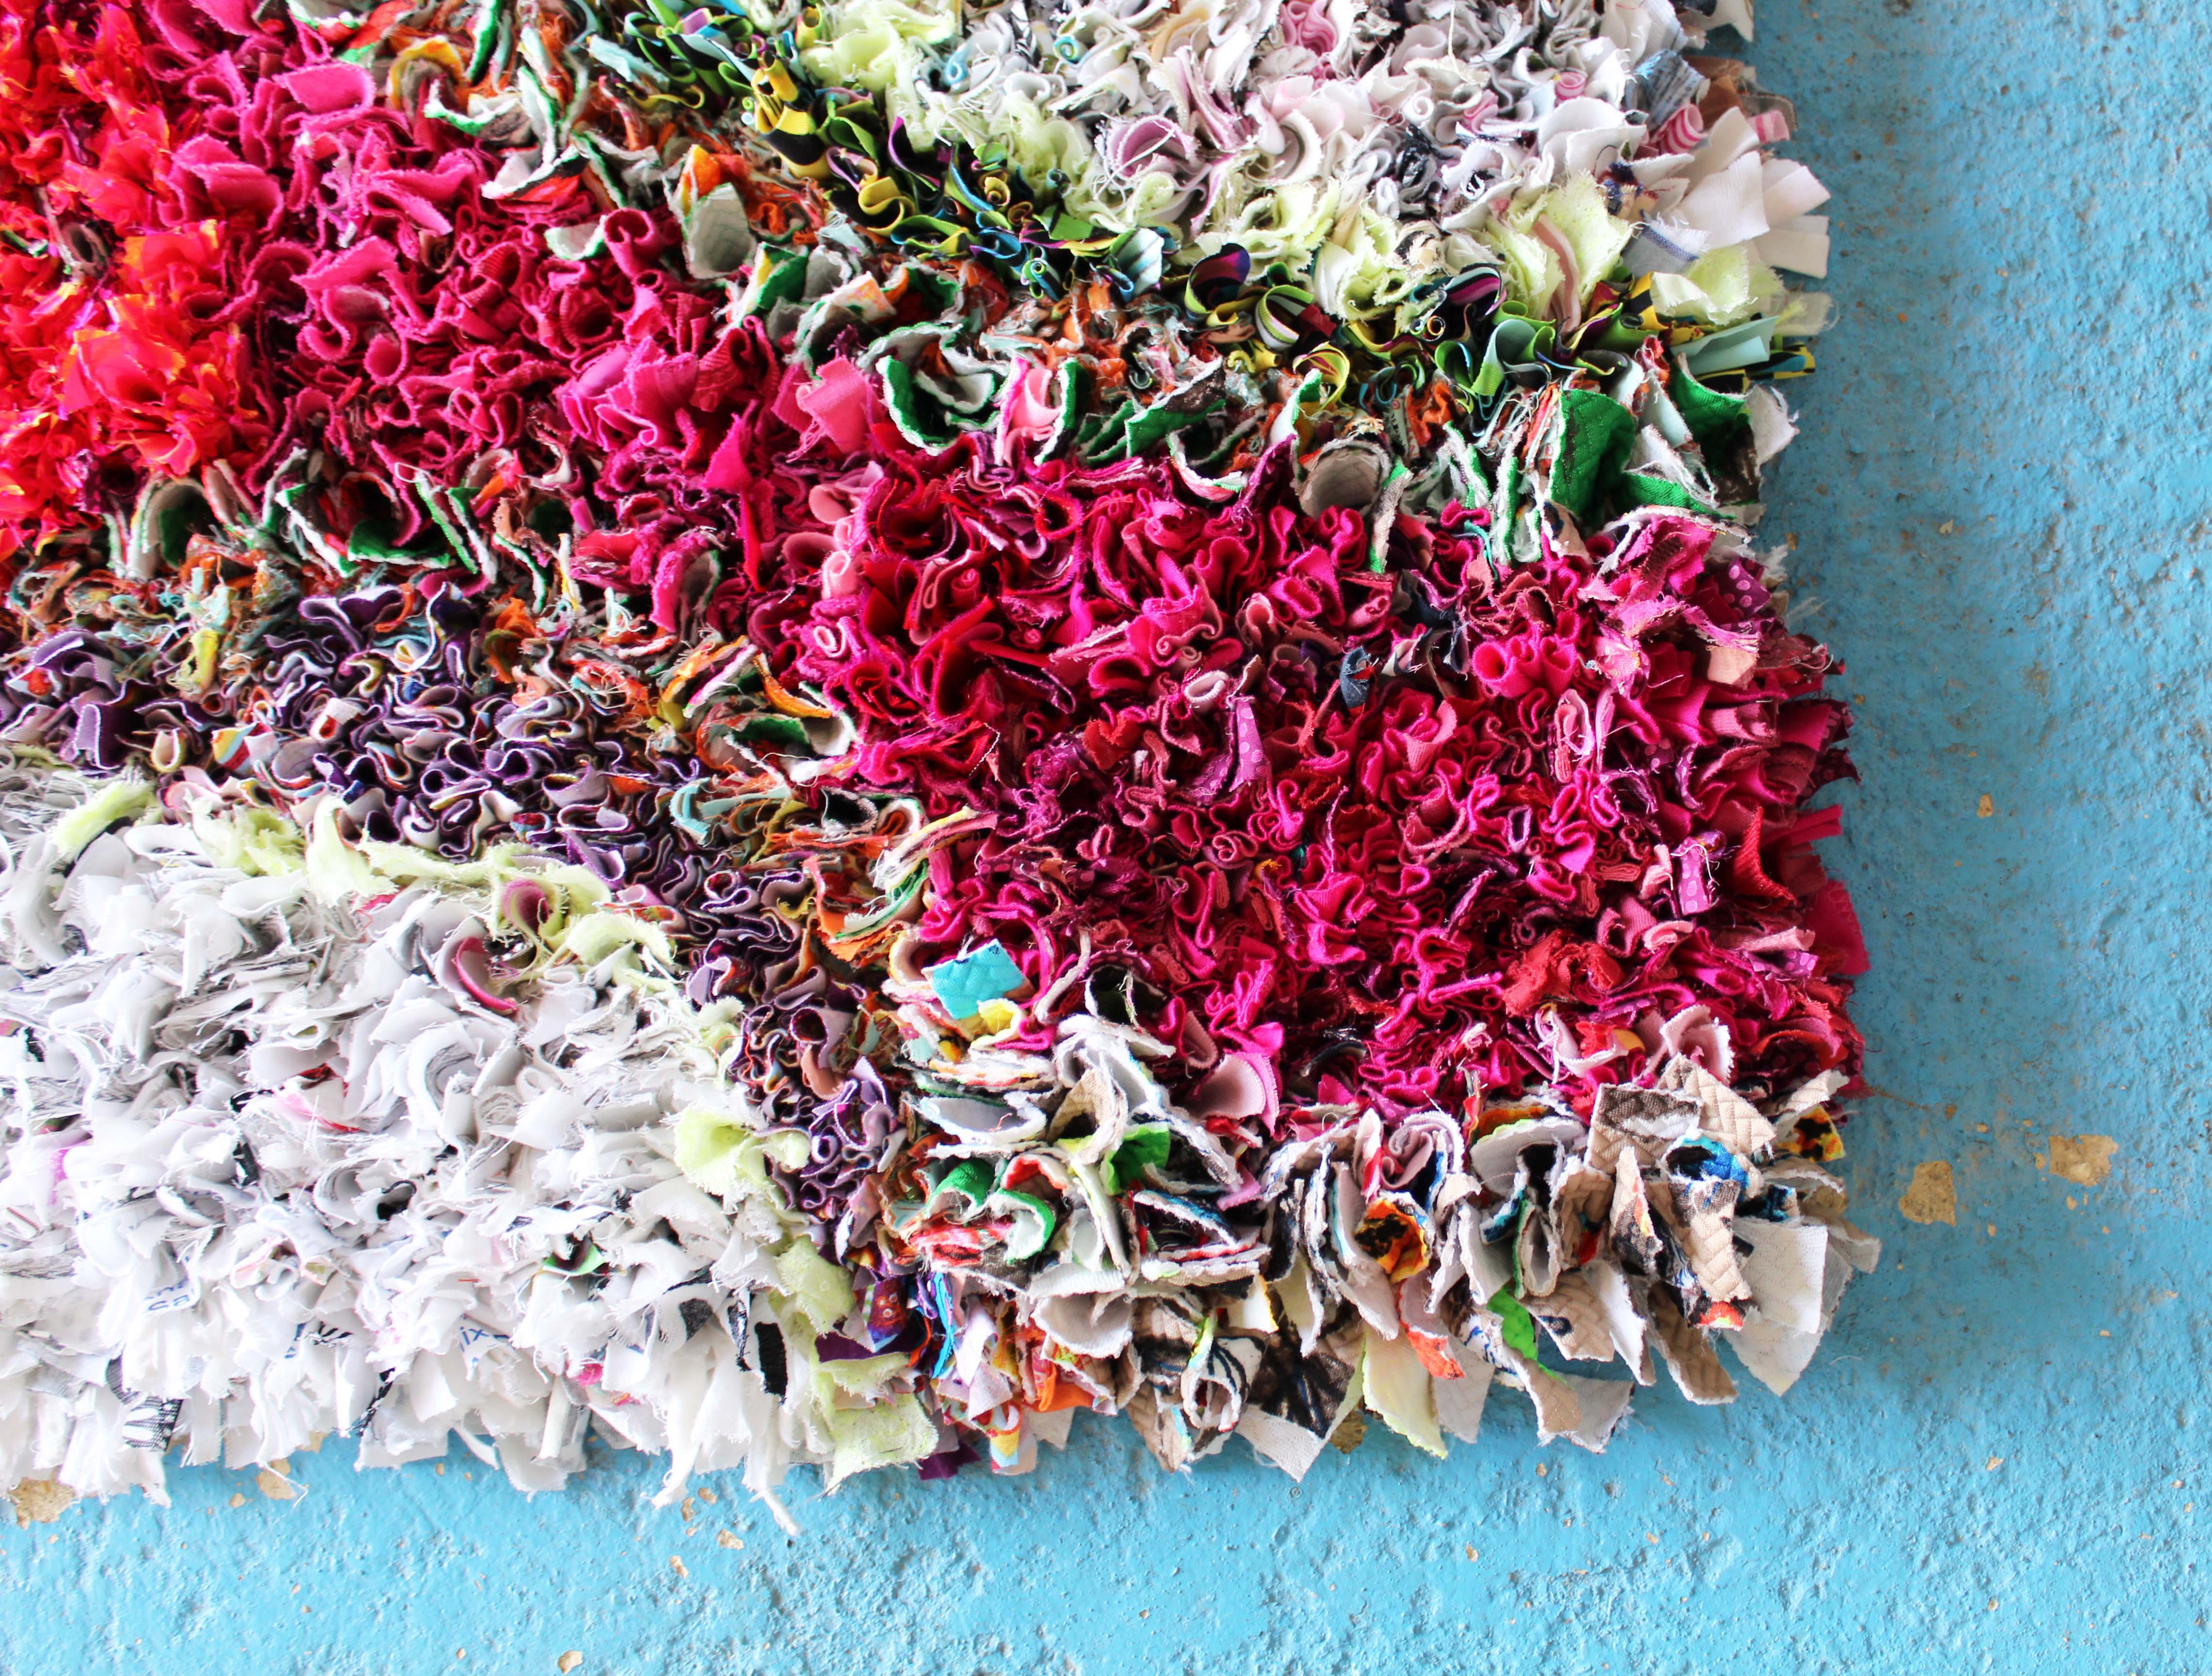
Shaggy rag rugging feels great, but designs become blurred by the thick pile.
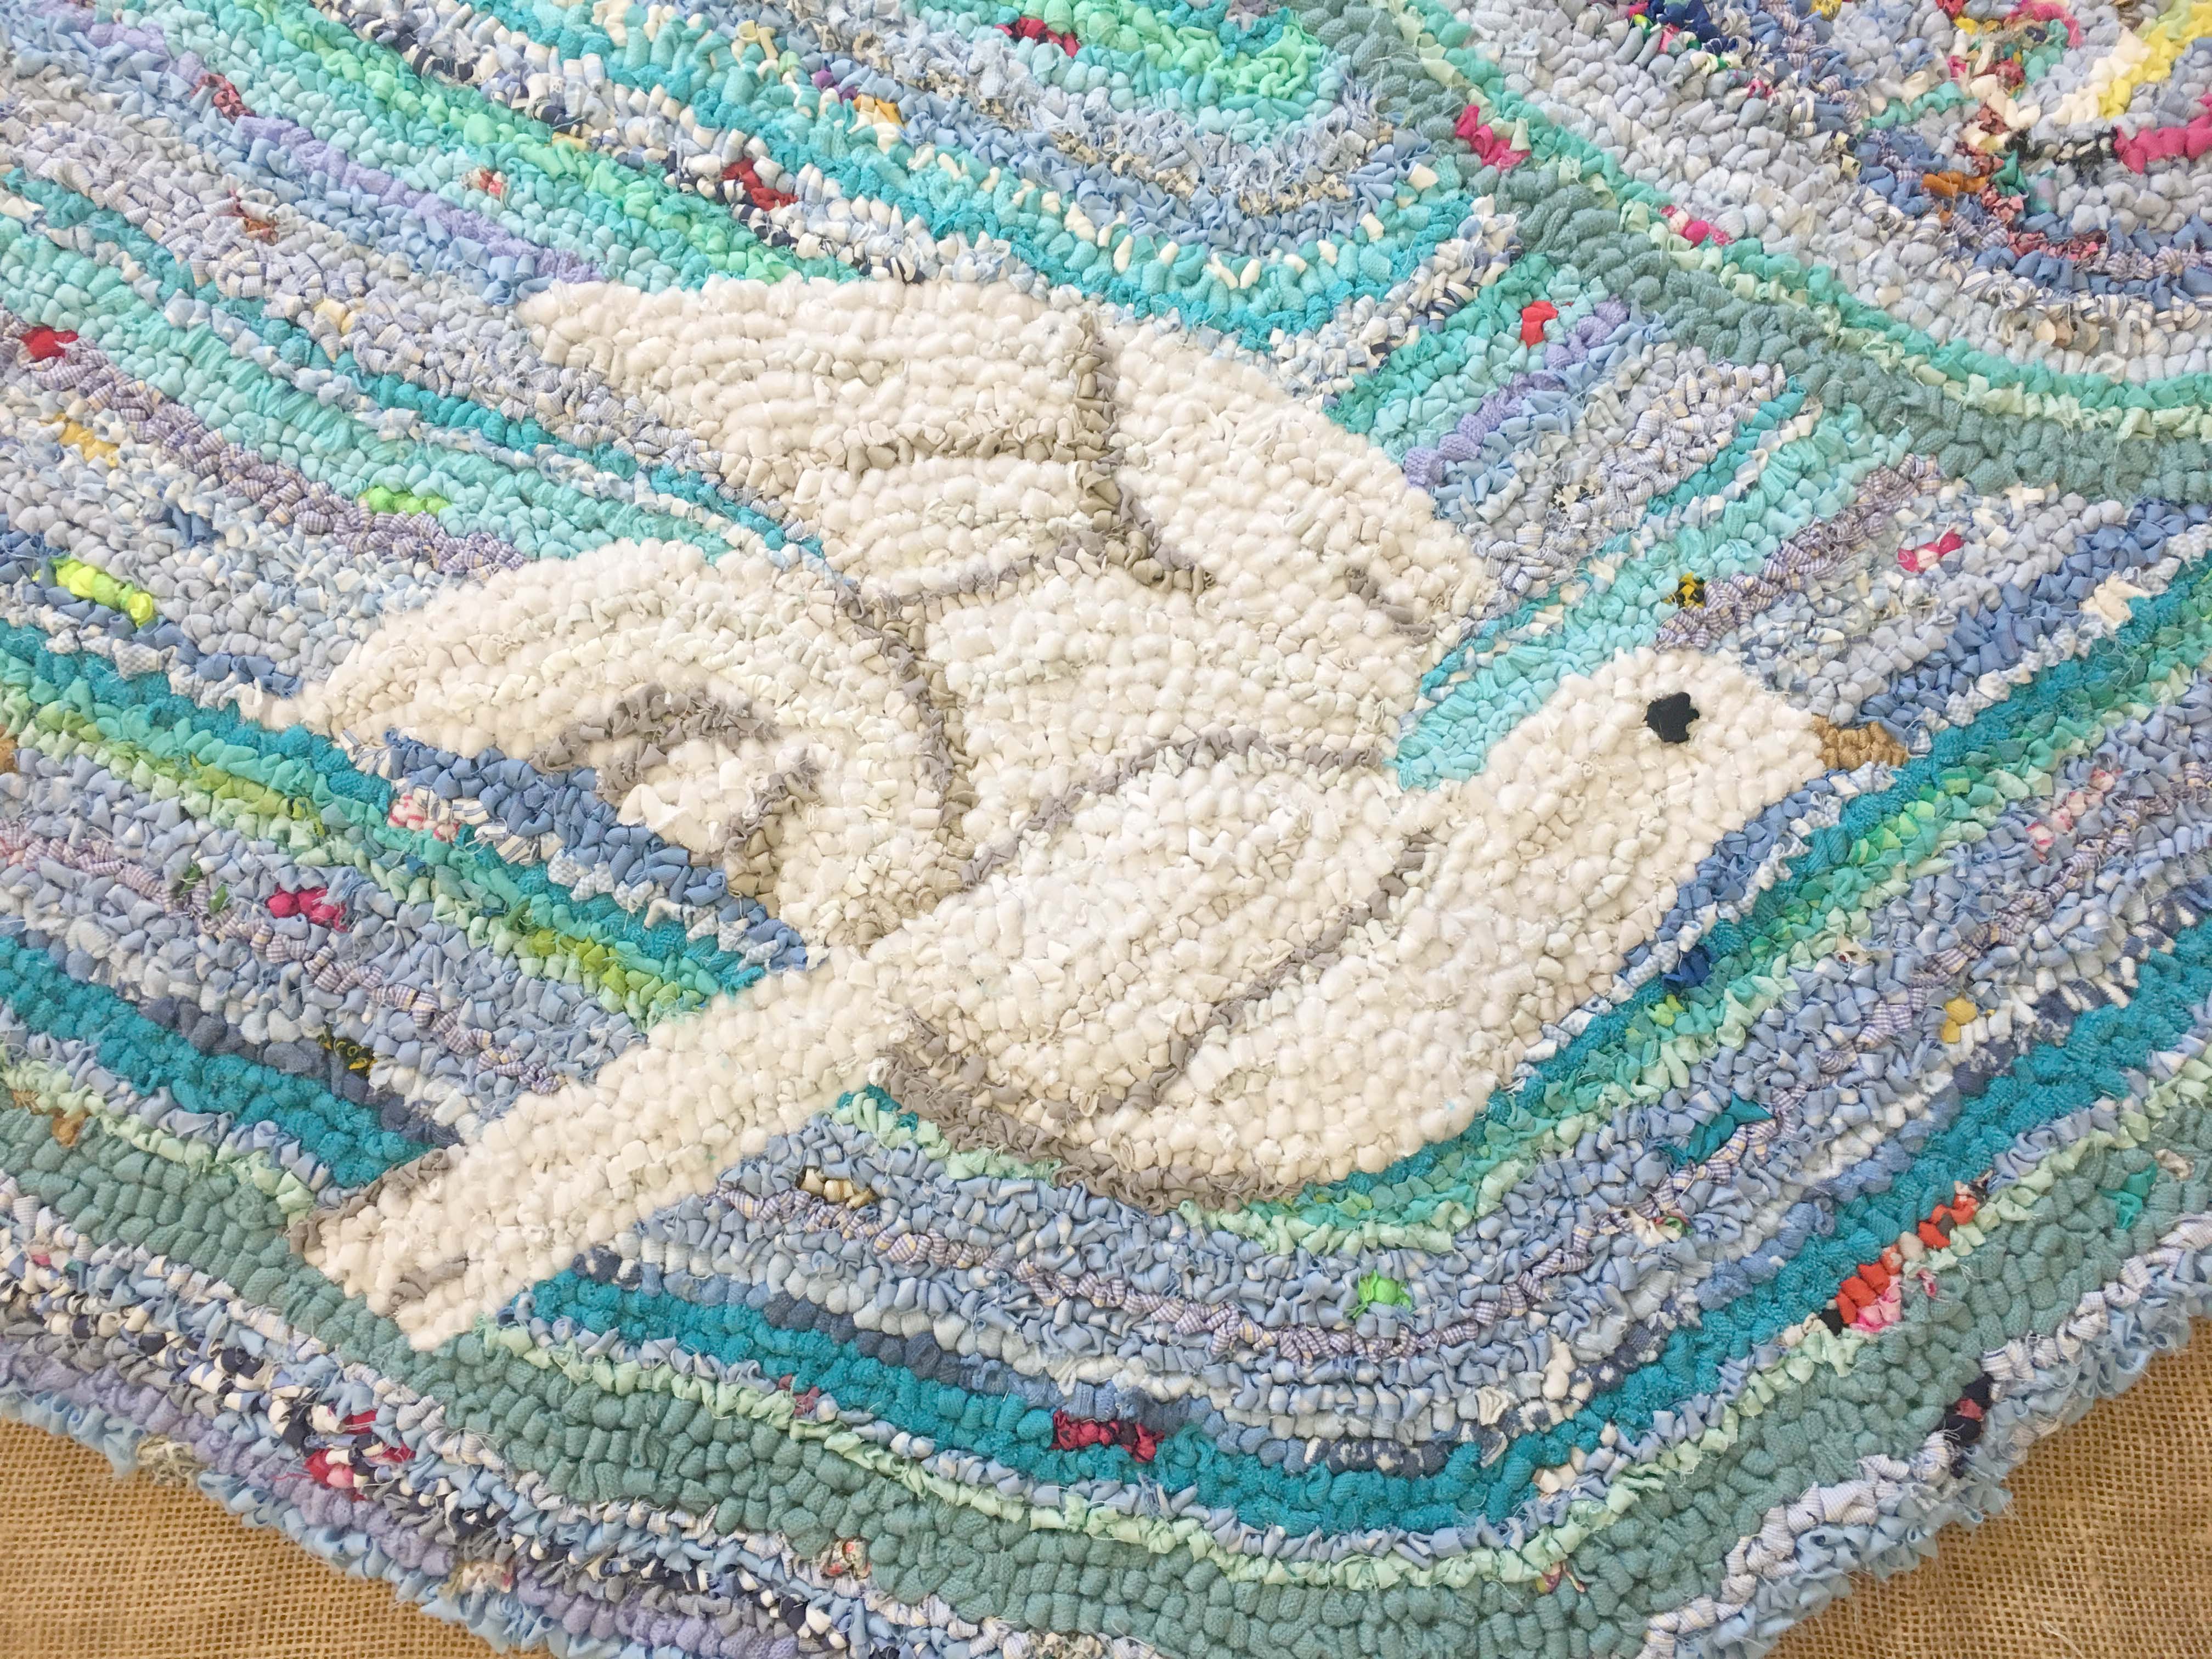
With loopy rag rugging, you can achieve pictorial designs, but the technique is slightly trickier to do.
The short shaggy technique is a good compromise between the two, as lines remain relatively crisp and it’s easy to do.
Bear in mind that if you have chosen a complex design then you will only be able to achieve it in the loopy technique of rag rugging. However, if you have gone for a fairly simple design then you can choose between any of the three techniques.
Choose your fabrics and prepare them:
As with most crafts, the key to a successful rag rug design is very much in the colour choices. I don’t have many set in stone rules, but my main tip is to choose colours and patterns you love and that you feel work together. Doing this, it’s very difficult to go wrong. However, as well as choosing nice colours, your fabric choice is also very important. Our Fabric Usage Blog Post gives a summary of the various looks of different fabrics, but here are some cushion-specific design tips:
1. Don’t use fabrics that fray too much. The last thing you want after all your hard work is for anyone who sits near your cushion to get covered in little material strands. A little bit of fraying is fine (I love brushed cotton, for example), but fabrics like cheap sari material or thick upholstery fabric shed so many fibres when they’re cut into that the lint roller won’t even be able to keep up. Not ideal!
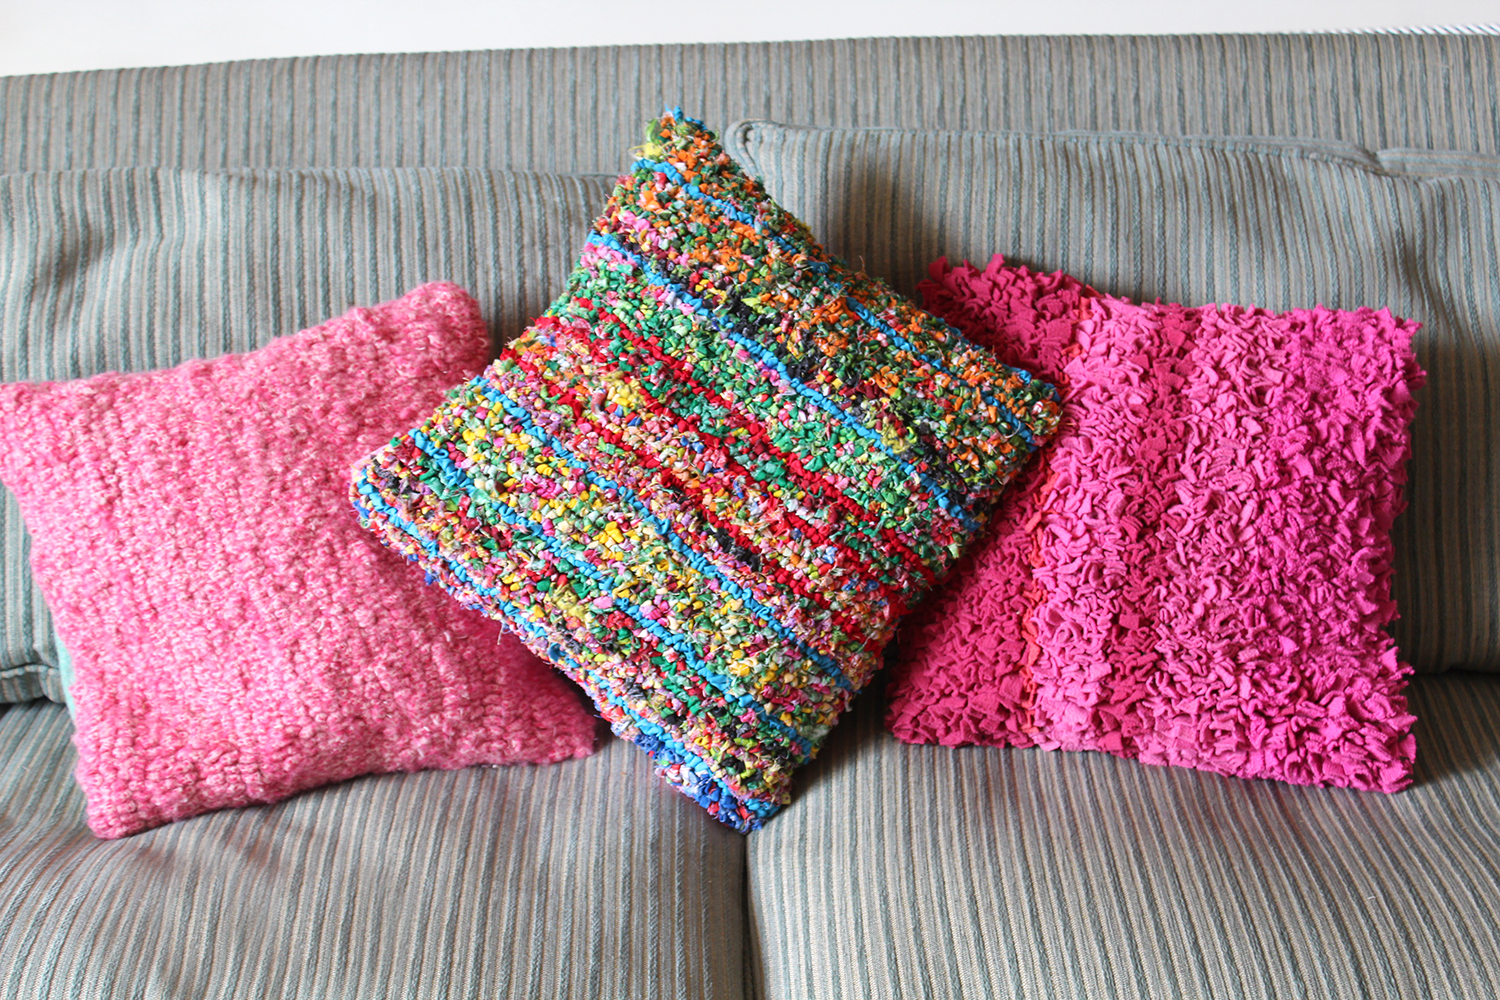
2. Choose an interesting enough fabric and you don’t need to do any design work at all. For the cushion below, I chose a single tartan blanket yarn, which self-patterned to great effect. Sometimes, simplicity is key.
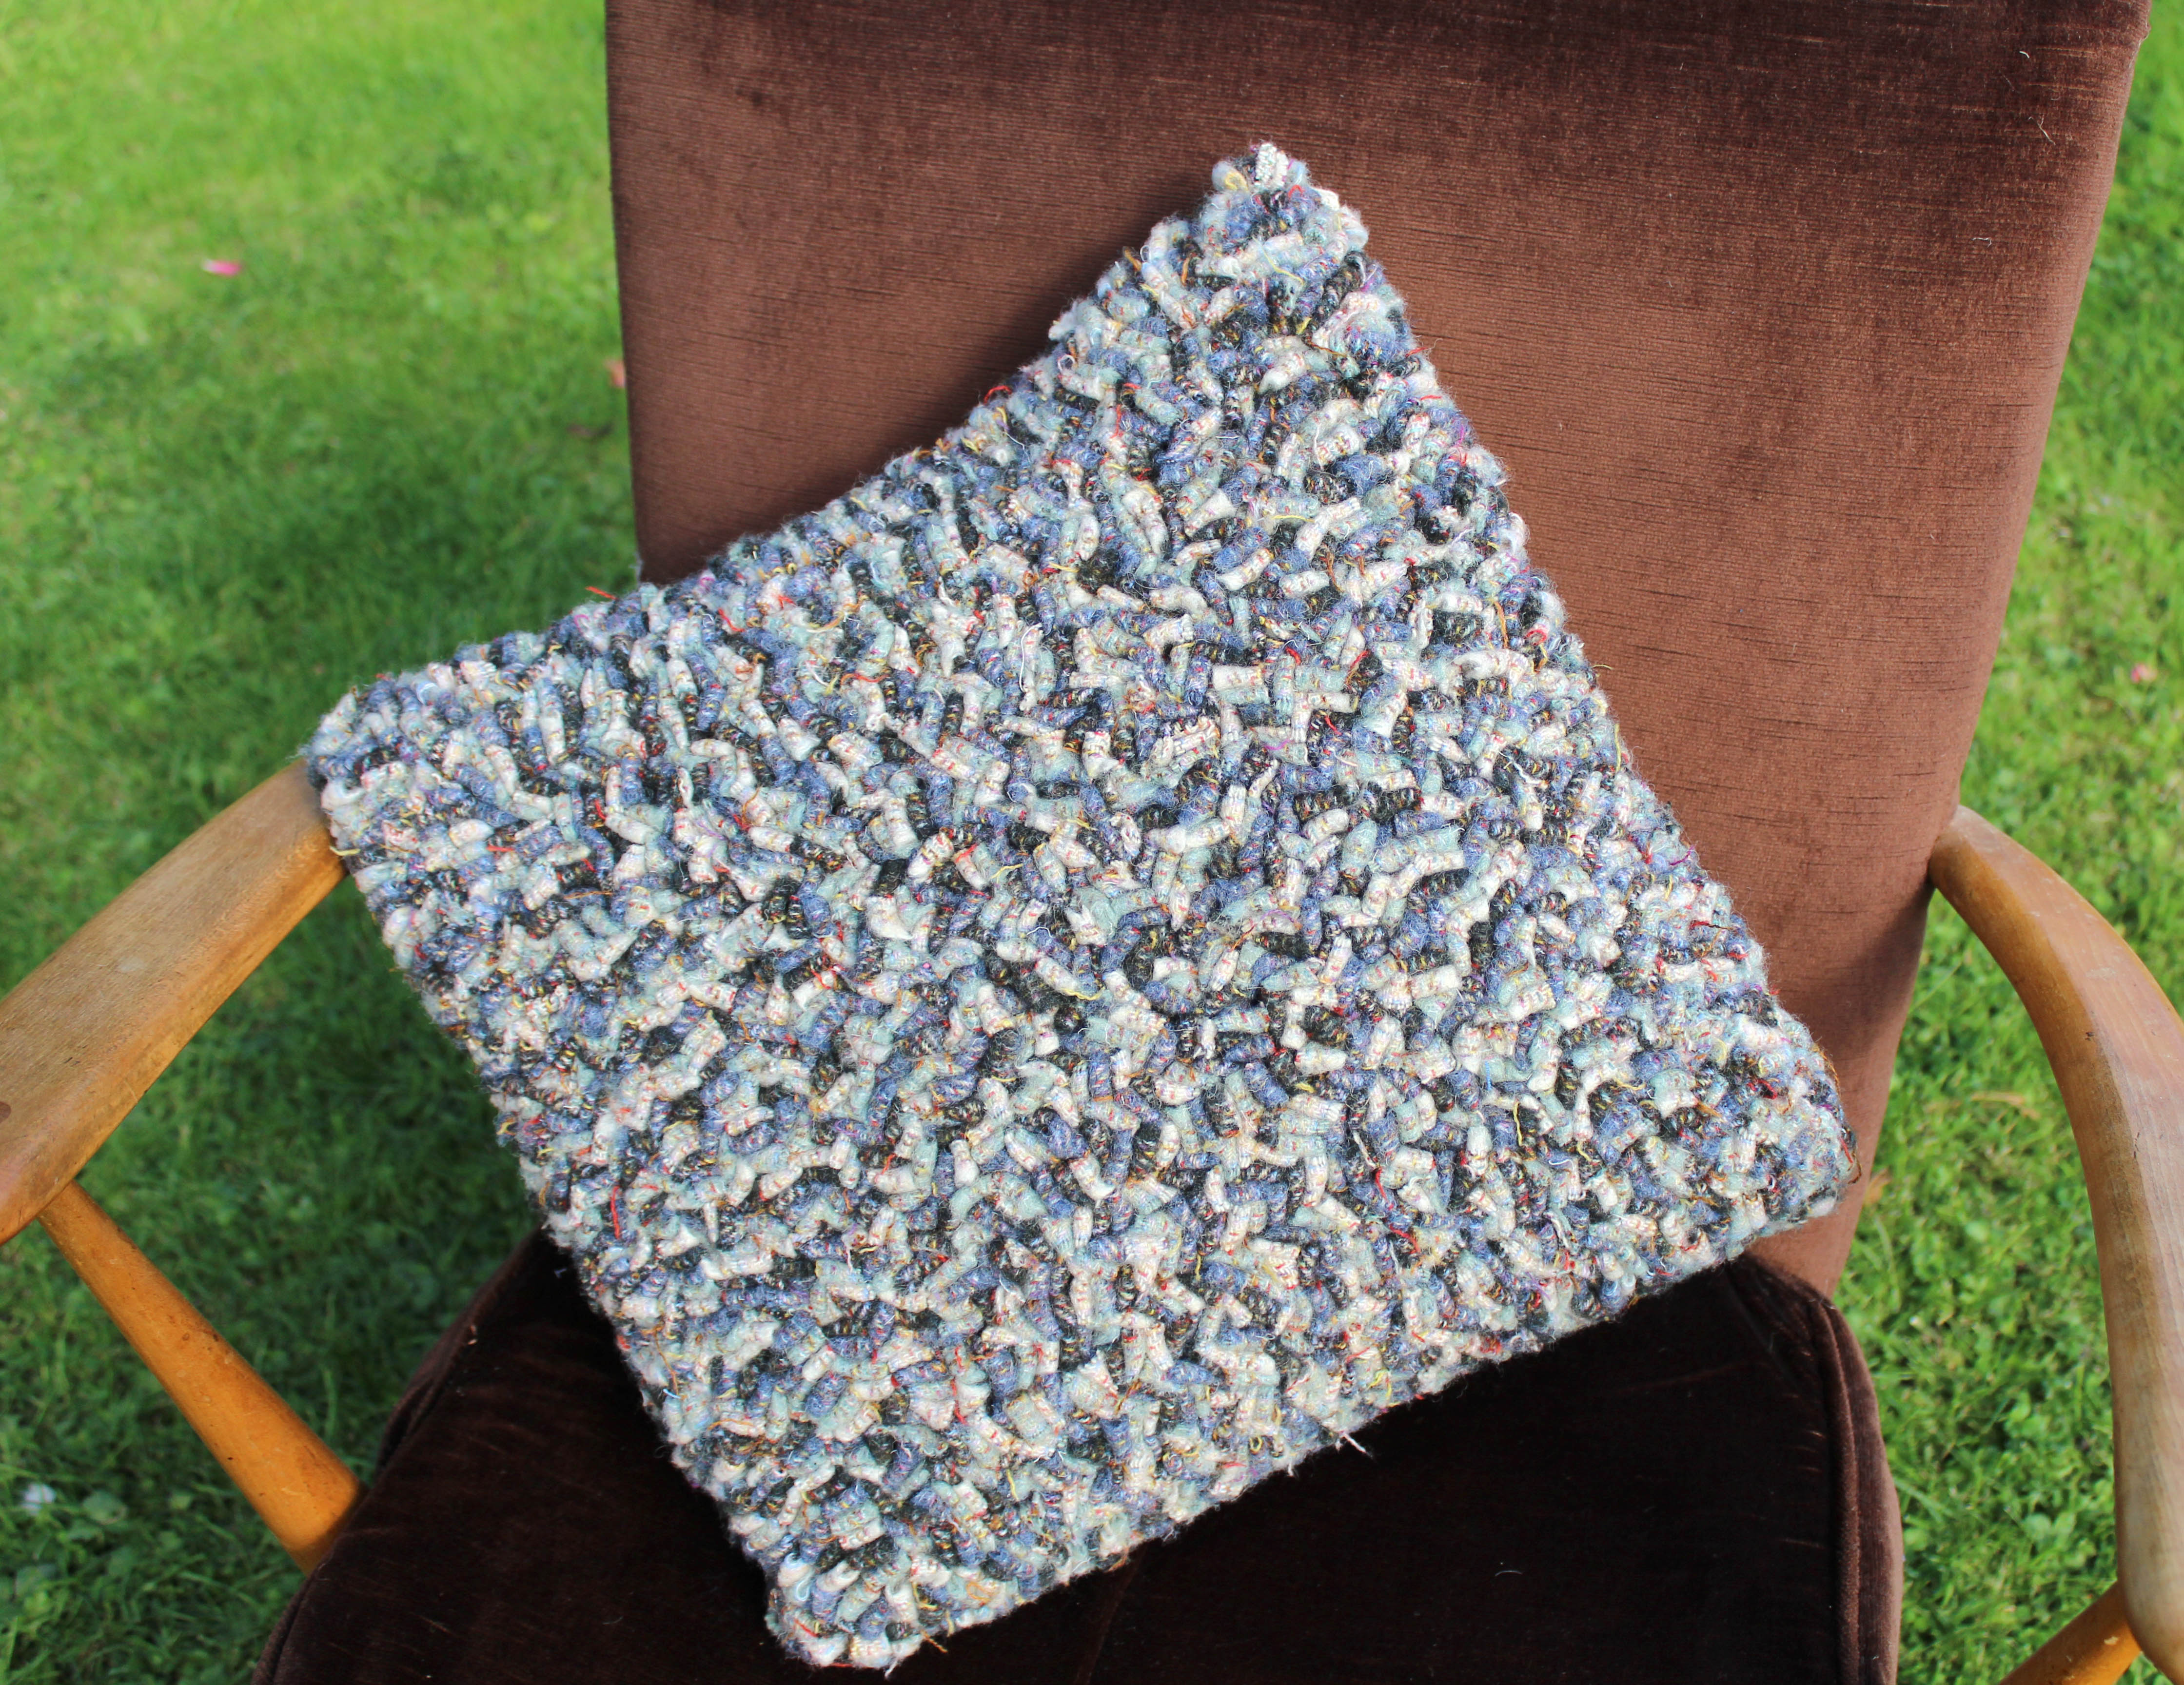
I was surprised by what an intricate pattern the blanket yarn created. This was a tartan yarn.
3. If you want to be able to wash your rag rug cushion cover (read how our tips on cleaning a rag rug here) then choose fabrics that aren’t too silky or slippery. Thin fabric like chiffon are more likely to come loose from your hessian in the washing machine. Anything jersey or thicker will stay put fine.
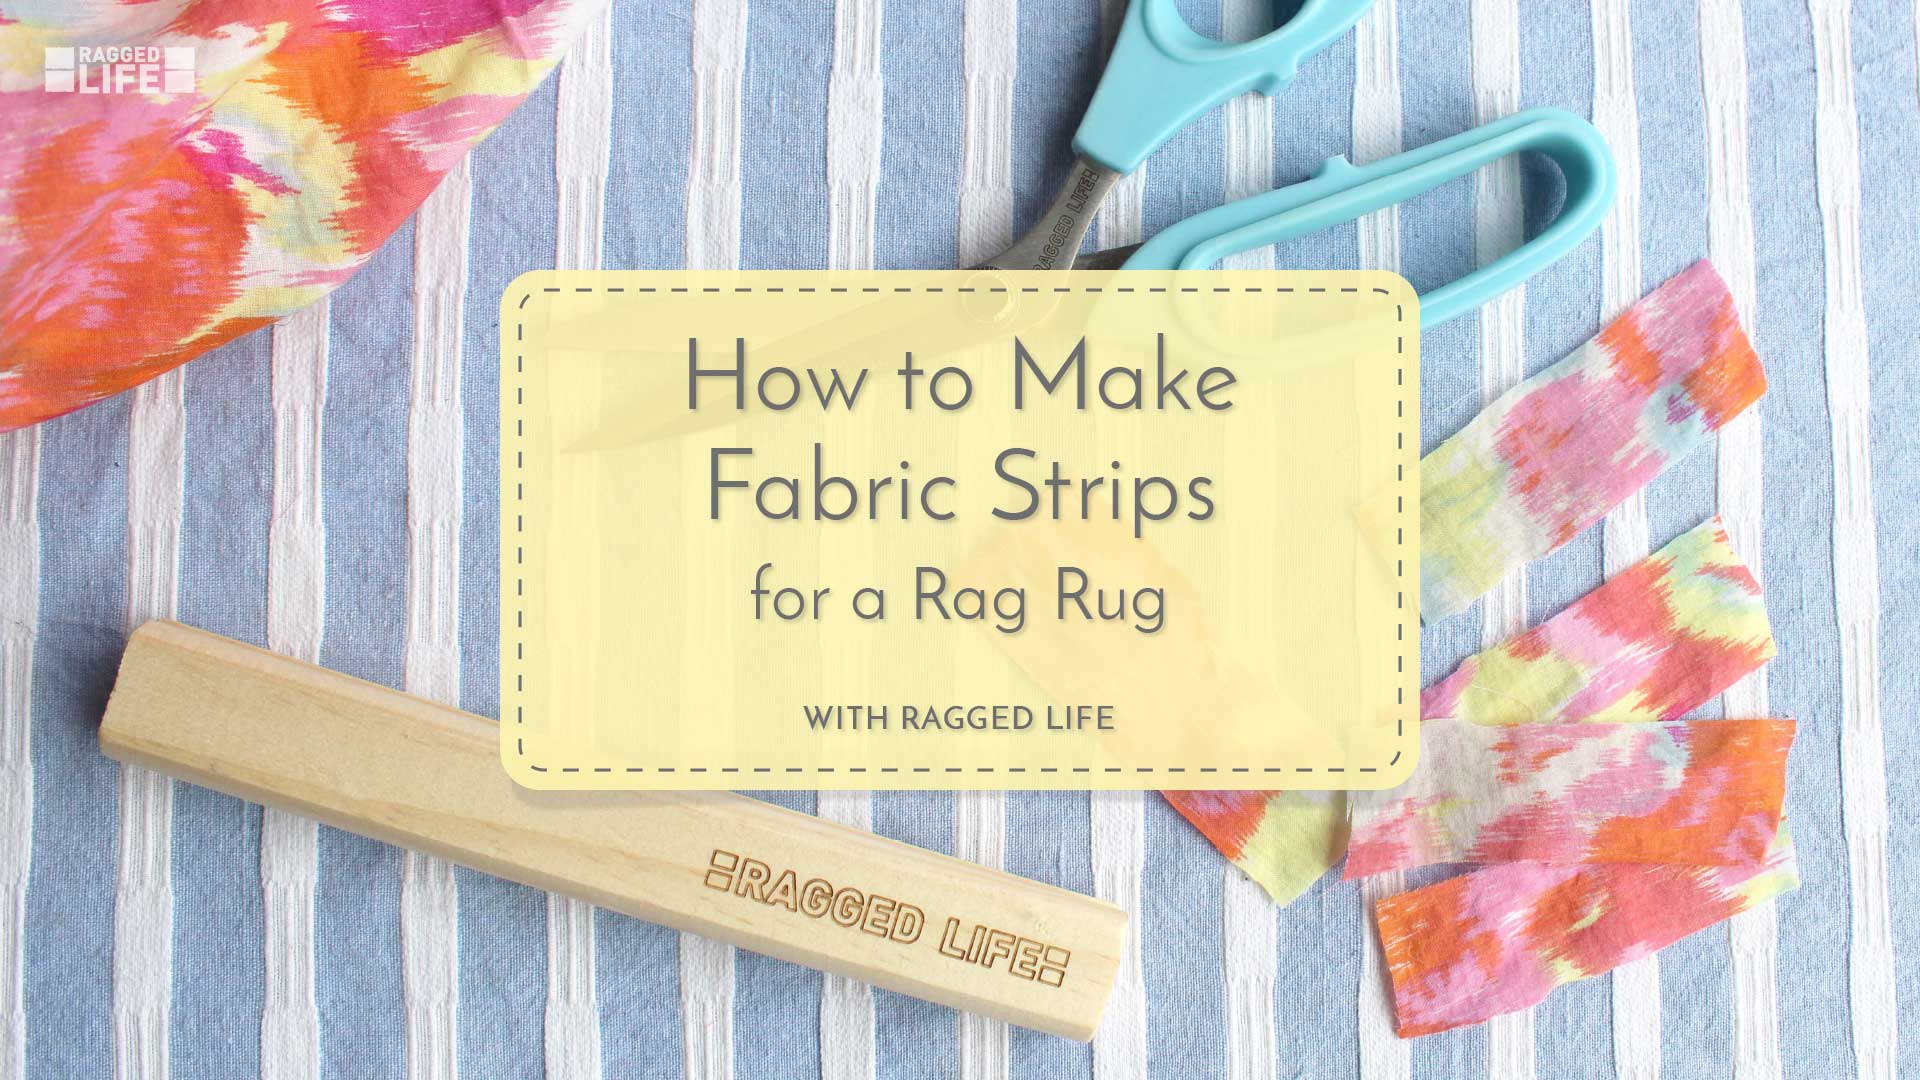
To learn how to prepare your clothing and fabrics to make a rag rug, we recommend that you watch our How to Make Fabric Strips for a Rag Rug video on YouTube 🙂
Rag rug the cushion front:
Once you’ve decided on your design and fabrics, you’re ready to start rag rugging!
To learn how to shaggy rag rug, watch either of these two YouTube videos: Make a Shaggy Rag Rug Using a Latch Hook, or Make a Shaggy Rag Rug Using a Spring Tool, to make a loopy rag rug cushion, follow the loopy rag rugging instructions on my YouTube video, Make a Loopy Rag Rug Using a Latch Hook. or to do the short shaggy rag rug technique, read step by step instructions here.
To make the rag rug cushion front, you need to completely fill the marked out 40 x 40cm square of hessian with rag rugging. Rag rug close enough so that no hessian is visible between your rag rug pieces from the front, but far enough apart so that your hessian does not warp and buckle. Check the back of your rag rugging from time to time to make sure that the hessian is tightening up around your pieces.
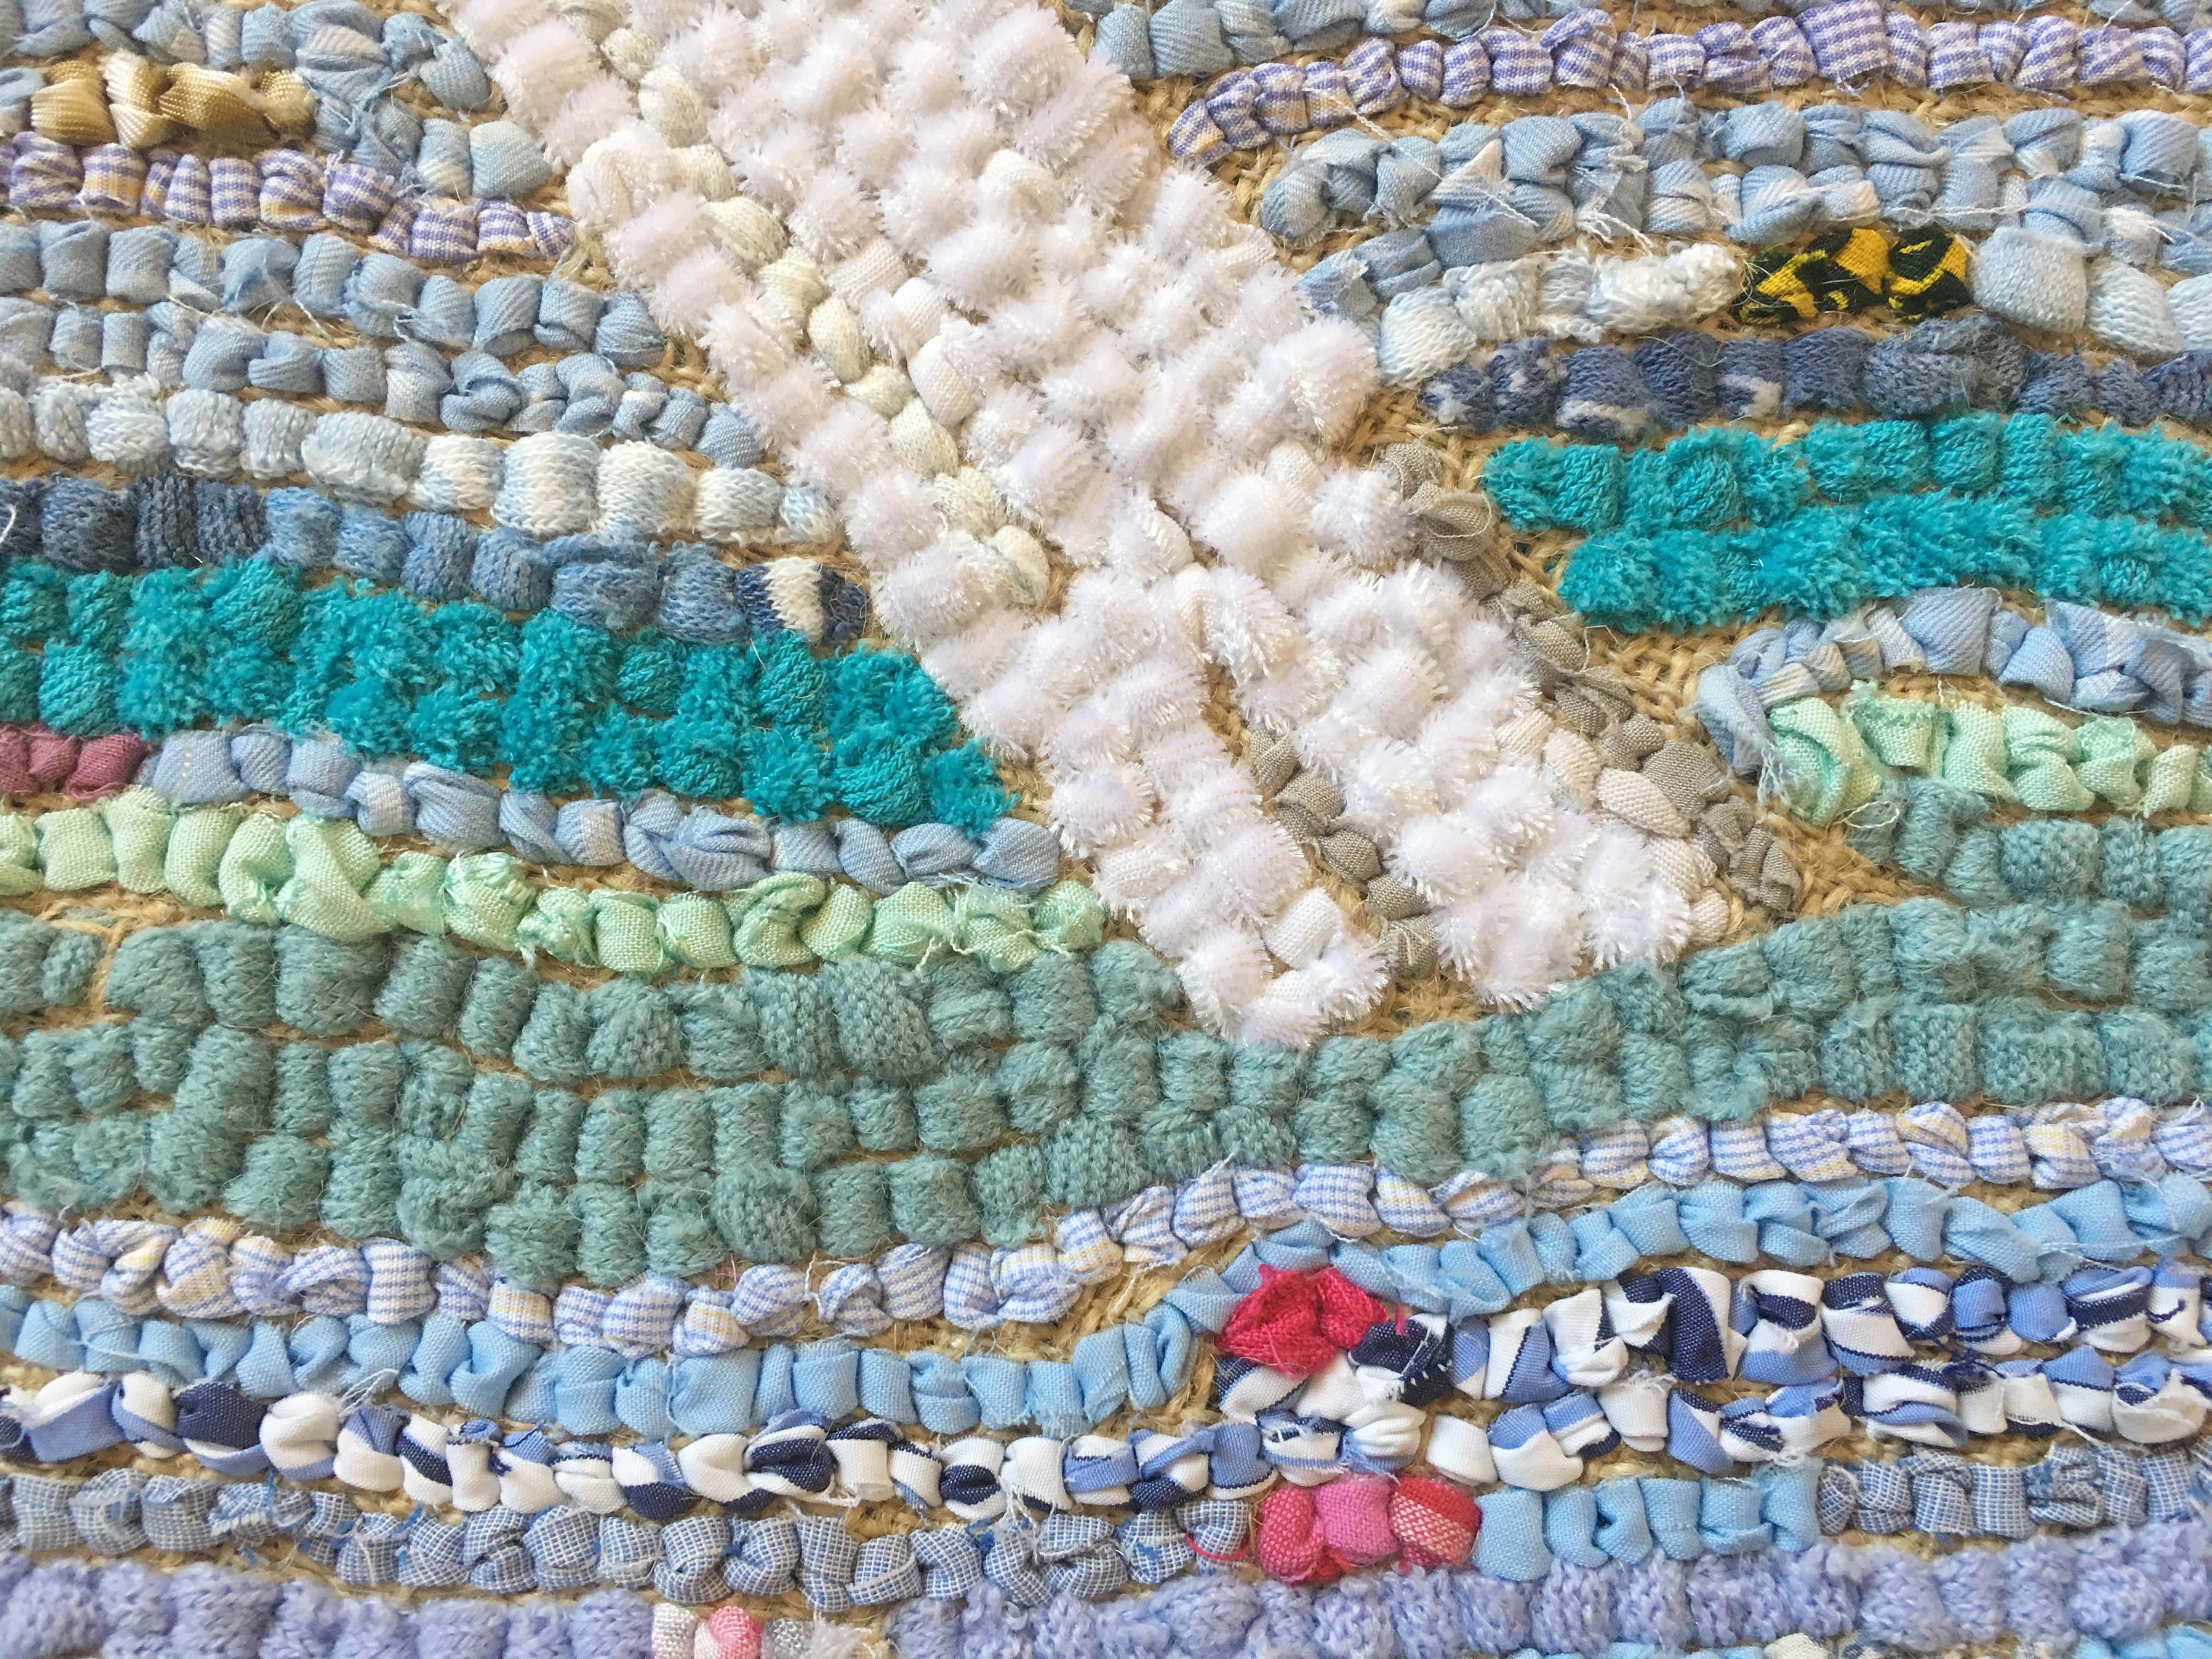
This is what the back of loopy rag rugging looks like.
This is what the hessian will look like once it is fully rag rugged…
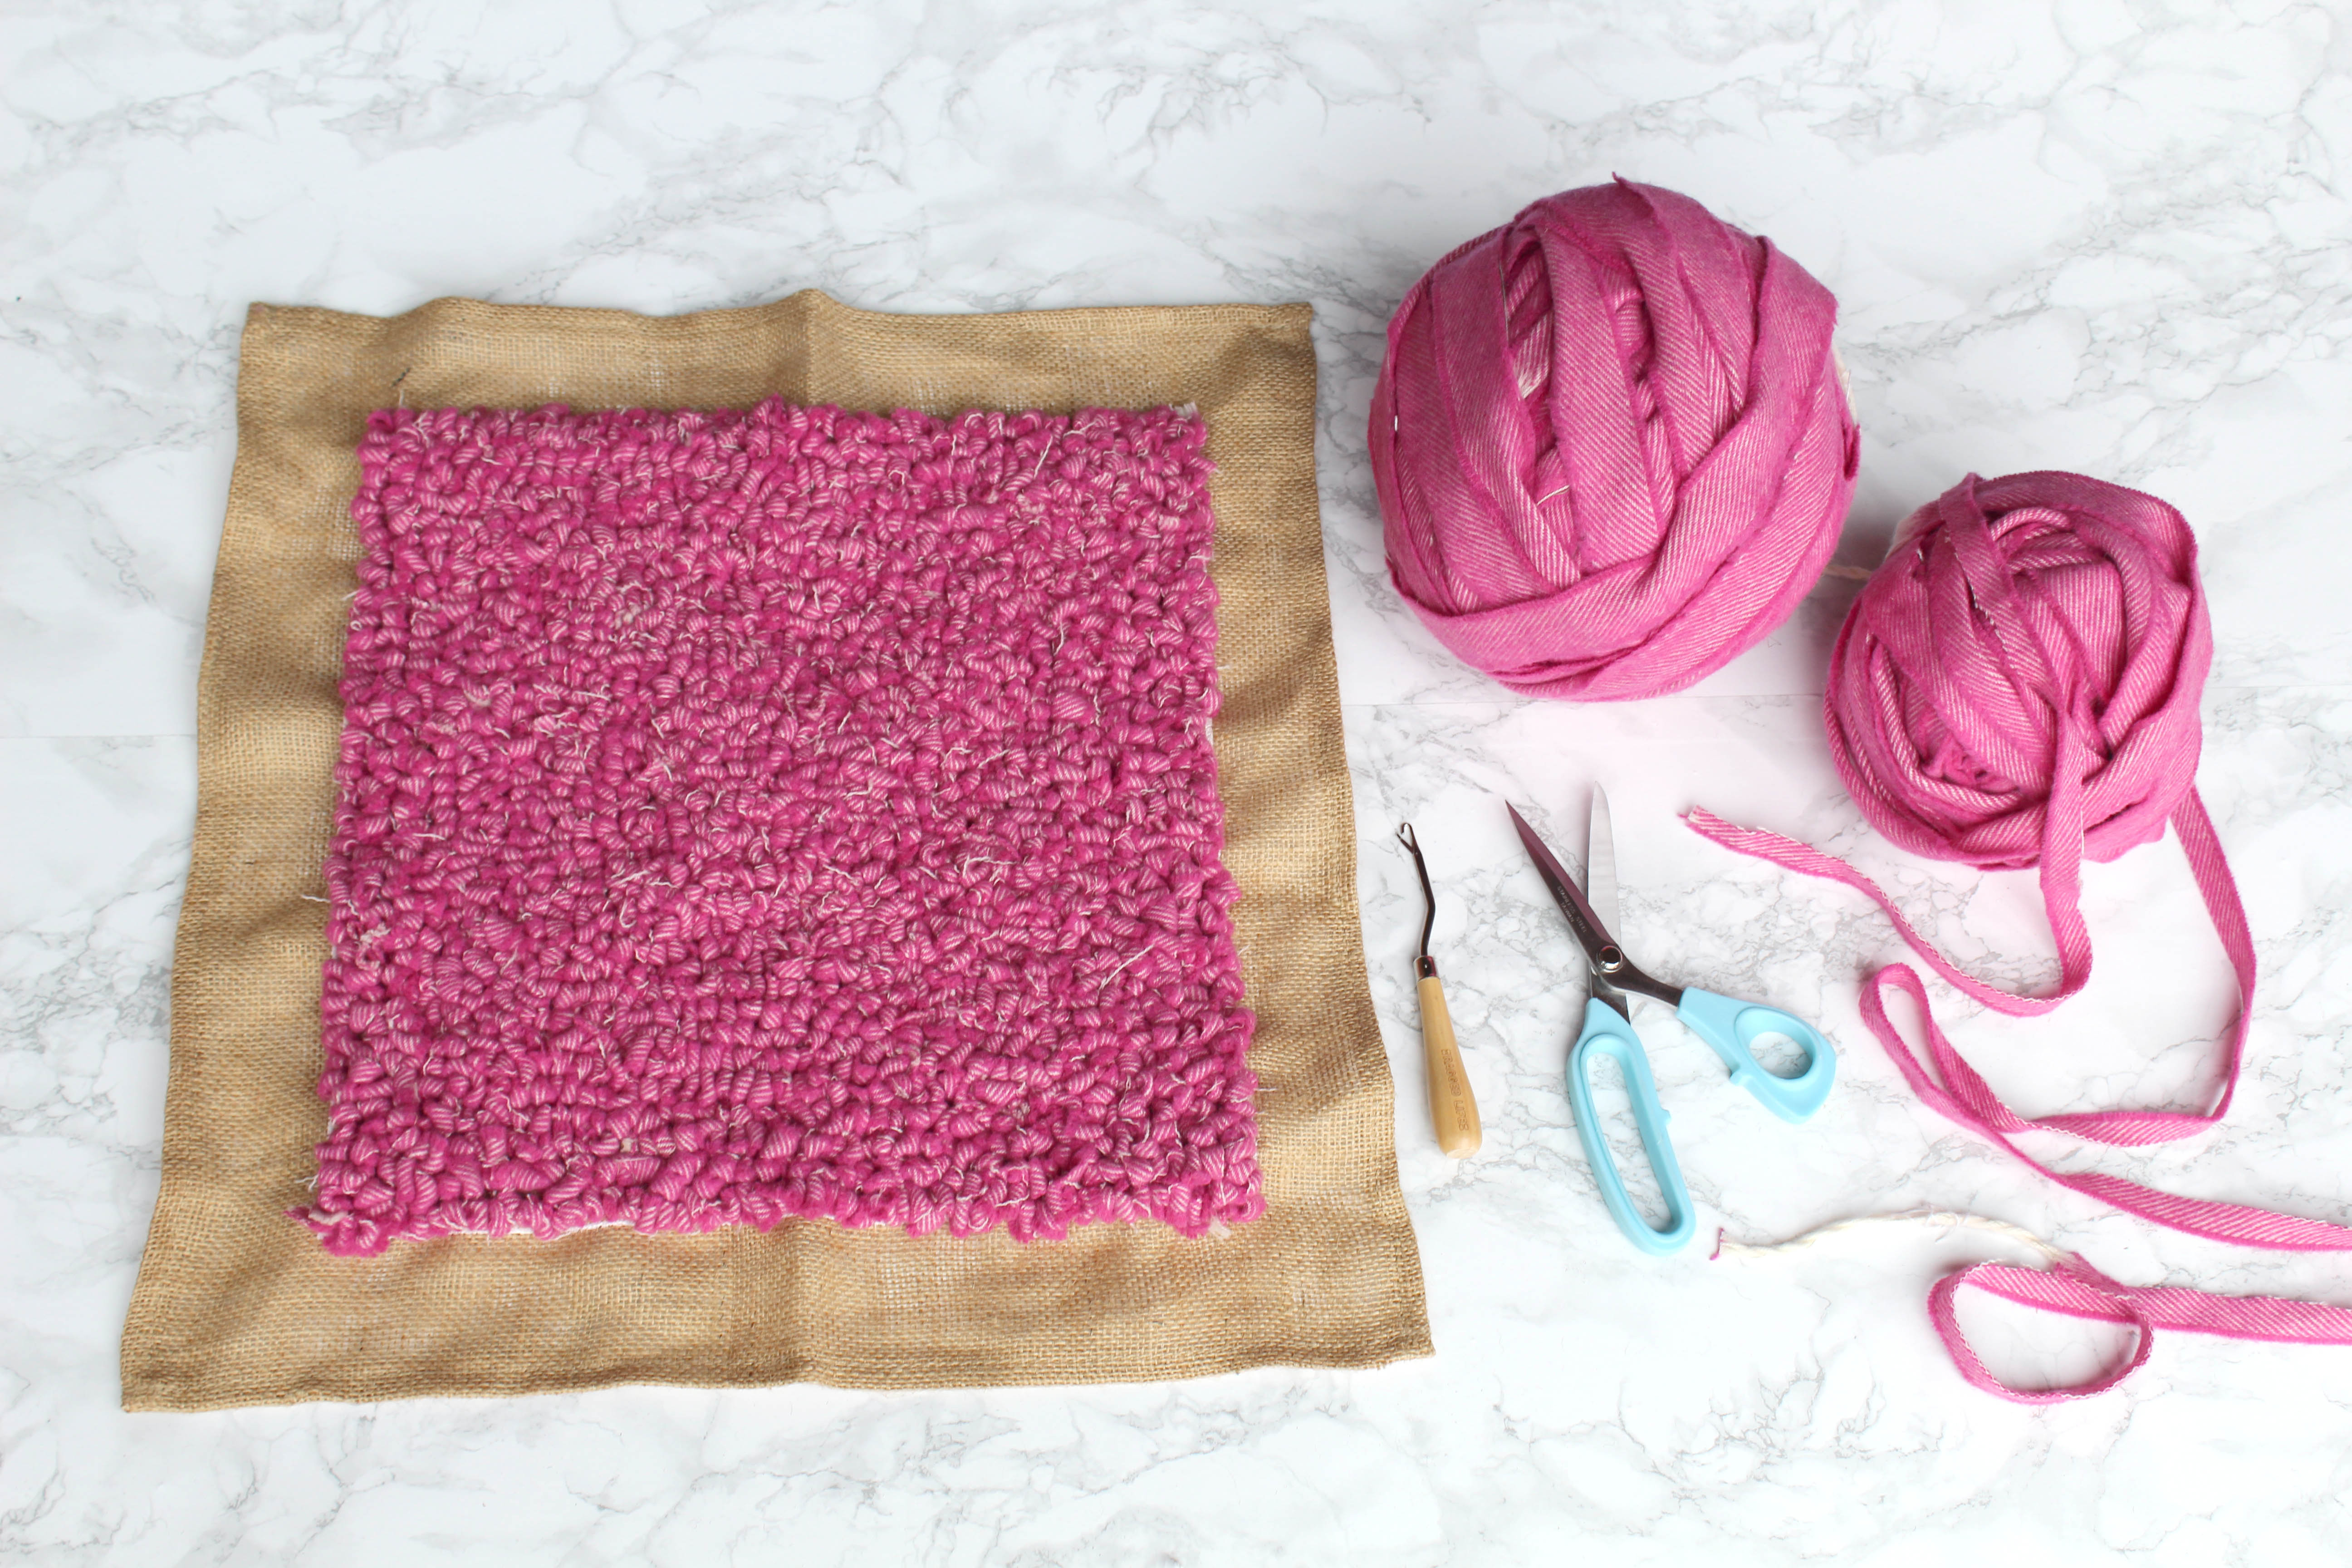
This 40 x 40cm cushion front was rag rugged in the loopy technique using 350g of blanket yarn.
The hessian left around the edge of the rag rugged square is to aid assembly later on.
As a rag rug cushion is relatively small, it doesn’t necessarily matter which way you build up your design e.g. in rows from one end, from the inside out or by scattering rag rugging across the hessian. However, it is generally easier if you build up your rag rugging from one edge or point and work from there.
Assembling your rag rug cushion:
Once you have fully rag rugged your cushion front, you still need to attach it to the backing fabric. Here is how we assemble our rag rug cushions…
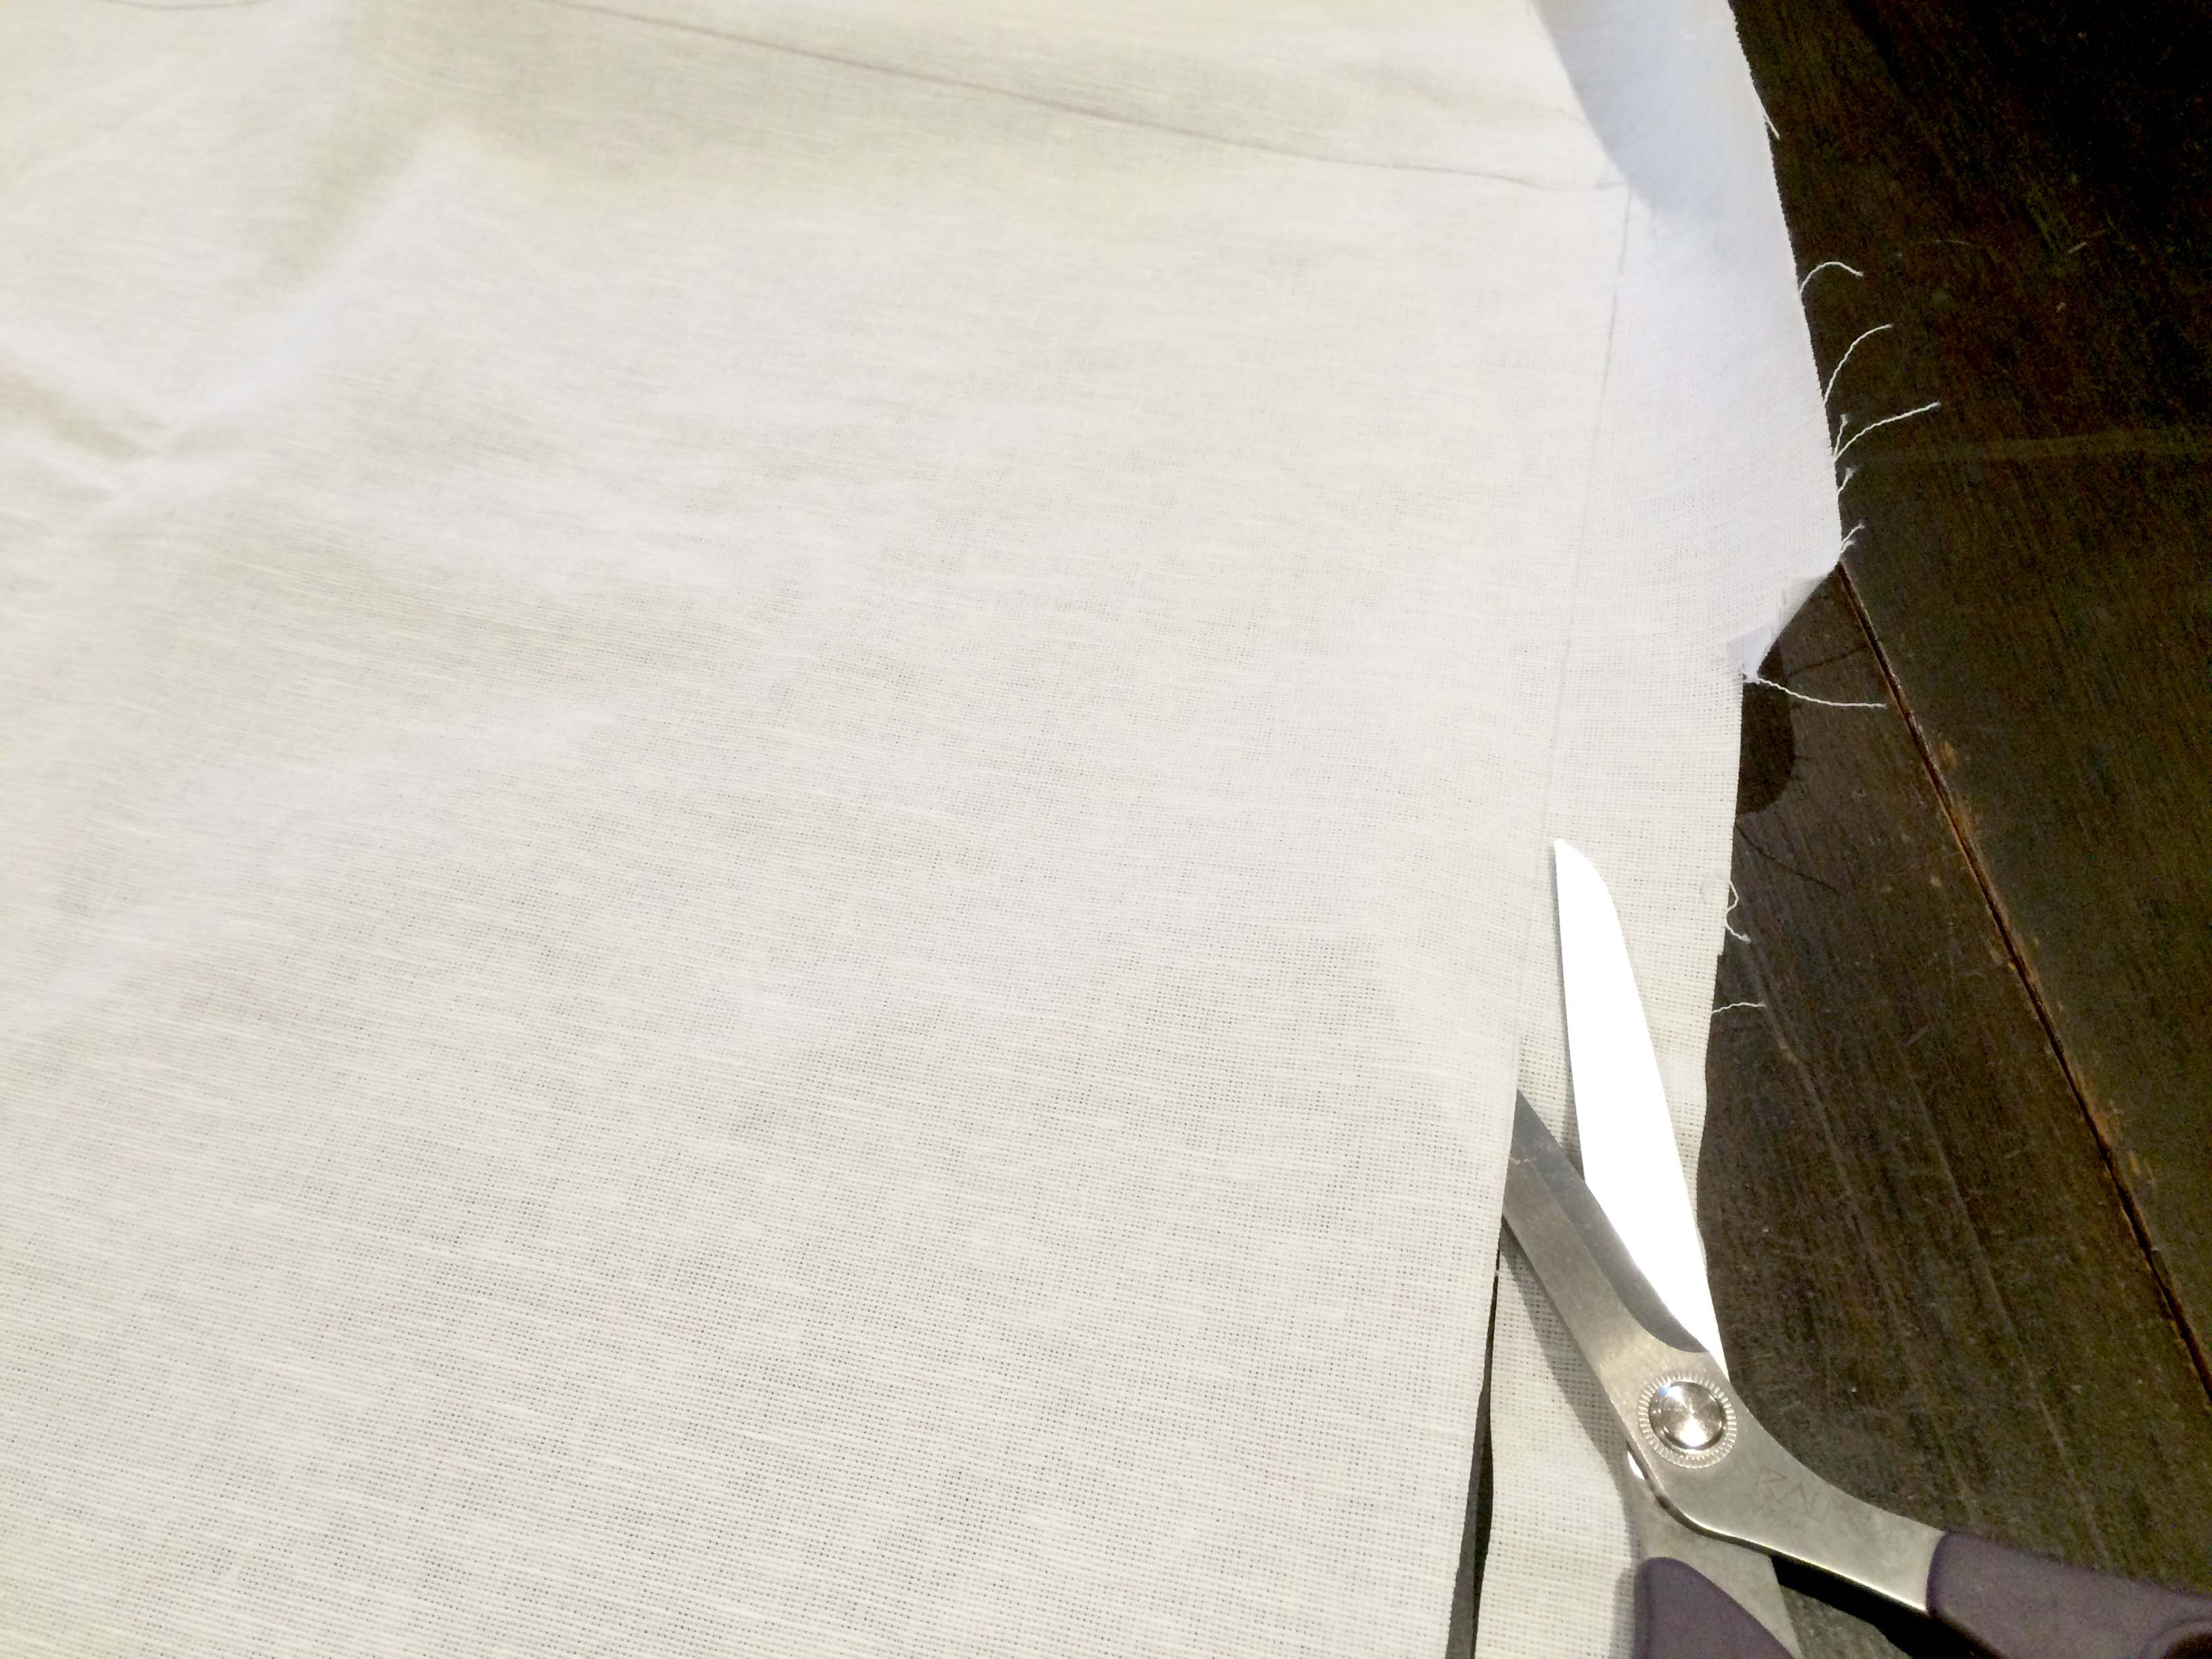
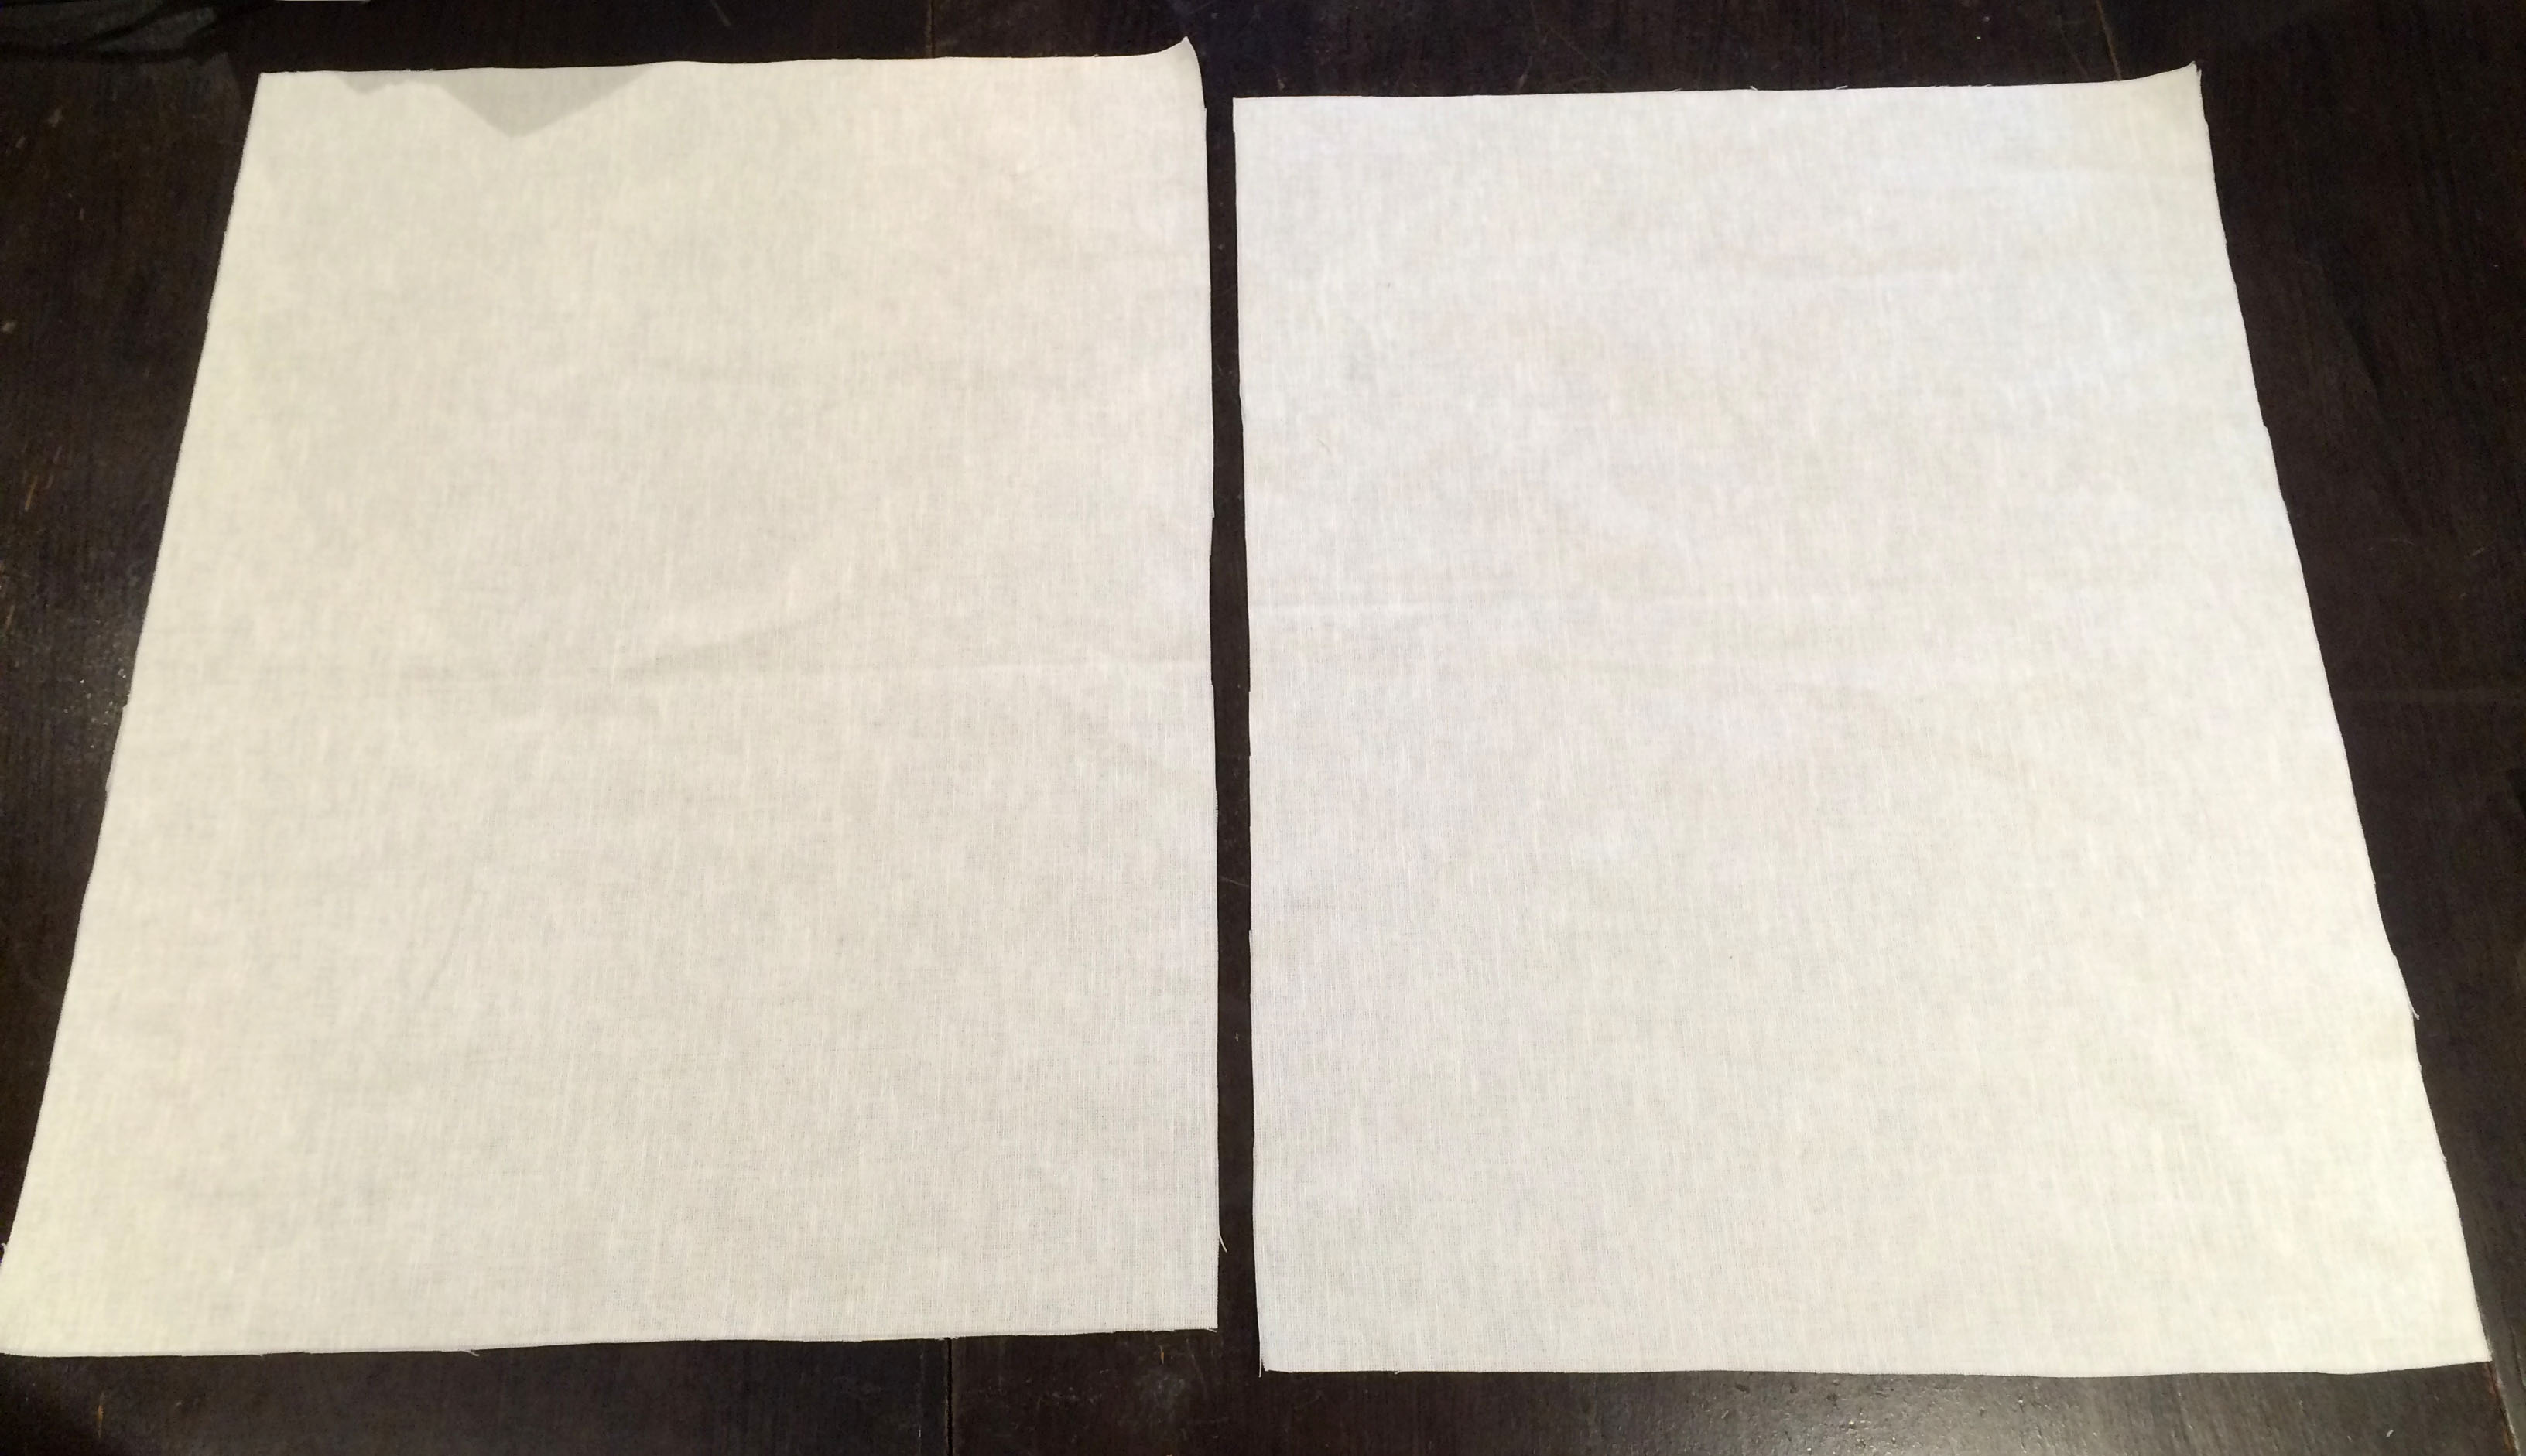
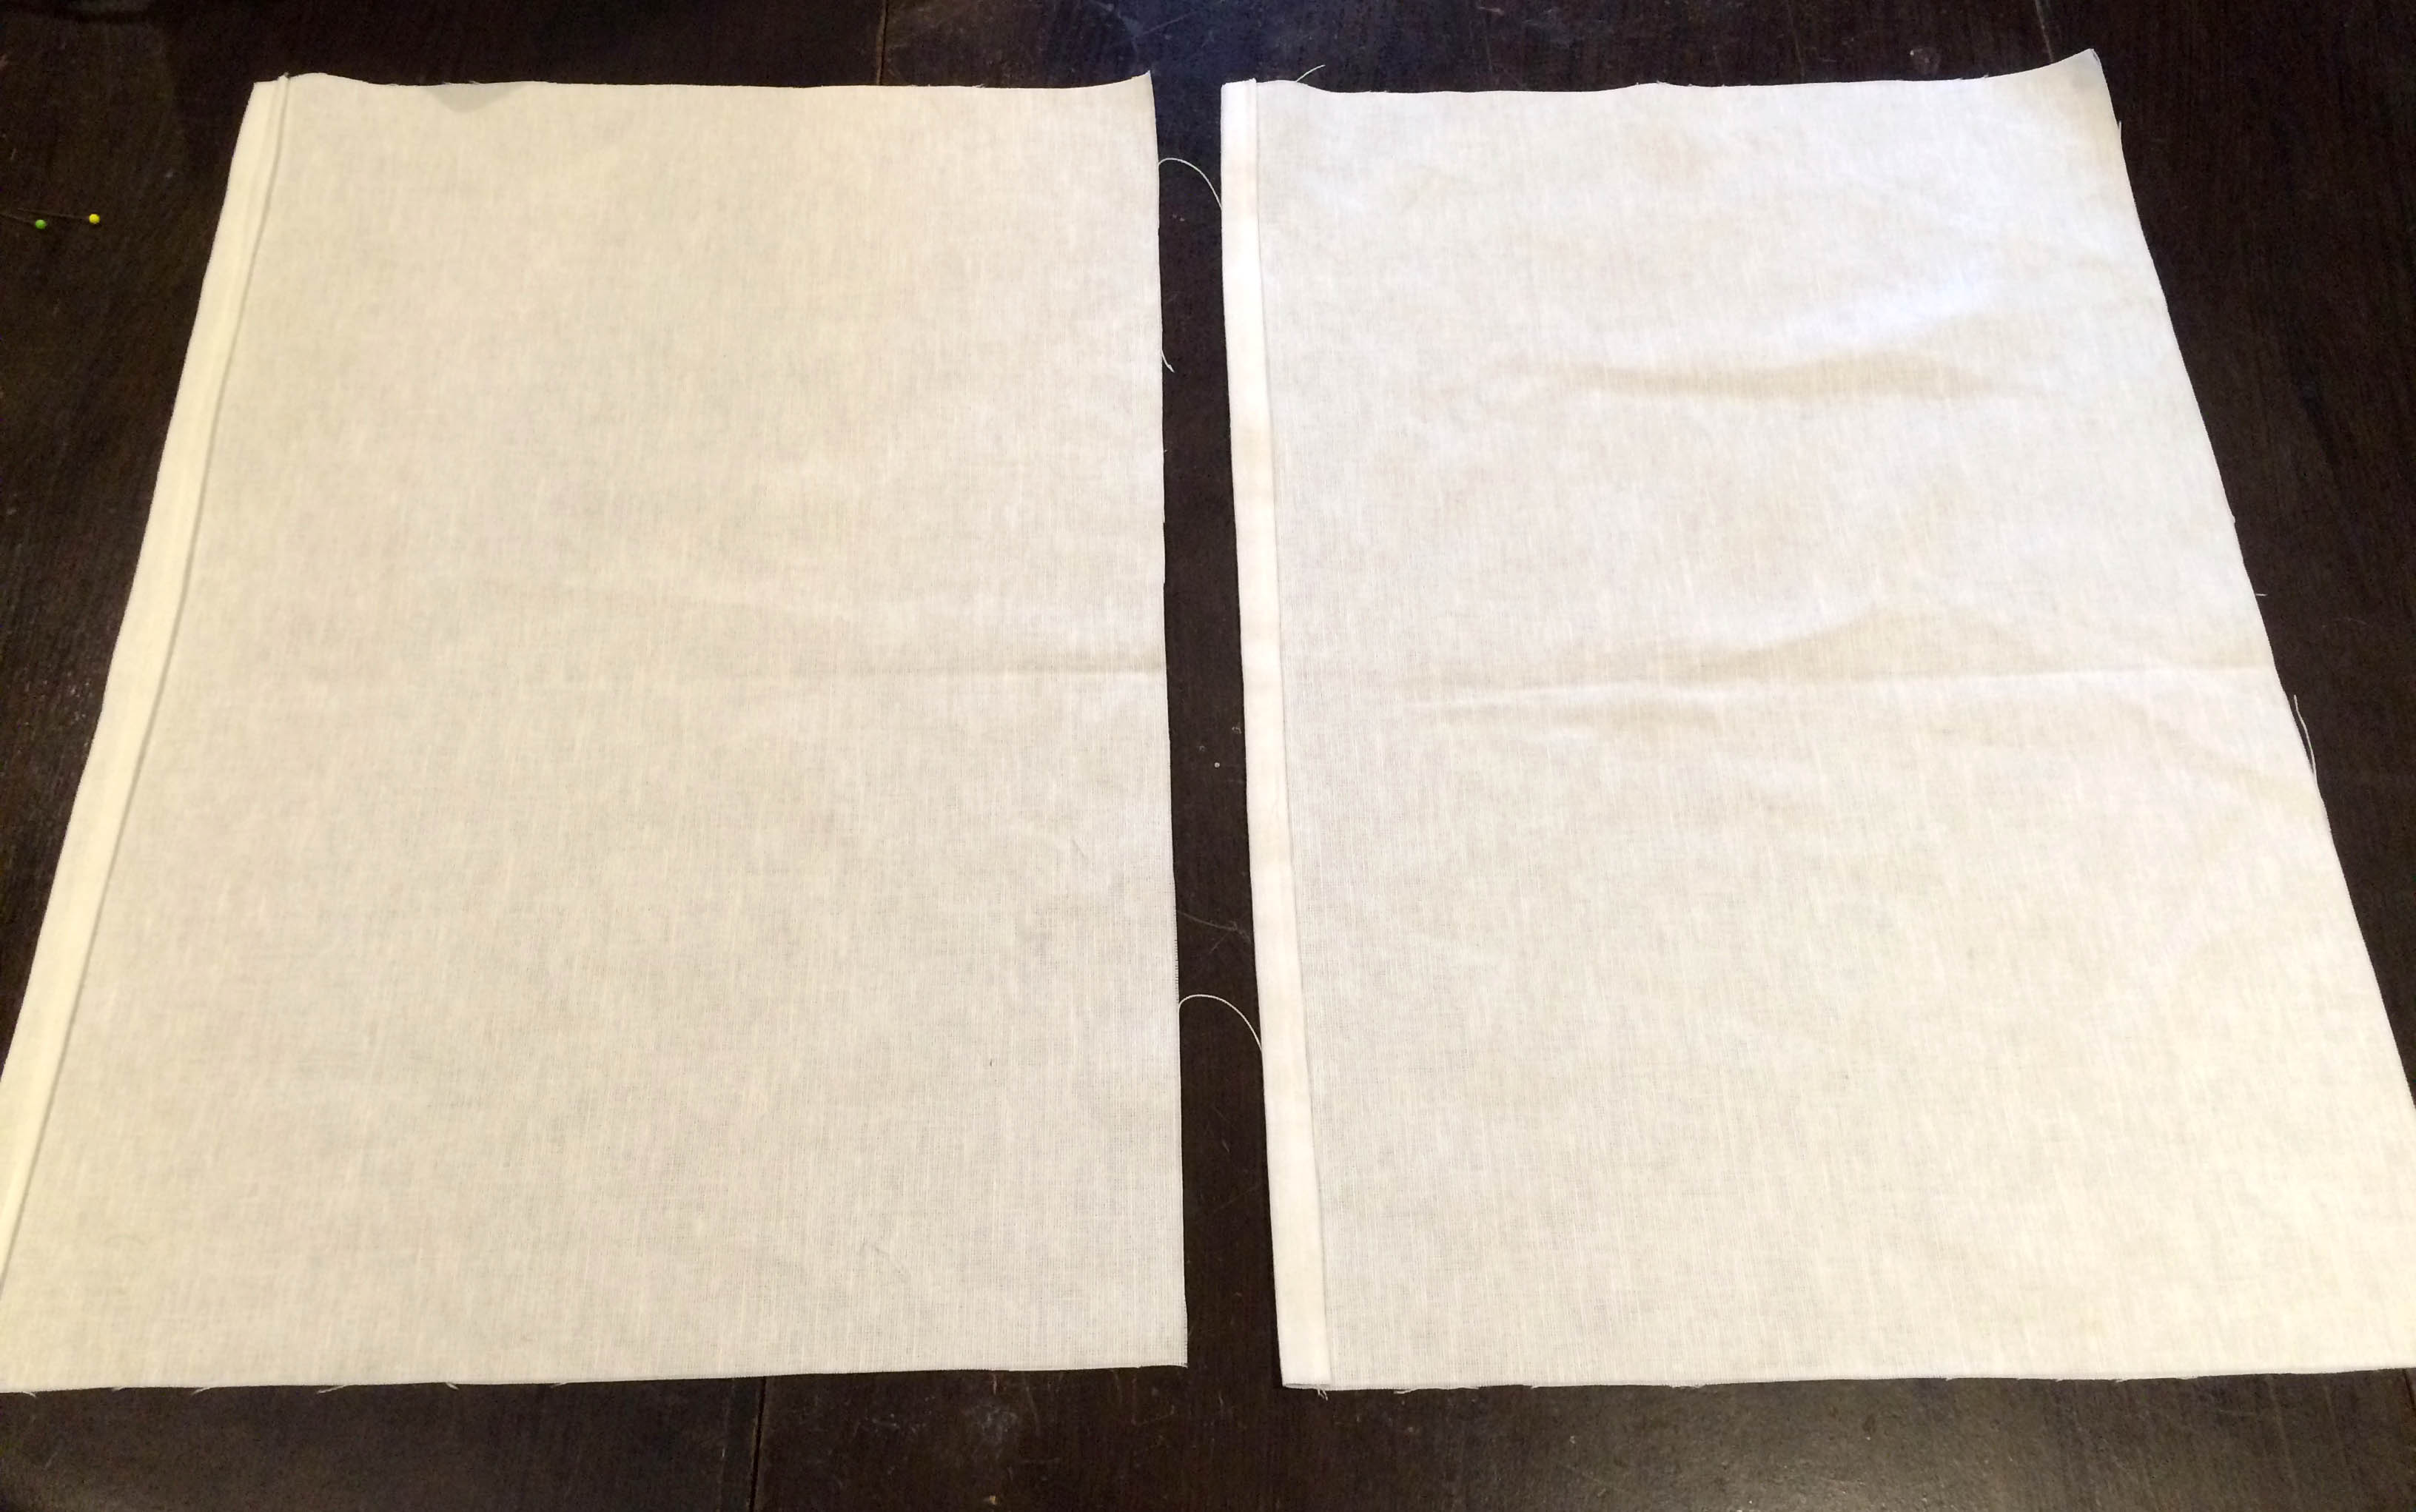
Step 1: Iron your backing fabric then cut out two rectangles of fabric each measuring 48 x 36 cm (19 x 14 in) for the back of the cushion. It helps to mark out the pieces using tailors chalk or a pencil before cutting them out.
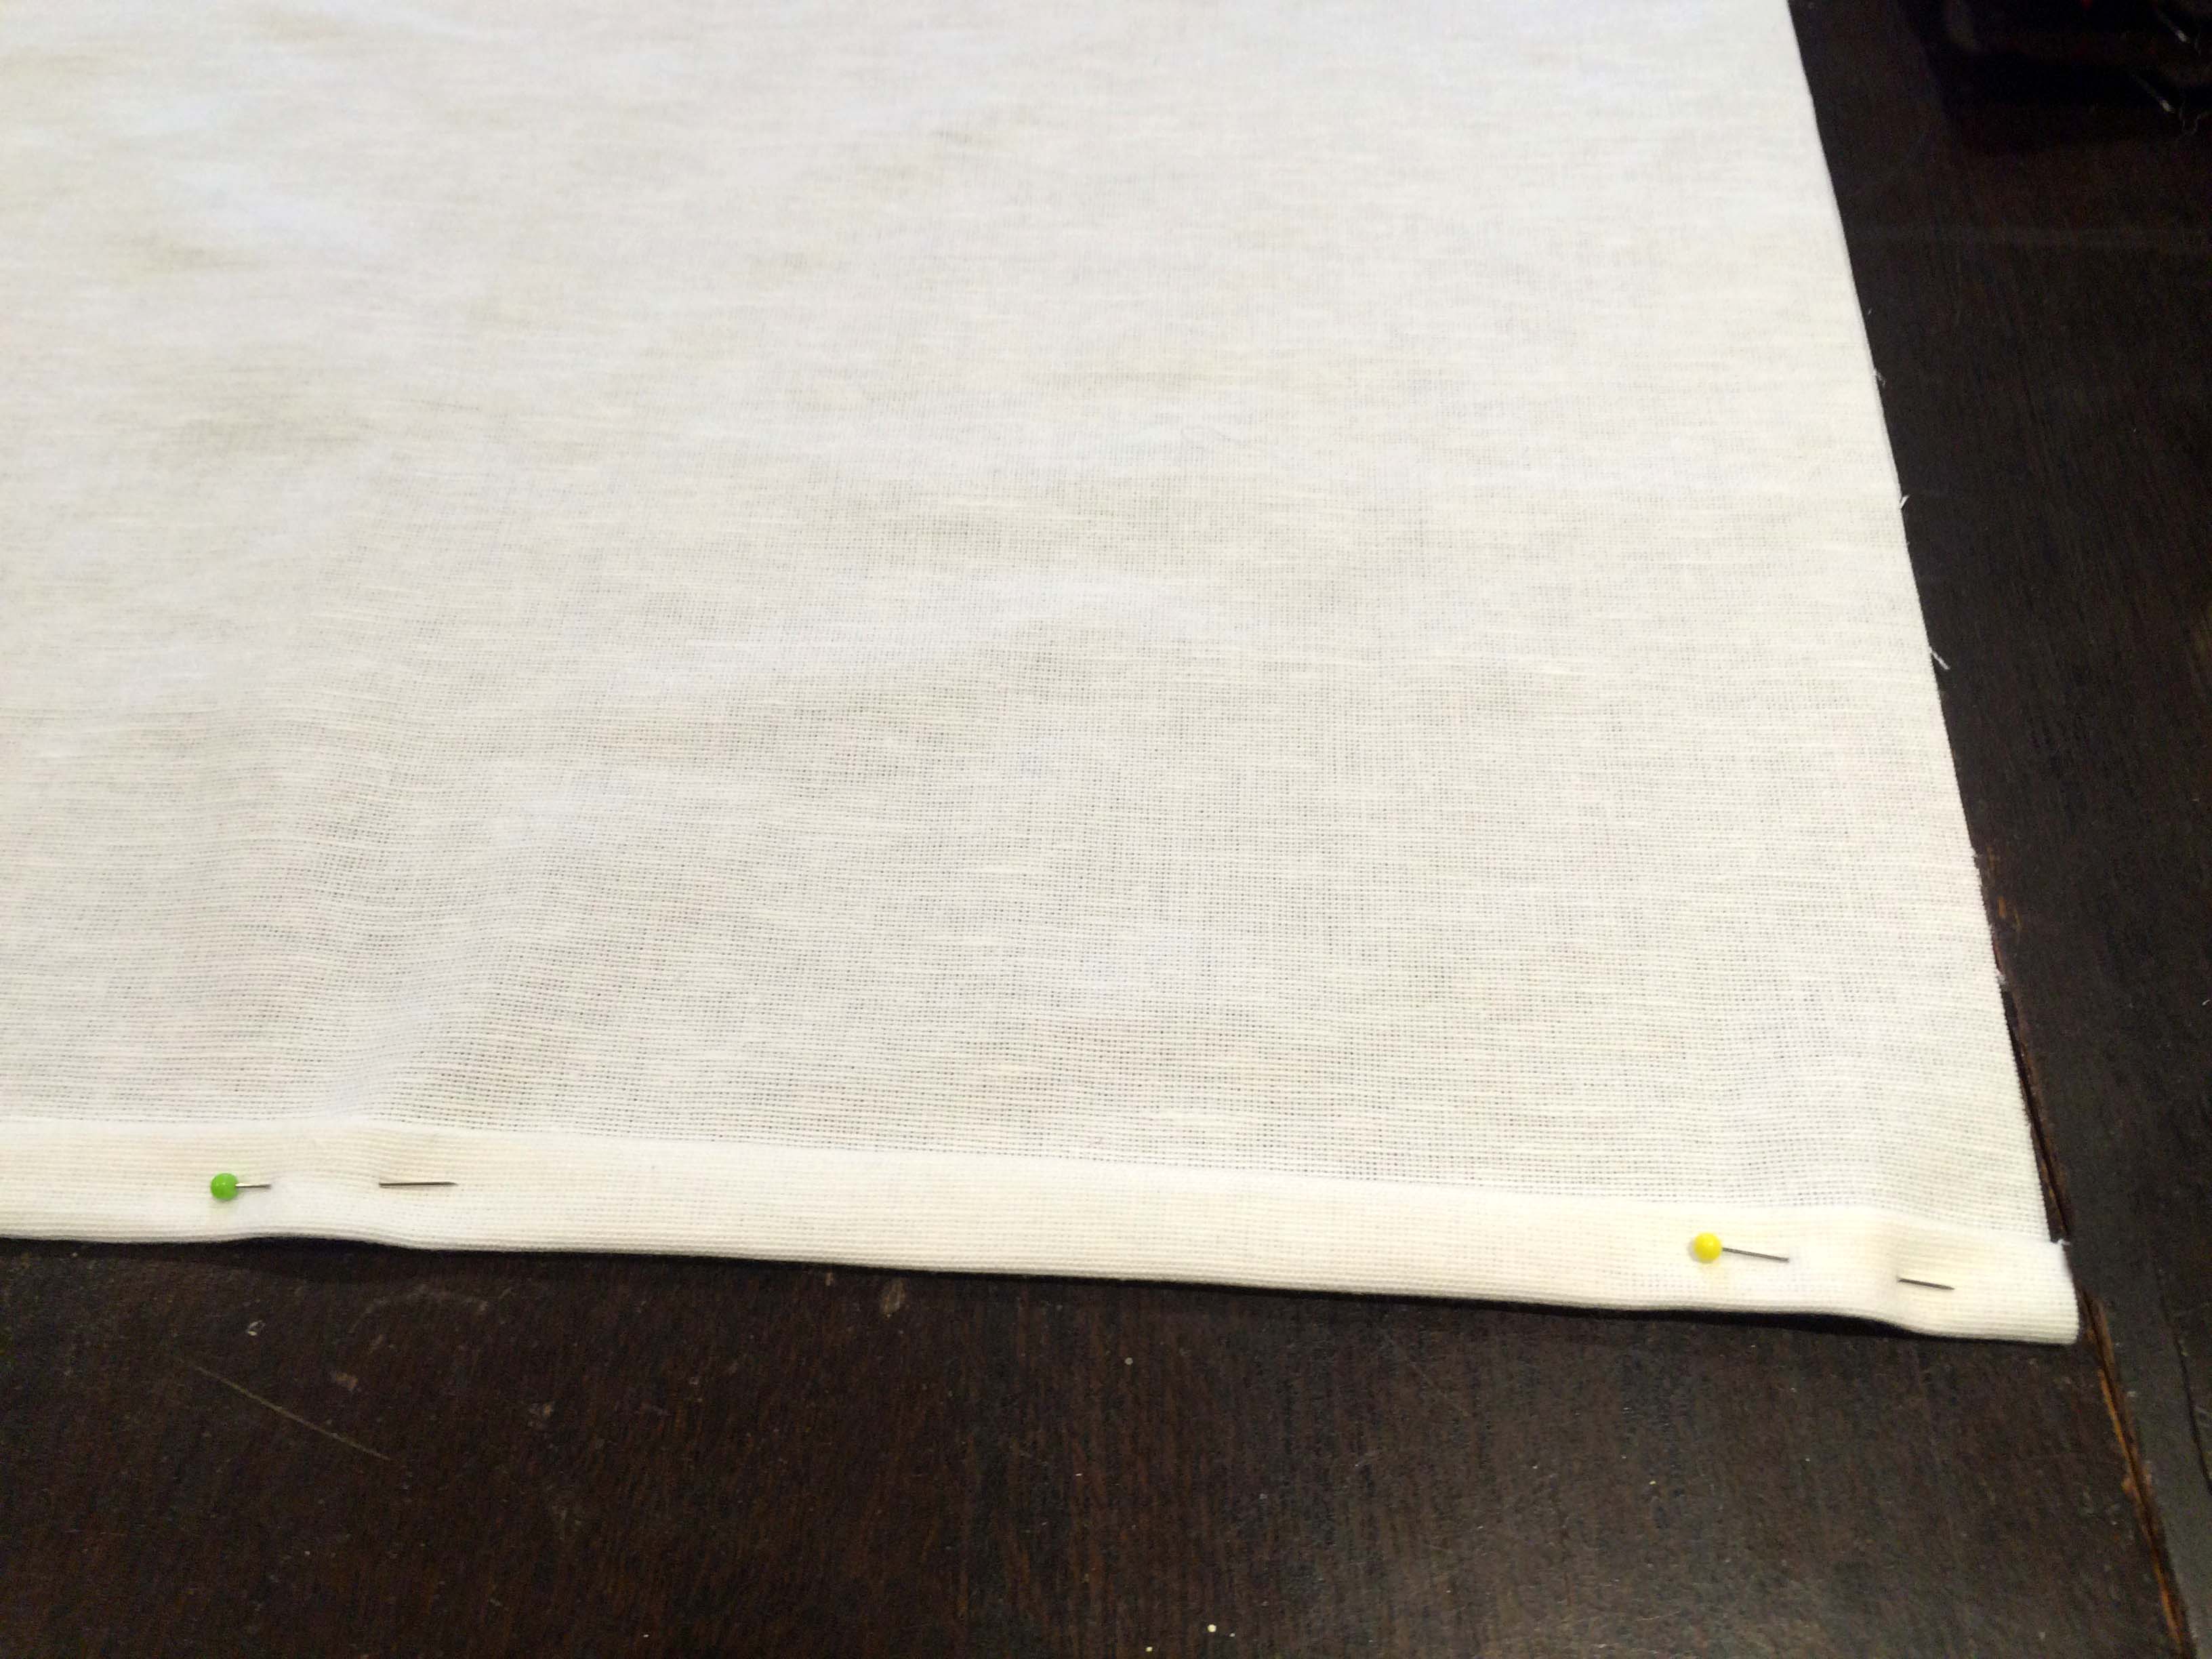
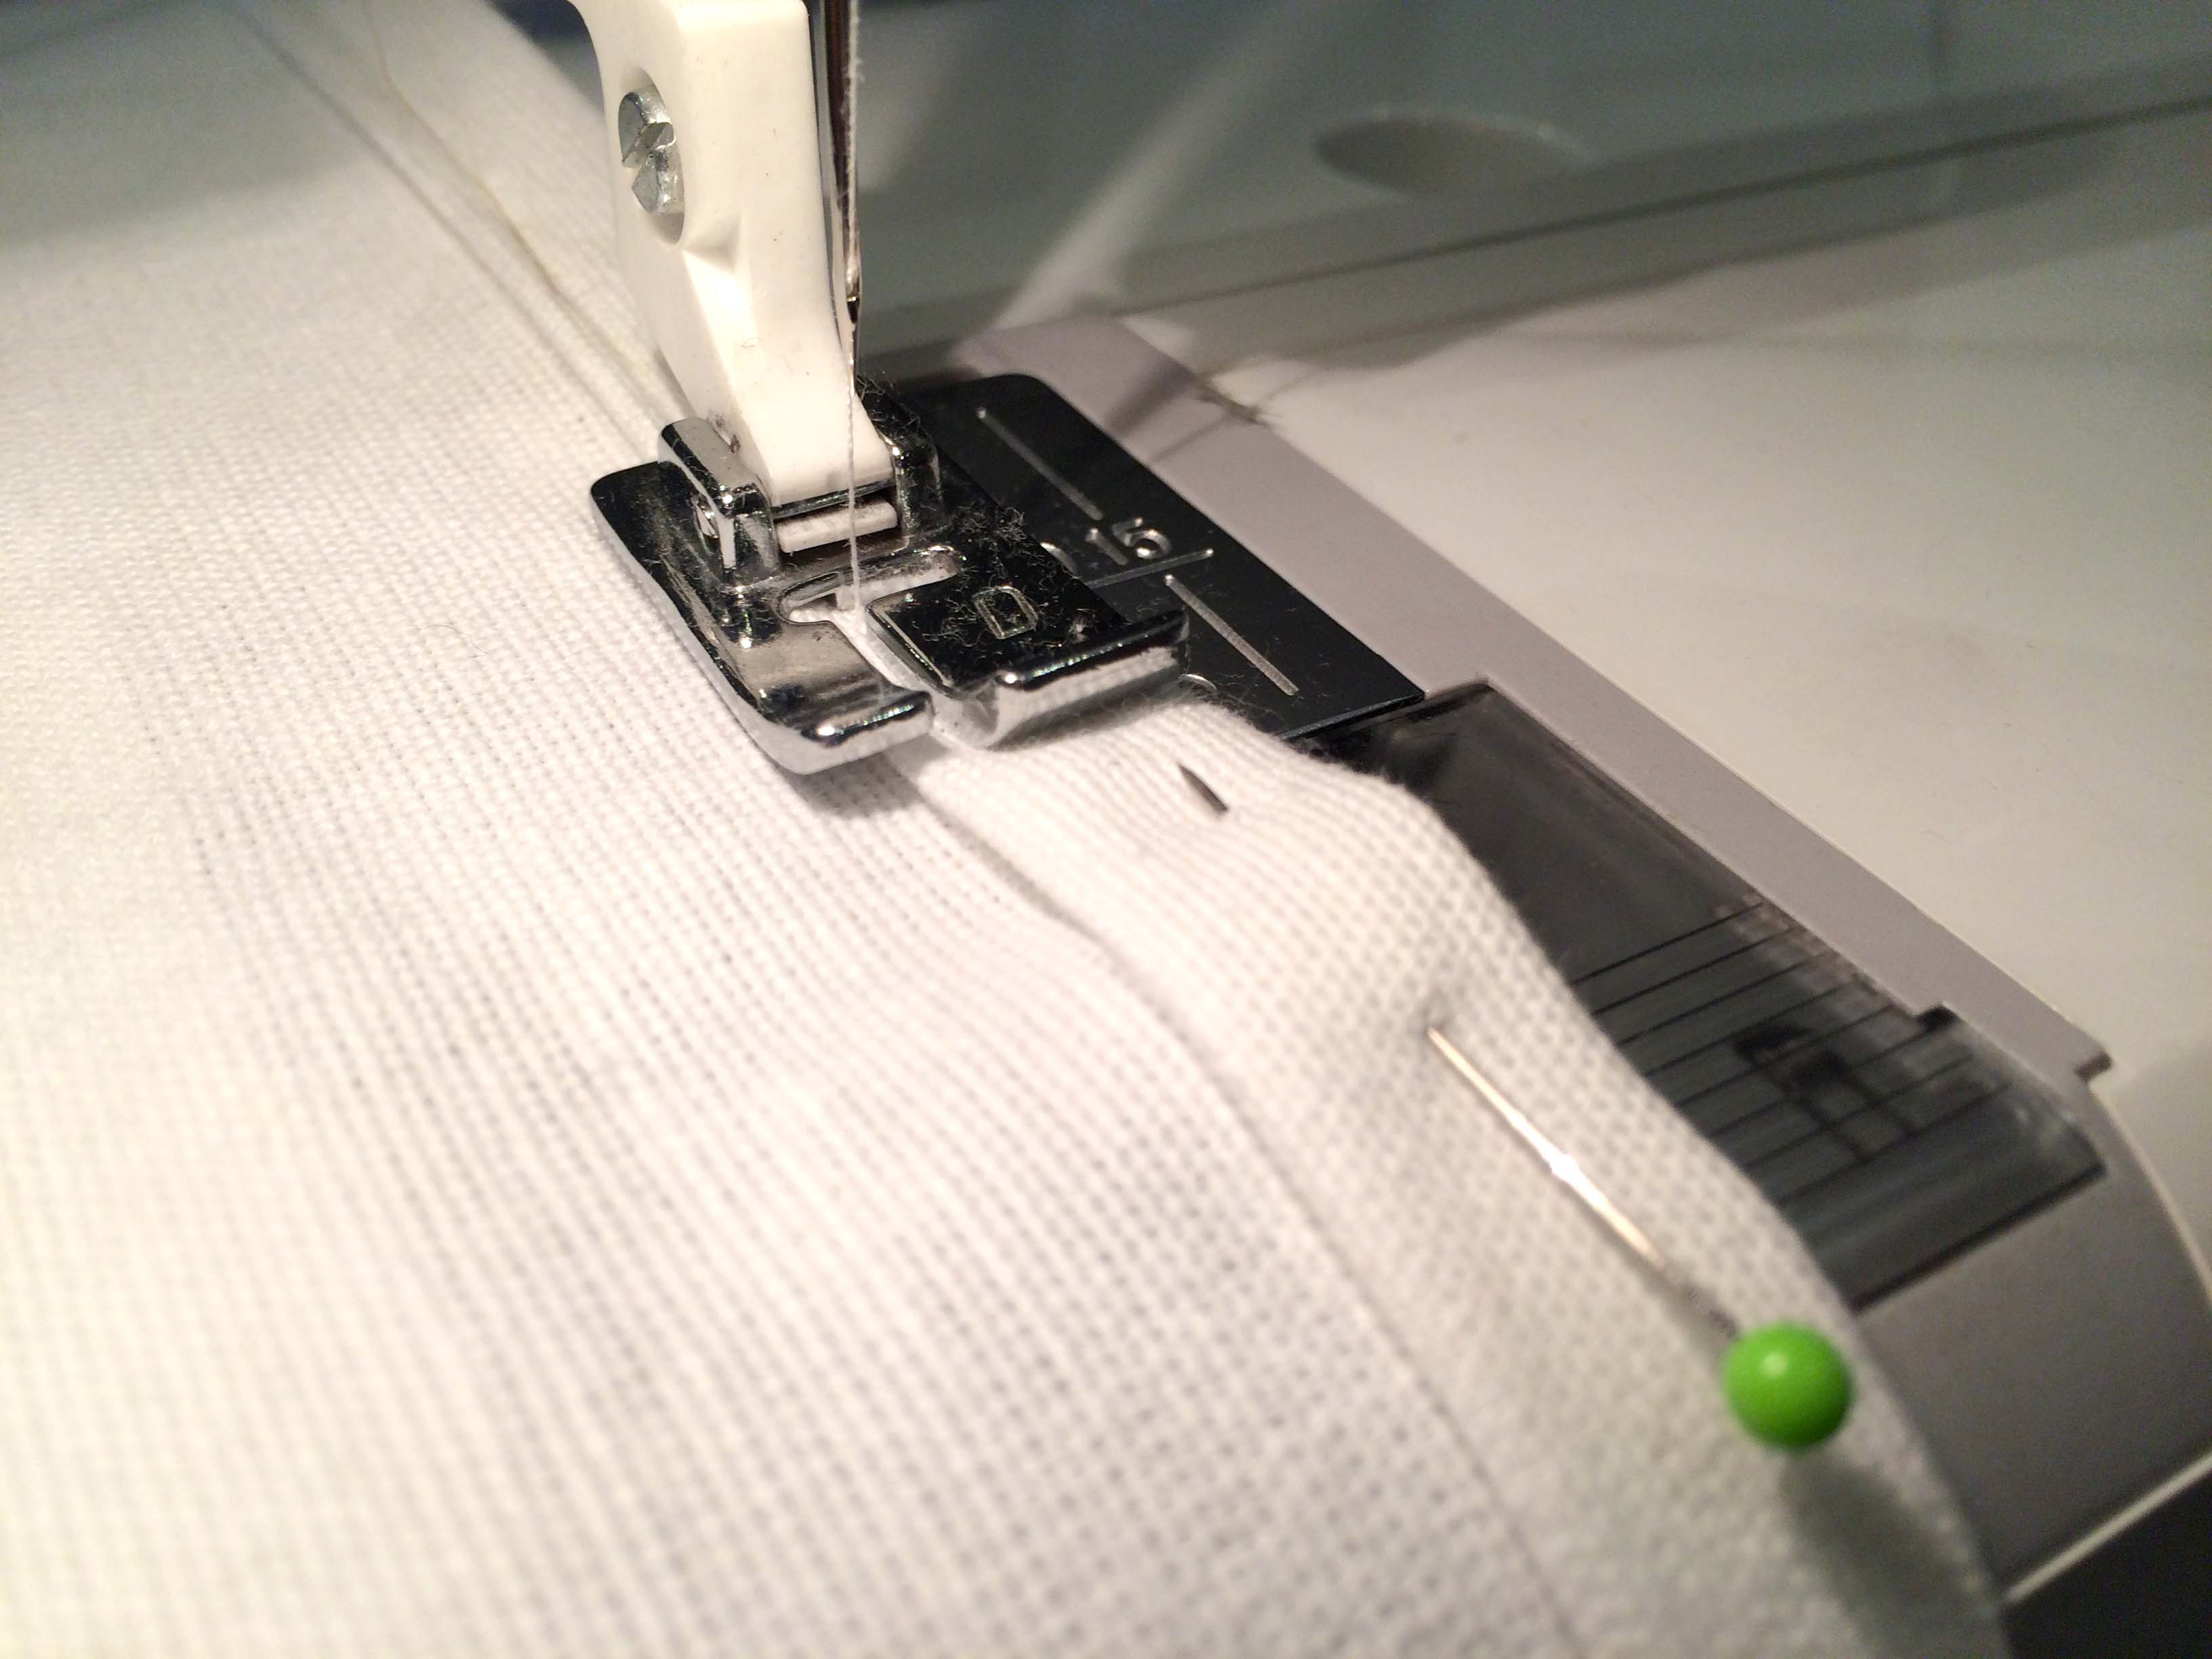
Step 2: Hem along one long edge of each piece of backing fabric. Do this by folding the raw edge over twice by about 1 cm, then press with an iron. Pin if needed, then machine stitch in place using a running stitch. Cut off any loose threads and iron both pieces of fabric again.
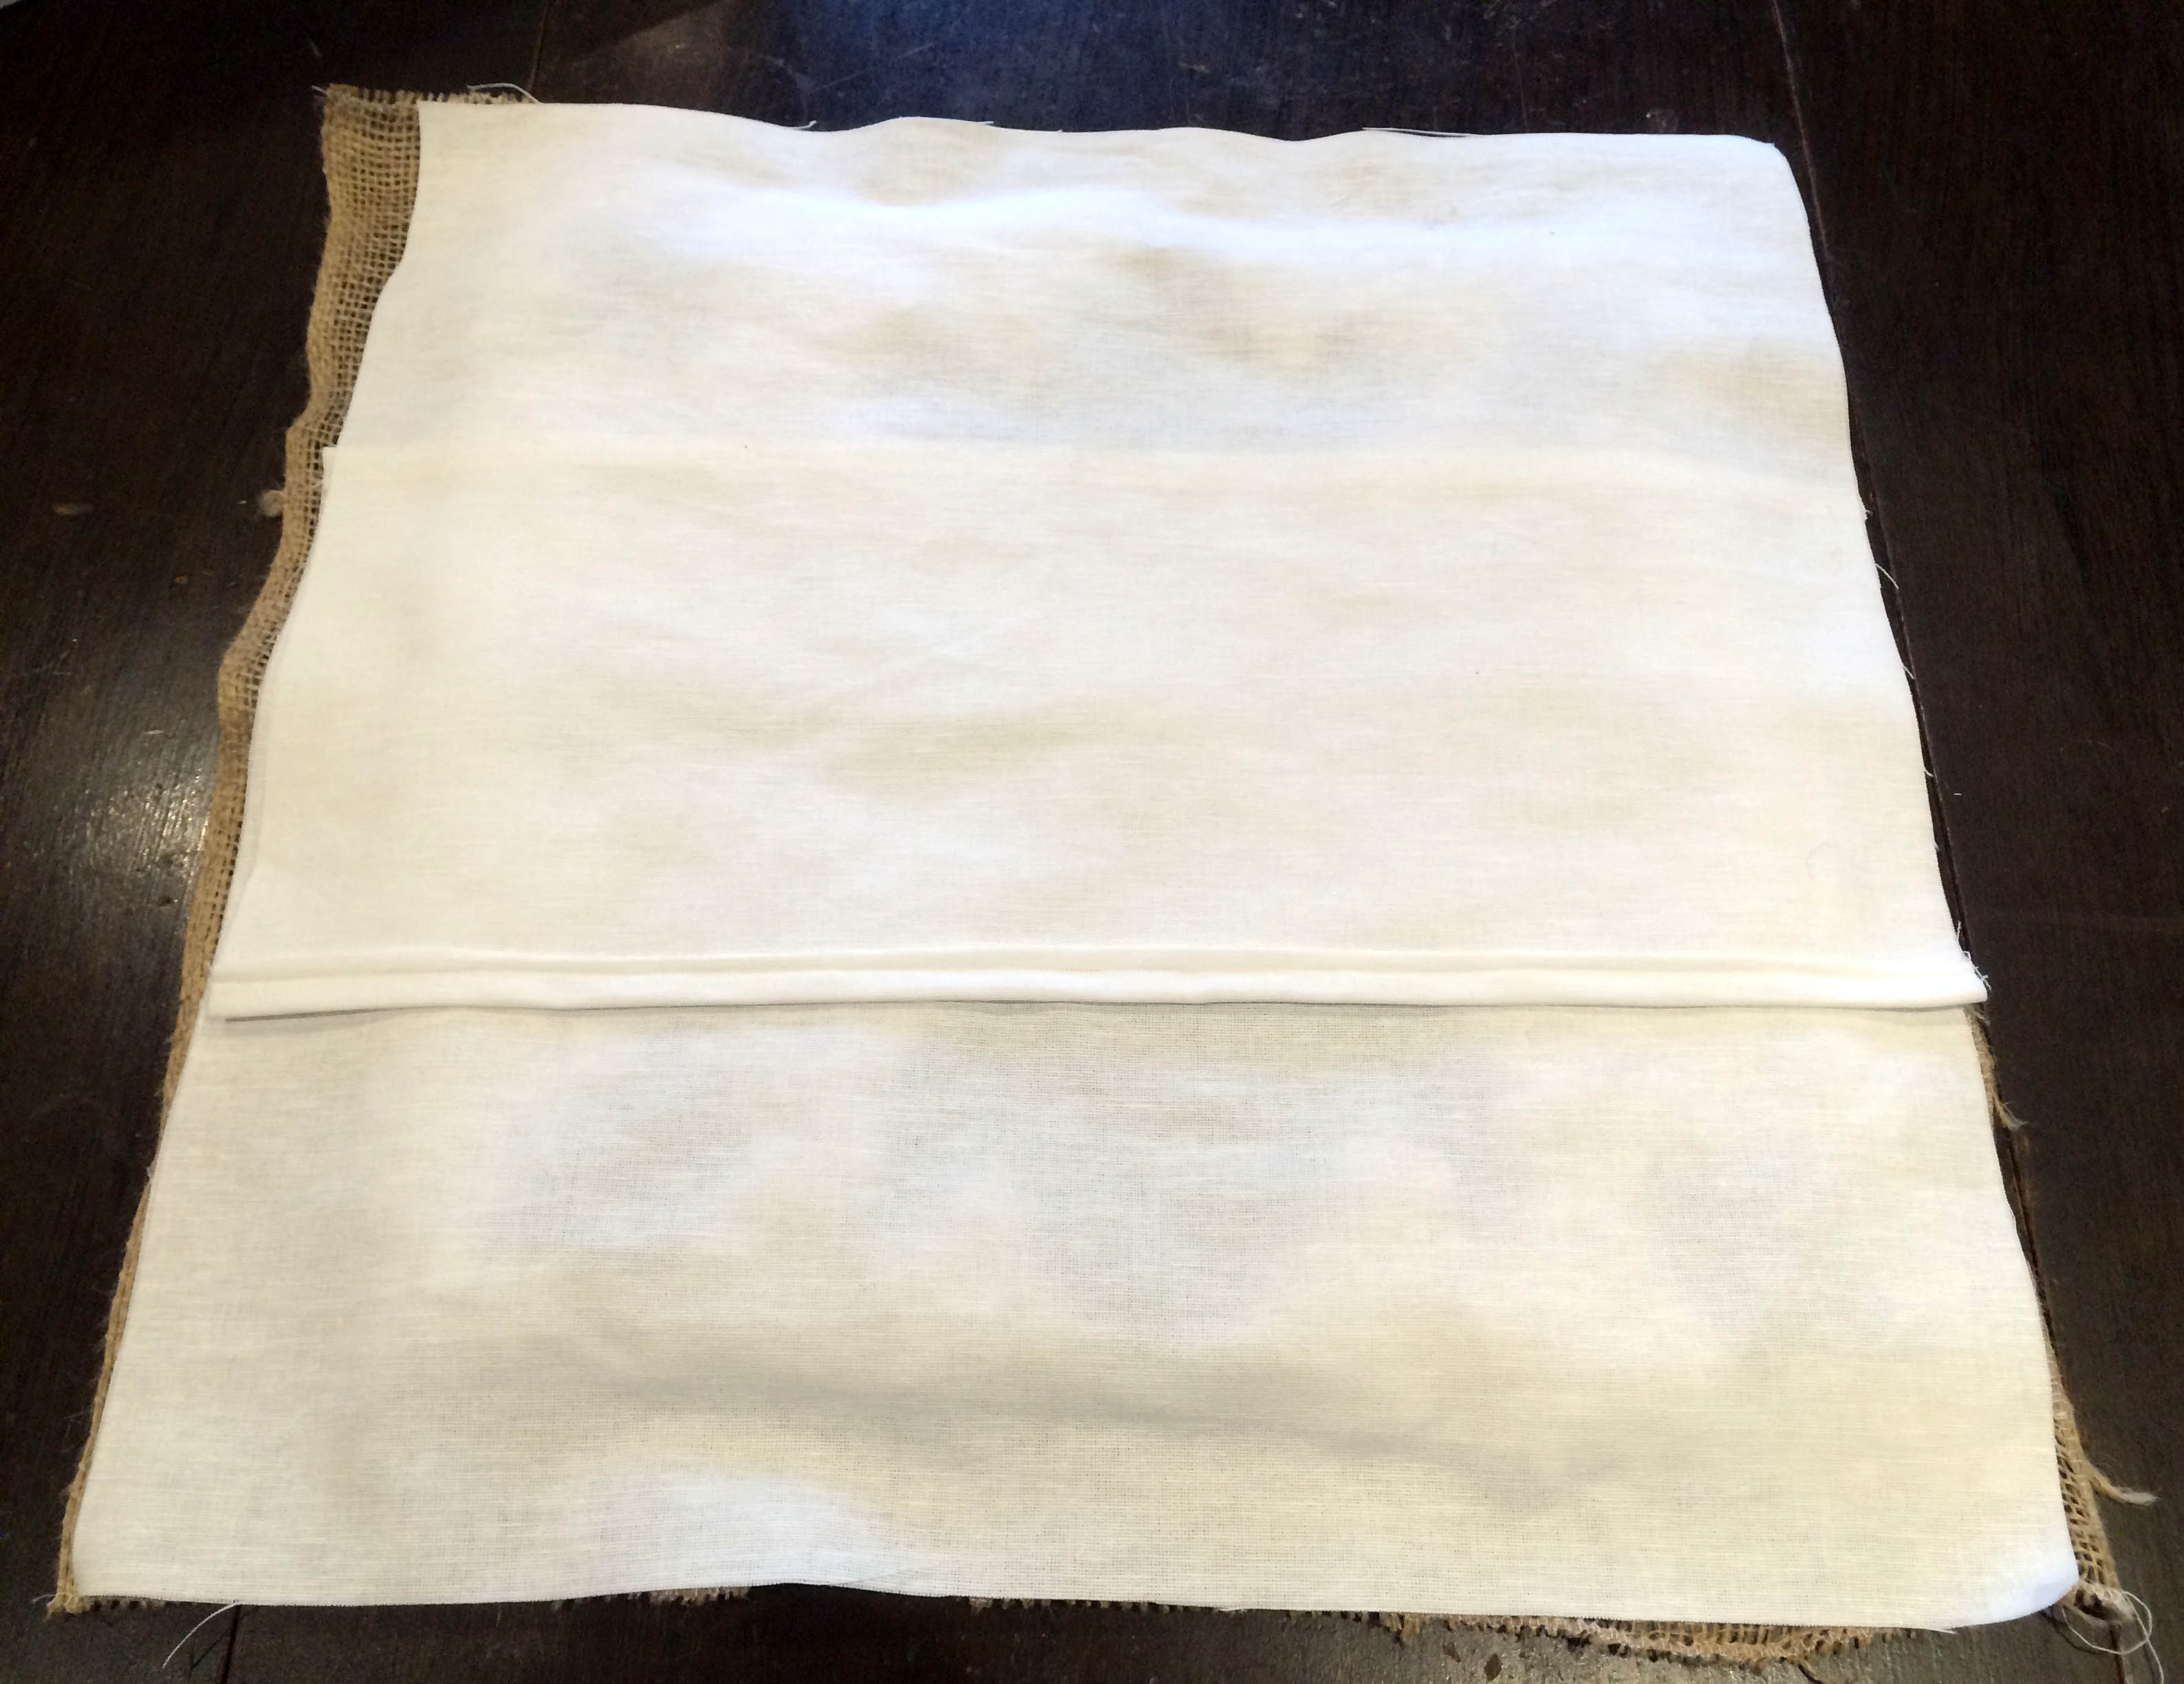
Step 3: Place your rag rugged square face up on a table. Lay one of the backing pieces on top of the square. The hemmed edge should be nearest the centre of the cushion and the rough side of the hemming should be facing up.
Step 4: Place your second backing piece on the cushion. As before, the hemmed edge should be nearest the centre of the cushion and the rough side of the hemming should be facing up. The backing pieces will overlap near the centre of the pillow.

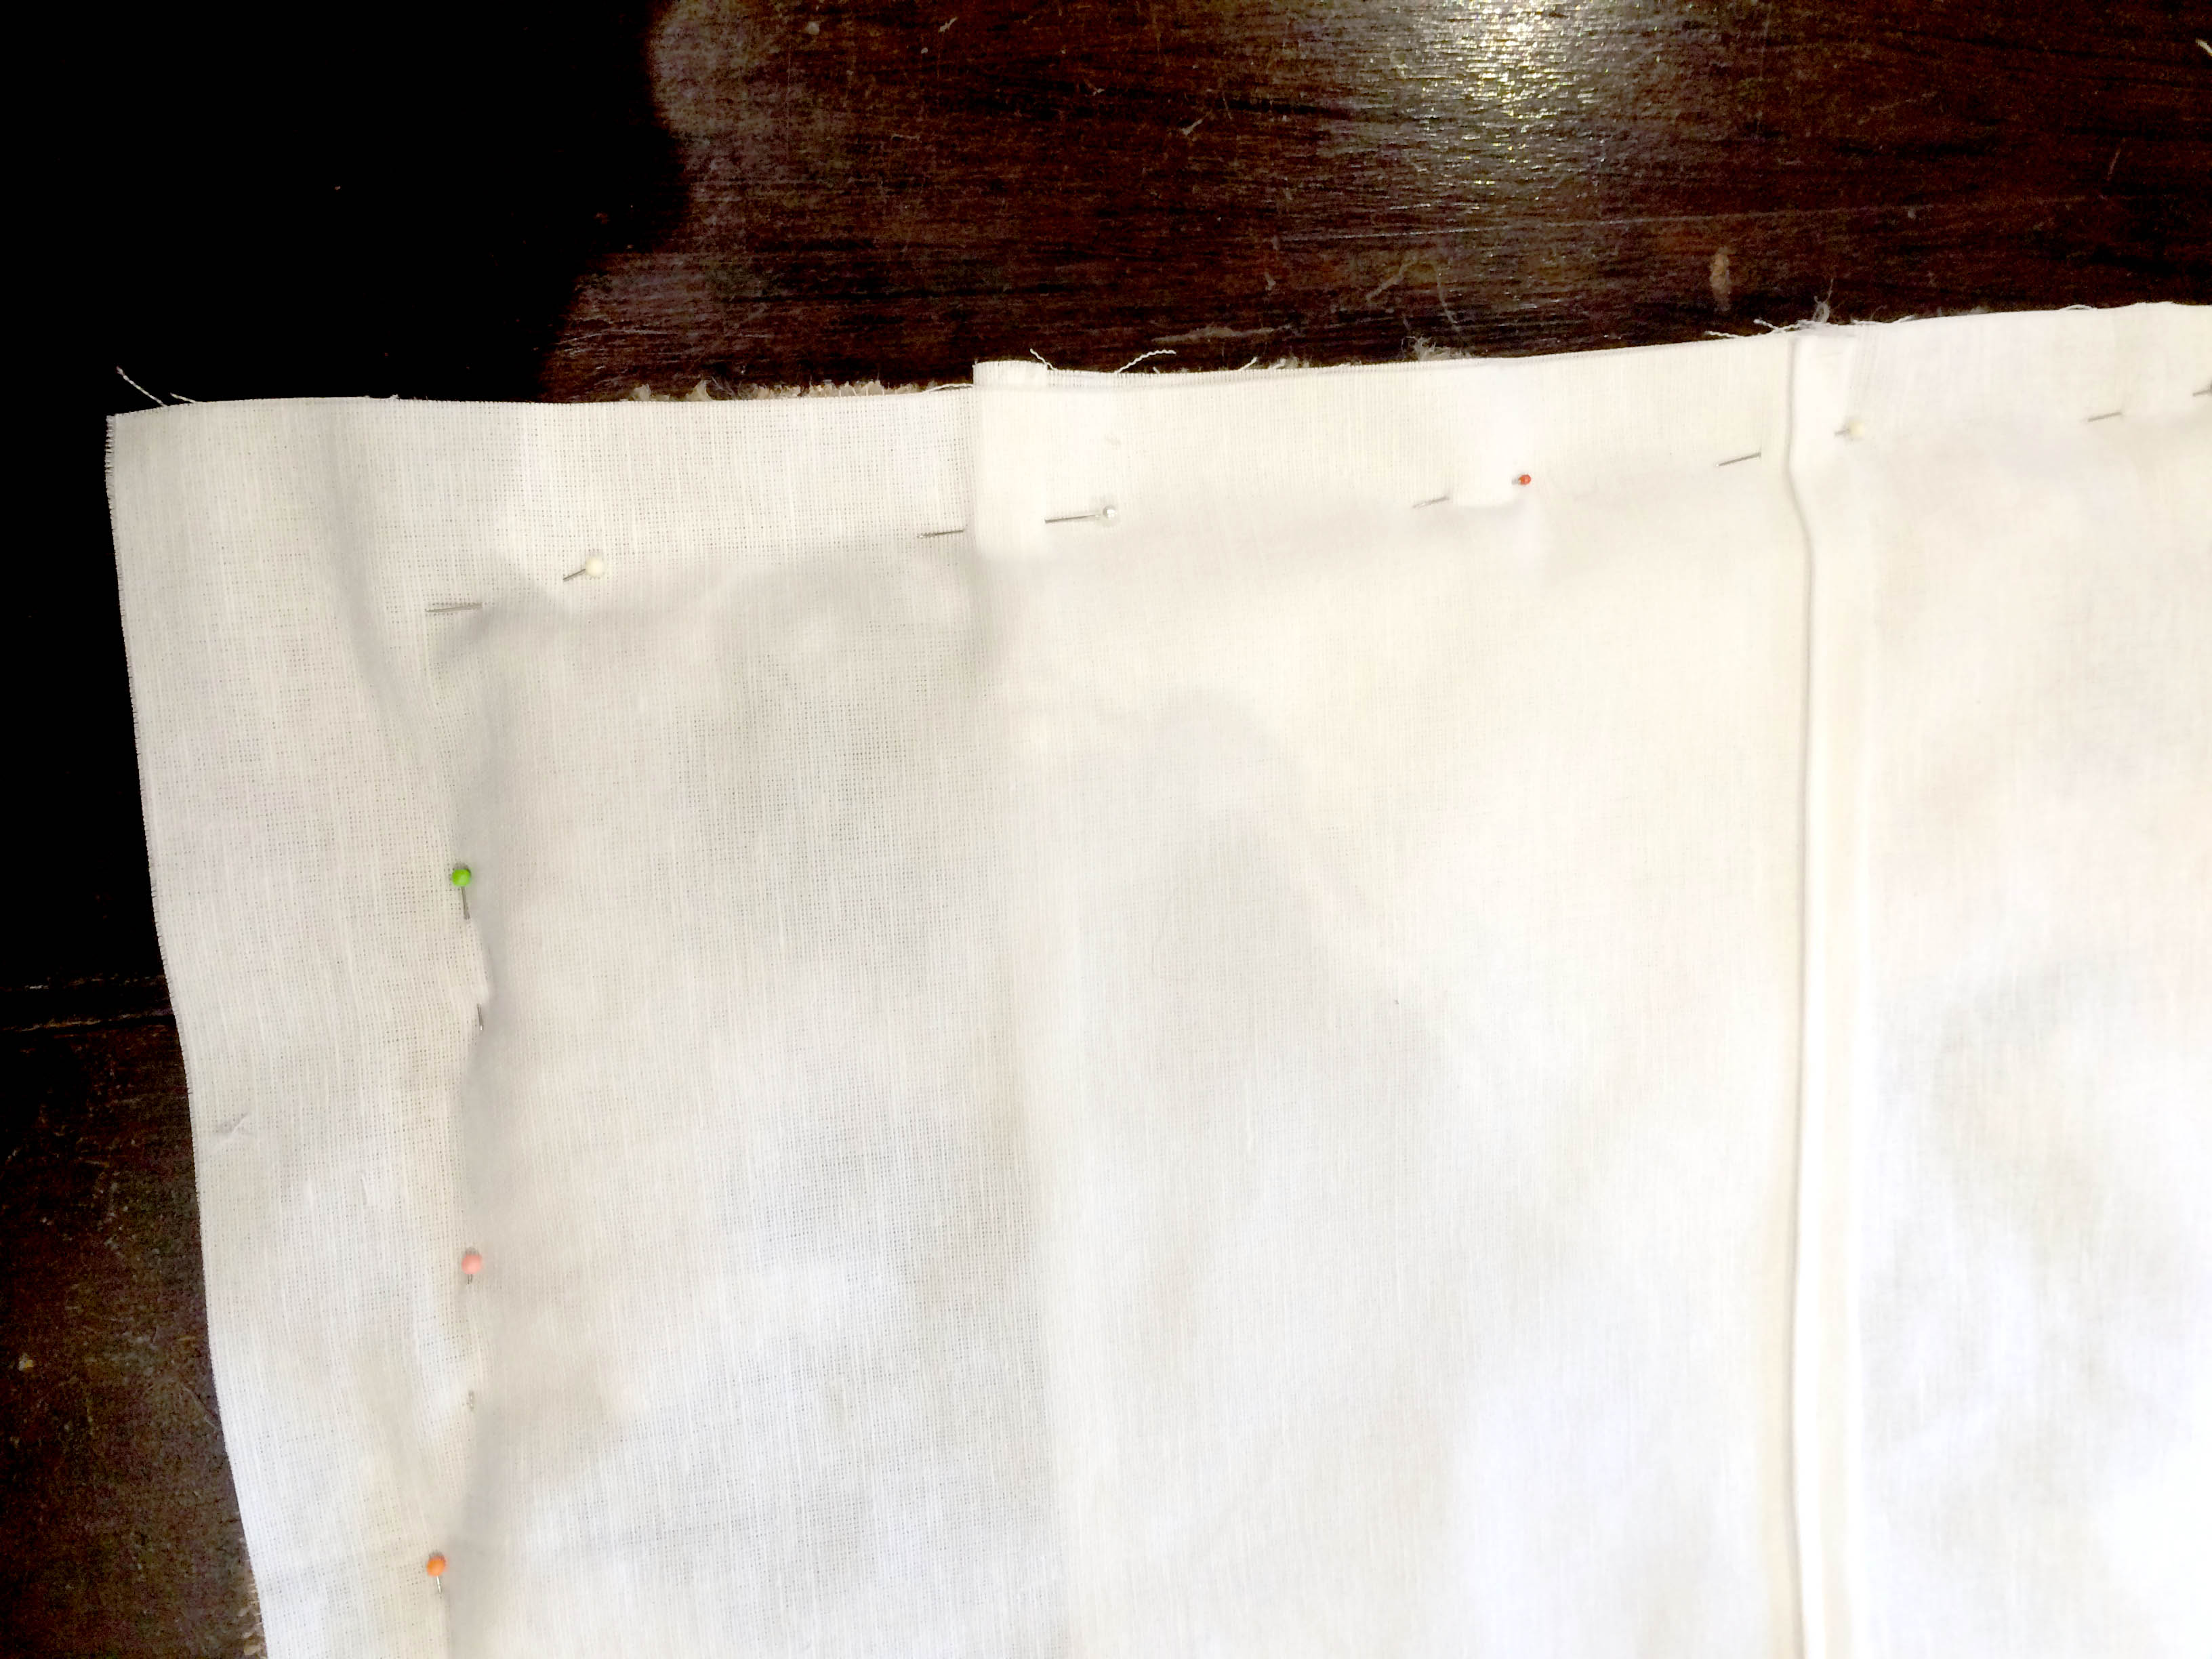
Step 5: Pin the fabric layers to the hessian as close to the rag rugging as possible. Try not to trap any of the rag rug loops or fabric pieces, or you will end up sewing over them. Sometimes it helps to tape back the rag rugging to keep it out of the way, particularly when assembling a shaggy rag rug cushion.
Step 6: If you have a zipper foot for your sewing machine, now is the time to use it as it helps you to stitch a little closer to the rag rugging, giving a neater finish. Machine stitch all around the cushion using a running stitch. Stay as close to the rag rugging as possible, so you’re best doing this very slowly.
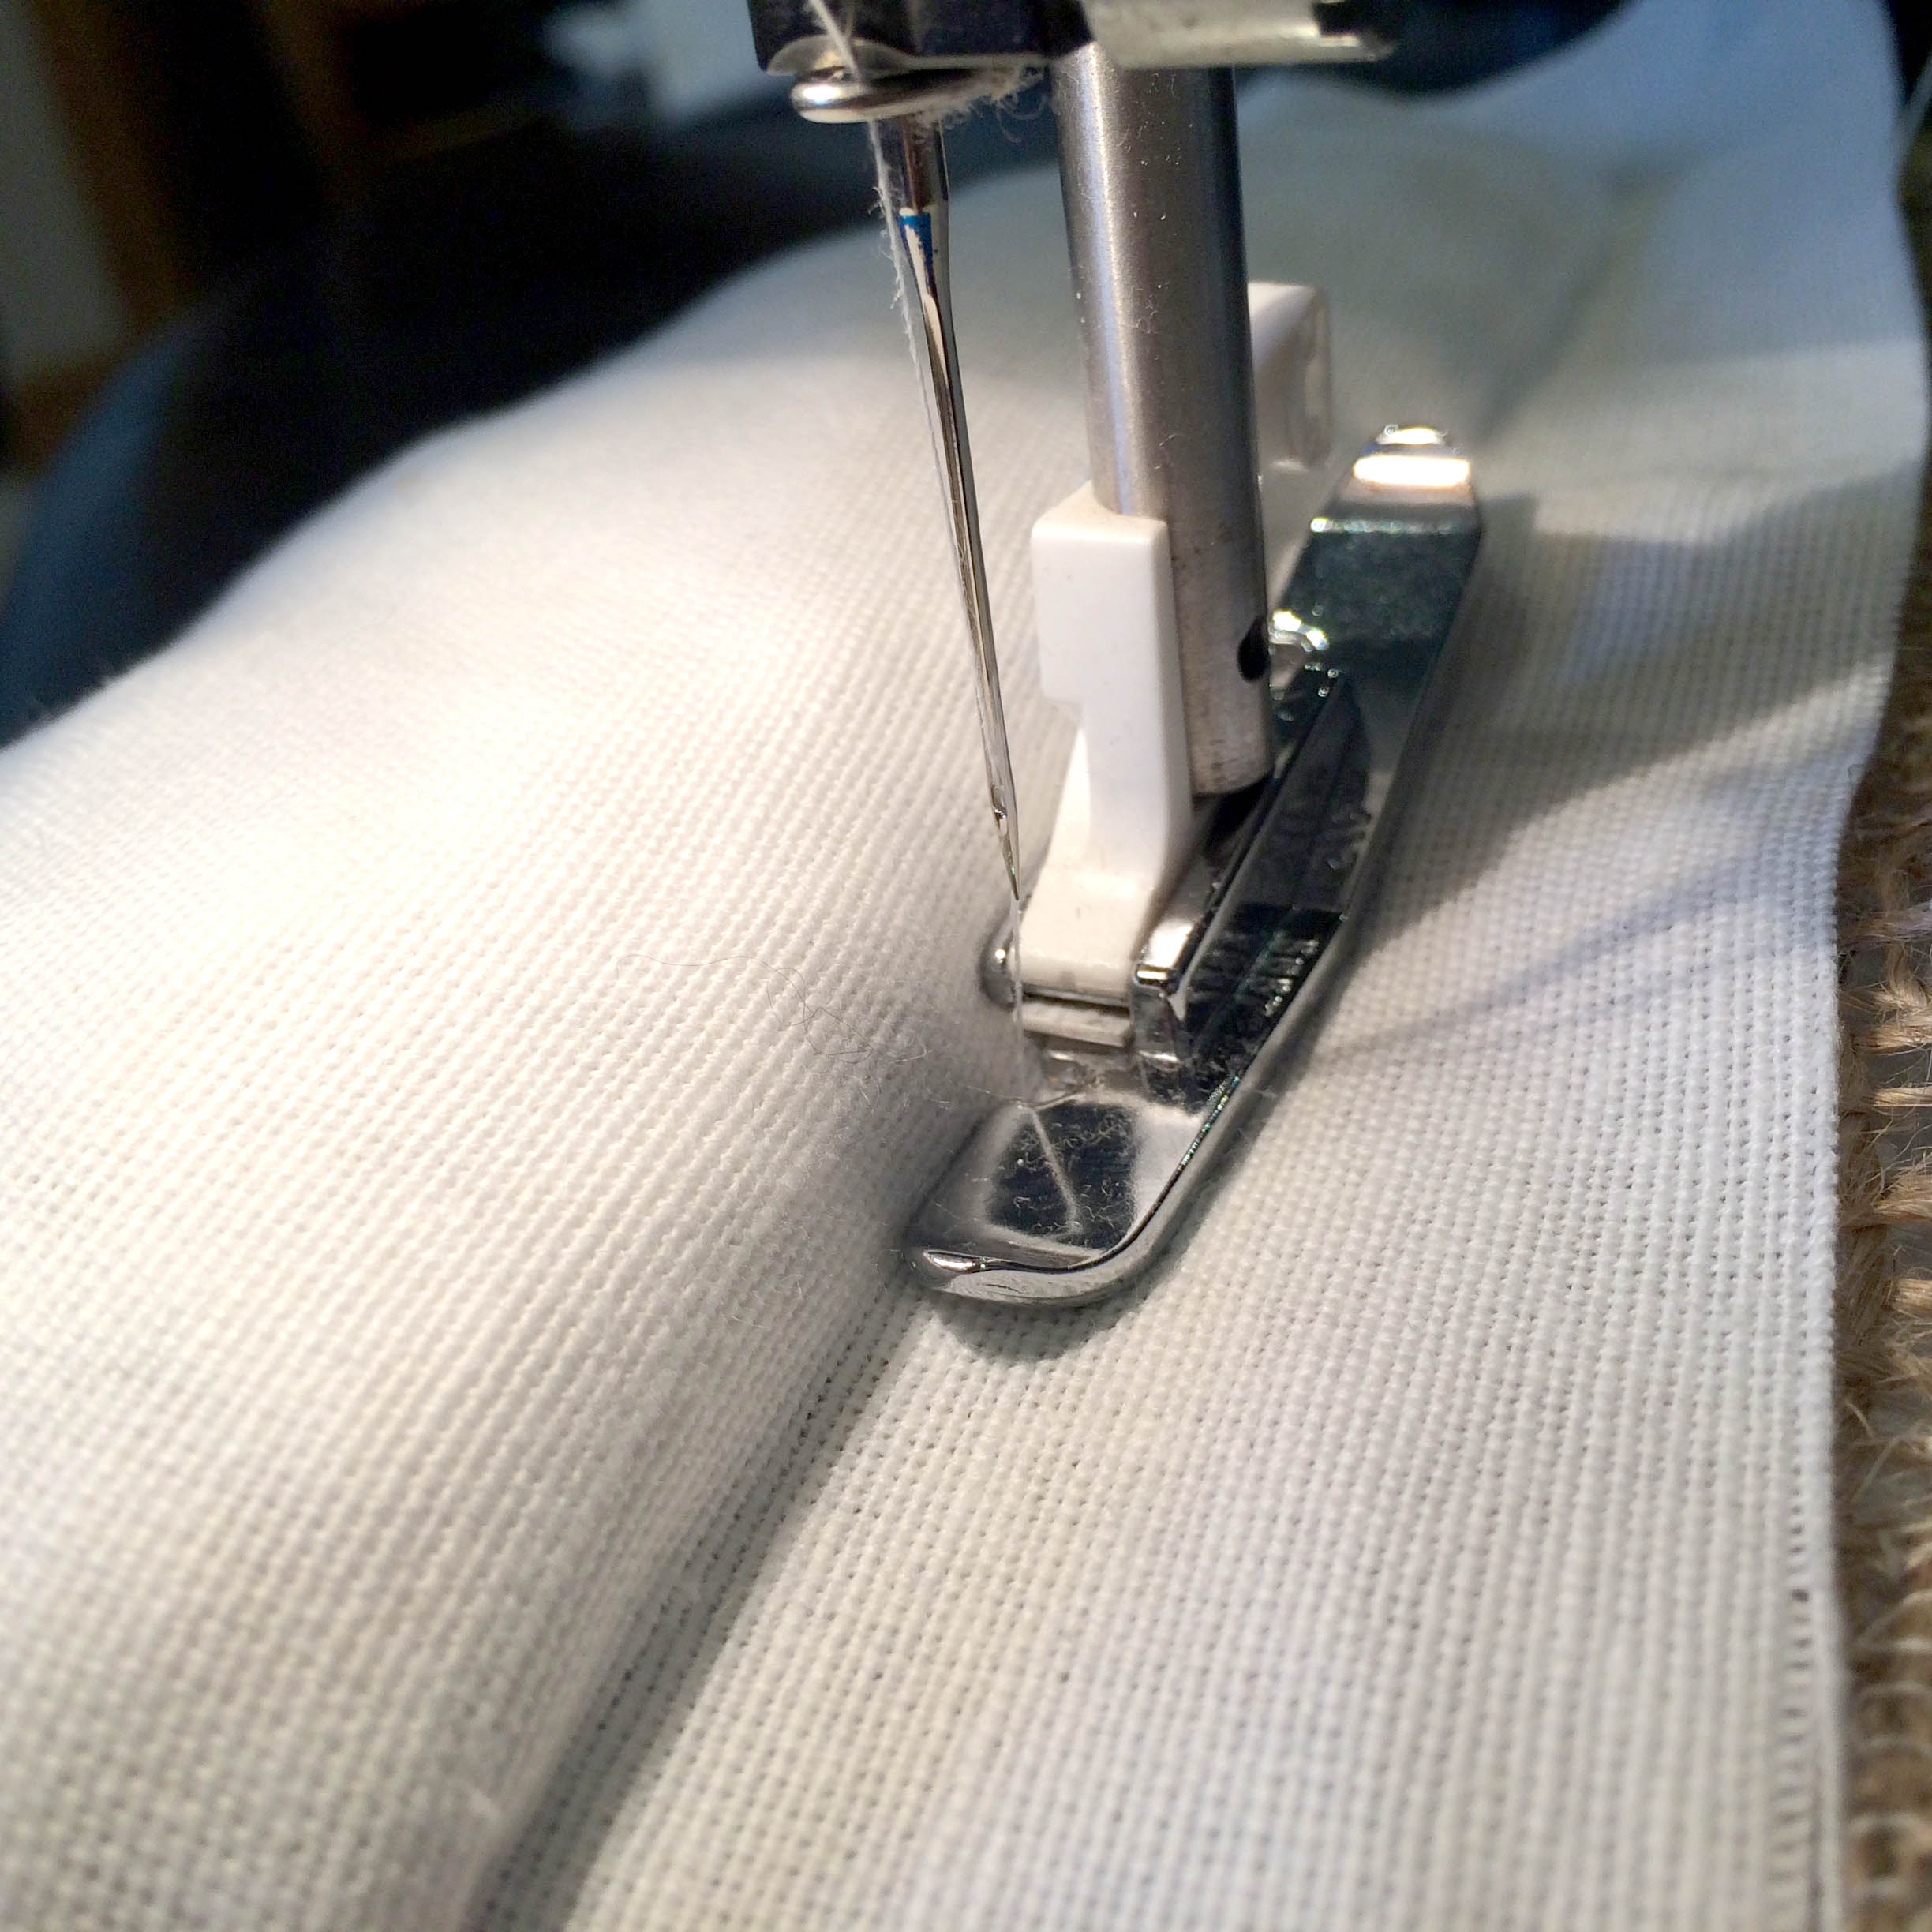
Step 7: Once you’ve stitched around all four edges, you now have a fully sewn-up cushion cover. Before you turn it right side out, diagonally cut off the corners (being careful not to cut any stitches) and trim away some of the excess hessian and backing fabric from around the edge of the cover. This will remove some of the bulk from inside the cushion. Don’t cut too close to the backing fabric though, as this will leave the hessian vulnerable. I like to leave around a centimetre all the way round.
Step 8: Turn the cushion cover right side out and insert the cushion pad. Sew two buttons on the back for extra detailing if desired.
And now you should end up with a beautifully constructed rag rug cushion like Janice’s beautiful creations here 🙂
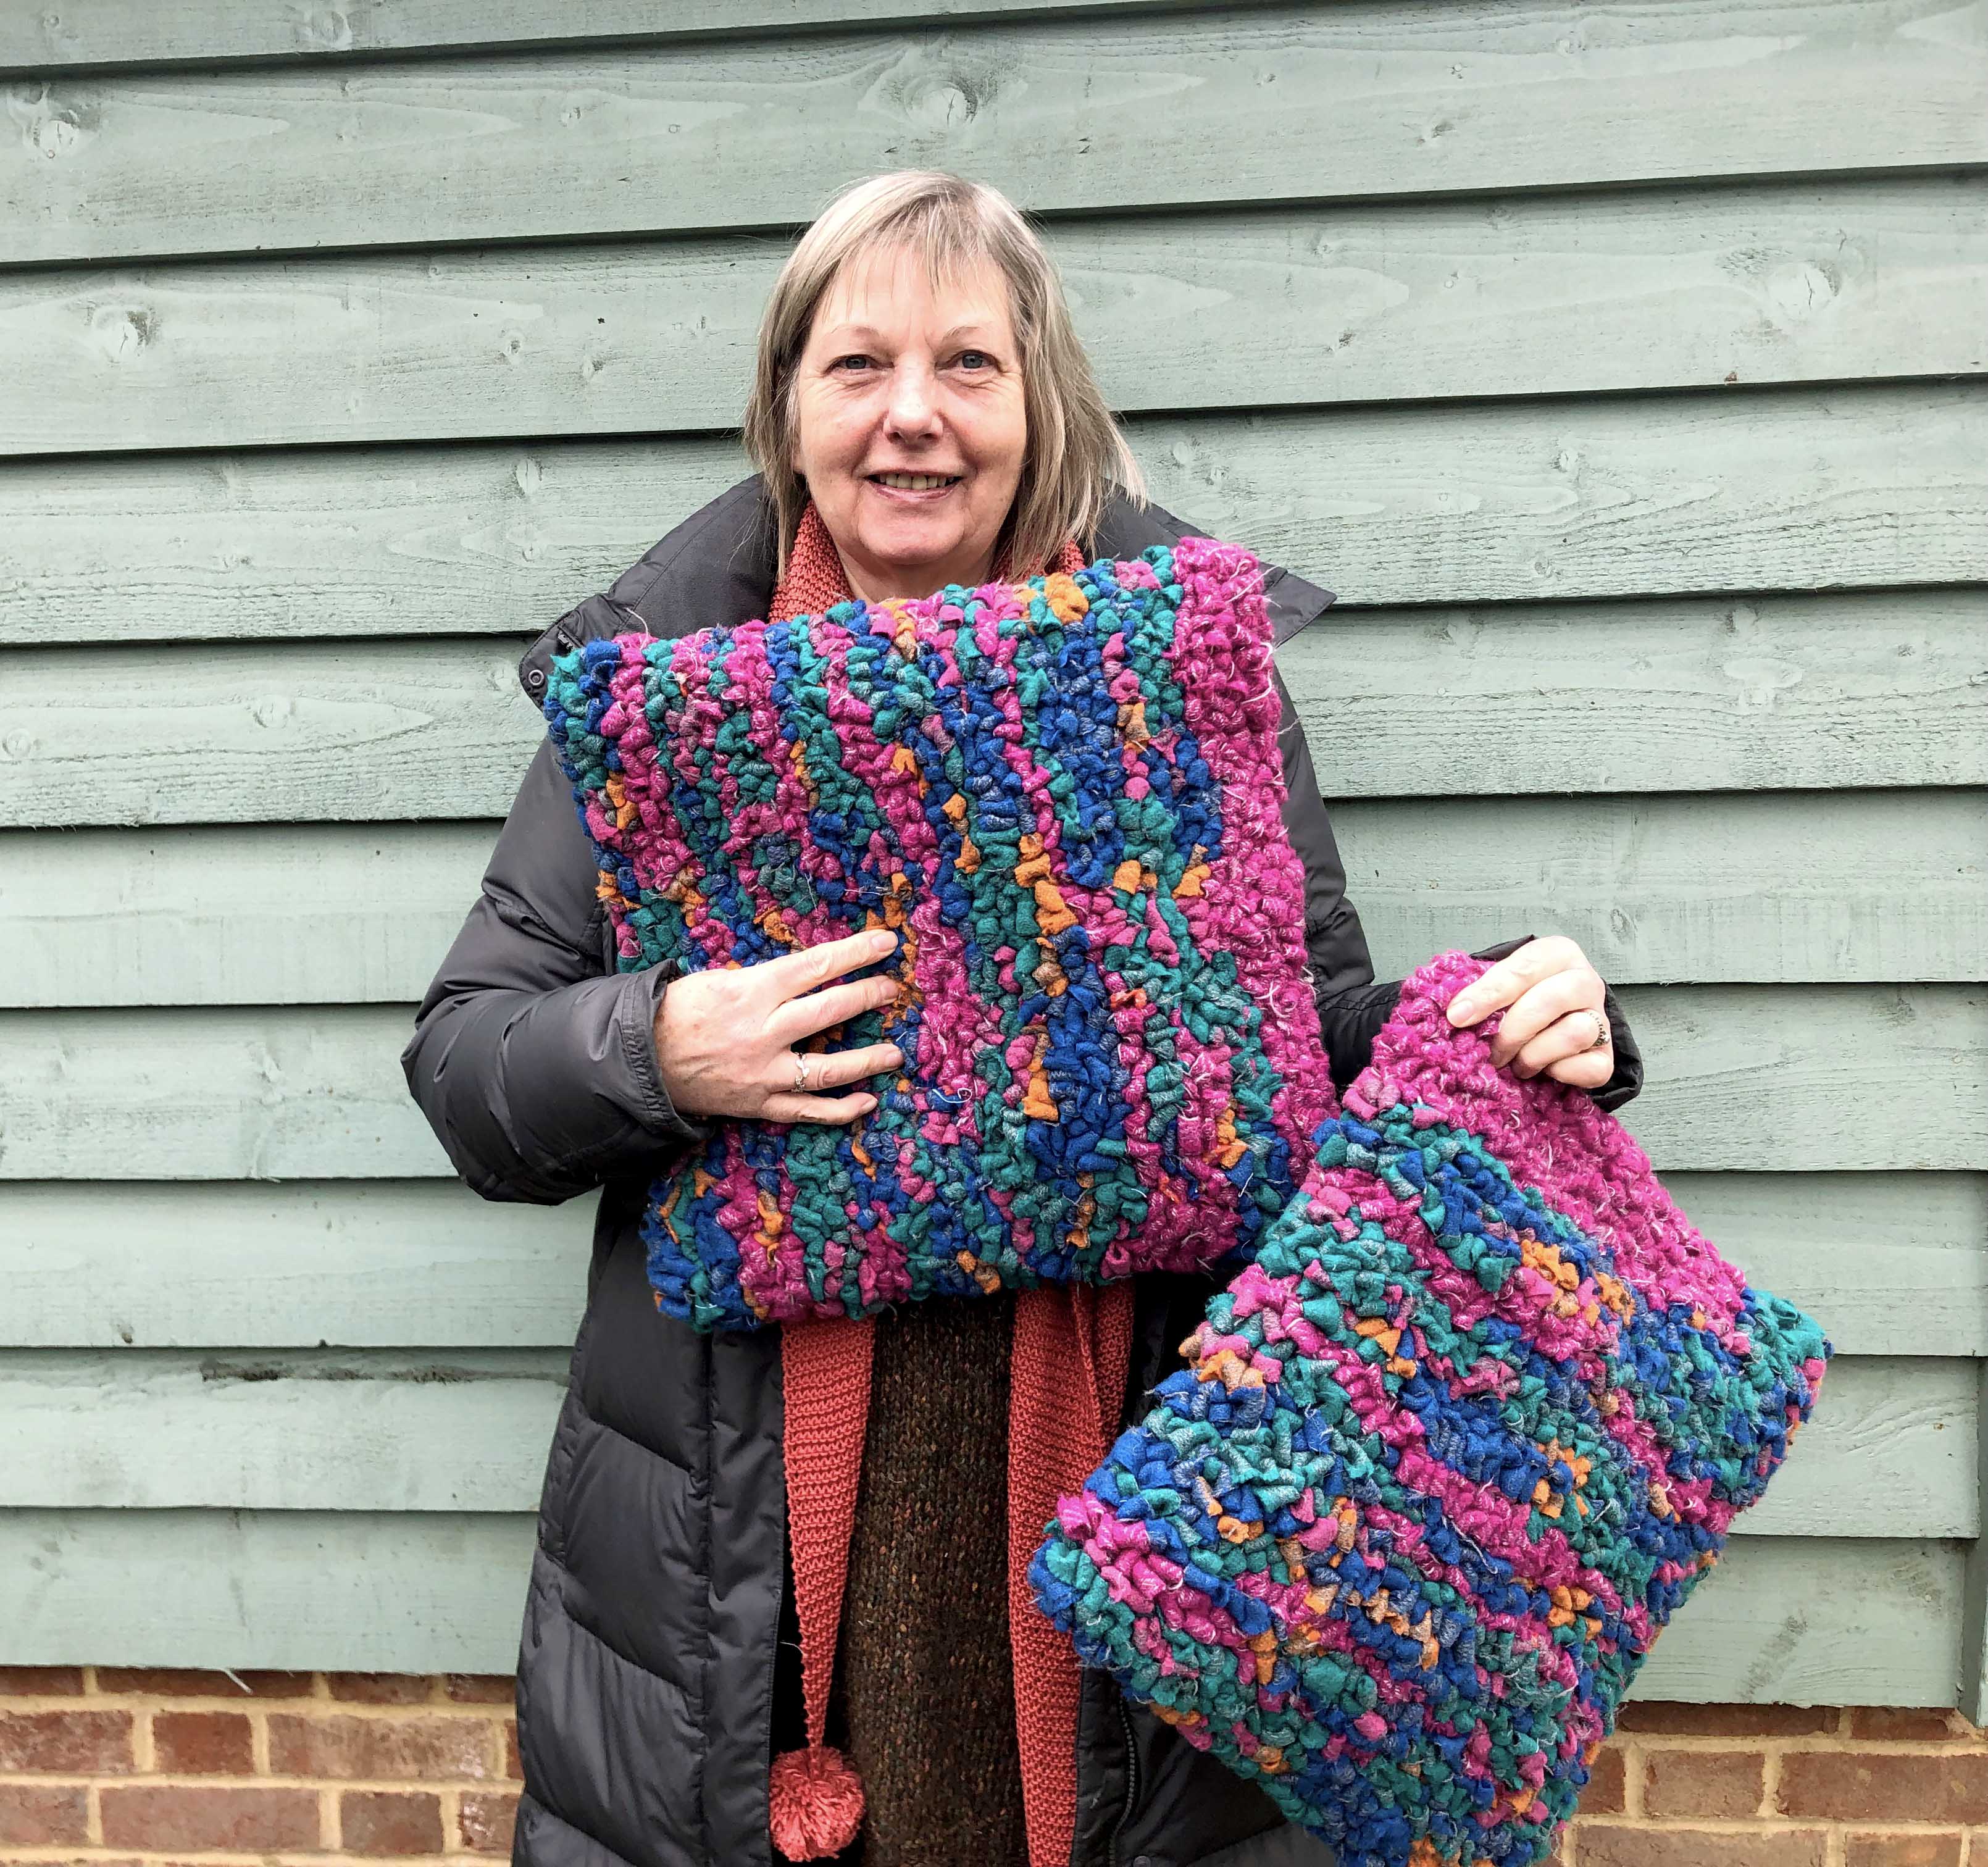
Janice made this stunning pair of rag rug cushions using our Tutti Frutti blanket yarn.
Make a Rag Rug Cushion:
Like the sound of making a rag rug cushion and fancy giving it a go? You can buy the tools individually on our online shop here or buy them as part of our Rag Rug Cushion Kit, which includes all the tools and instructions to make a 40 x 40 cm cushion. You can also buy our 100% Wool Blanket Yarn to rag rug with for a super soft, cosy feel. If you already have all the tools, you can buy the hemmed cushion hessian here.
Still have questions or just fancy sharing a rag rug cushion that you’ve made? You can get in touch with me on hello@raggedlife.com – it’s always nice to hear from you!
Looking for more rag rug inspiration? Why not connect with us on social media at:
Instagram: https://www.instagram.com/raggedlife/
Facebook: https://www.facebook.com/raggedliferagrugs/
Pinterest: https://www.pinterest.co.uk/raggedlife/
Twitter: https://twitter.com/raggedlife
Happy rag rugging everyone!
Elspeth x