I’m always on the lookout for new rag rug techniques to try and was so happy when I came across Ilka White on Instagram. She makes braided-in rag rugs, as well as other beautiful, sustainable textile techniques. Having made a classic plaited rag rug for my first book “Rag Rugs, Pillows and More”, I was impressed by how braided-in rag rugs don’t need stitching together at the end. The assembly part was the bit I enjoyed the least about the plaited rag rug process, so the possibility of a no-sew braided style rag rug really appealed to me. I was also excited at the prospect of making more circular and oval rag rugs, which this technique lent itself to quite naturally.
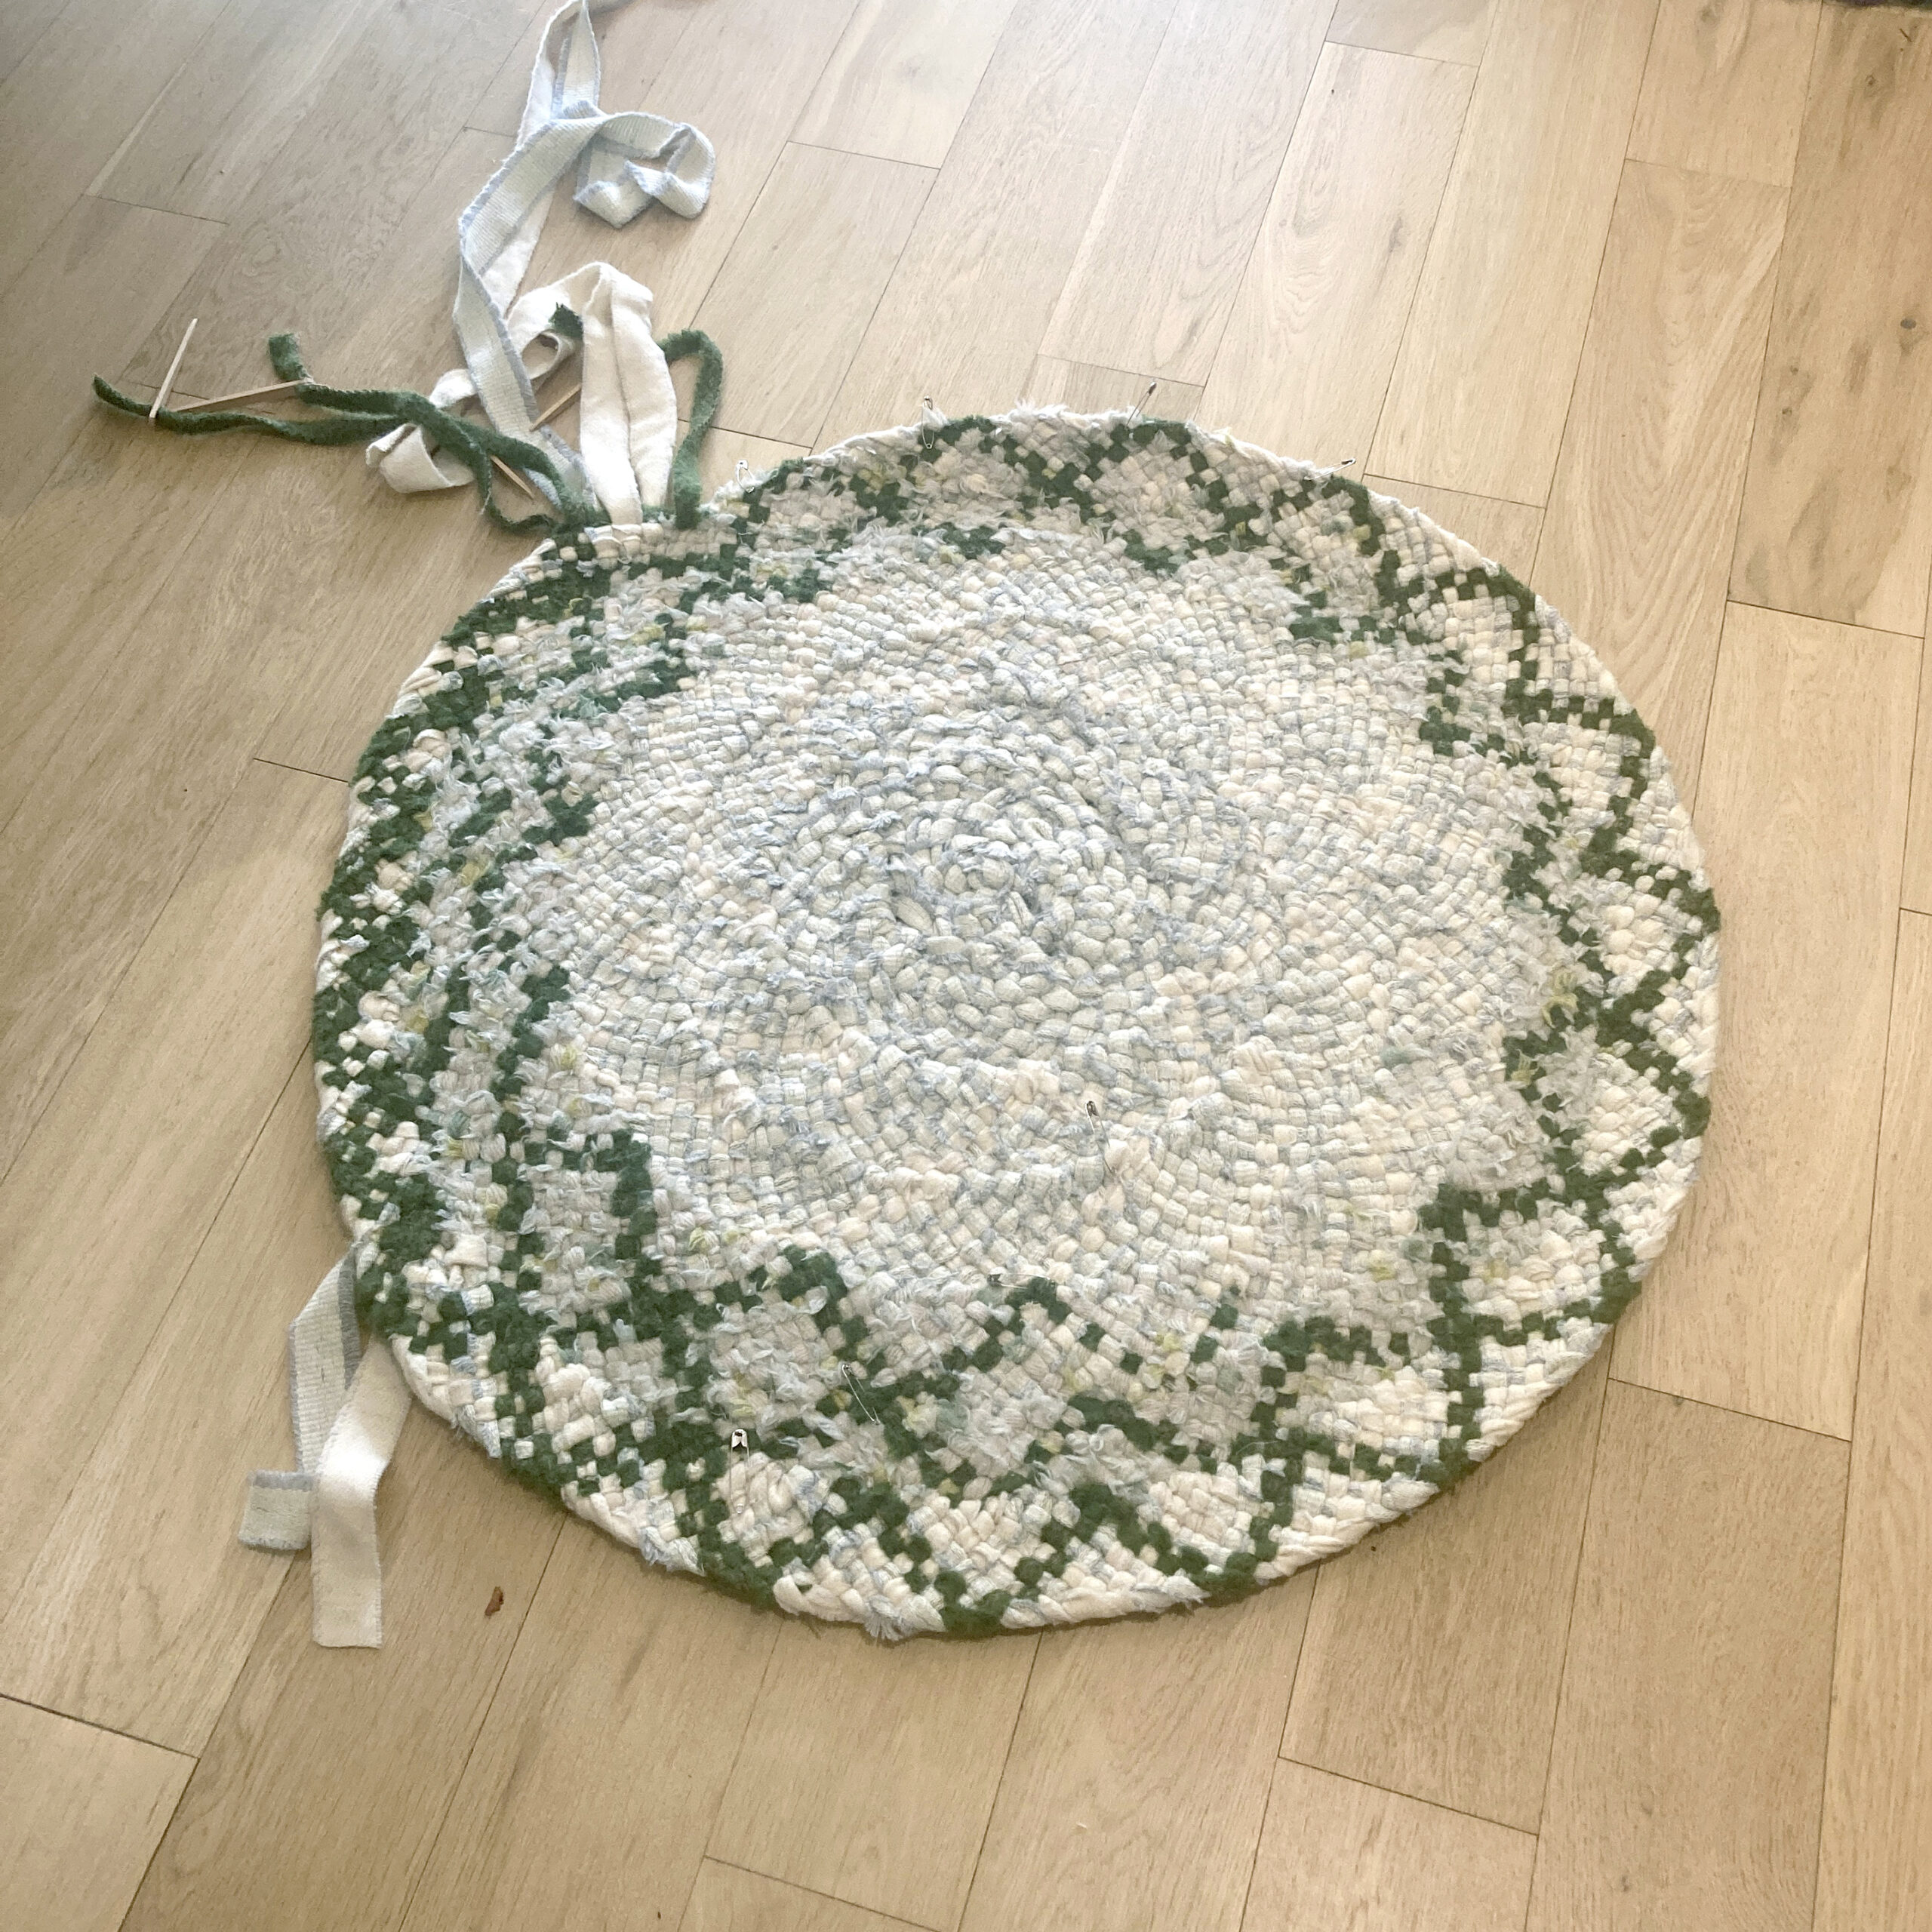
So, with Ilka’s rag rugs for inspiration and a book I’d managed to source in America, I made my first braided-in rag rug as part of the September Sustainability Challenge. As part of the challenge, I worked with woollen blanket yarn – the fabrics strips leftover from blanket and scarf production in the Yorkshire mills. Here’s how the final rag rug looked after I’d finished it…
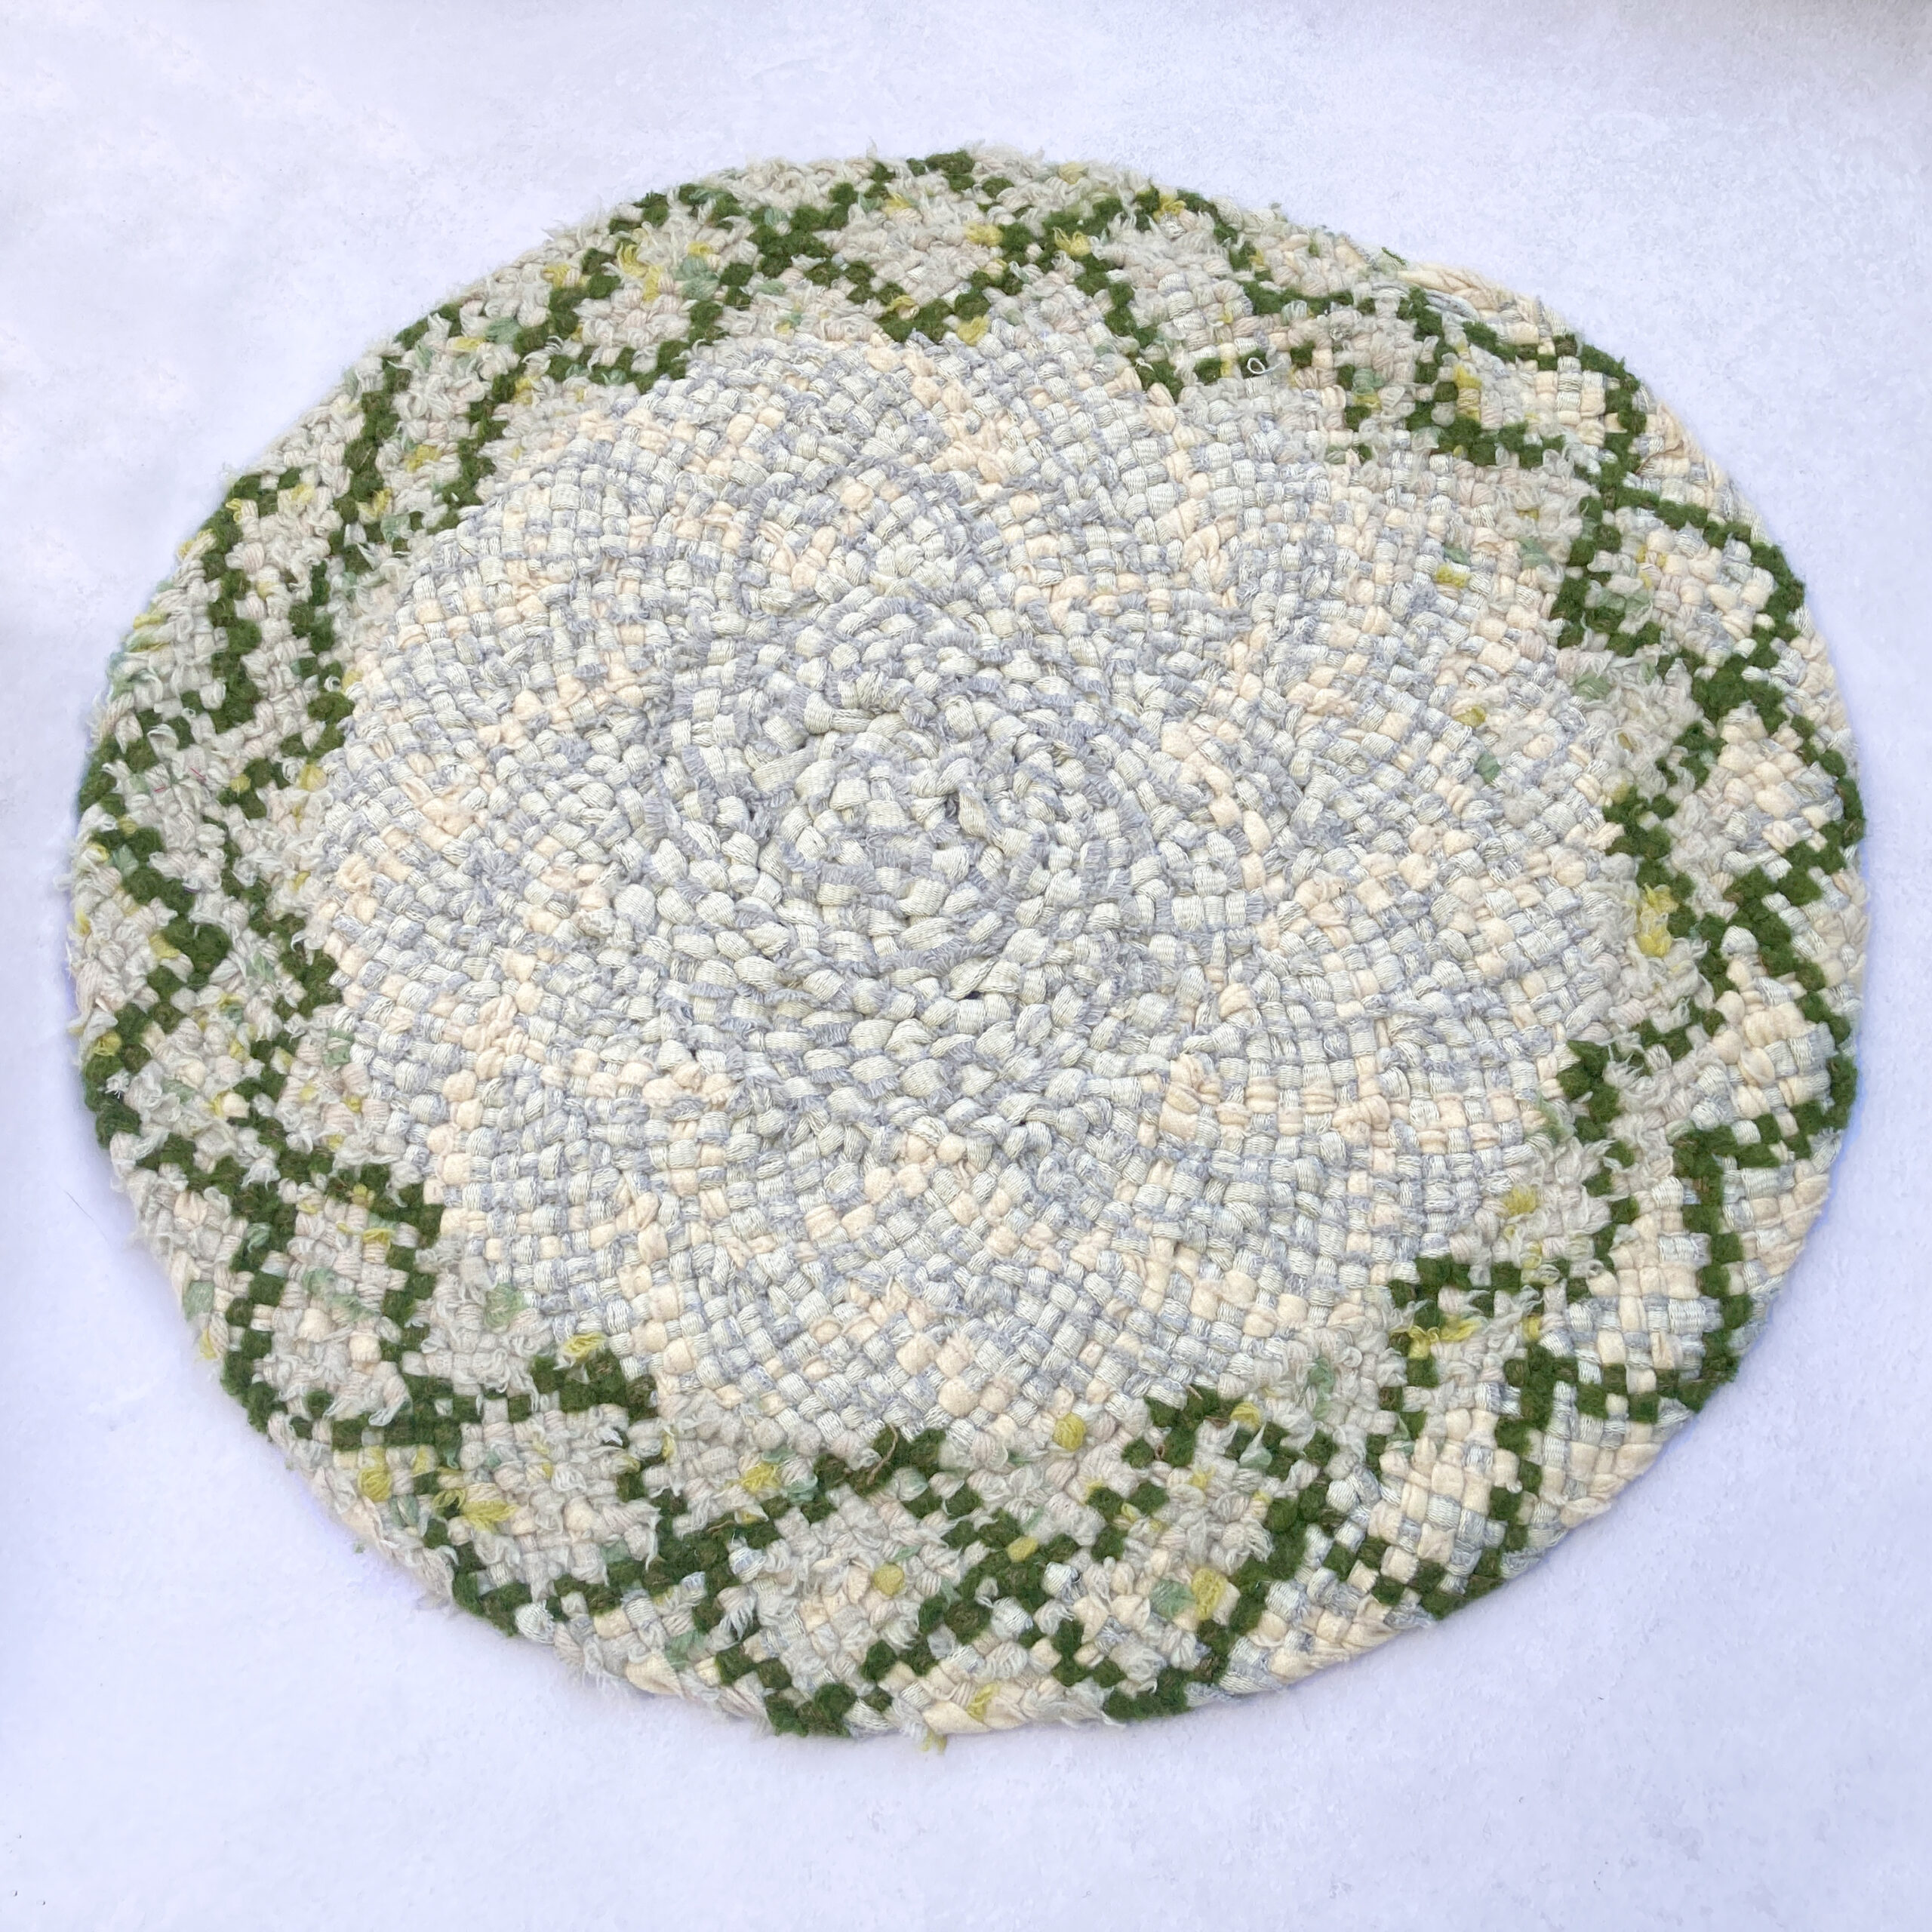
Needless to say, I was pretty pleased with the end result, particularly as a first attempt. Normally you expect to throw the first pancake away, but this one is definitely a keeper! While it’s fresh in my mind, I thought I would share some of my learnings from my first rug in case anyone else goes on to try this rewarding rag rug technique.
Here are 8 things I learnt making my first braided-in rag rug:
- Blanket yarn was the perfect material to use as a beginner. I spent less time cutting fabric strips which left more time for learning the technique itself. Blanket strips hold their shape well and aren’t at all elastic, which meant the rug was less likely to curl up from braiding too tightly.
2) As someone who was totally new to the braided-in rag rug technique, I was glad that I chose all the same colour for the centre of the rug as it meant any mistakes early on wouldn’t stand out. However, using all the same colour for the eight starting strips did make it much harder to see what I was doing and differentiate one strip from another. I’d maybe use a few different colours to start off my next braided-in rag rug.
3) I was so worried about making the rug curl up like a bowl that I left my first stitches in the centre of the rag rug looser than I probably should have. It isn’t the end of the world, but is something I would definitely change for my next braid-in rug. I felt I got a lot neater as I went along.
4) There were many times when I thought that my rug wouldn’t end up as a circle, particularly because the rows grow outwards like an ammonite rather than a concentric circle. Trusting that things would turn out fine in the end was a part of the process. It did mean that you had to be careful where you added new colours into the design to ensure that you had equal distribution across the full circumference of the rug. Although this wouldn’t have mattered so much if I’d been using more variety of colours and a more random design.
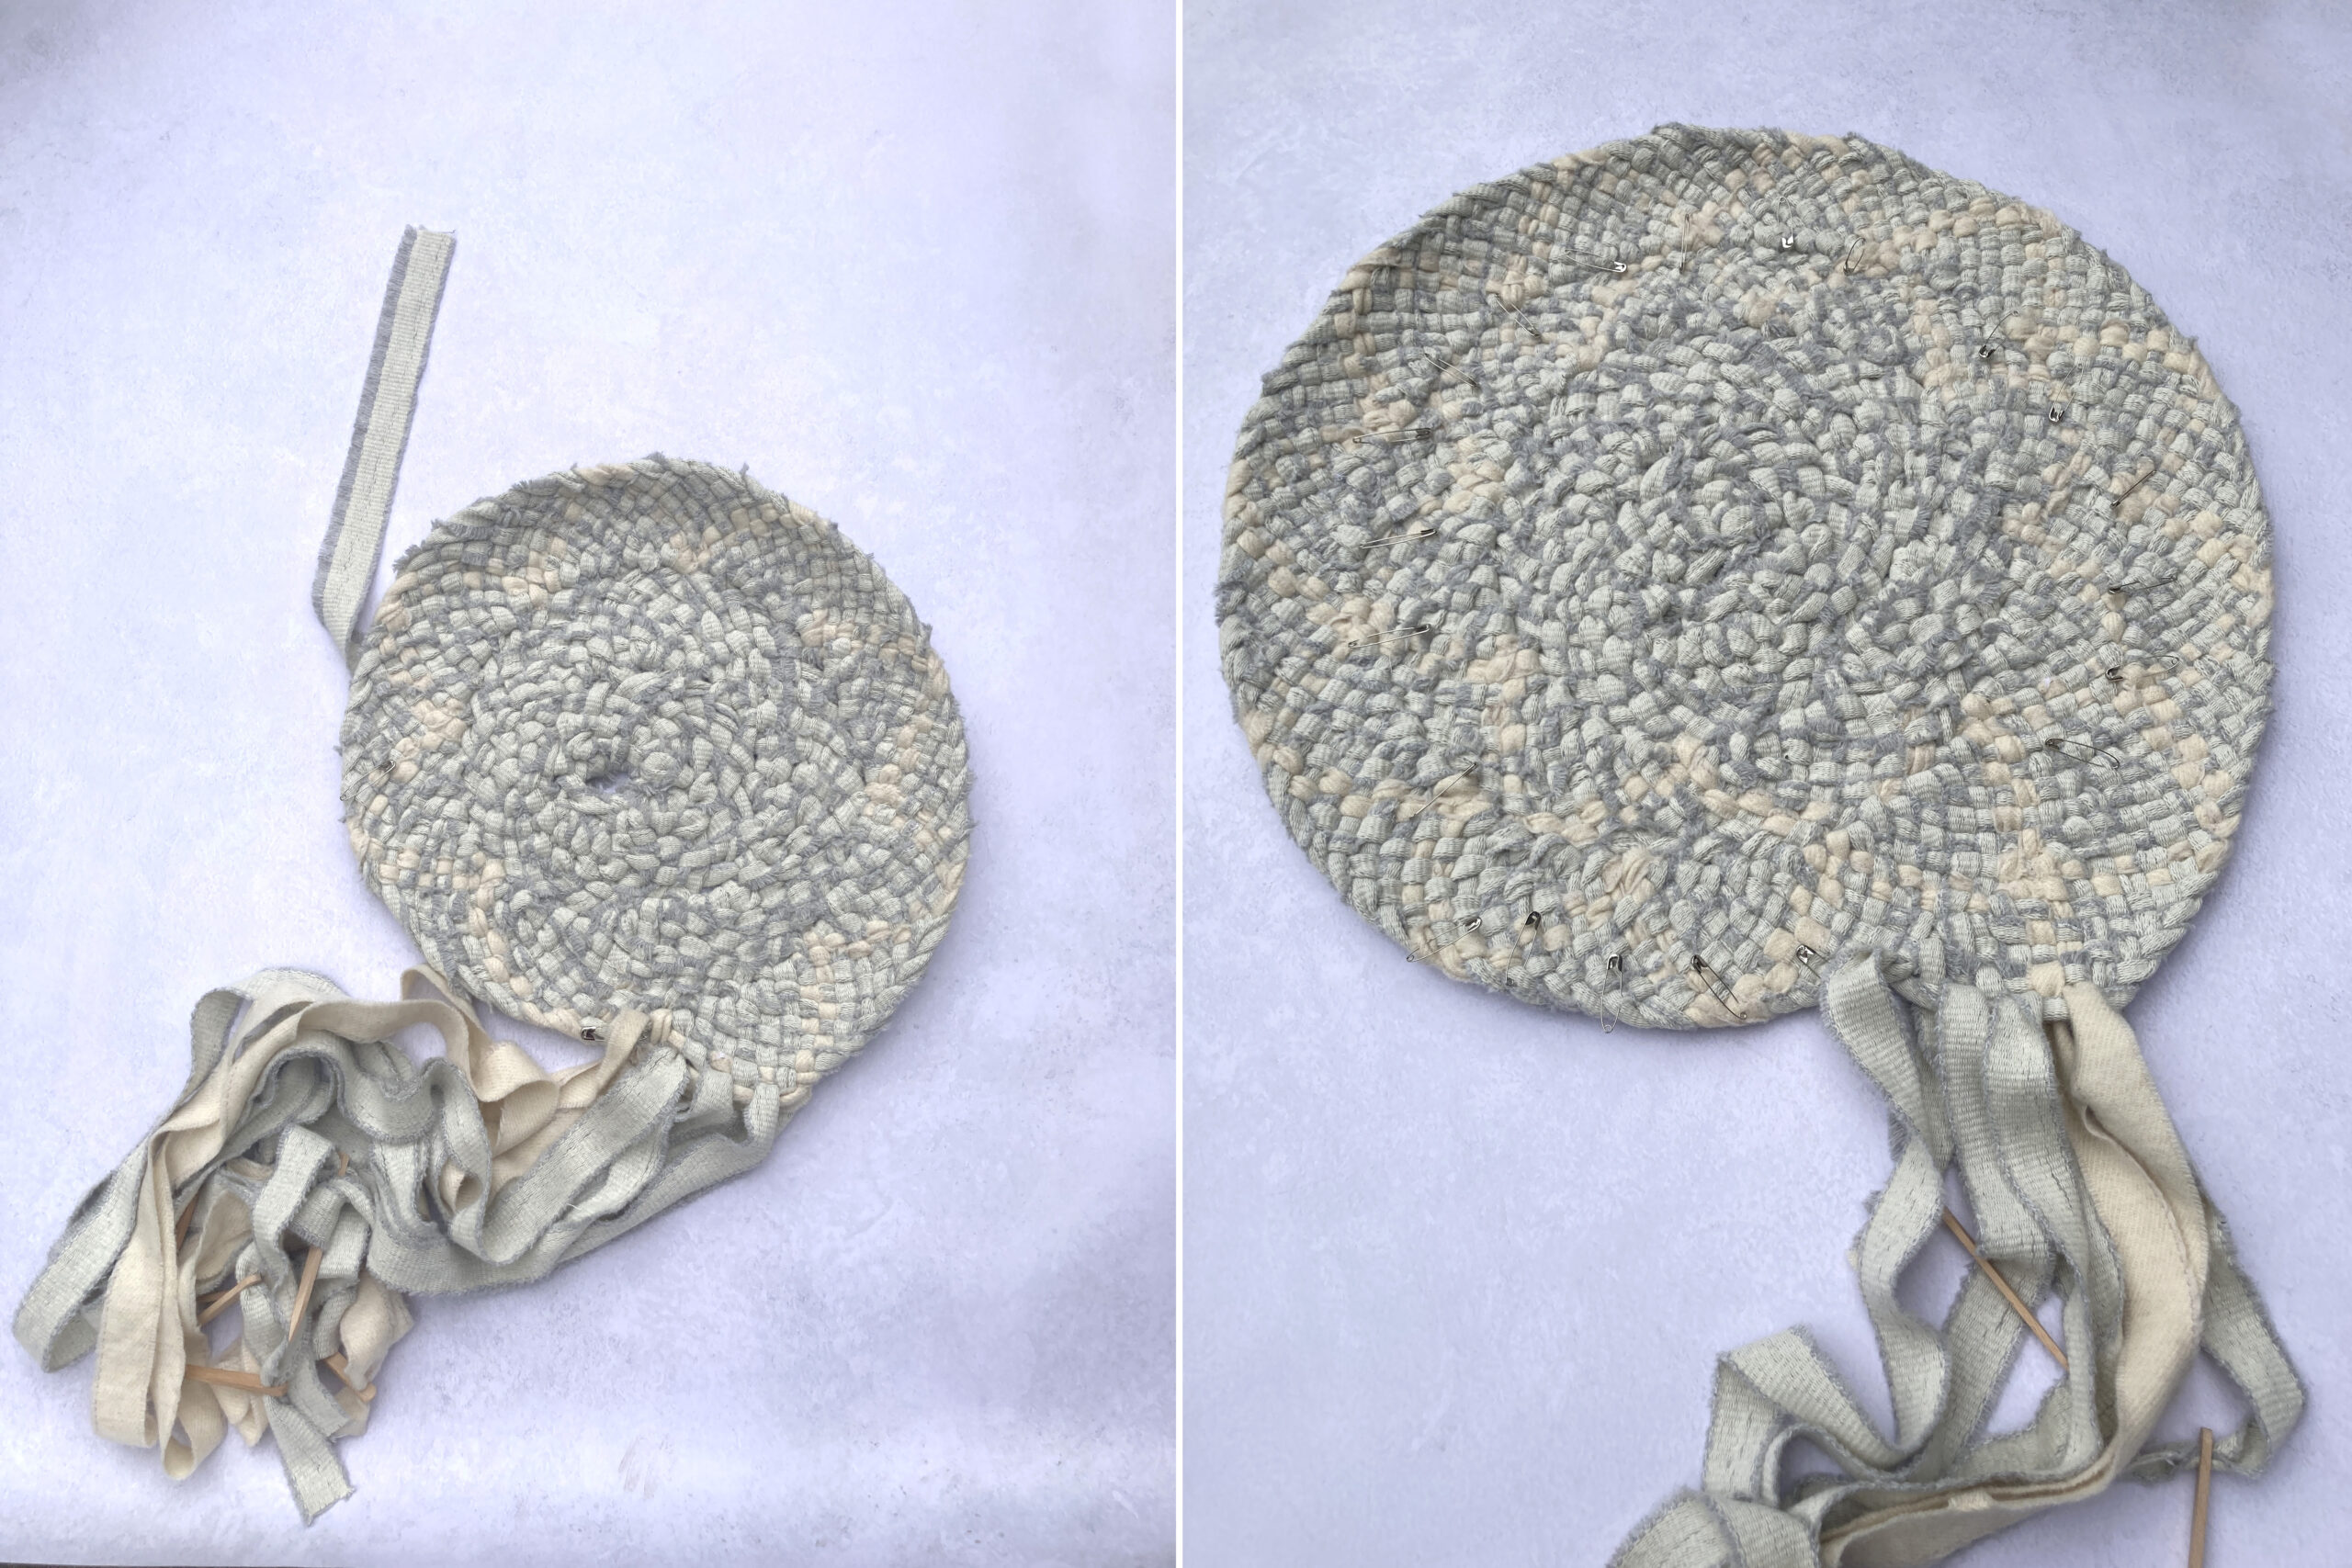
5) I really wanted to use as many of the blanket selvedge strips up as possible to see how far six balls of blanket yarn went. However, I tried doing a final row with three strands of green (the colour I had most left of), instead of two, and it made the patterning of the border less distinct, as opposed to more. You can see it on the left edge of the rug photo below that the green looks too bulky and a bit messy. I unpicked the beginning of this row. Two strands in a contrasting colour seems to be the secret number to strong patterning… NB: from the original six 250g balls of blanket yarn I was left with 136g of the cream, 162g of the green and 121g of the original grey / white.
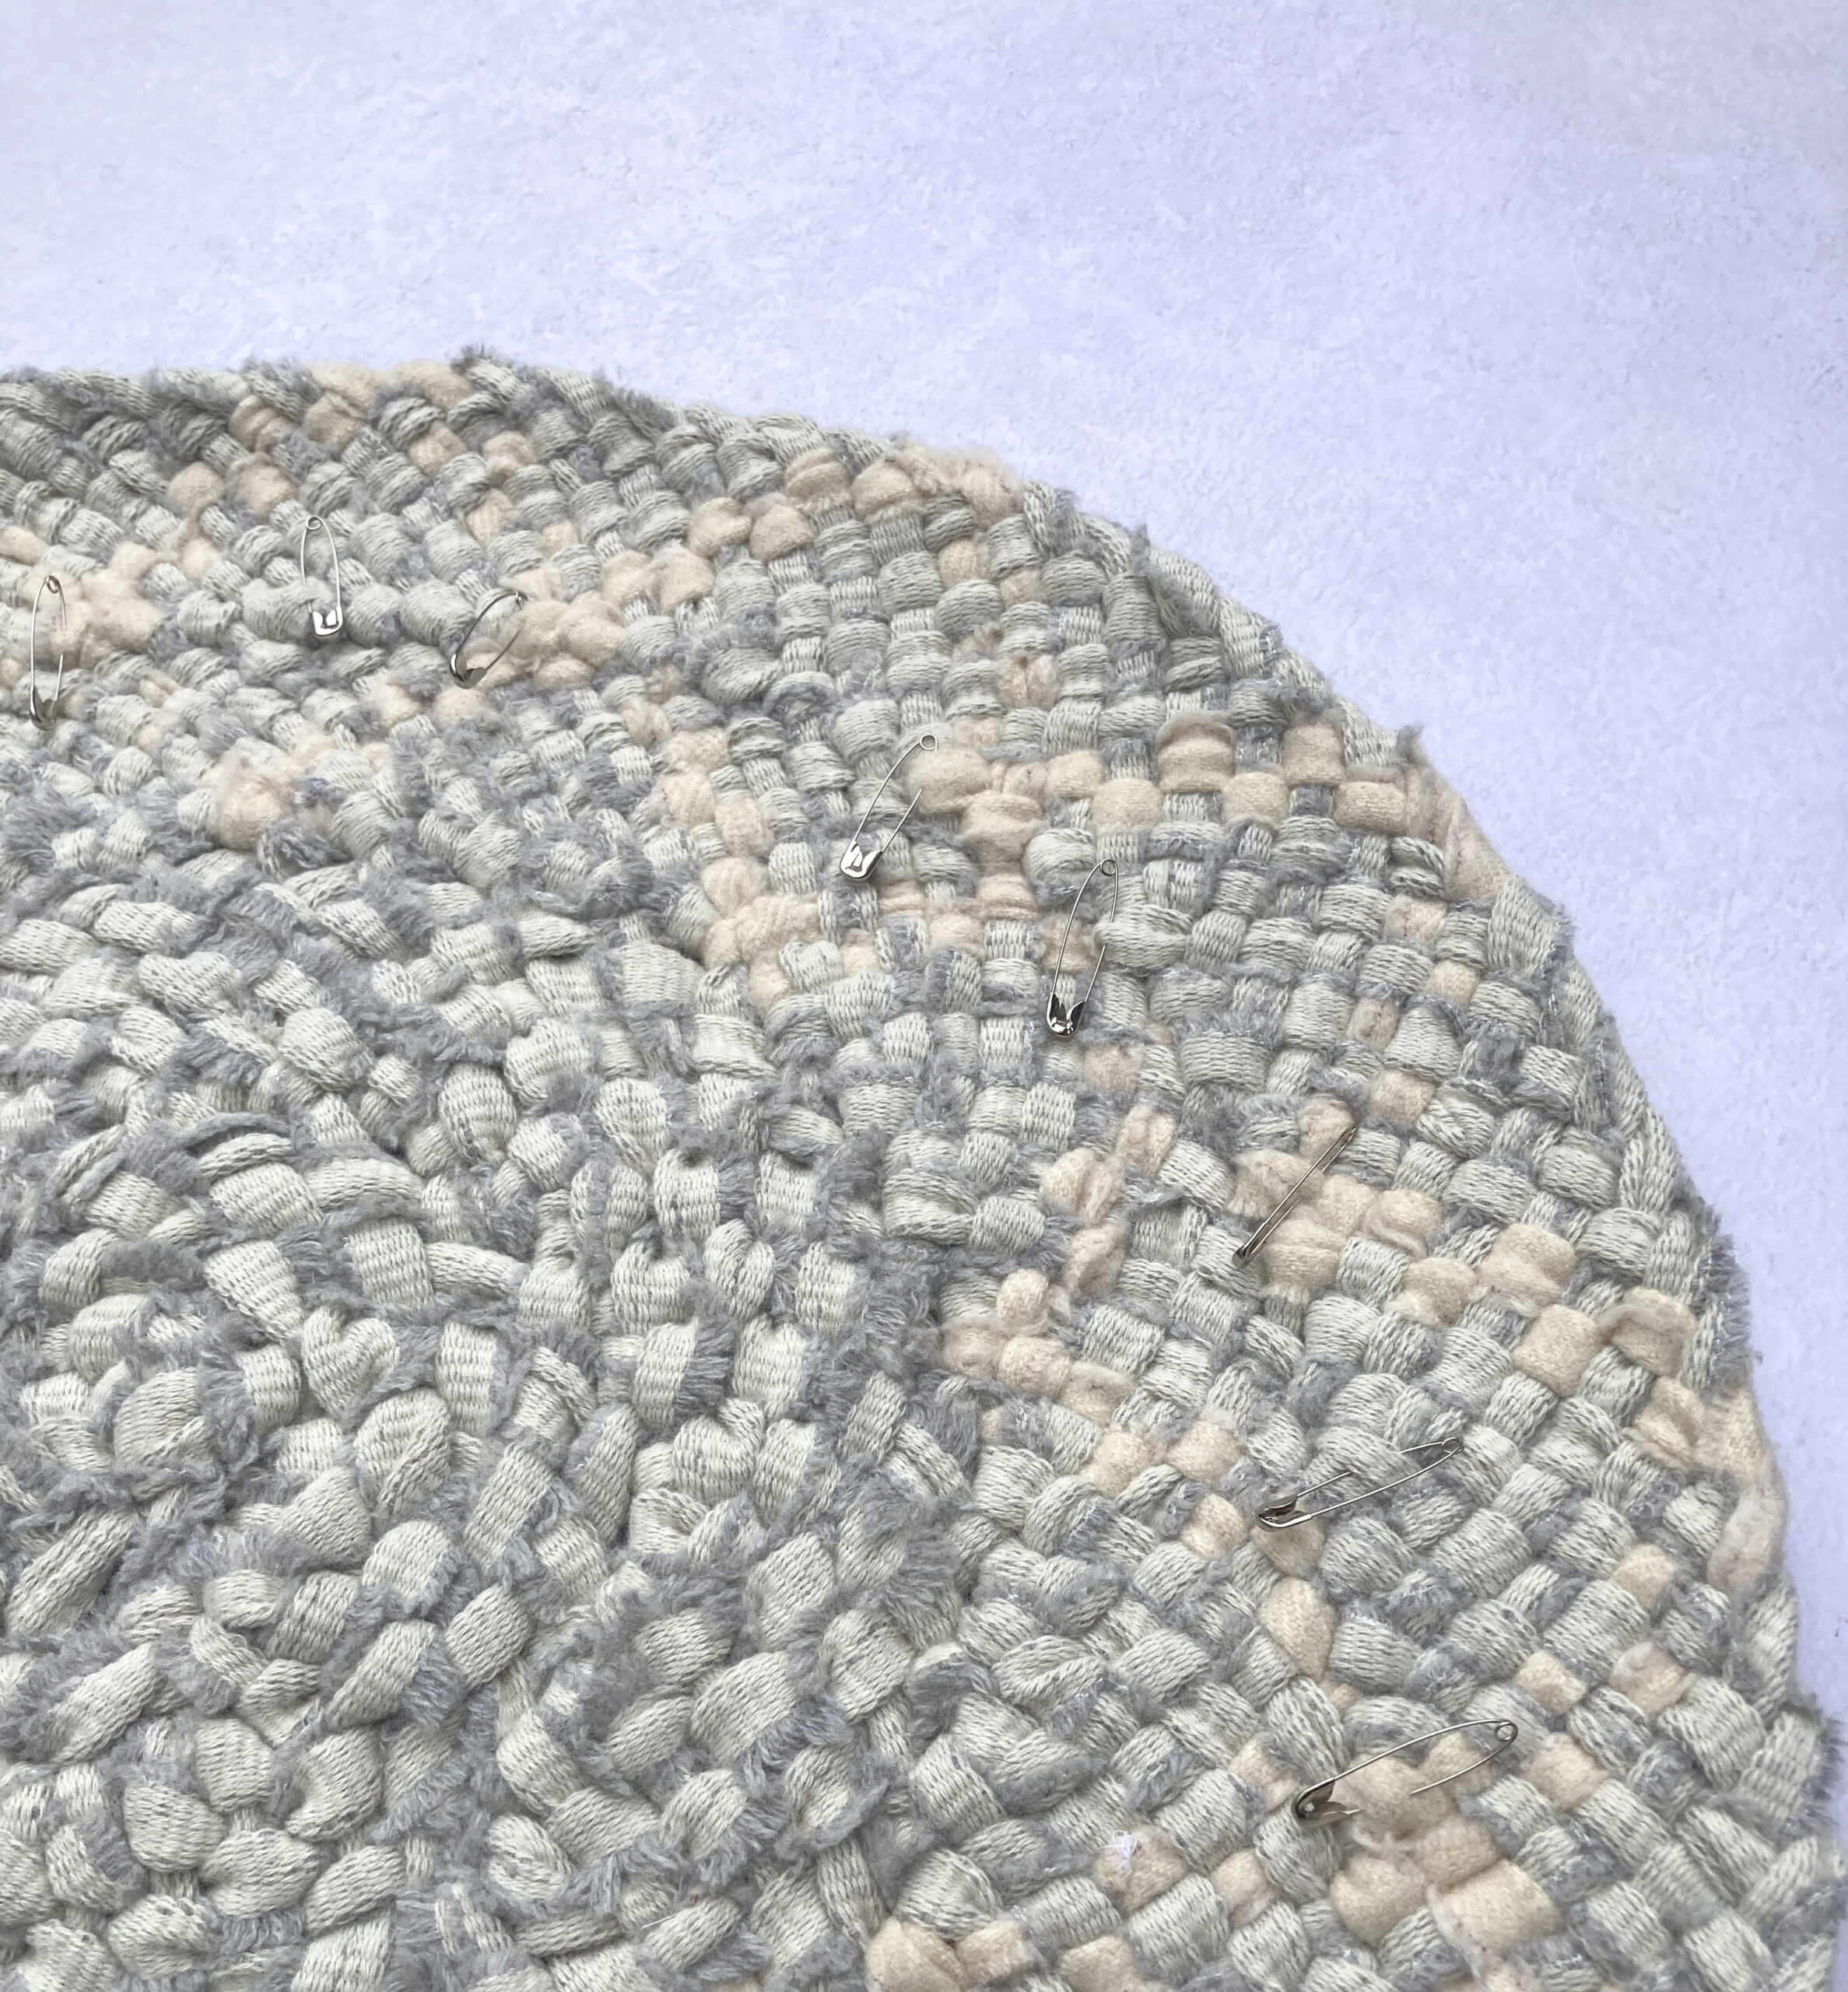
6) Marking the beginning of each new row (a full round) with a safety pin was crucial to keeping organised. Each round of the rug needs the same regularity of increases (two stitches in the same stitch every four stitches, for example) and this changes the further out from the centre you get. Changing the frequency of increases part way through a row affects the shape of the rug, so the safety pins were absolutely crucial for staying on top of things. You can see two safety pins in the image below, showing the beginning of each row, diagonal from one another.
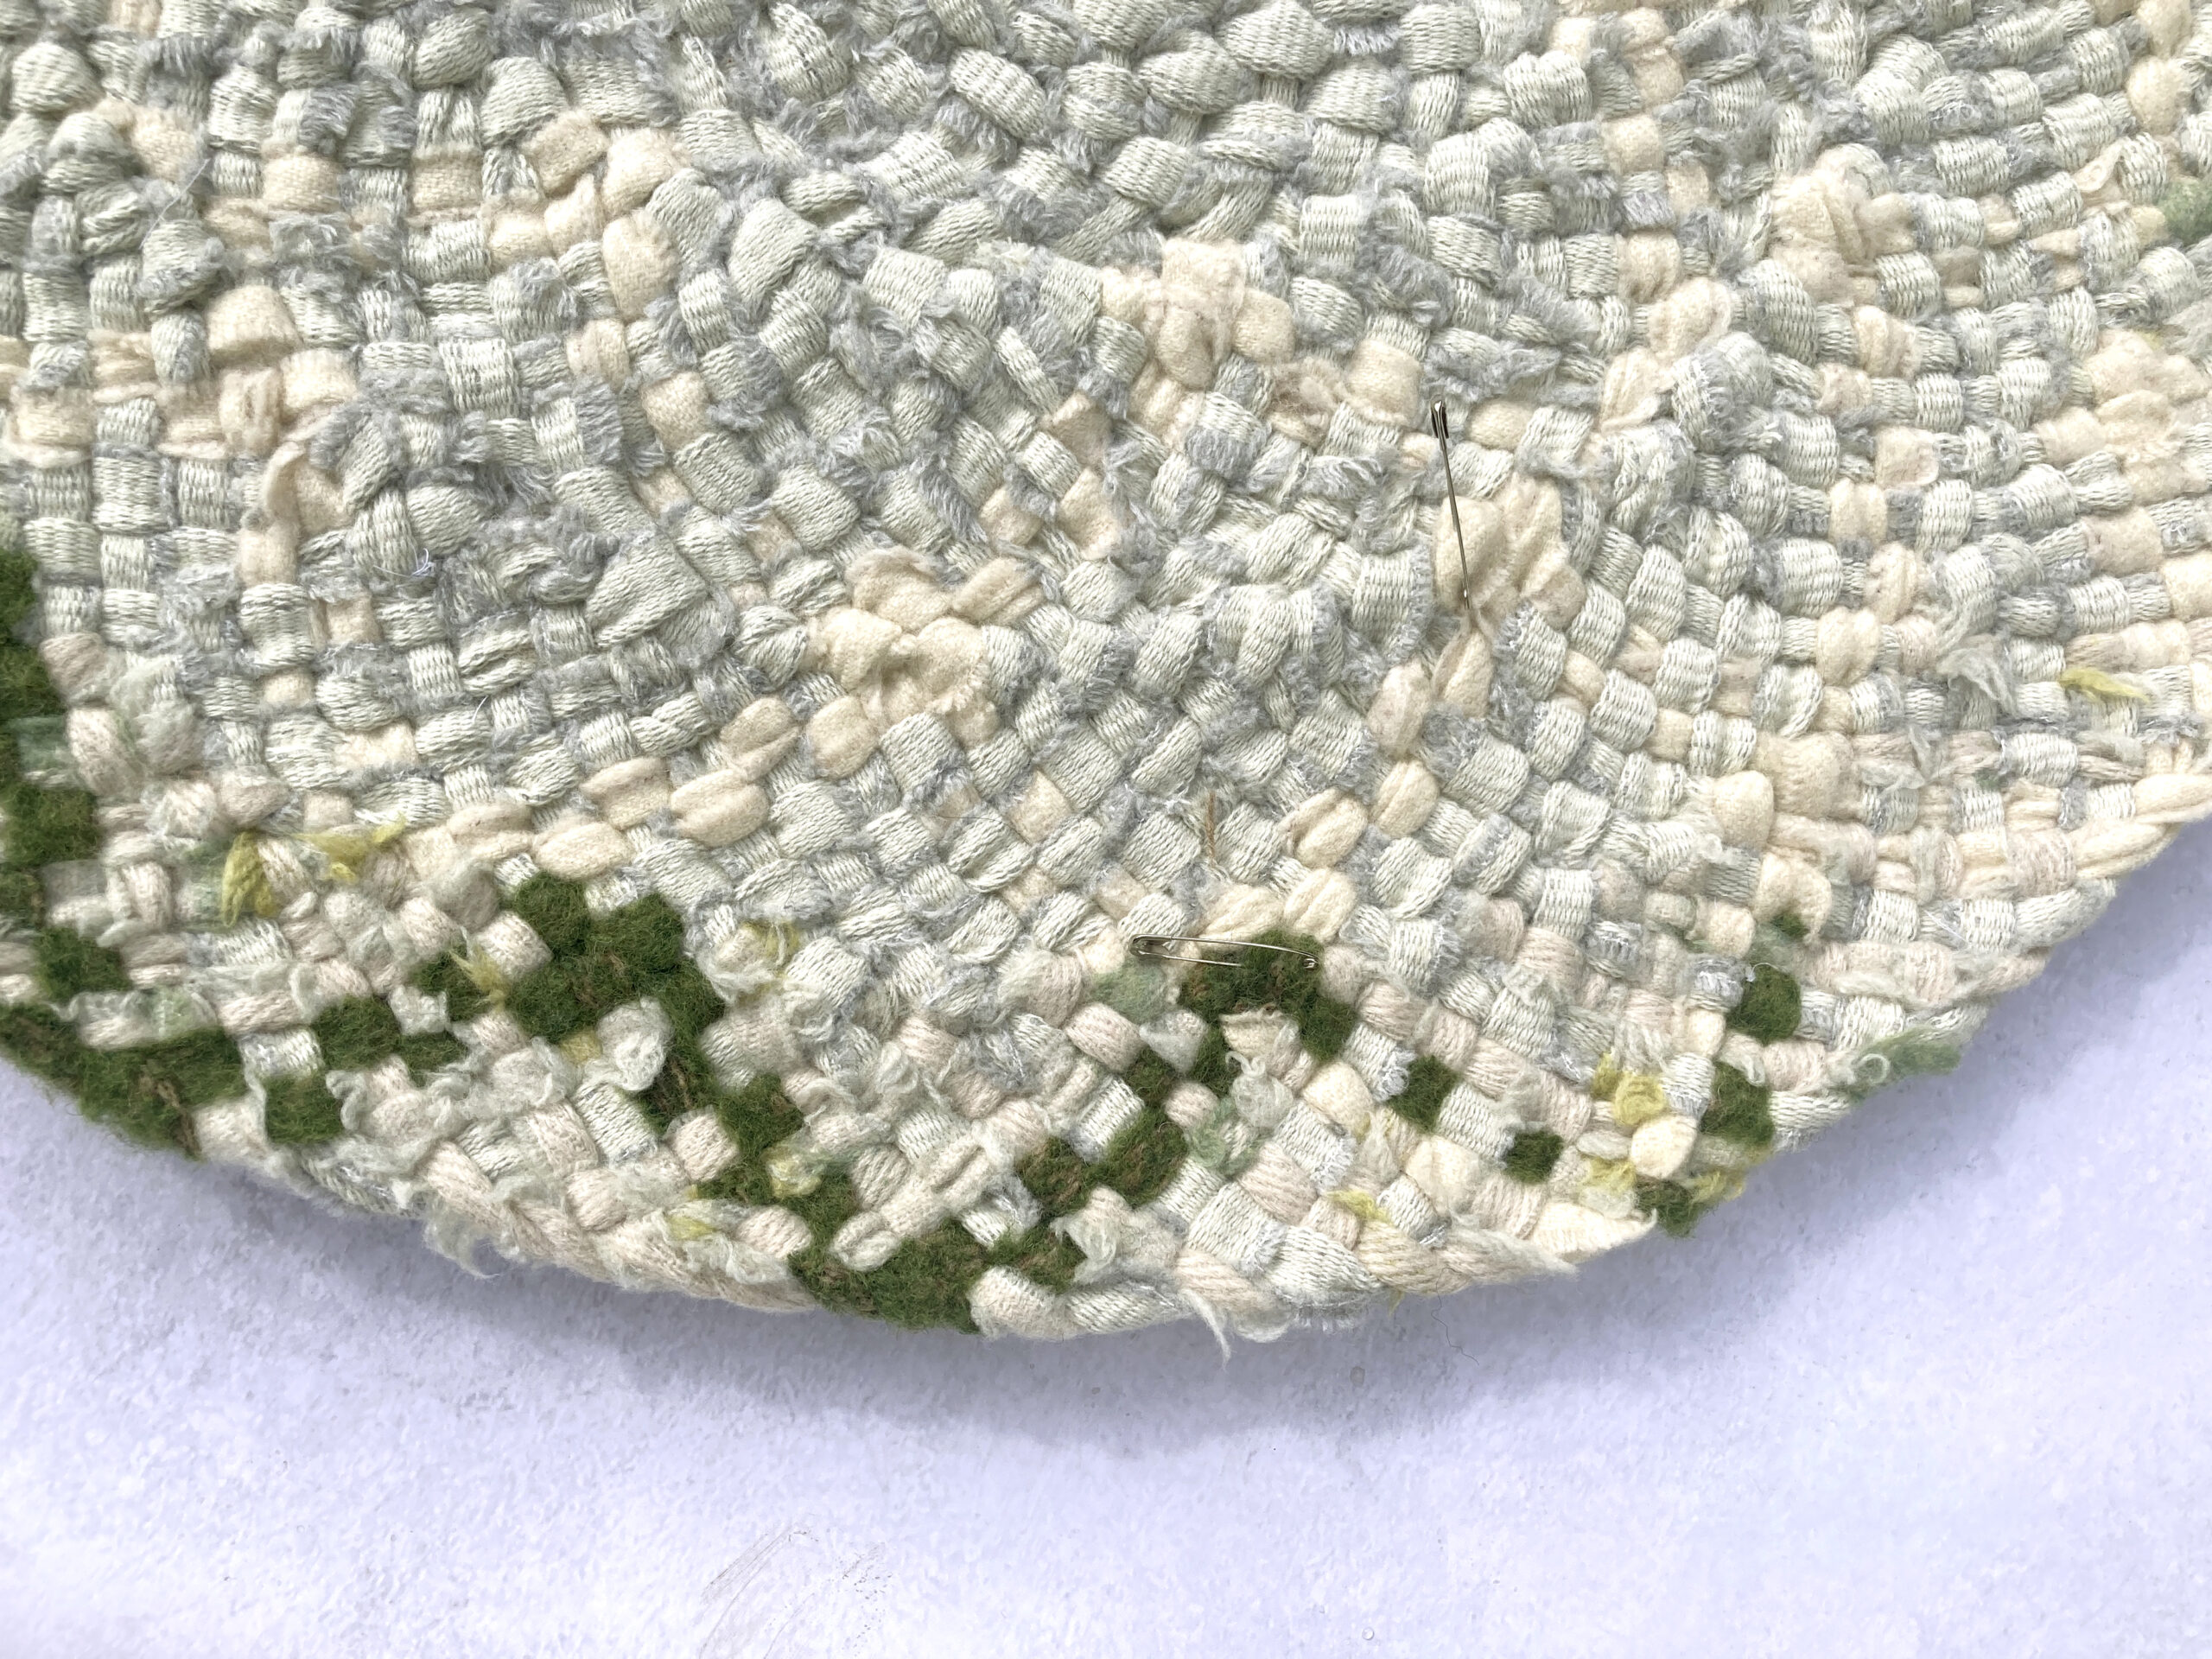
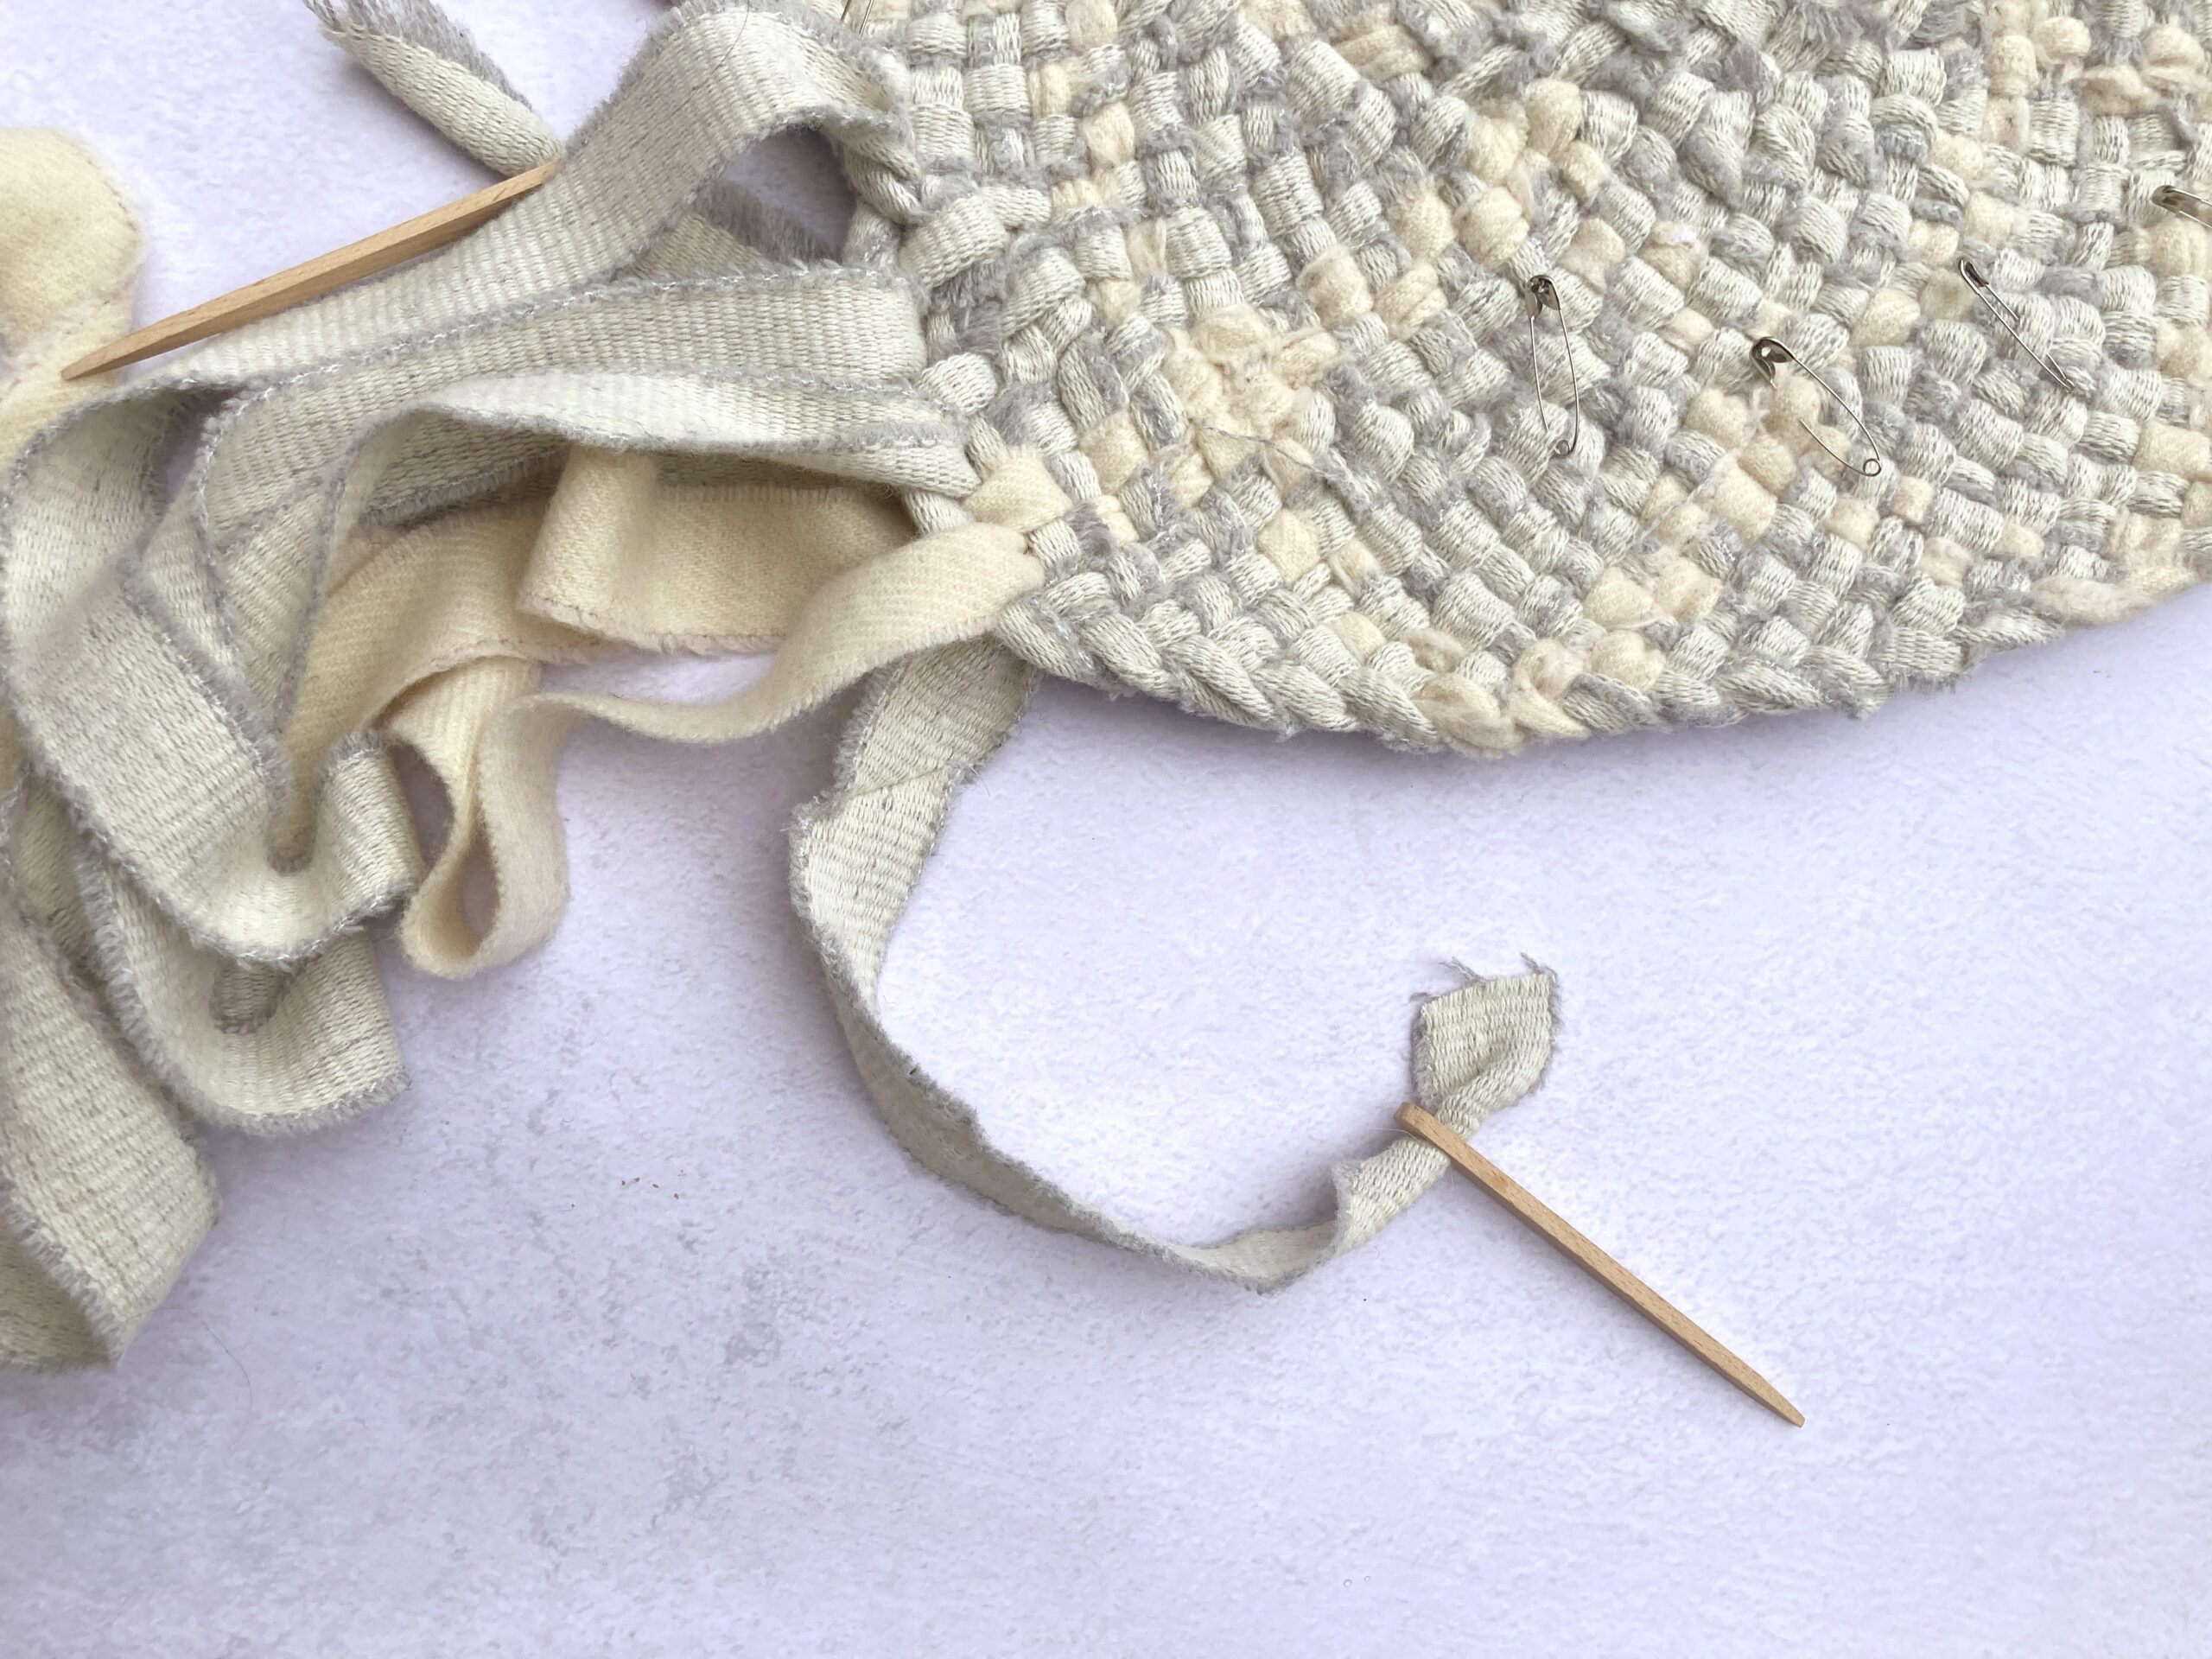
7) On some of the early rows, I marked each stitch that needed an increase with a safety pin, so that I wouldn’t get confused and miscount as I went along (see below image). You need to make sure you don’t get this confused with your row marker safety pins mentioned in point 6 though.
8) The centre of the braided-in rag rug was the hardest part, but after that it was extremely easy to spot mistakes. It was so obvious in the pattern when I went wrong, that I felt extremely confident throughout the process. Keeping the fabric tails flat to the table and in order was incredibly useful in preventing mistakes.
9) Being entirely honest, I’m not sure that I’ve nailed the finishing process yet. For this first rag rug, I feel like the edge where I wove the final tails in looks super obvious (even if others wouldn’t think so), so it’s a skill I’ll practise in the coming weeks.
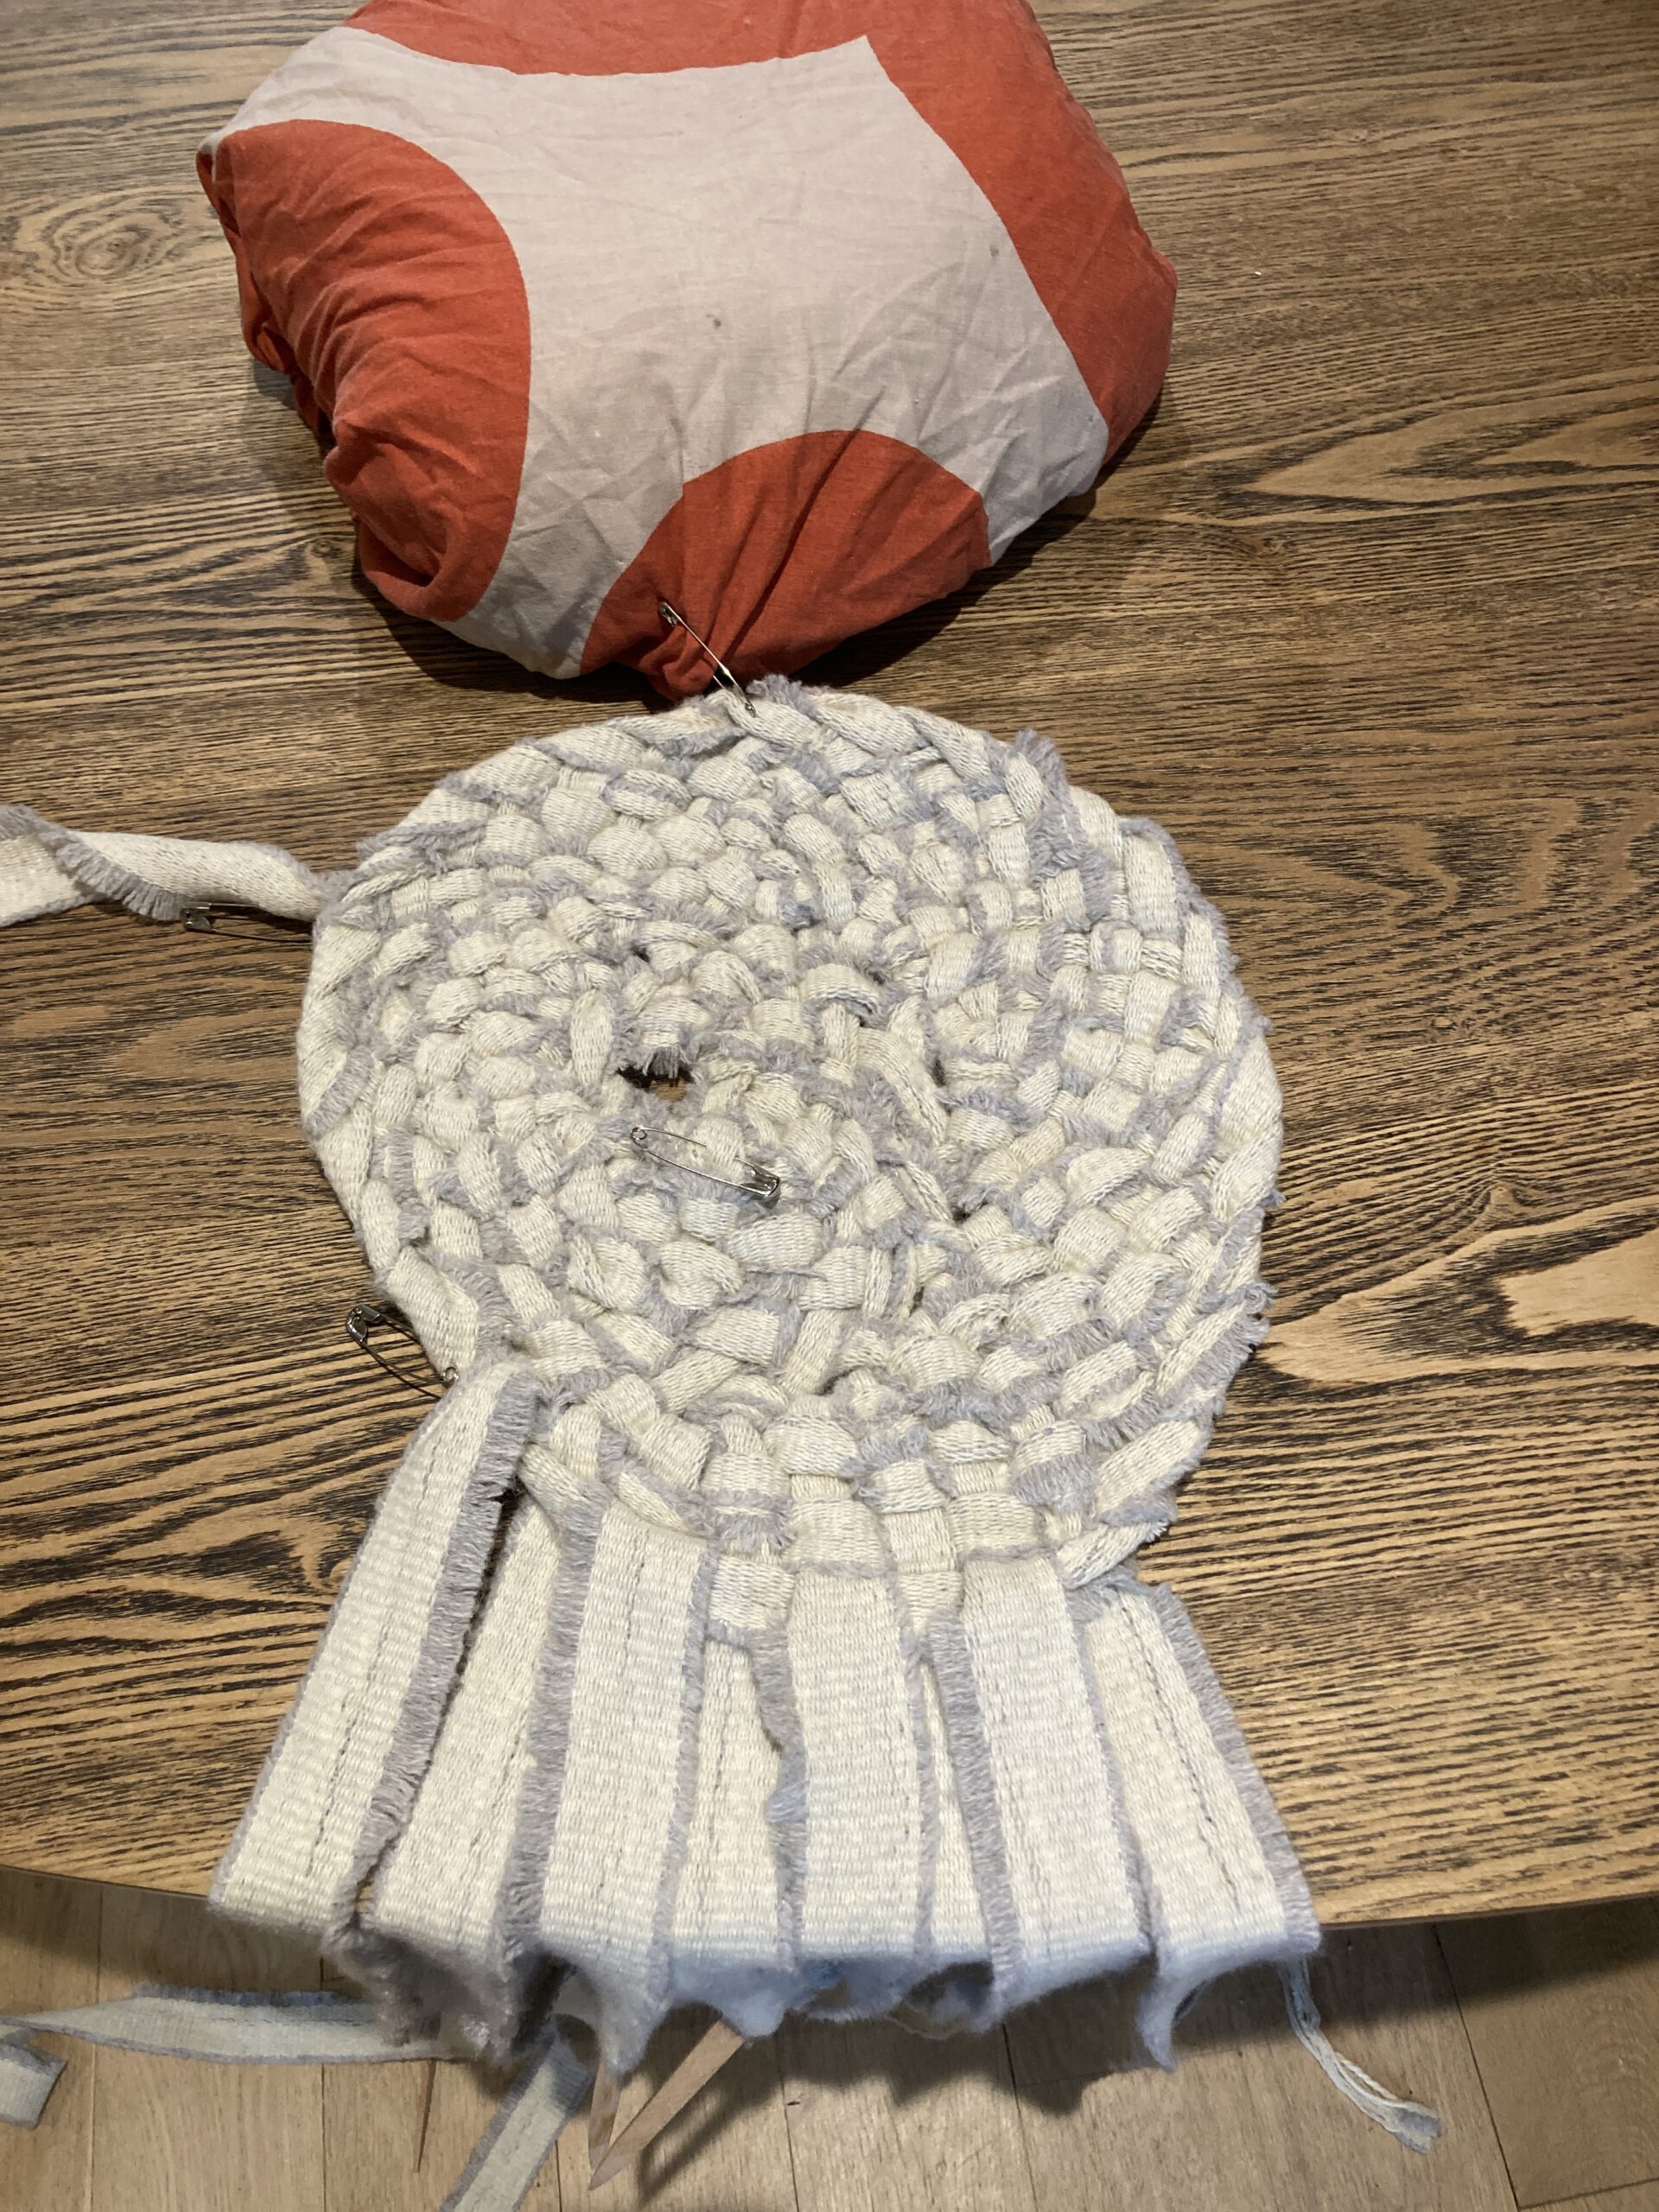
So, those are a few lessons well learnt… I’m currently starting a new braided-in rag rug using mixed fabrics, which you can see the beginnings of below:
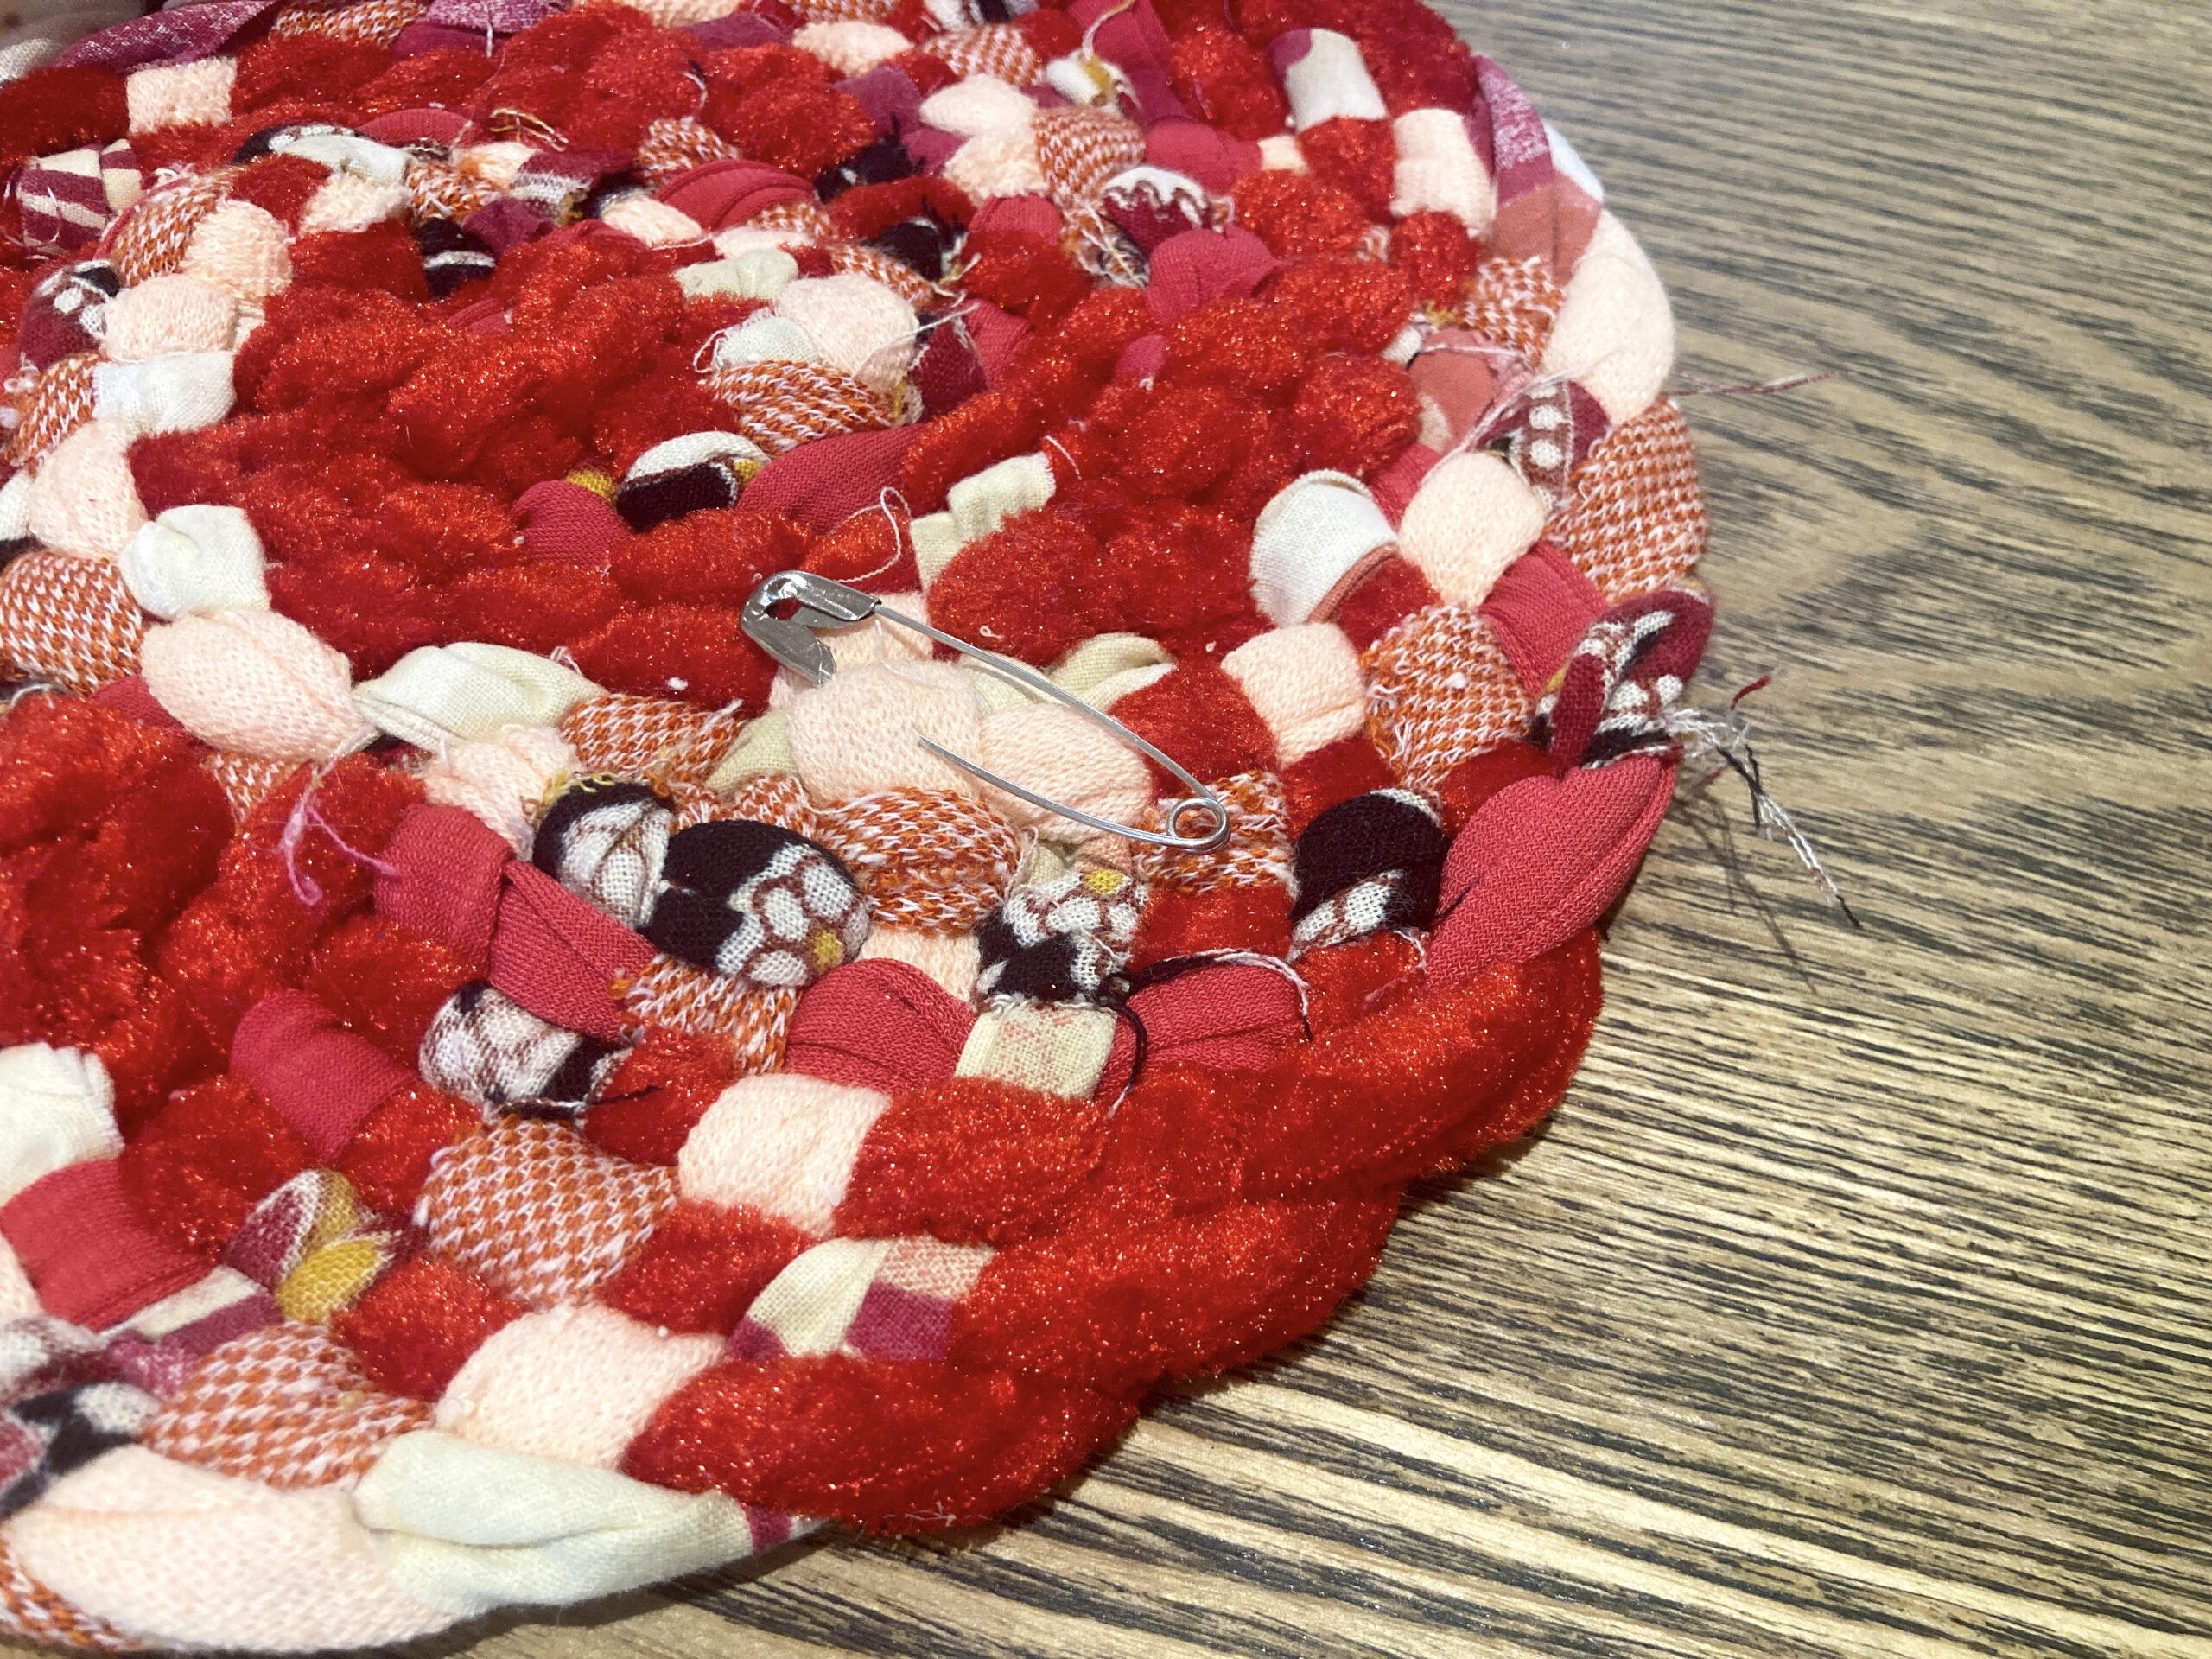
Wish me luck and watch this space!
Elspeth x
p.s. follow along on Facebook and Instagram to see how I’m coming along with this new project.
Excited! Looking forward to the course in Brighton in January , Regards, Sandra
Thanks Sandra!