I’ve been on the hunt for new rag rug techniques for years now and one of my latest obsessions if a form or rag rug making called braid-in (or sometimes braiding-in) rag rugs. It’s a style of rug making where strips of fabric are woven together using a basket weave then threaded through previous stitches to build the rug. I’m still experimenting with this technique myself, but it’s seriously addictive already!
The blog post below is designed for someone who knows the basics of braid-in rag rugging (how to make an oval project, for example) to learn how to make a circular braid-in project. If you’re a complete beginner I’d recommend you pick up one of our Braid-in Beginner Project Packs on the Ragged Life Online Shop. However, once you’ve got the fundamentals down, circular braid-in projects are a lot of fun and very versatile.
Circular Braid-In Project Step by Step Instructions:
What you will need:
- Fabric / Old Clothing / Rags – using up remnant fabric is the point of all rag rugs techniques.
- Scissors – you’ll be cutting up strips to make your circular braid-in project
- Safety Pins / Stitch Markers – these are used to mark milestones, such as the end of a full round.
- Large-Eyed Needles (optional) – these make it easer to pass the fabric strips through braid loops.
- Sewing Machine (optional) – you can join fabric strips together using a no-sew buttonhole join, but some people find it quicker and easier to use a sewing machine
NB: I’ve used t-shirt yarn to demonstrate below as it makes it easier for beginners to see the individual “stitches” than with other fabrics. However, you should experiment with textiles you have at home. Personally, I’d like to try my hand at making one from denim for example.
Step 1: Build the Foundation Braid
Select two strips of fabric that are approx 4-6cm in width and ideally 1-2 metres in length. Shorter strips can be joined in advance. As a beginner, it is easier to begin with two different colour fabric strips so you can tell them apart. Lay them out as below.
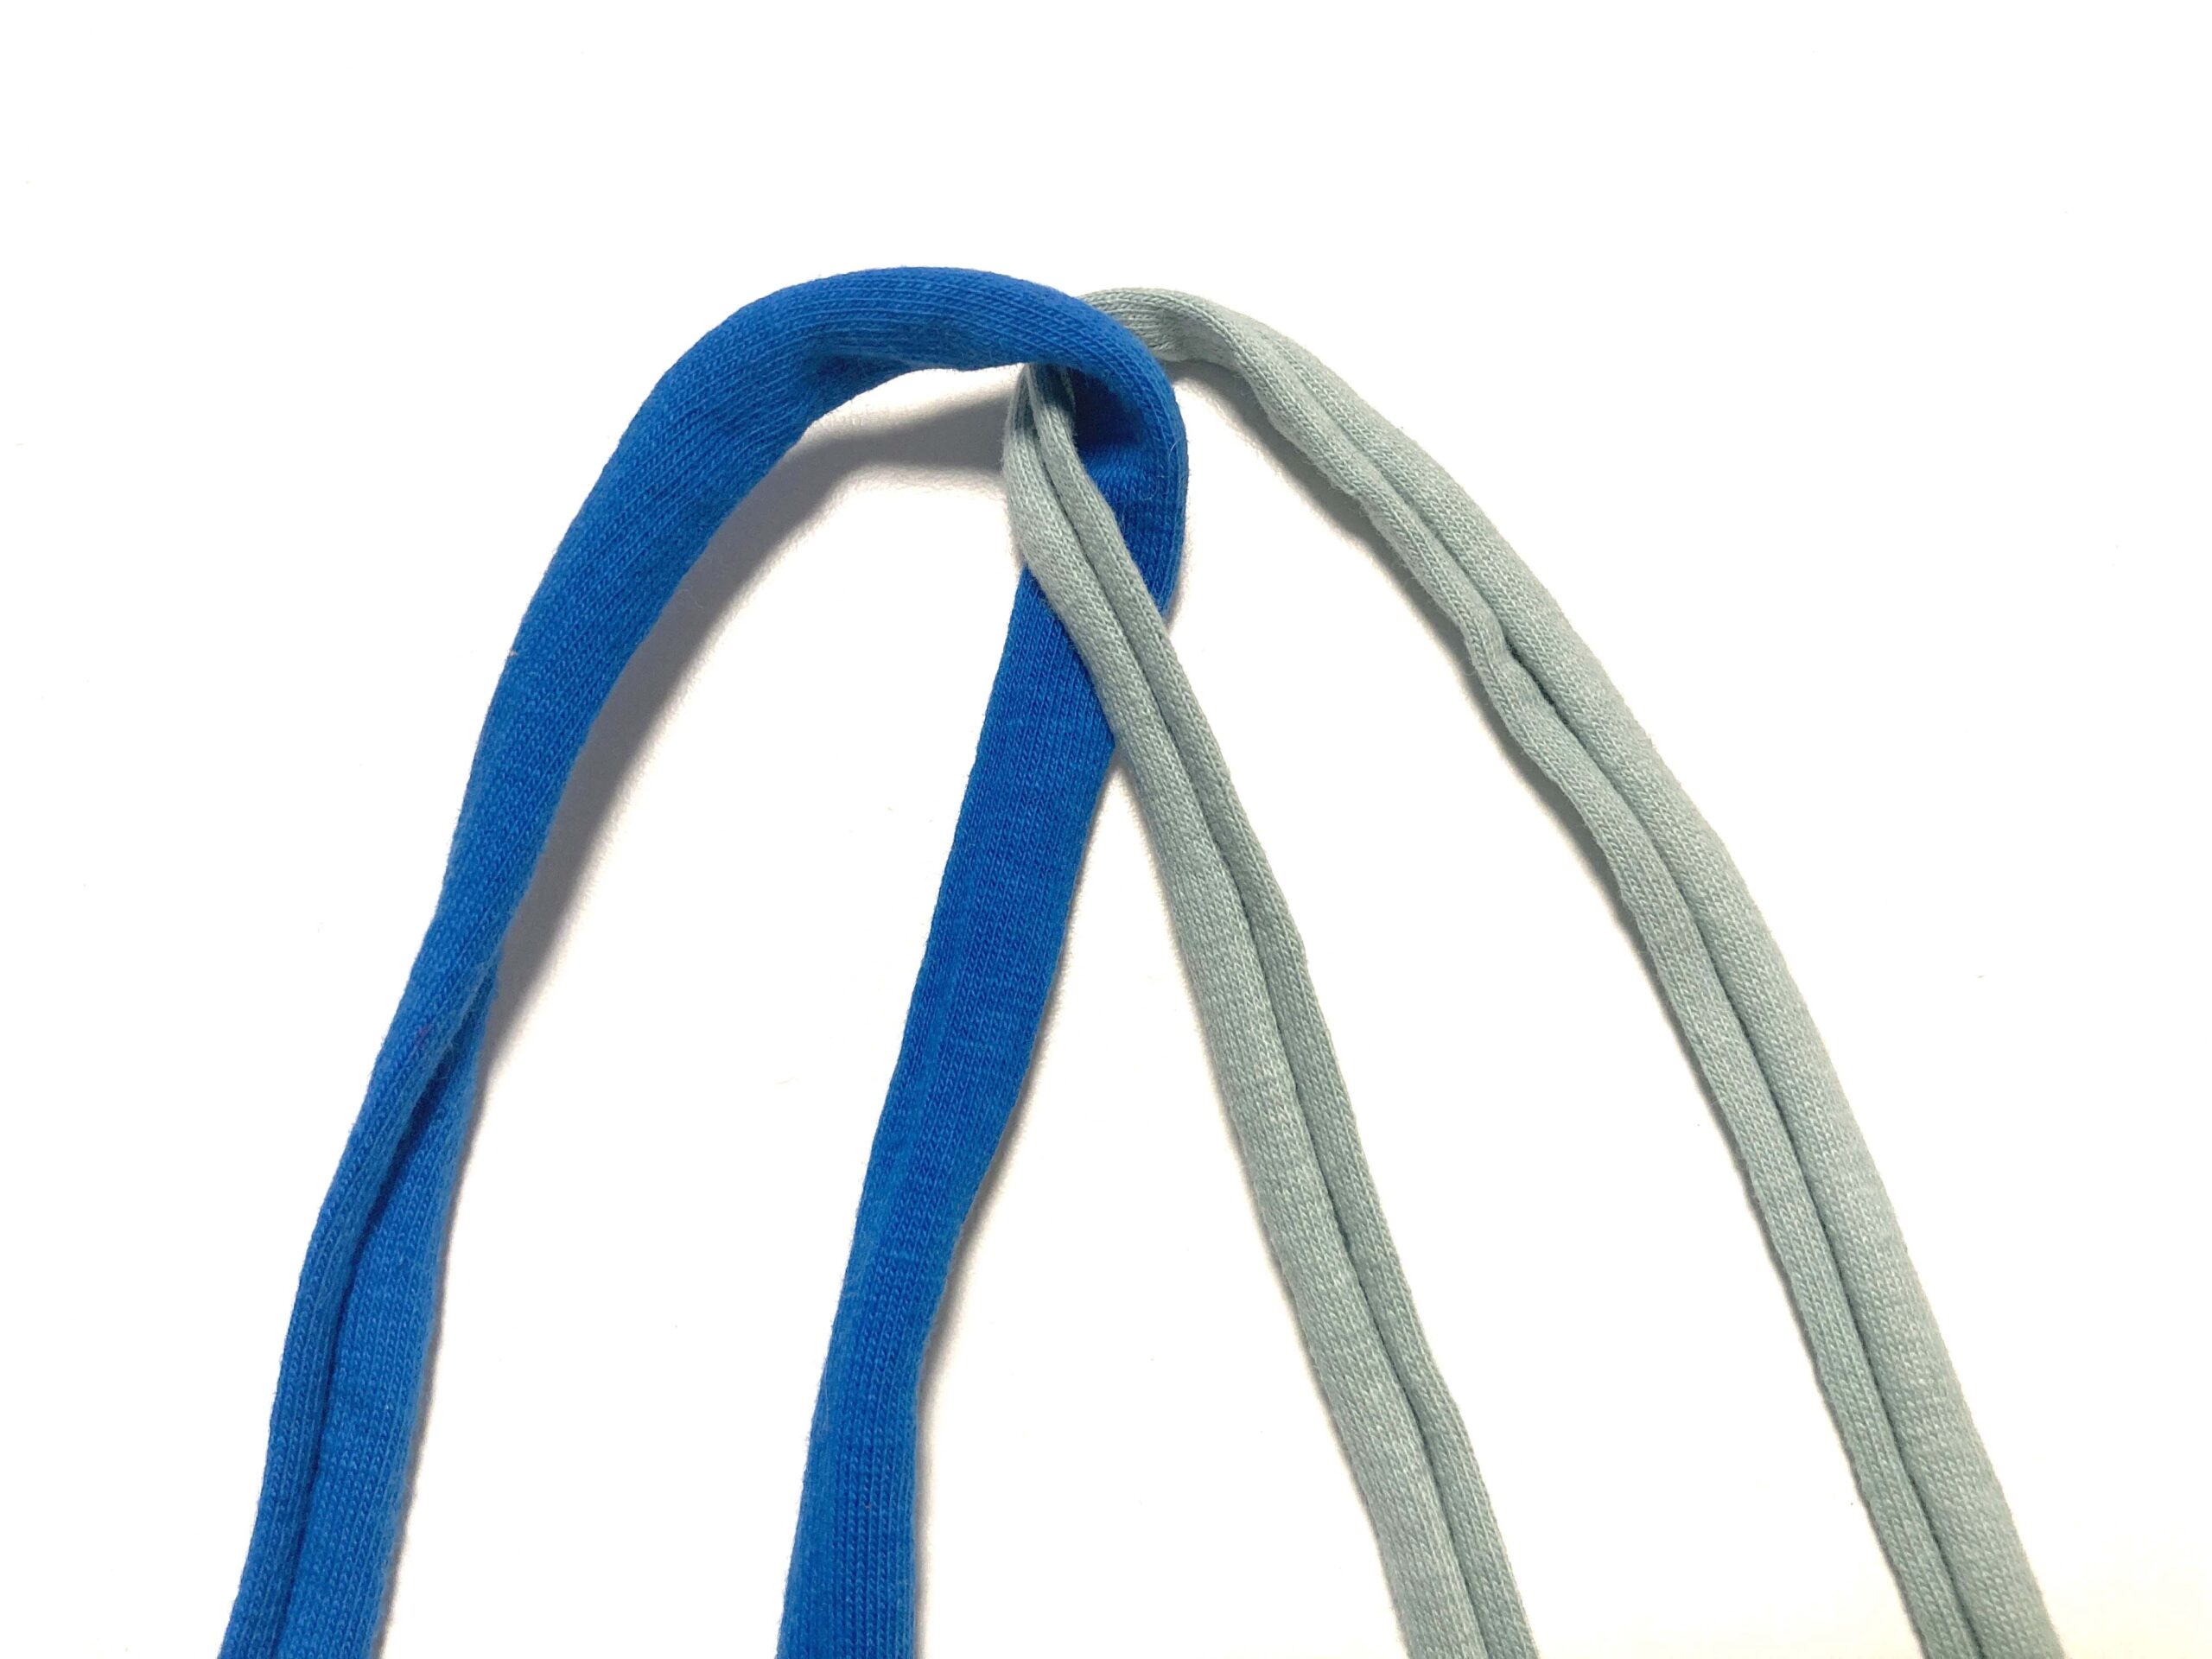
Create a foundation braid with five braid loops on the right. If you don’t know how to make a foundation braid, we recommend checking out one of our Ragged Life Braid-in Beginner Project Packs to learn the braid-in basics. Take the furthest right fabric strand and weave it over the second strand, under the third strand and over the fourth strand. Repeat this process to build the foundation chain.
Step 2: Form the Circular Braid-in Centre
Once you have a foundation braid with five braid loops, take the turning strip and pass it up through the turning loop.
Turn the work anticlockwise so that the strips are top right and gently tug the strips one by one to create the centre of your rug. Do not overtug the fabric strips as this will create a lumpy rug.
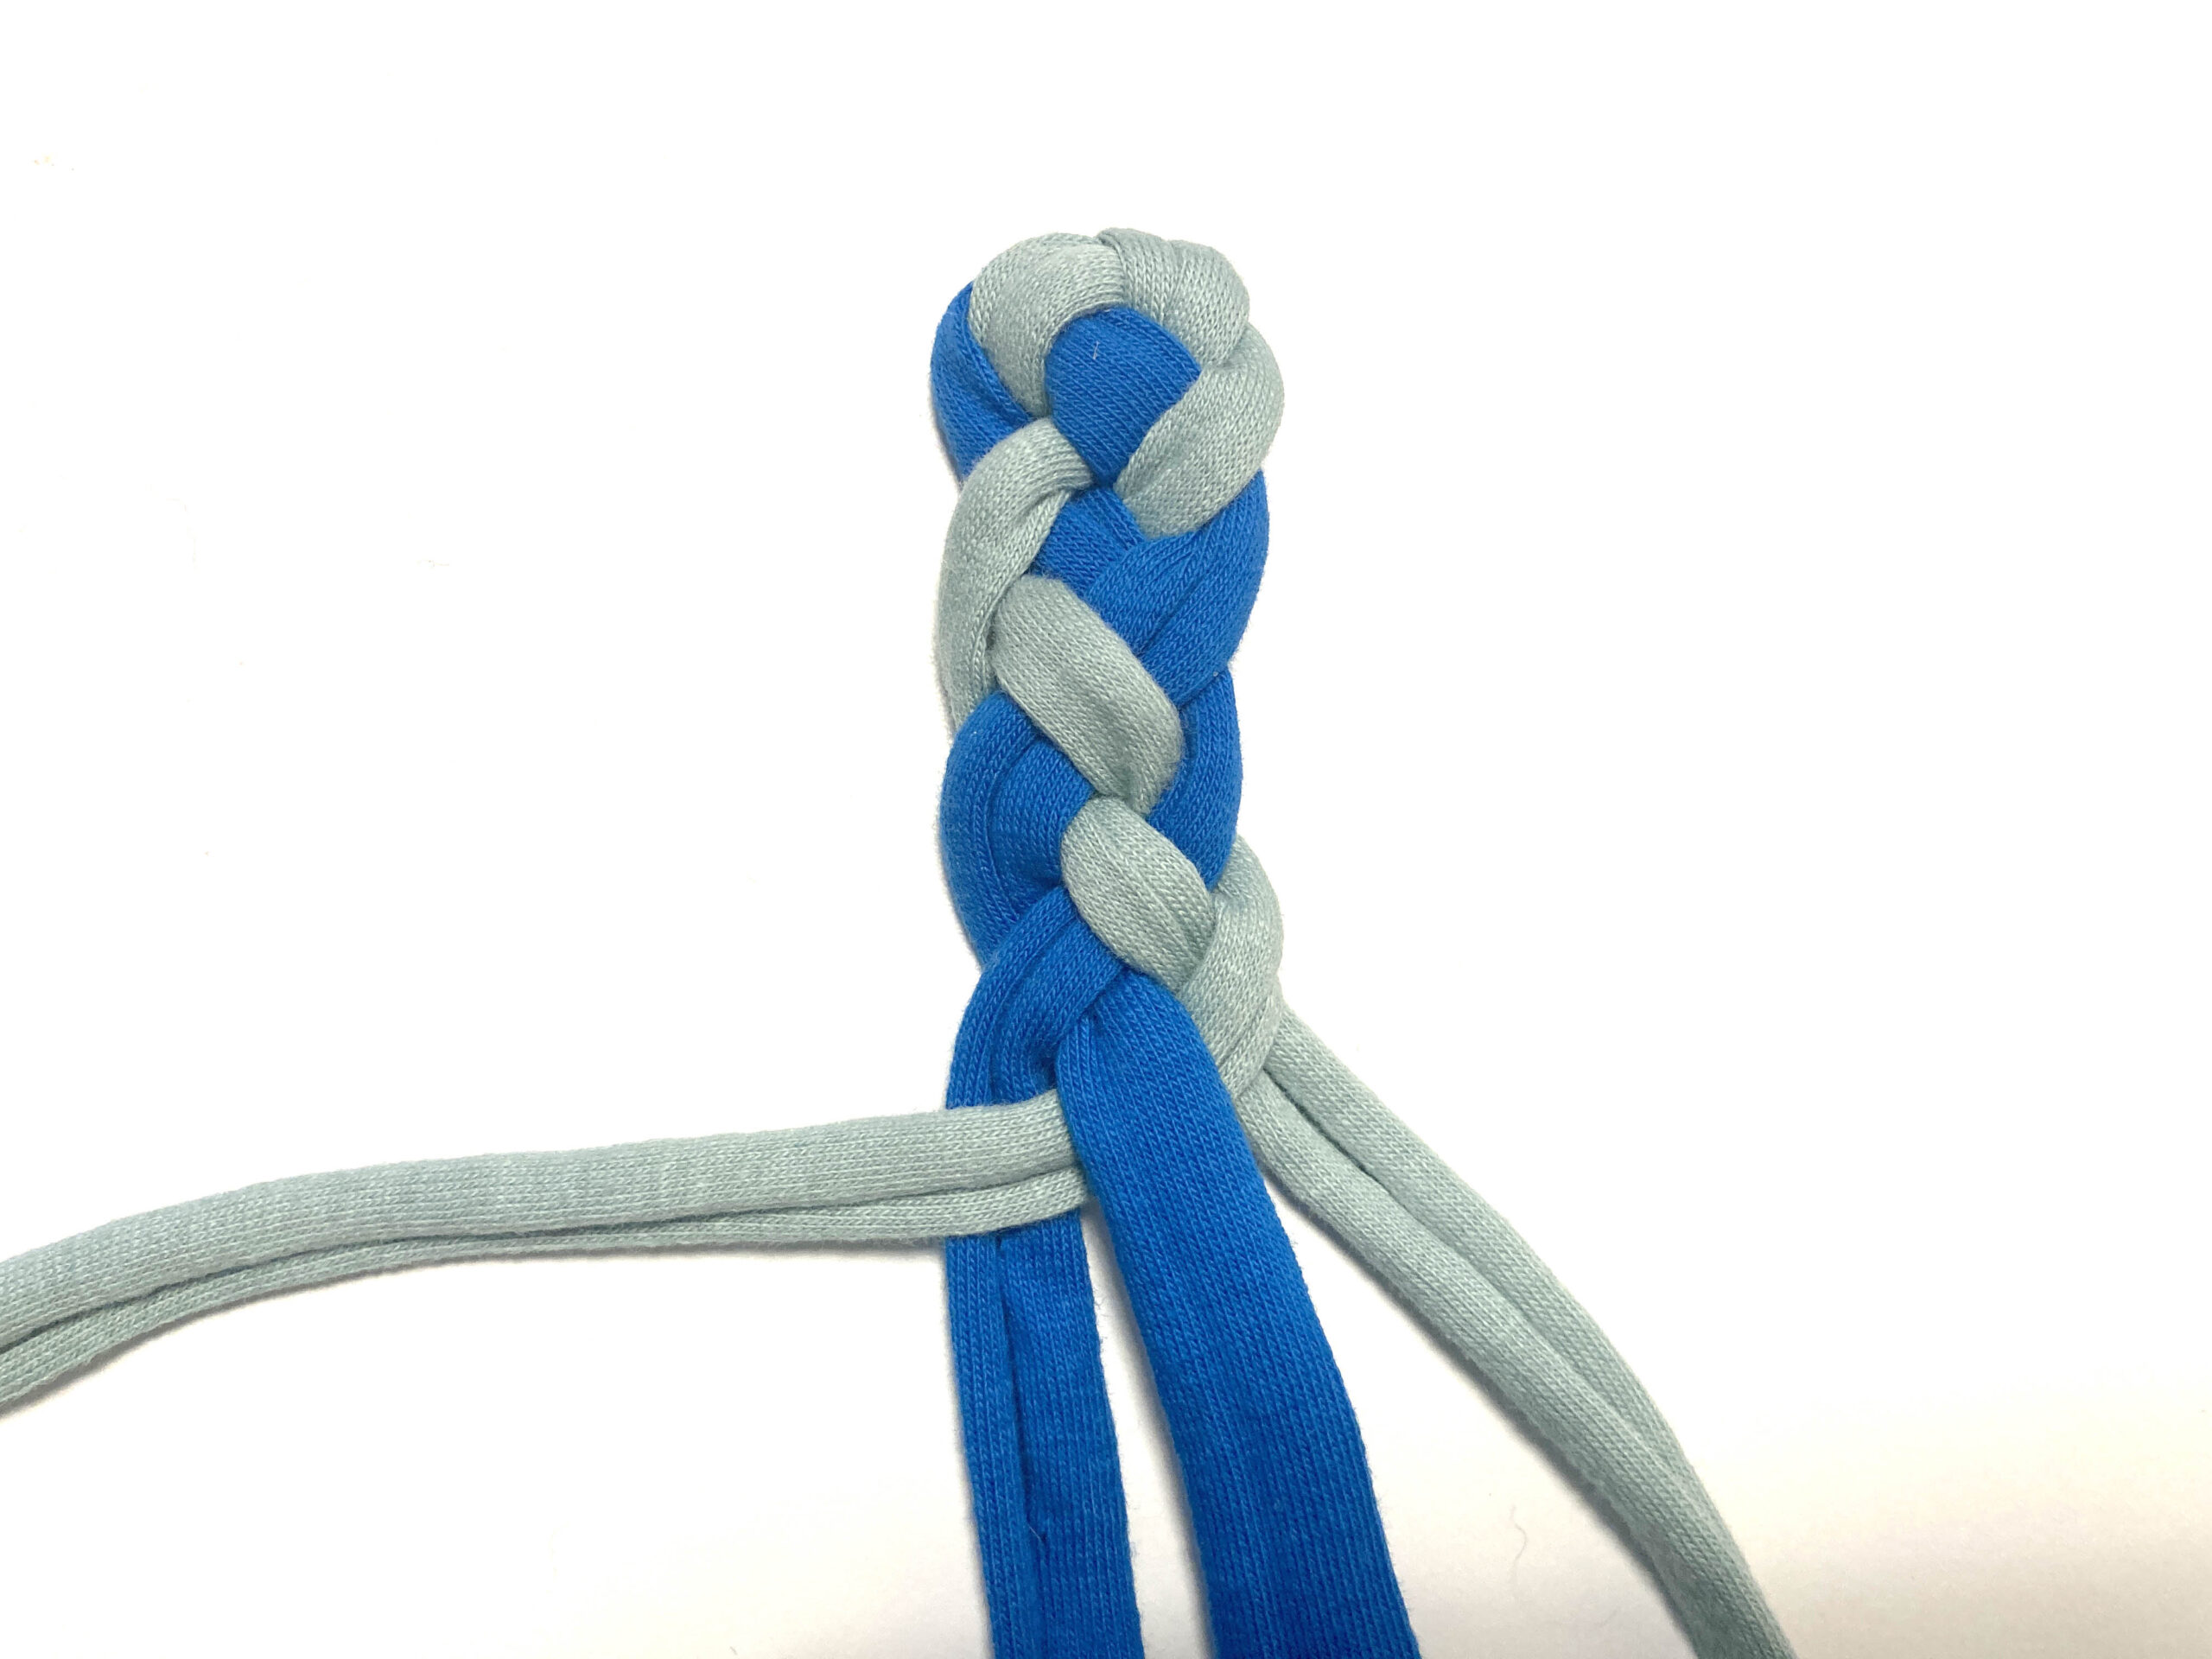
Step 3: Make the Core of the Rug
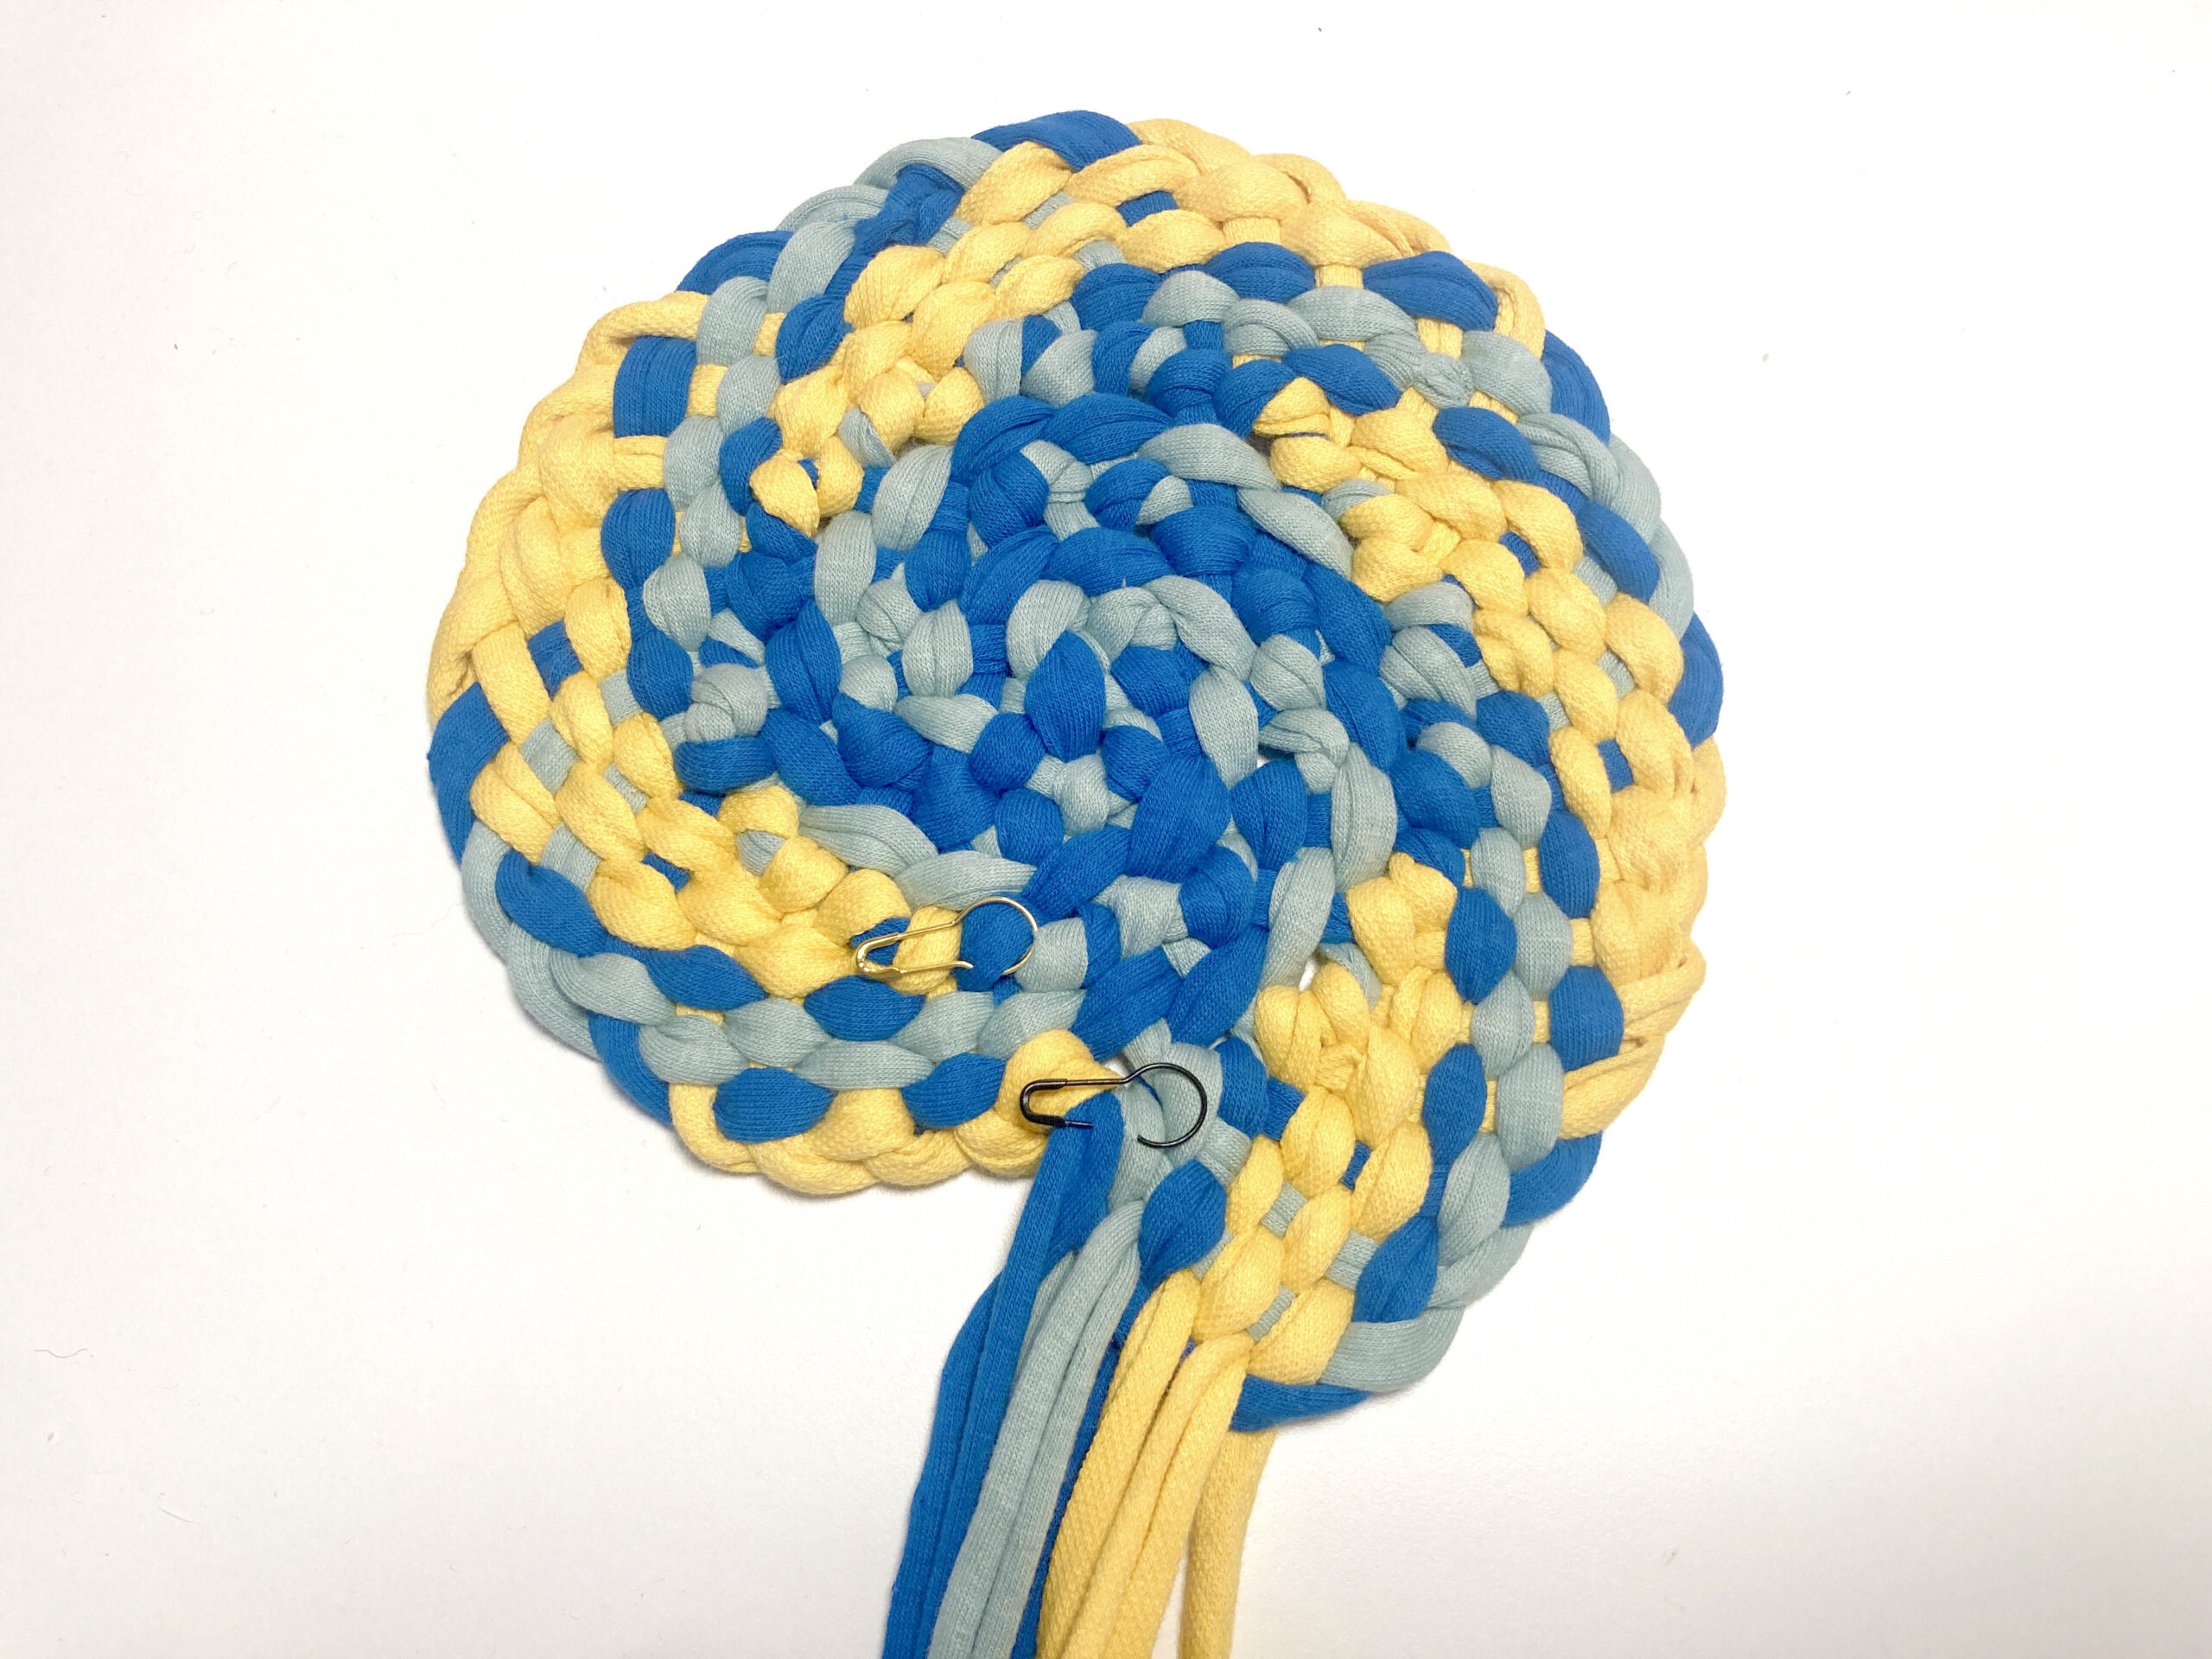
After the initial turn to form the centre of the rug (which is done in the same way as oval projects), every braid loop will need a double stitch. Continue braiding-in double stitches into each braid loop around the outside of the circle until you have 16 braid loops around the outer edge. This is roughly one and a half times around the centre you created in step 2. Mark the last double stitch with a safety pin.
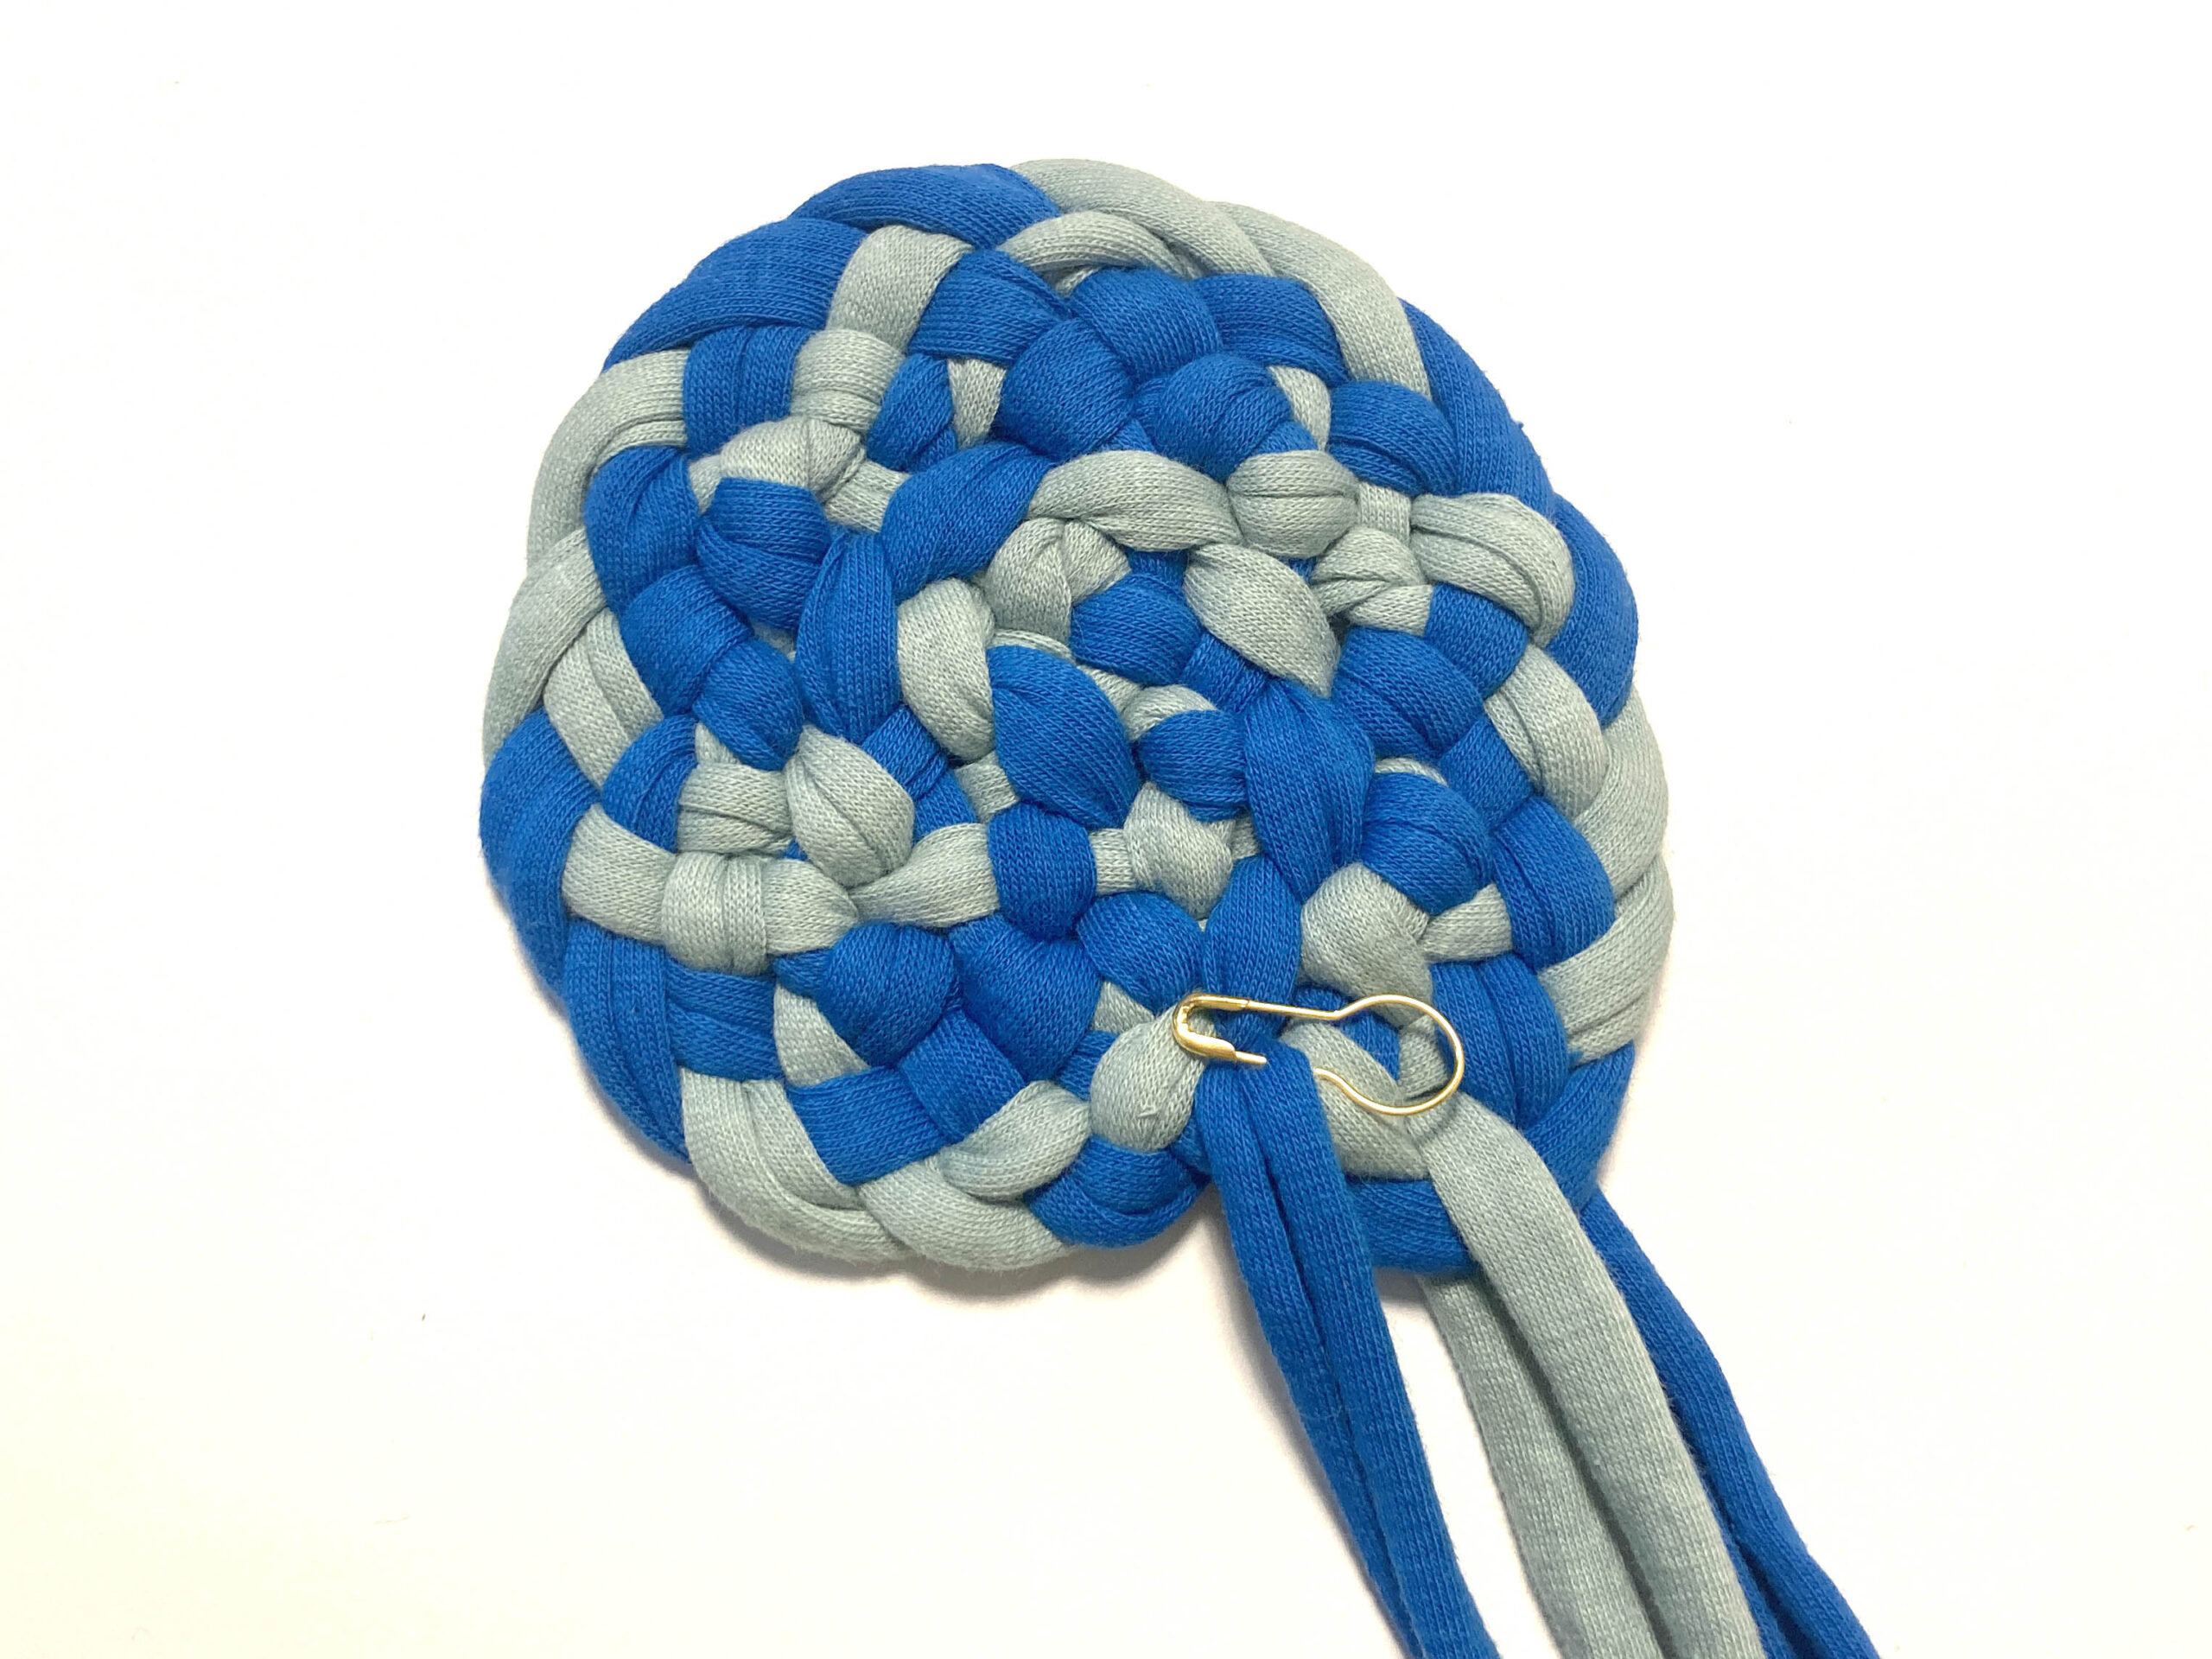
Step 4: Add Strands 5 & 6
The more fabric strips you work with at once, the quicker the braid-in project will grow. Identify the braid loop you just created (next to the strand you would weave across next). Pass a new 1-2 metre long fabric strip up through that braid loop, making sure to lay the new strip so that the rightmost strand is flat to the table, not raised.
One at a time, weave the new working strands across the other four strips as usual and pull them up through the next braid loop to form a double stitch.
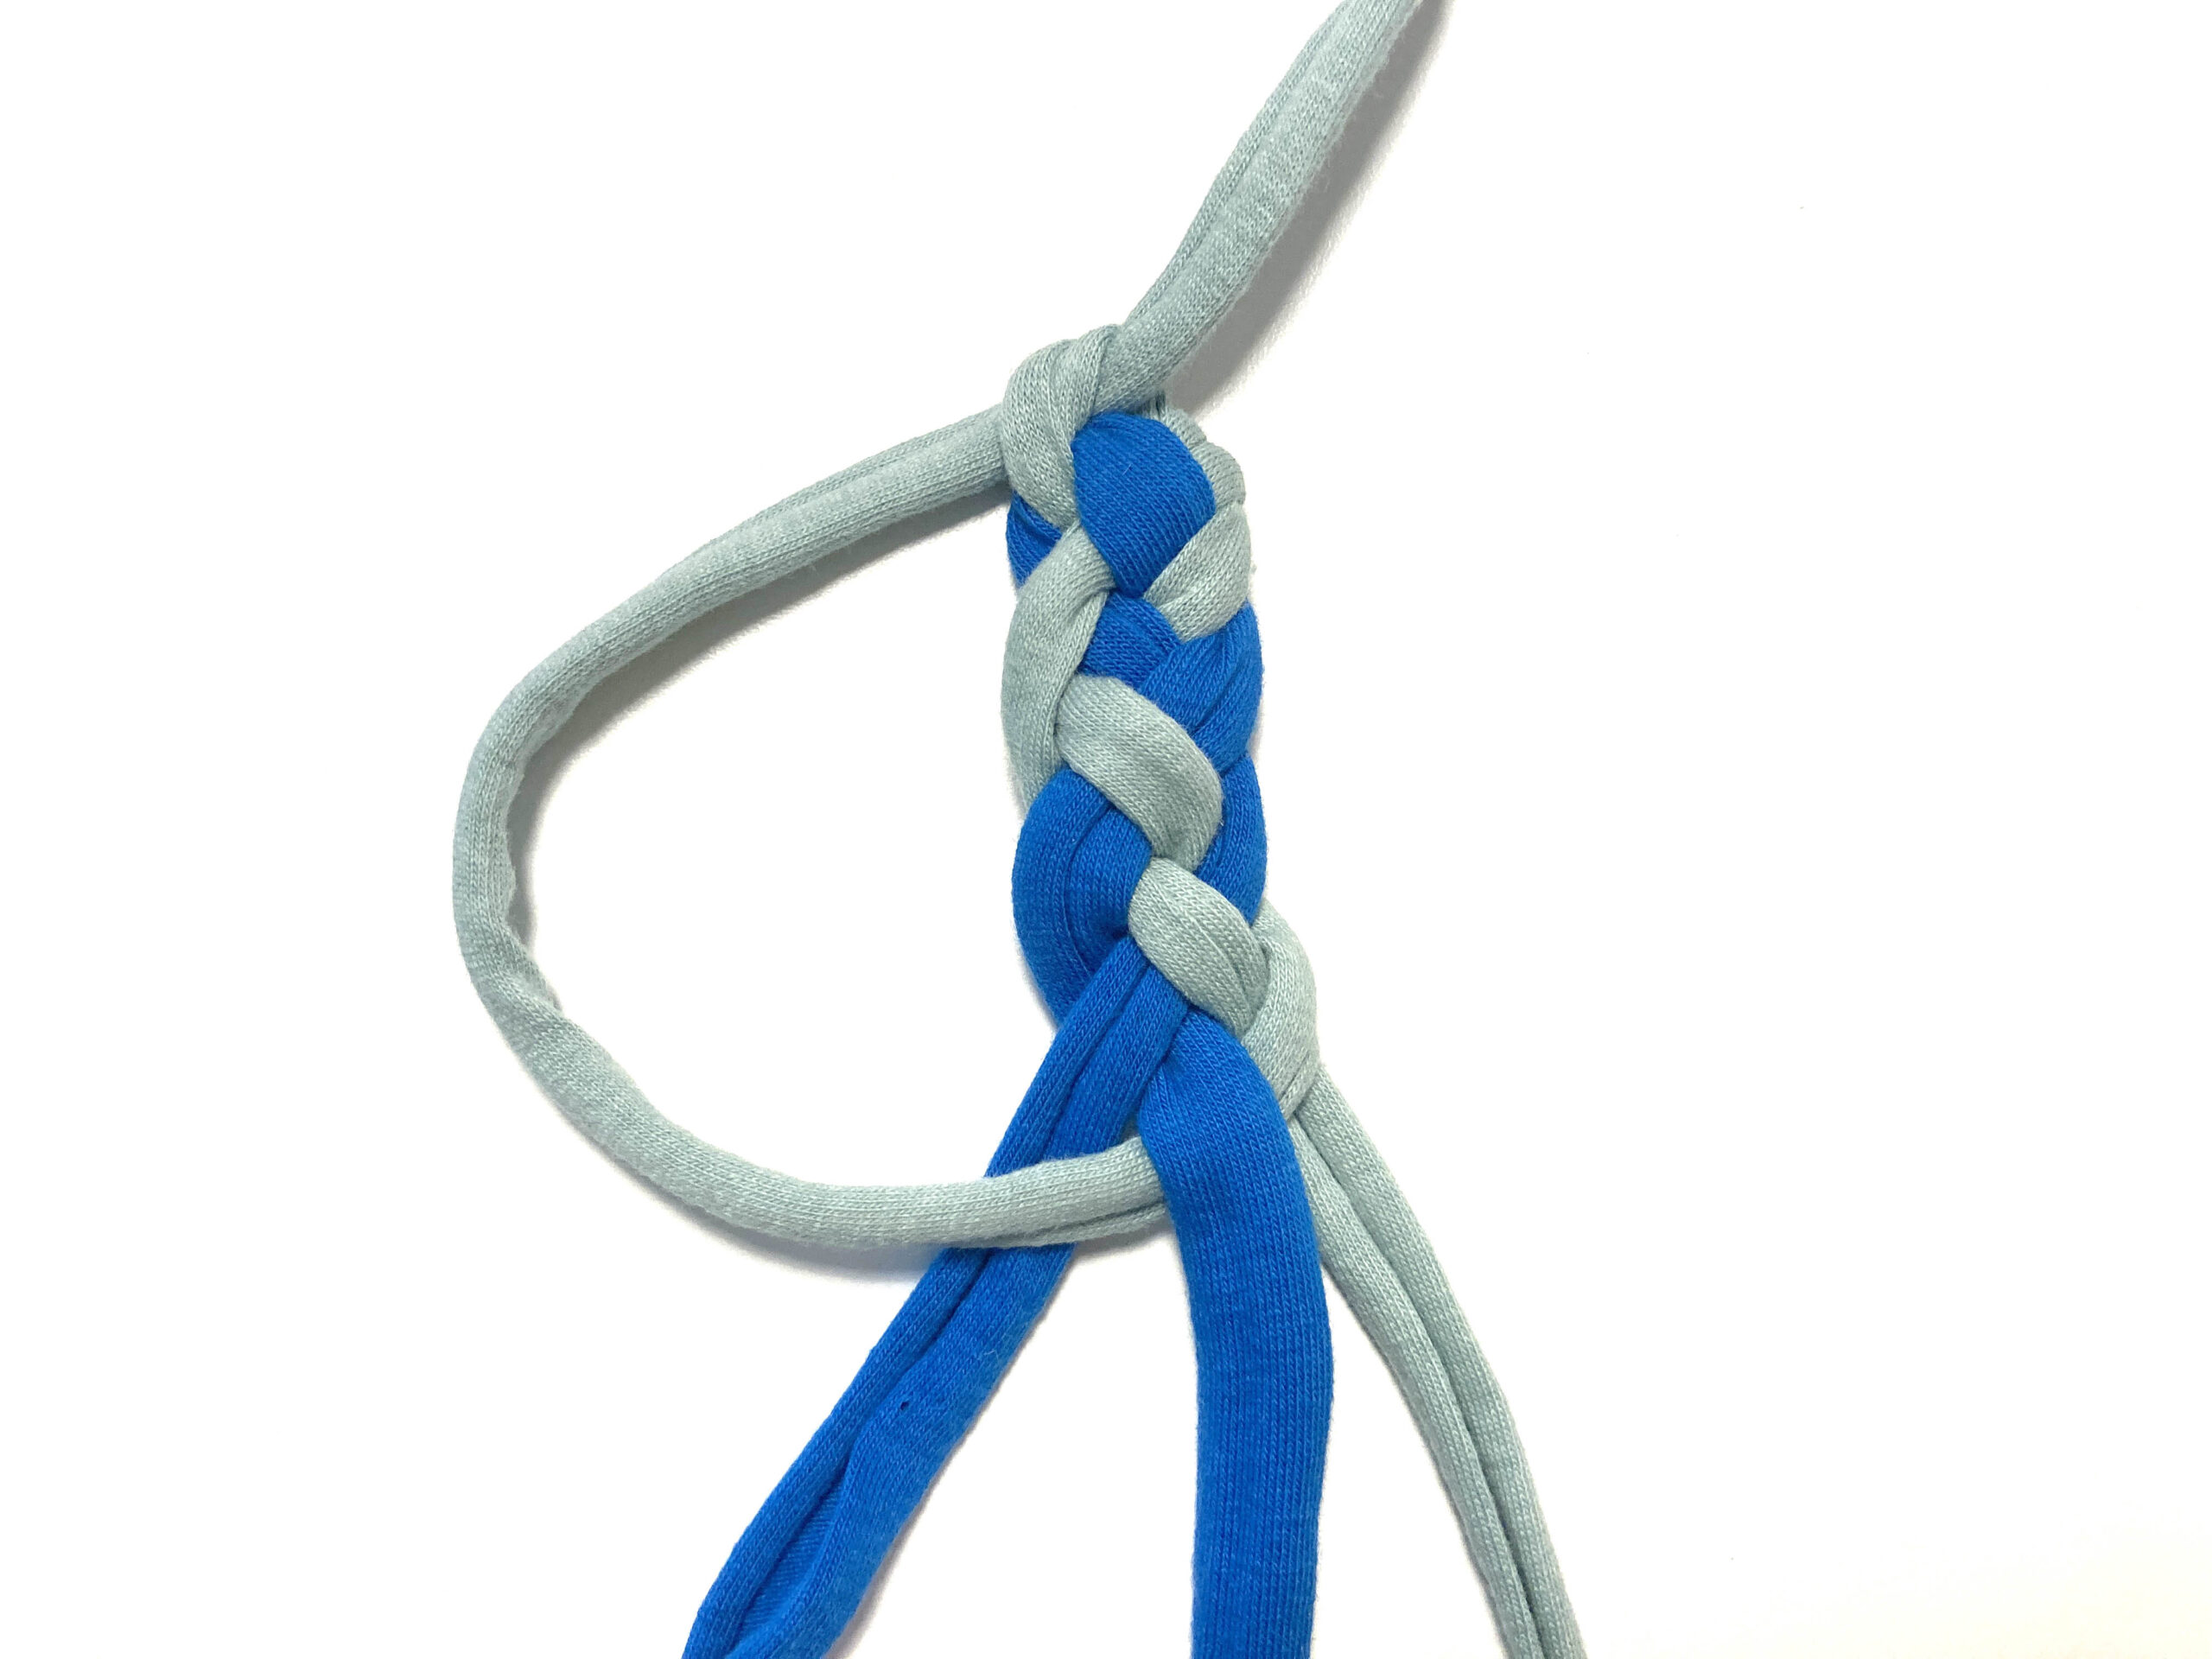
Step 5: Add Strands 7 & 8
Repeat step 4 to add two more strands to the set up. If you want these strands to be different colours from one another, join two different colours fabric strips together and position the join behind the braid loop when you thread it through.
Step 5: Complete Round 1
With 8 strands all added to the set up, you can now finish up round 1. Work double stitches into each of the braid loops around the outside of the circle until you can count 32 braid loops around the outer edge of the rug. Mark the last pair with a safety pin.
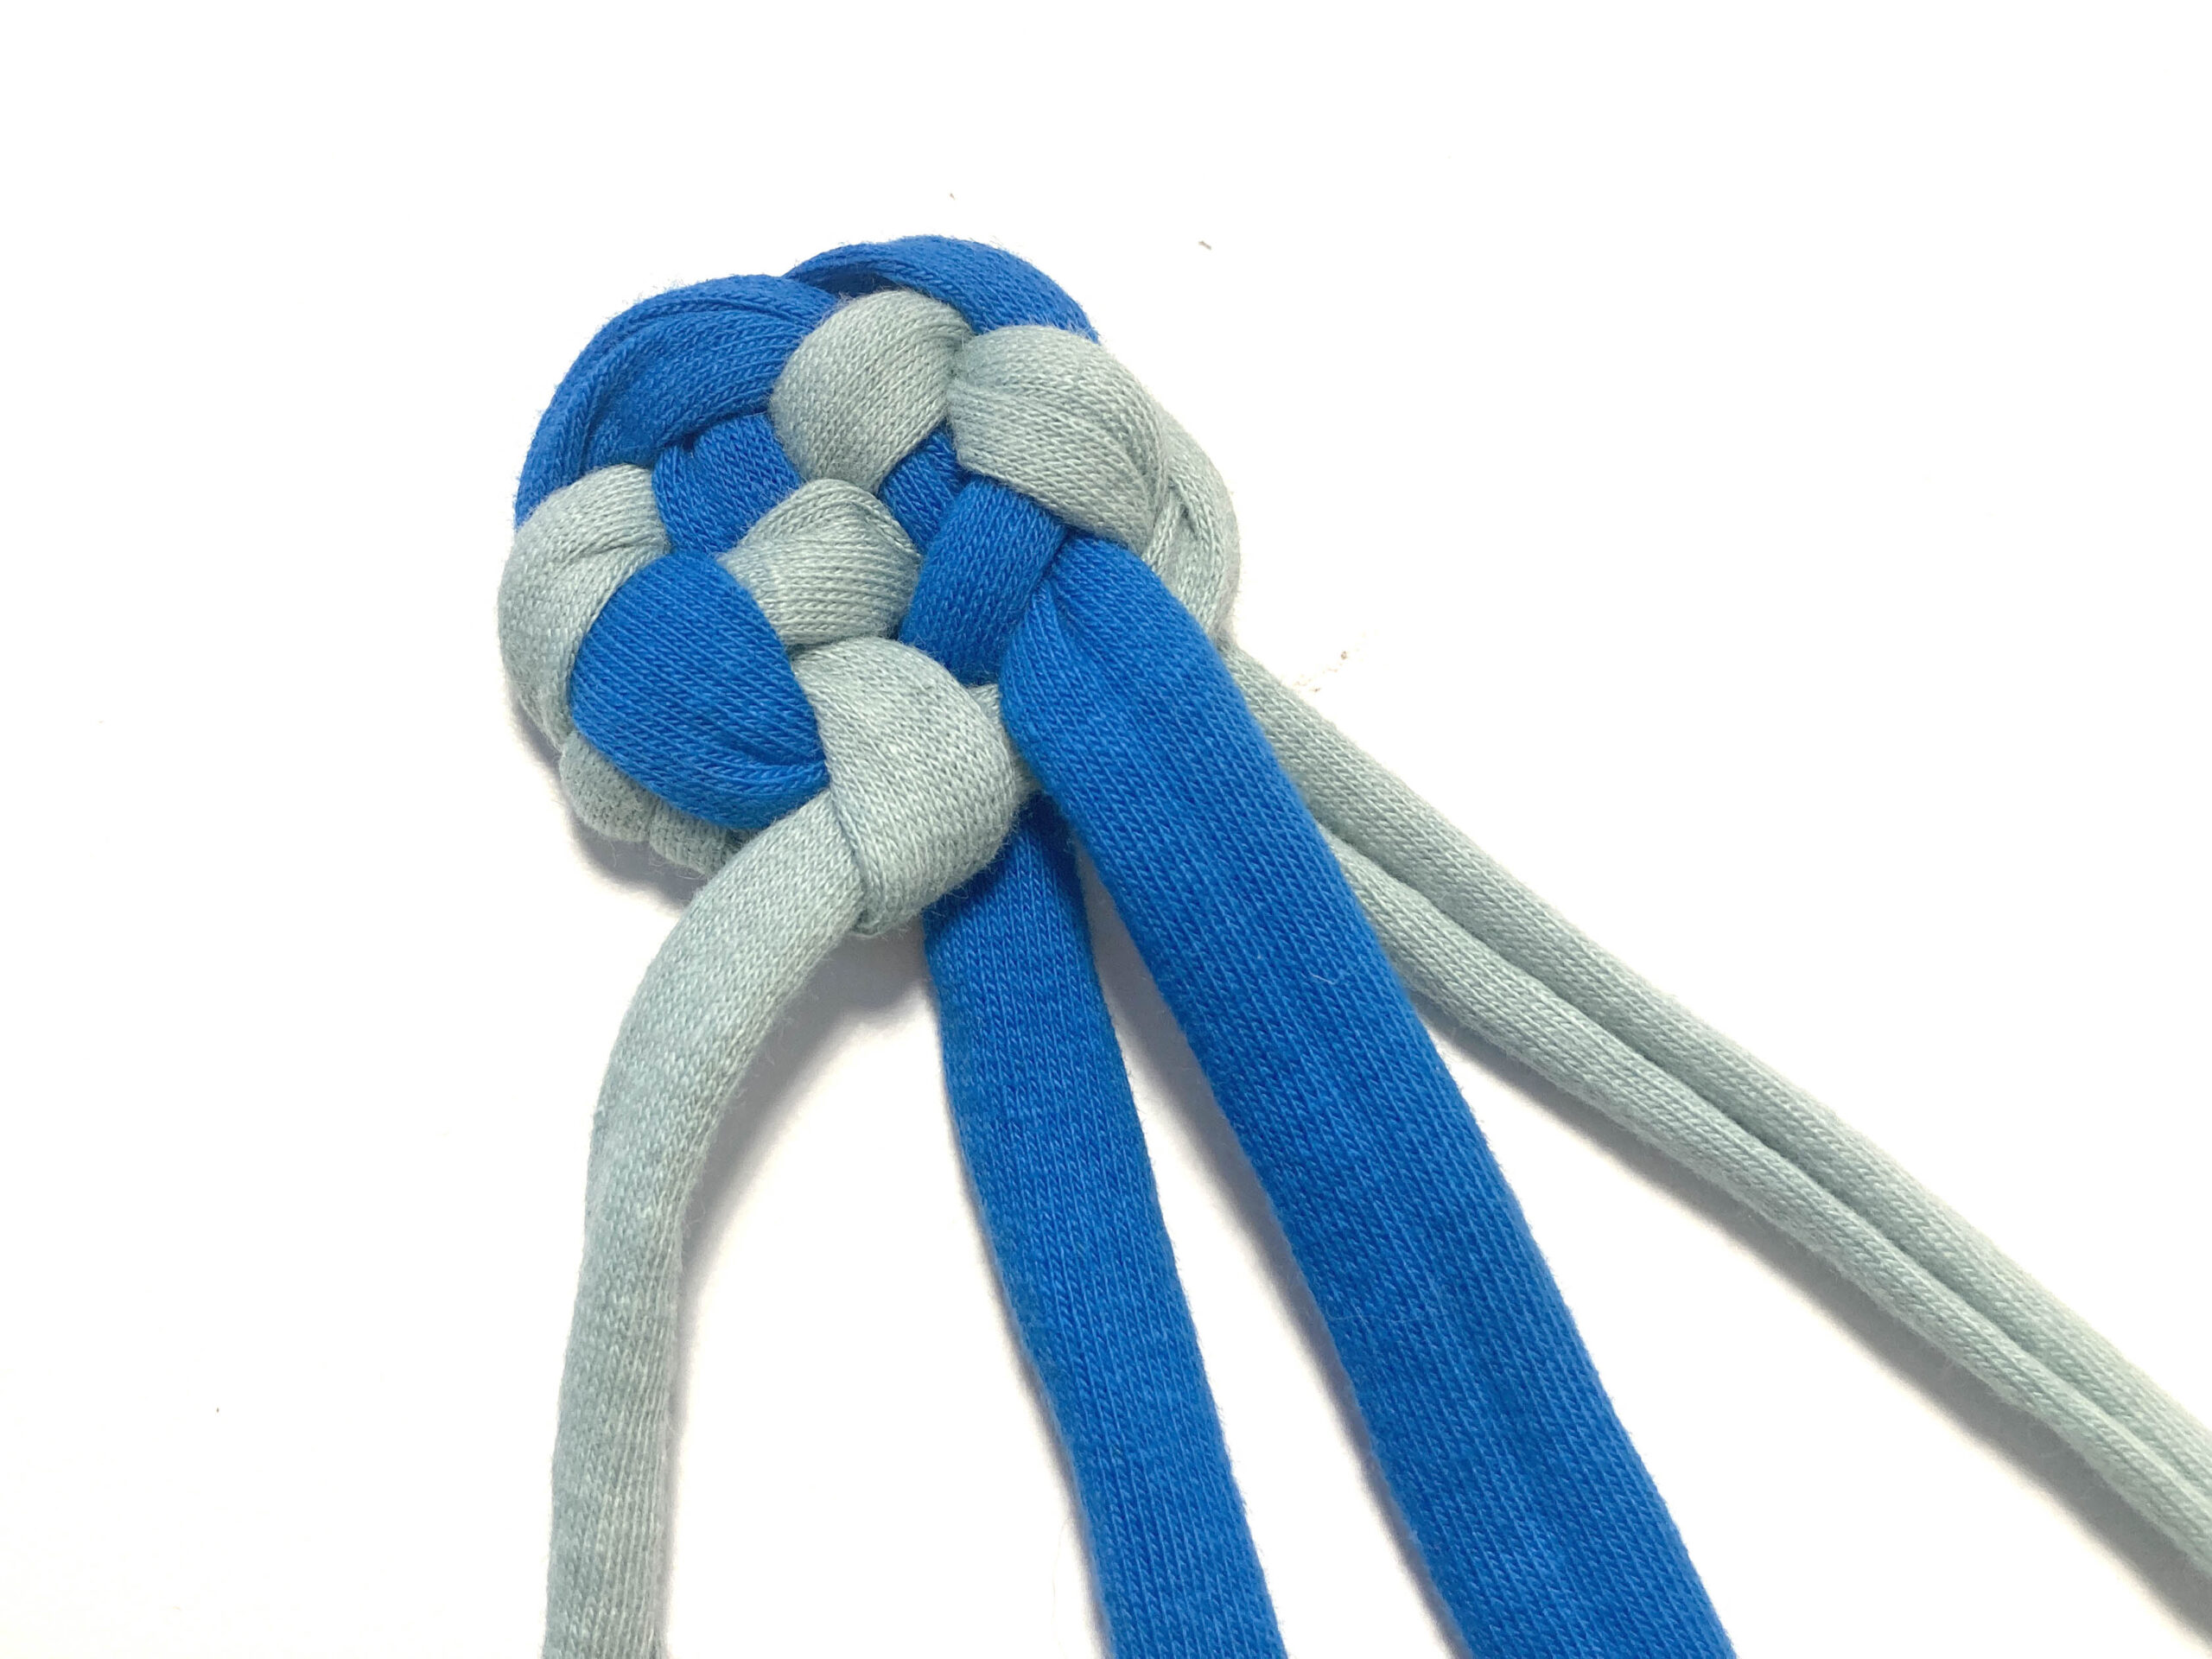
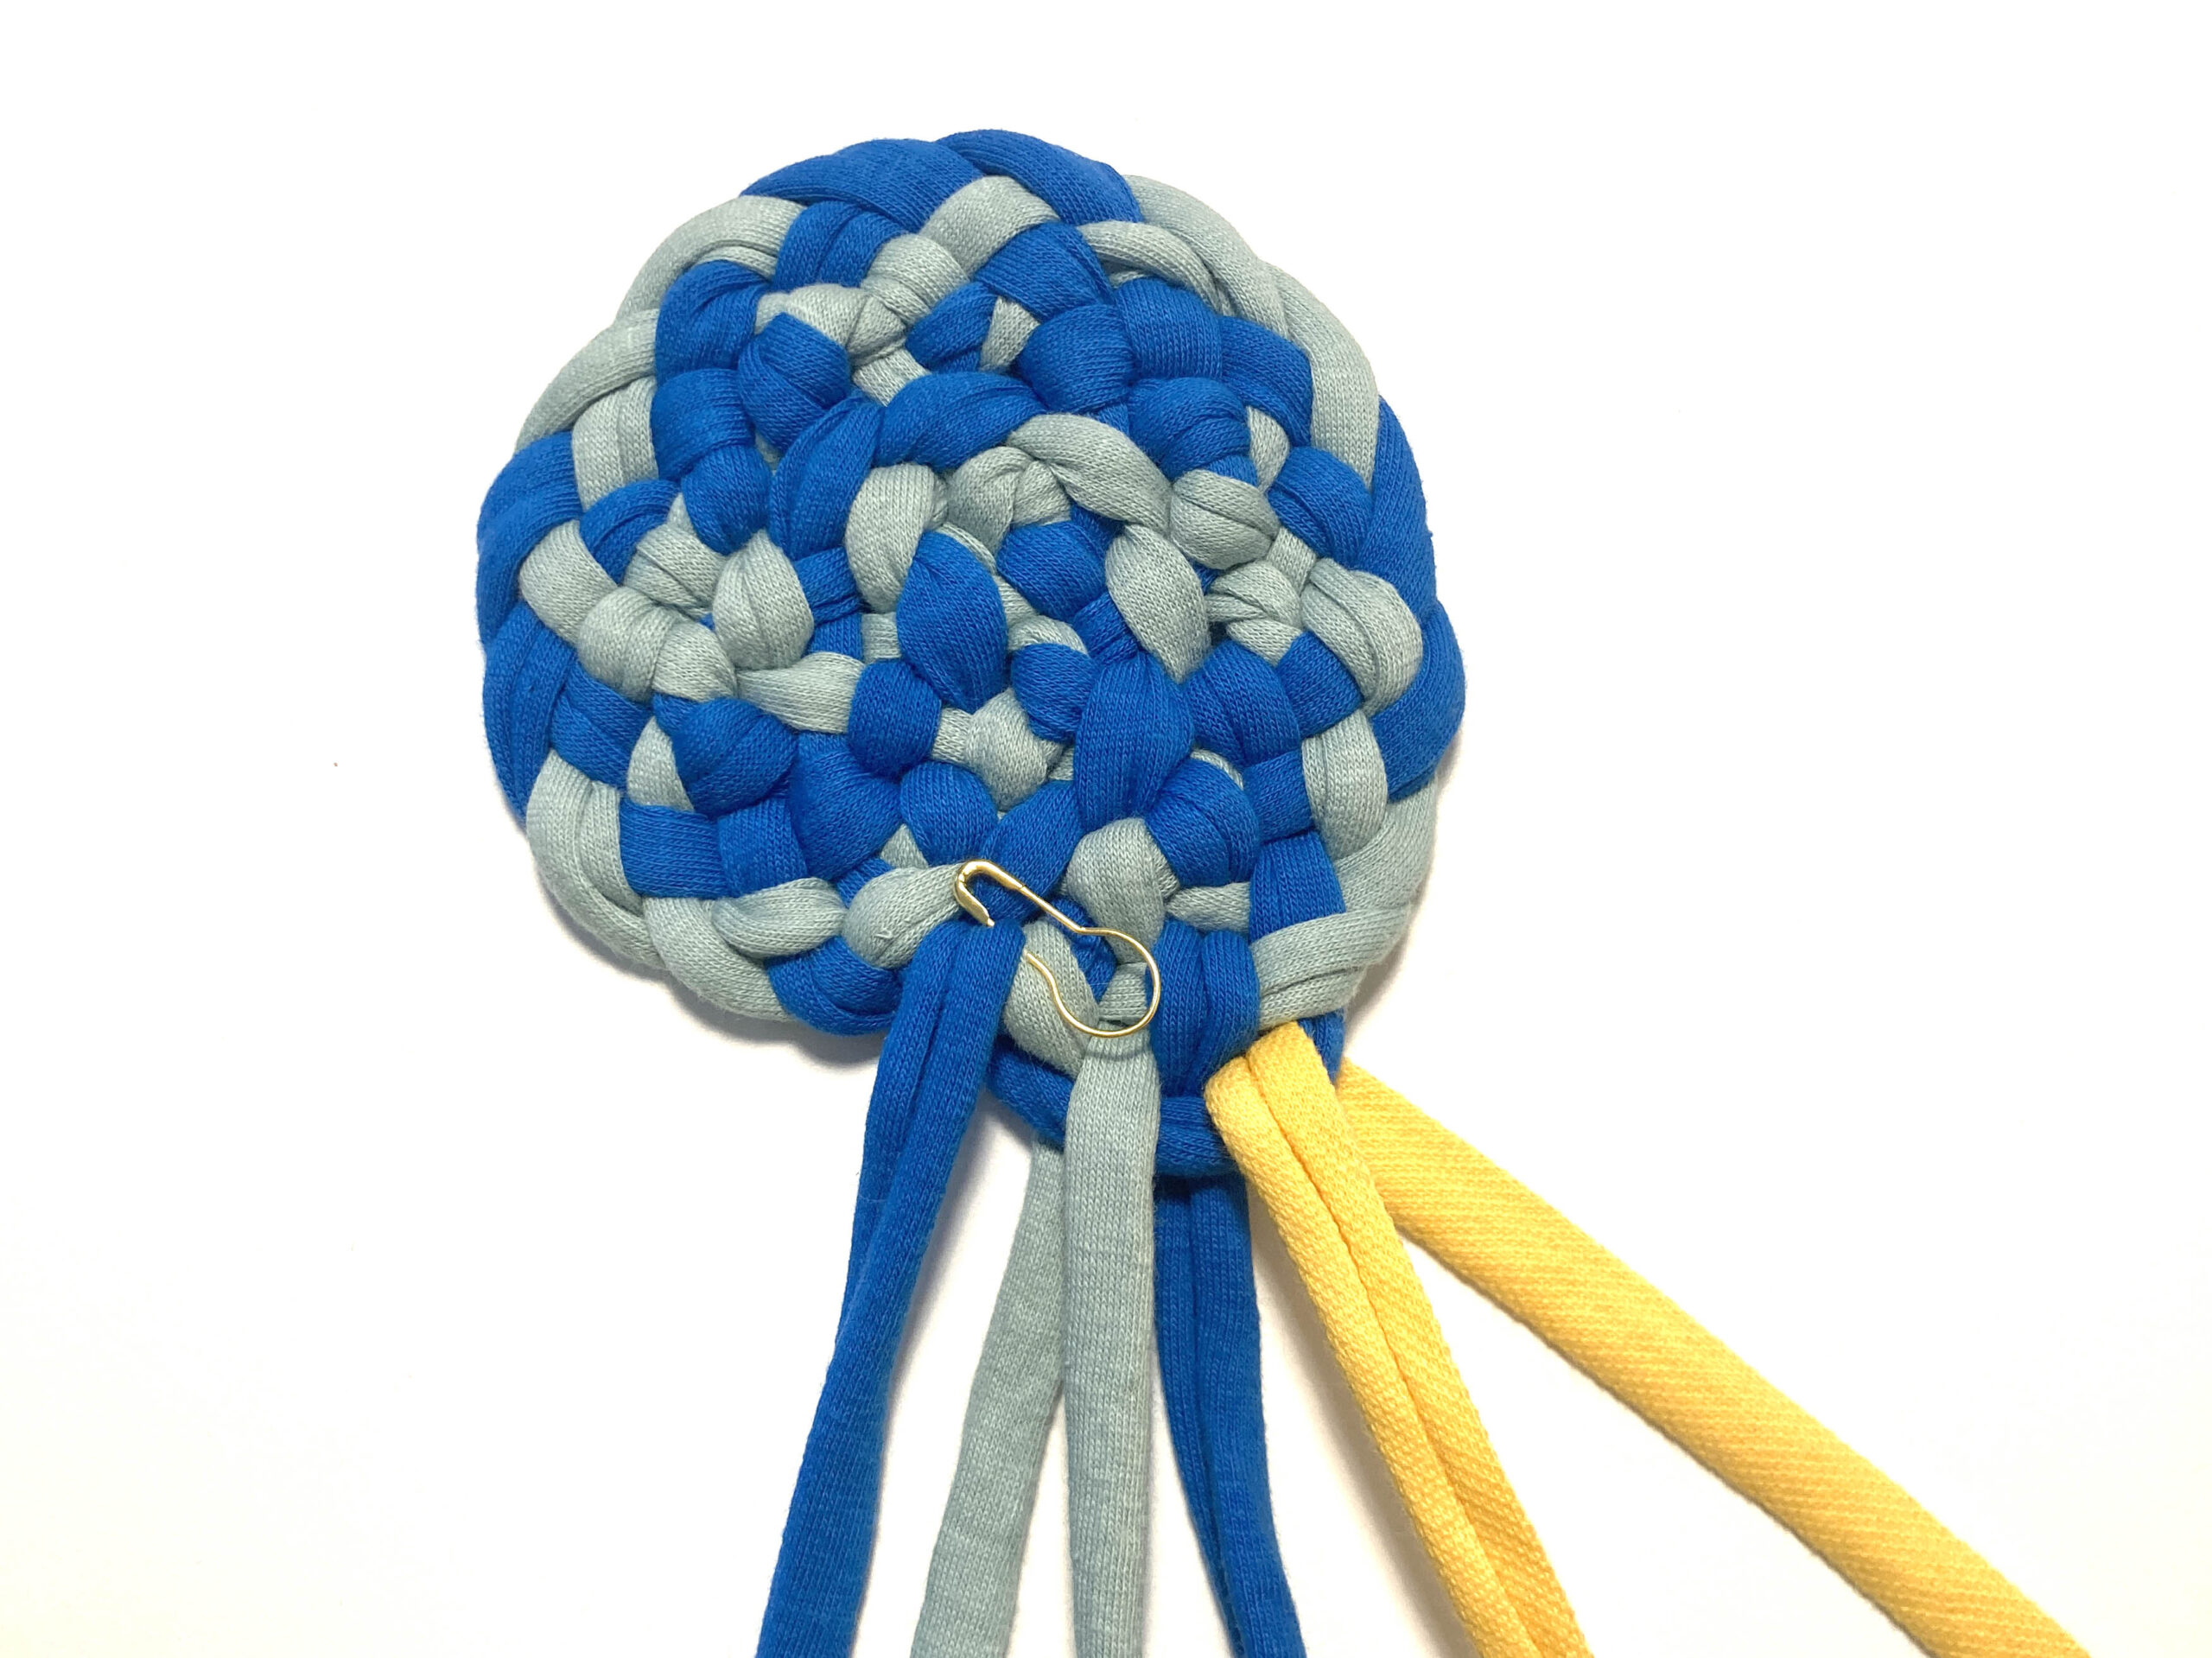
Step 6: Complete Round 2
Round 2 is made by working double stitches into every braid loop around the outside of the circle. The round is complete when you have 64 braid loops around the outside of your circle.
Step 7: Complete Round 3
Round 3 is made by working single stitches into every braid loop around the outside of the circle. The round is complete when you have 64 braid loops around the outside of your circle (the same number as after round 2). You only need to do single stitches for this round as the doubles in the previous round created enough space for both rounds 2 and 3.
Step 8: Complete Round 4
Round 4 is made by alternating double stitches and single stitches around the outside of the circle. The round is complete when you have 96 braid loops around the outside of your circle. It doesn’t matter if you begin round 4 with a double stitch or a single stitch. I prefer to start with a double stitch, in which case you will end the round with a single stitch.
Tip: Rather than counting the individual stitches around the outside of the circle, you can count blocks of stitches. e.g. around the outside of the circle, I have a repeat pattern of four yellow braid loops, followed by four blue / green braid loops. Count how many blocks of yellow braid loops there are and how many blocks of blue / green braid loops there are (24 total) then multiple that number by four. This is quicker and easier than counting individual stitches.
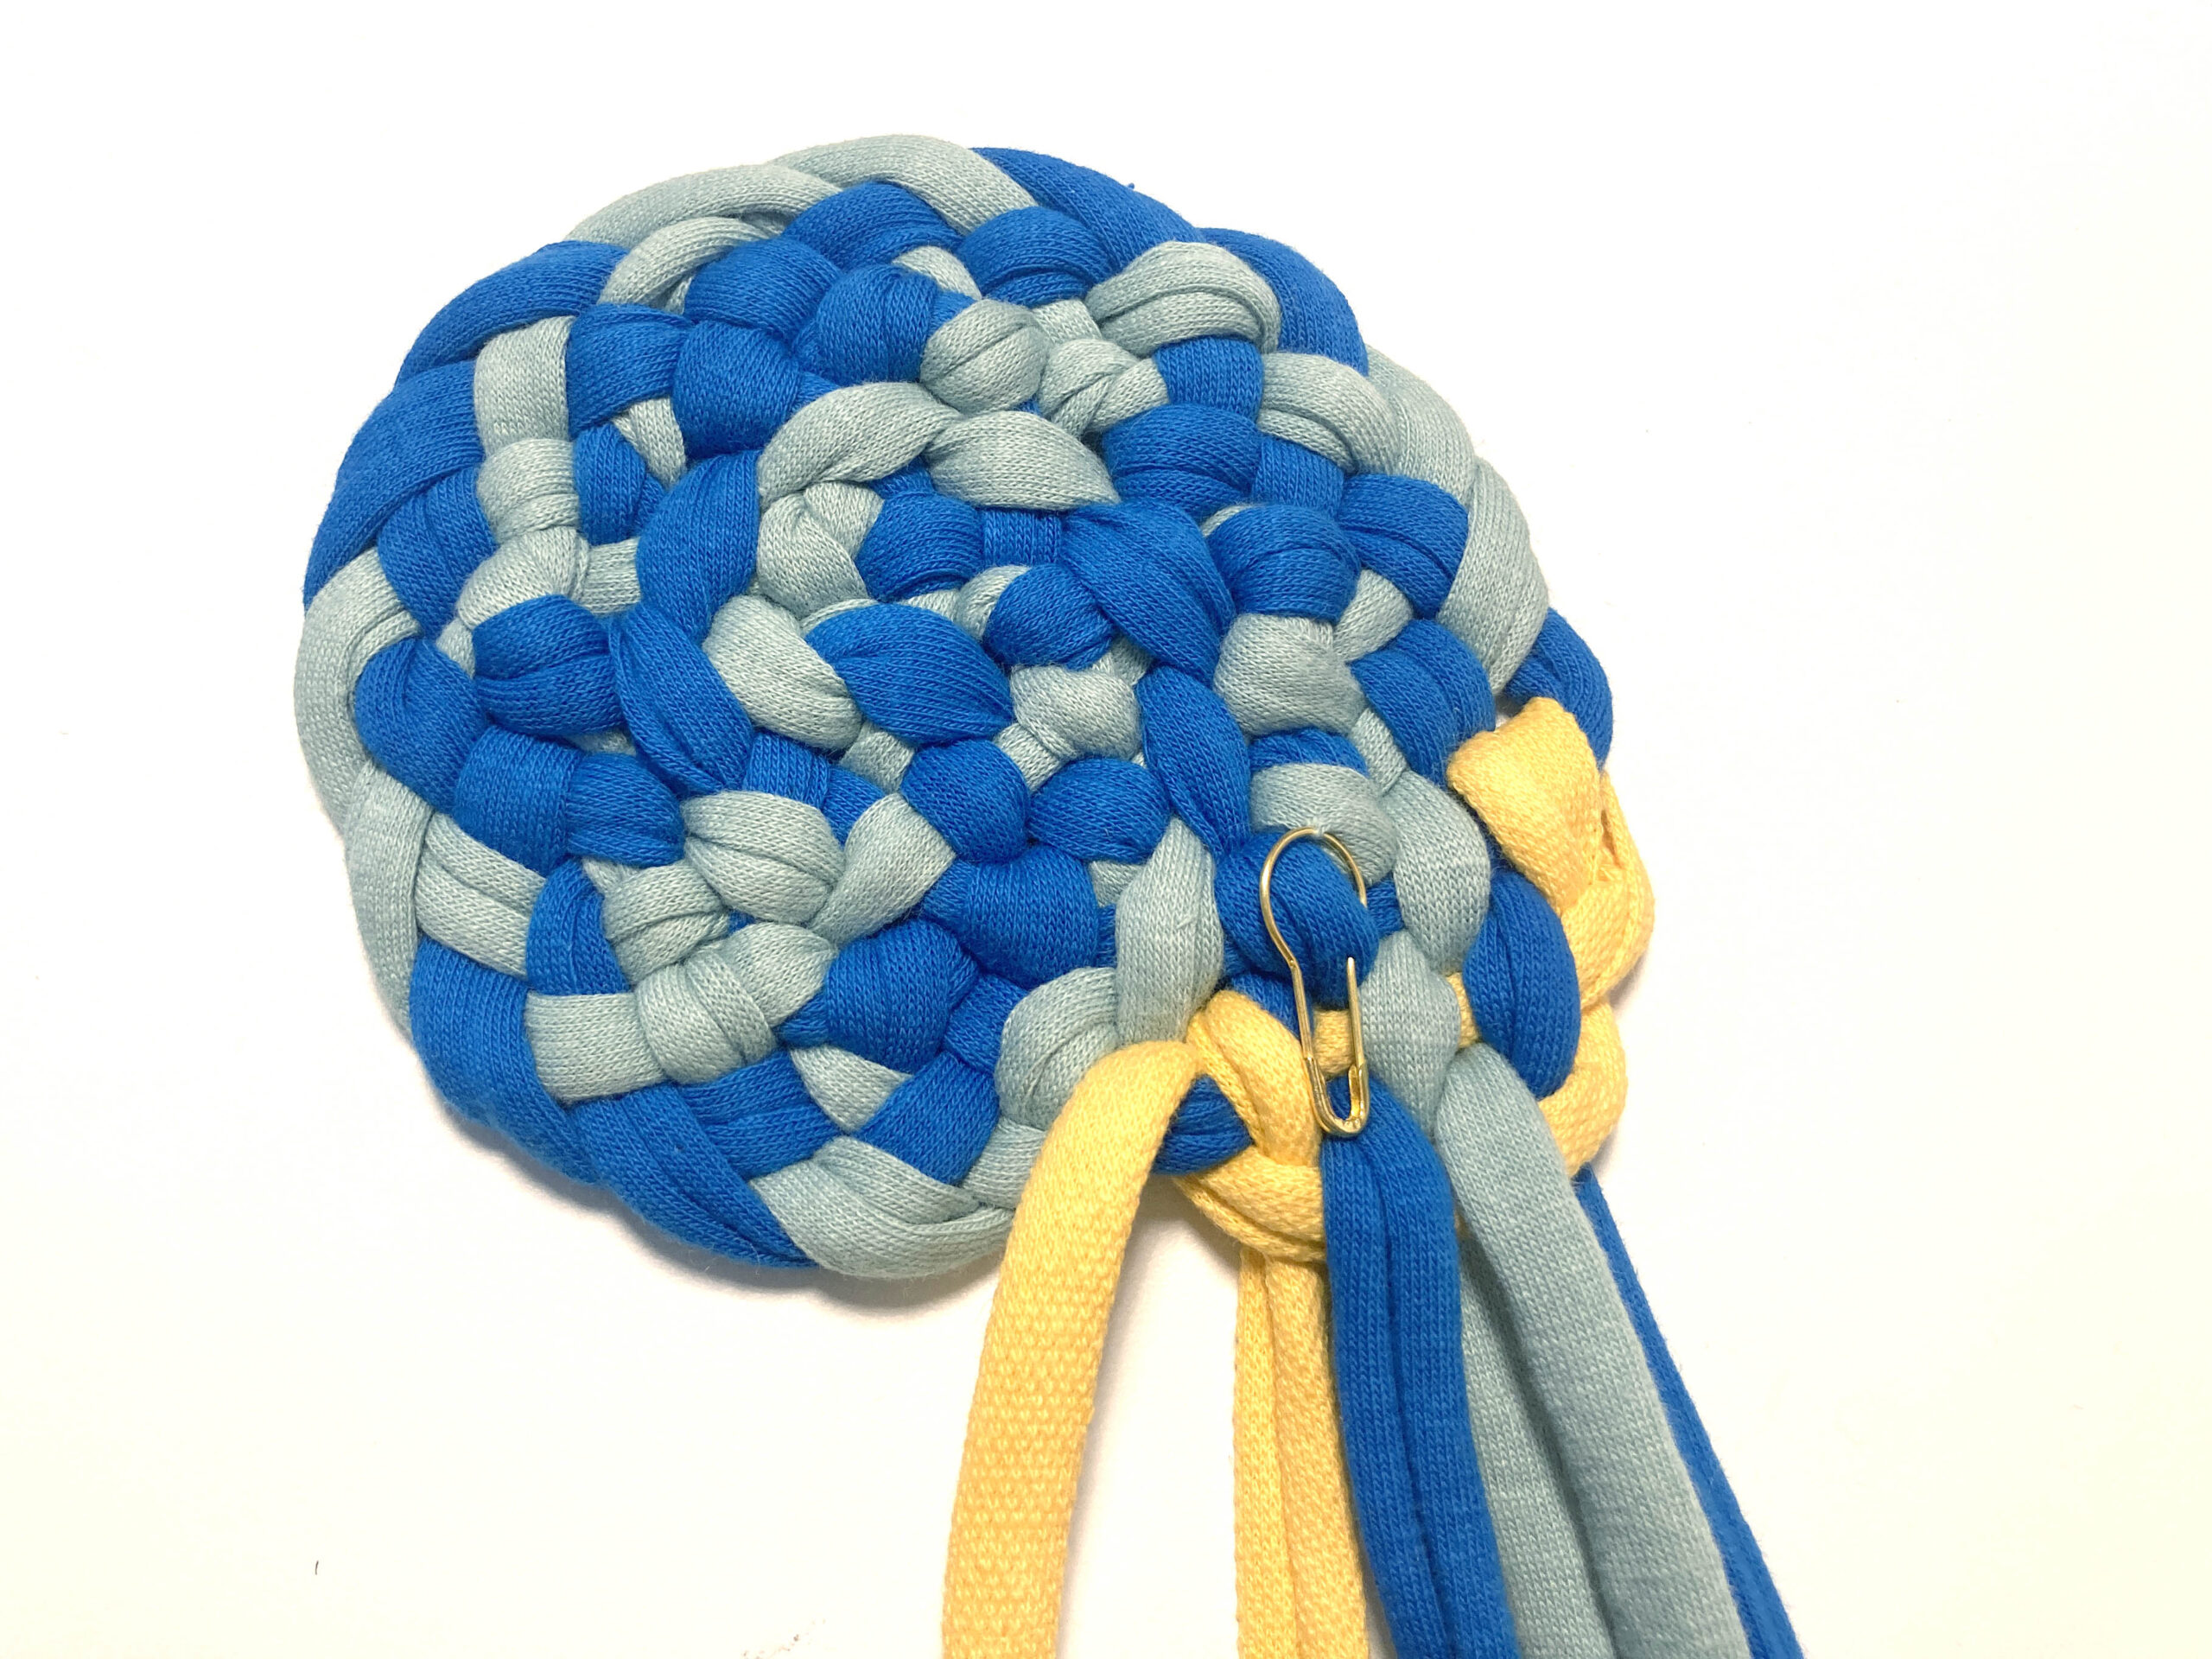
Continuing the Circular Braid-In Project:
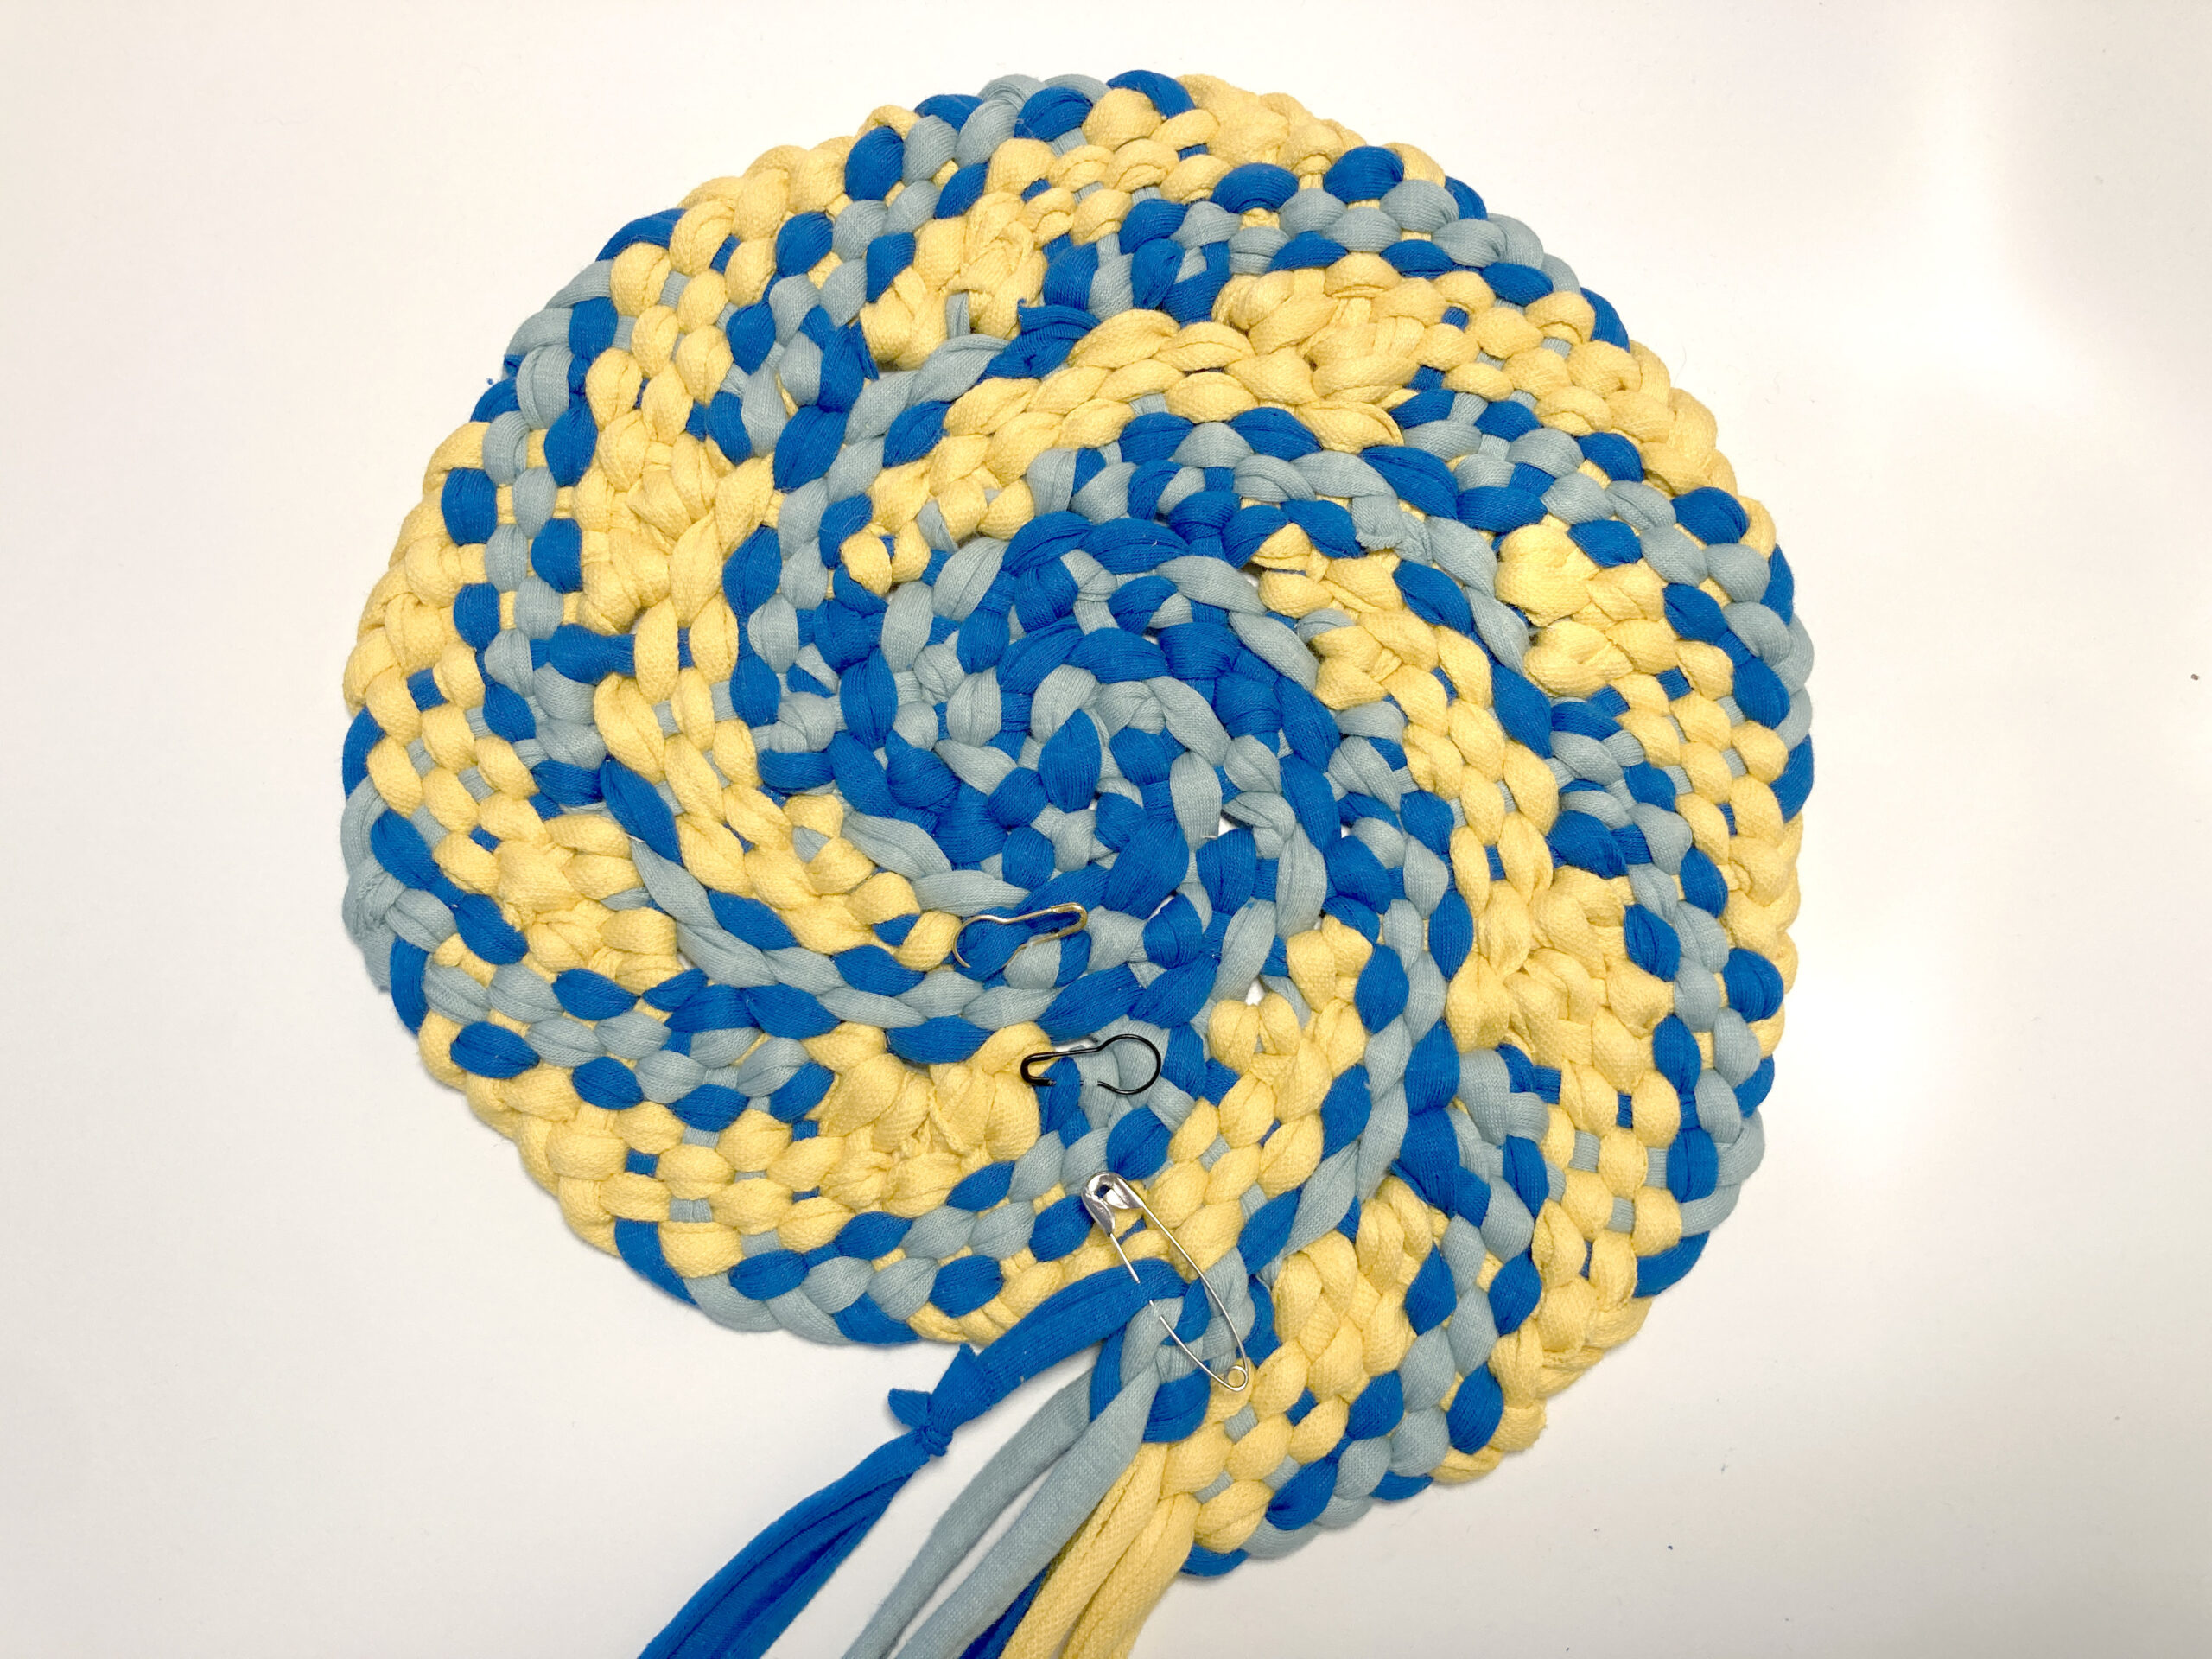
To complete round 5, work single stitches around the outside of the circle. You should have 96 braid loops at the end of this round. Mark the last single stitch with a safety pin.
To complete round 6, separate double stitches with two single stitches. You should have 128 braid loops at the end of this round. Mark the last stitch with a safety pin.
To complete round 7, work single stitches around the outside of the circle. You should have 128 braid loops at the end of this round. Mark the last single stitch with a safety pin.
To complete round 8, separate double stitches with three single stitches. You should have 160 braid loops at the end of this round. Mark the last stitch with a safety pin.
To complete round 9, work single stitches around the outside of the circle. You should have 160 braid loops at the end of this round. Mark the last single stitch with a safety pin.
You can probably see the pattern that is developing above. With this formula, you can make circular braid-in rag rugs of any size!
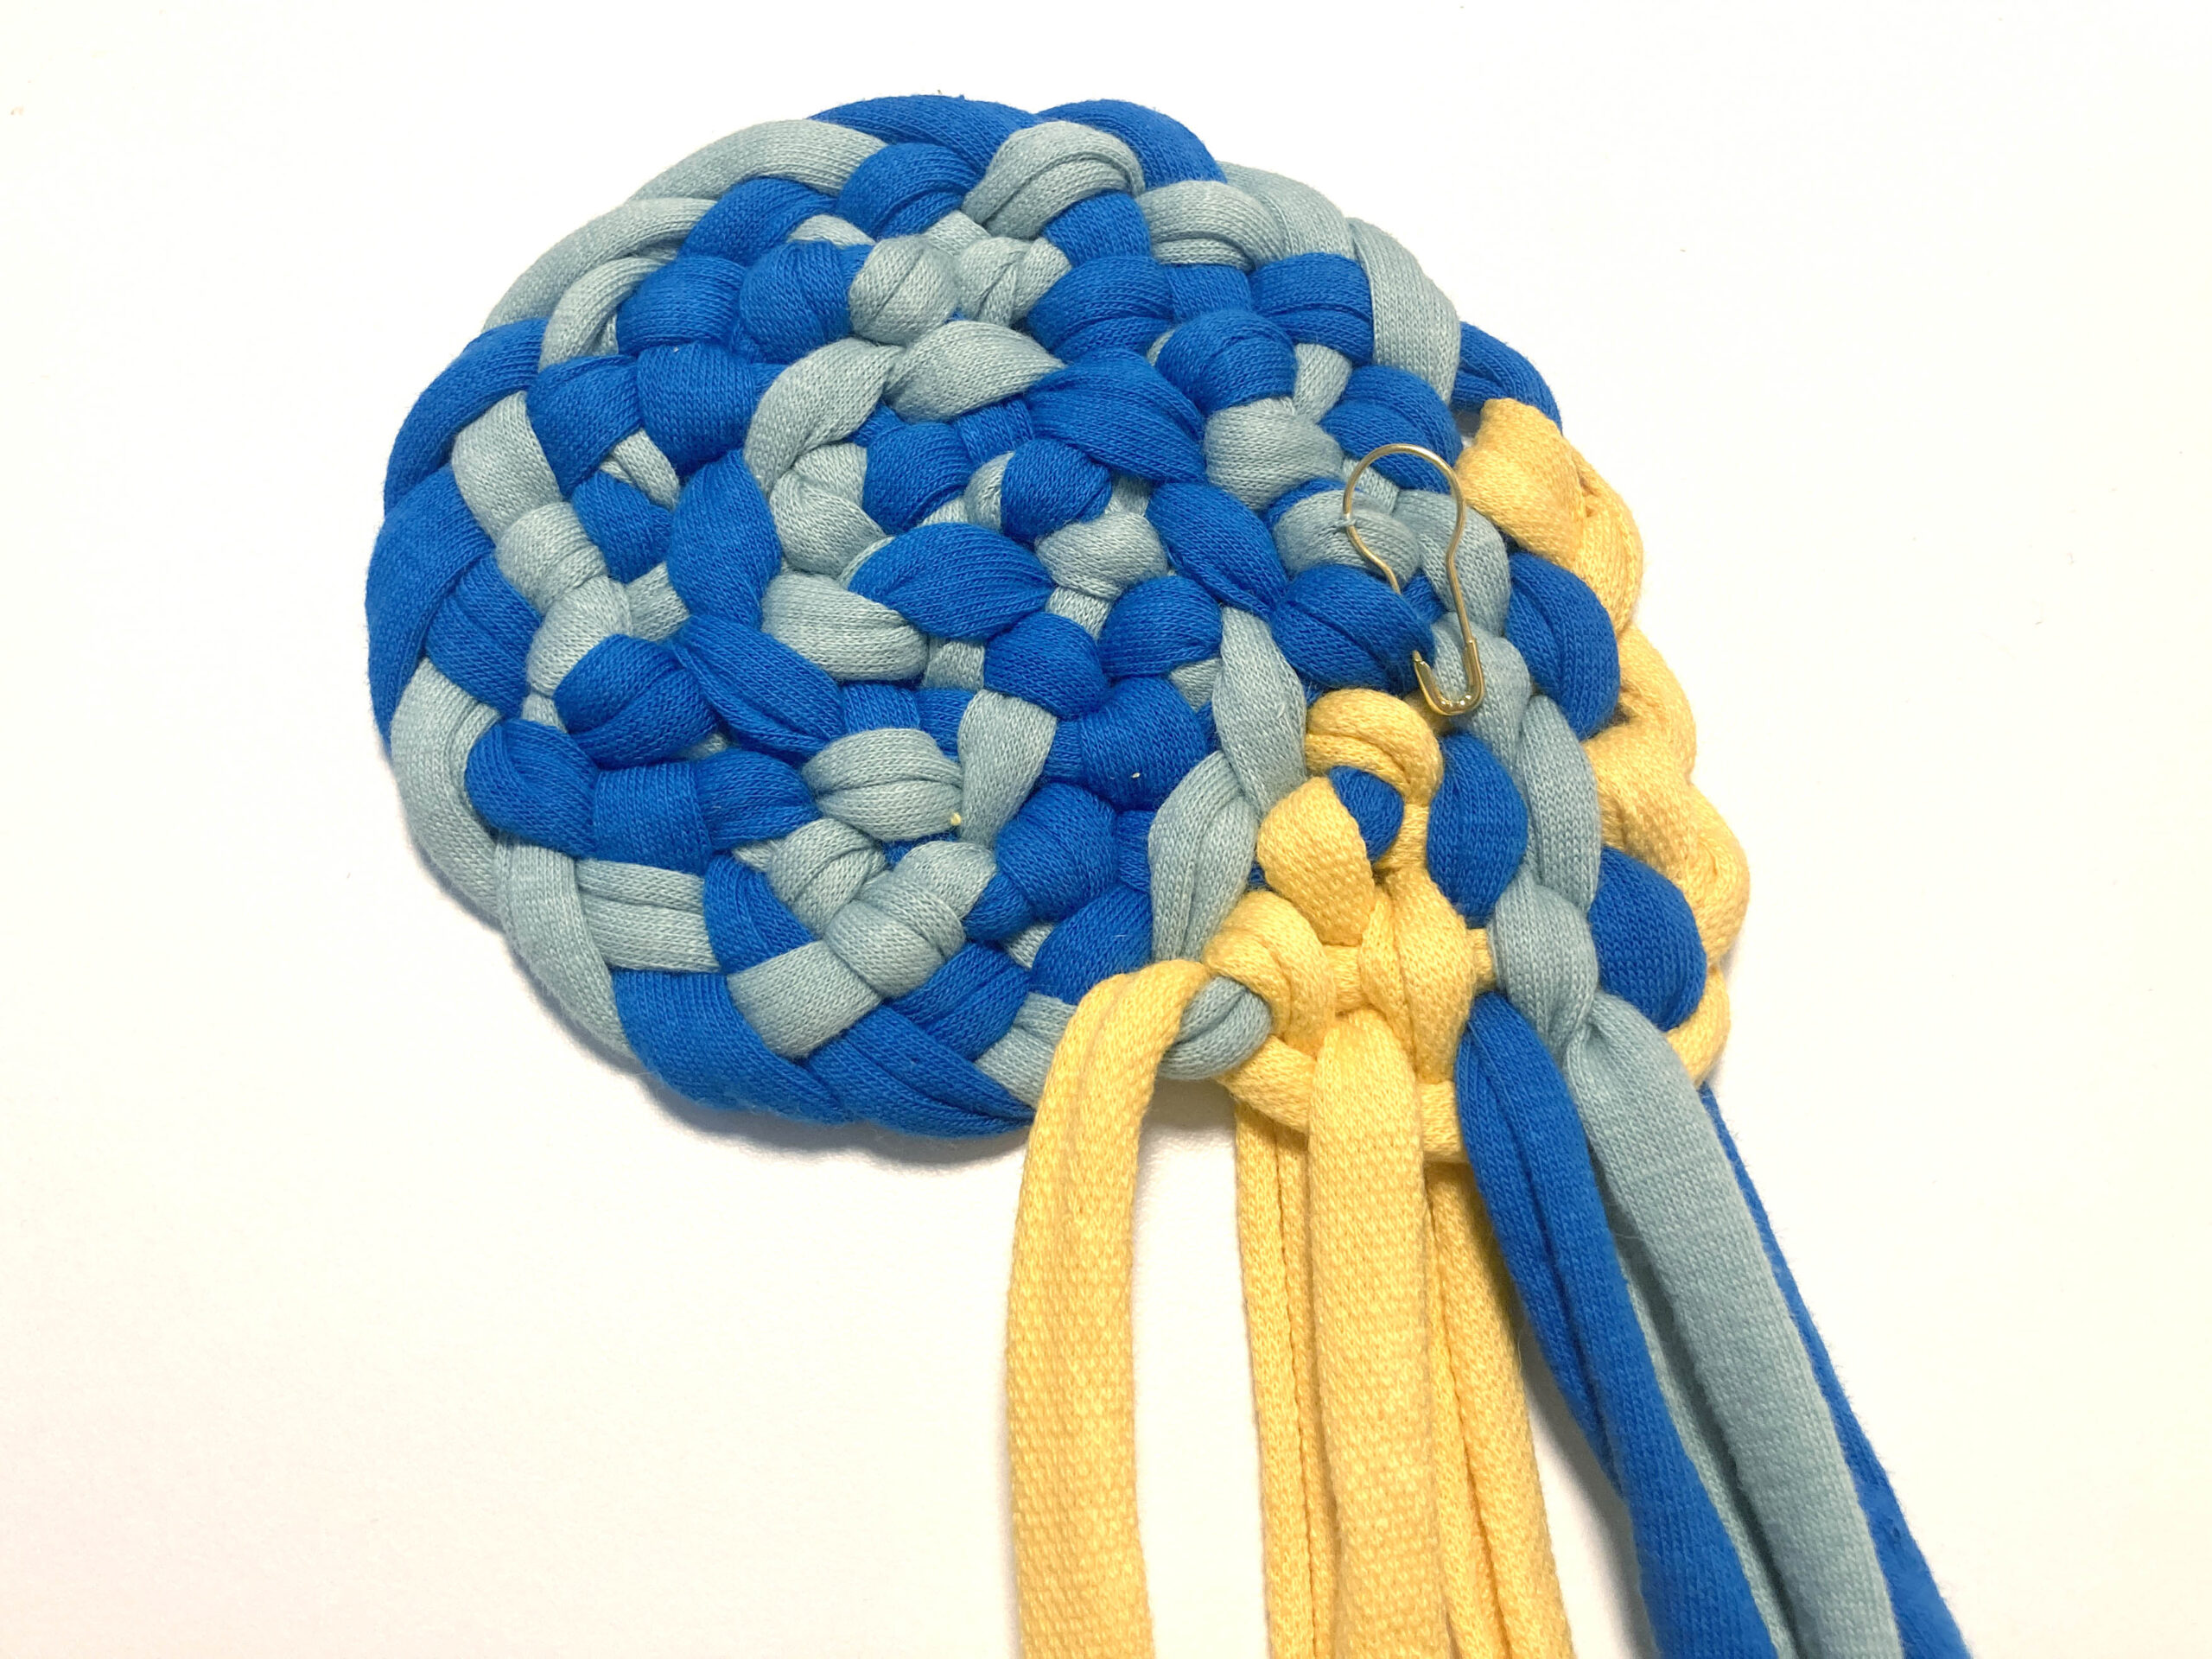
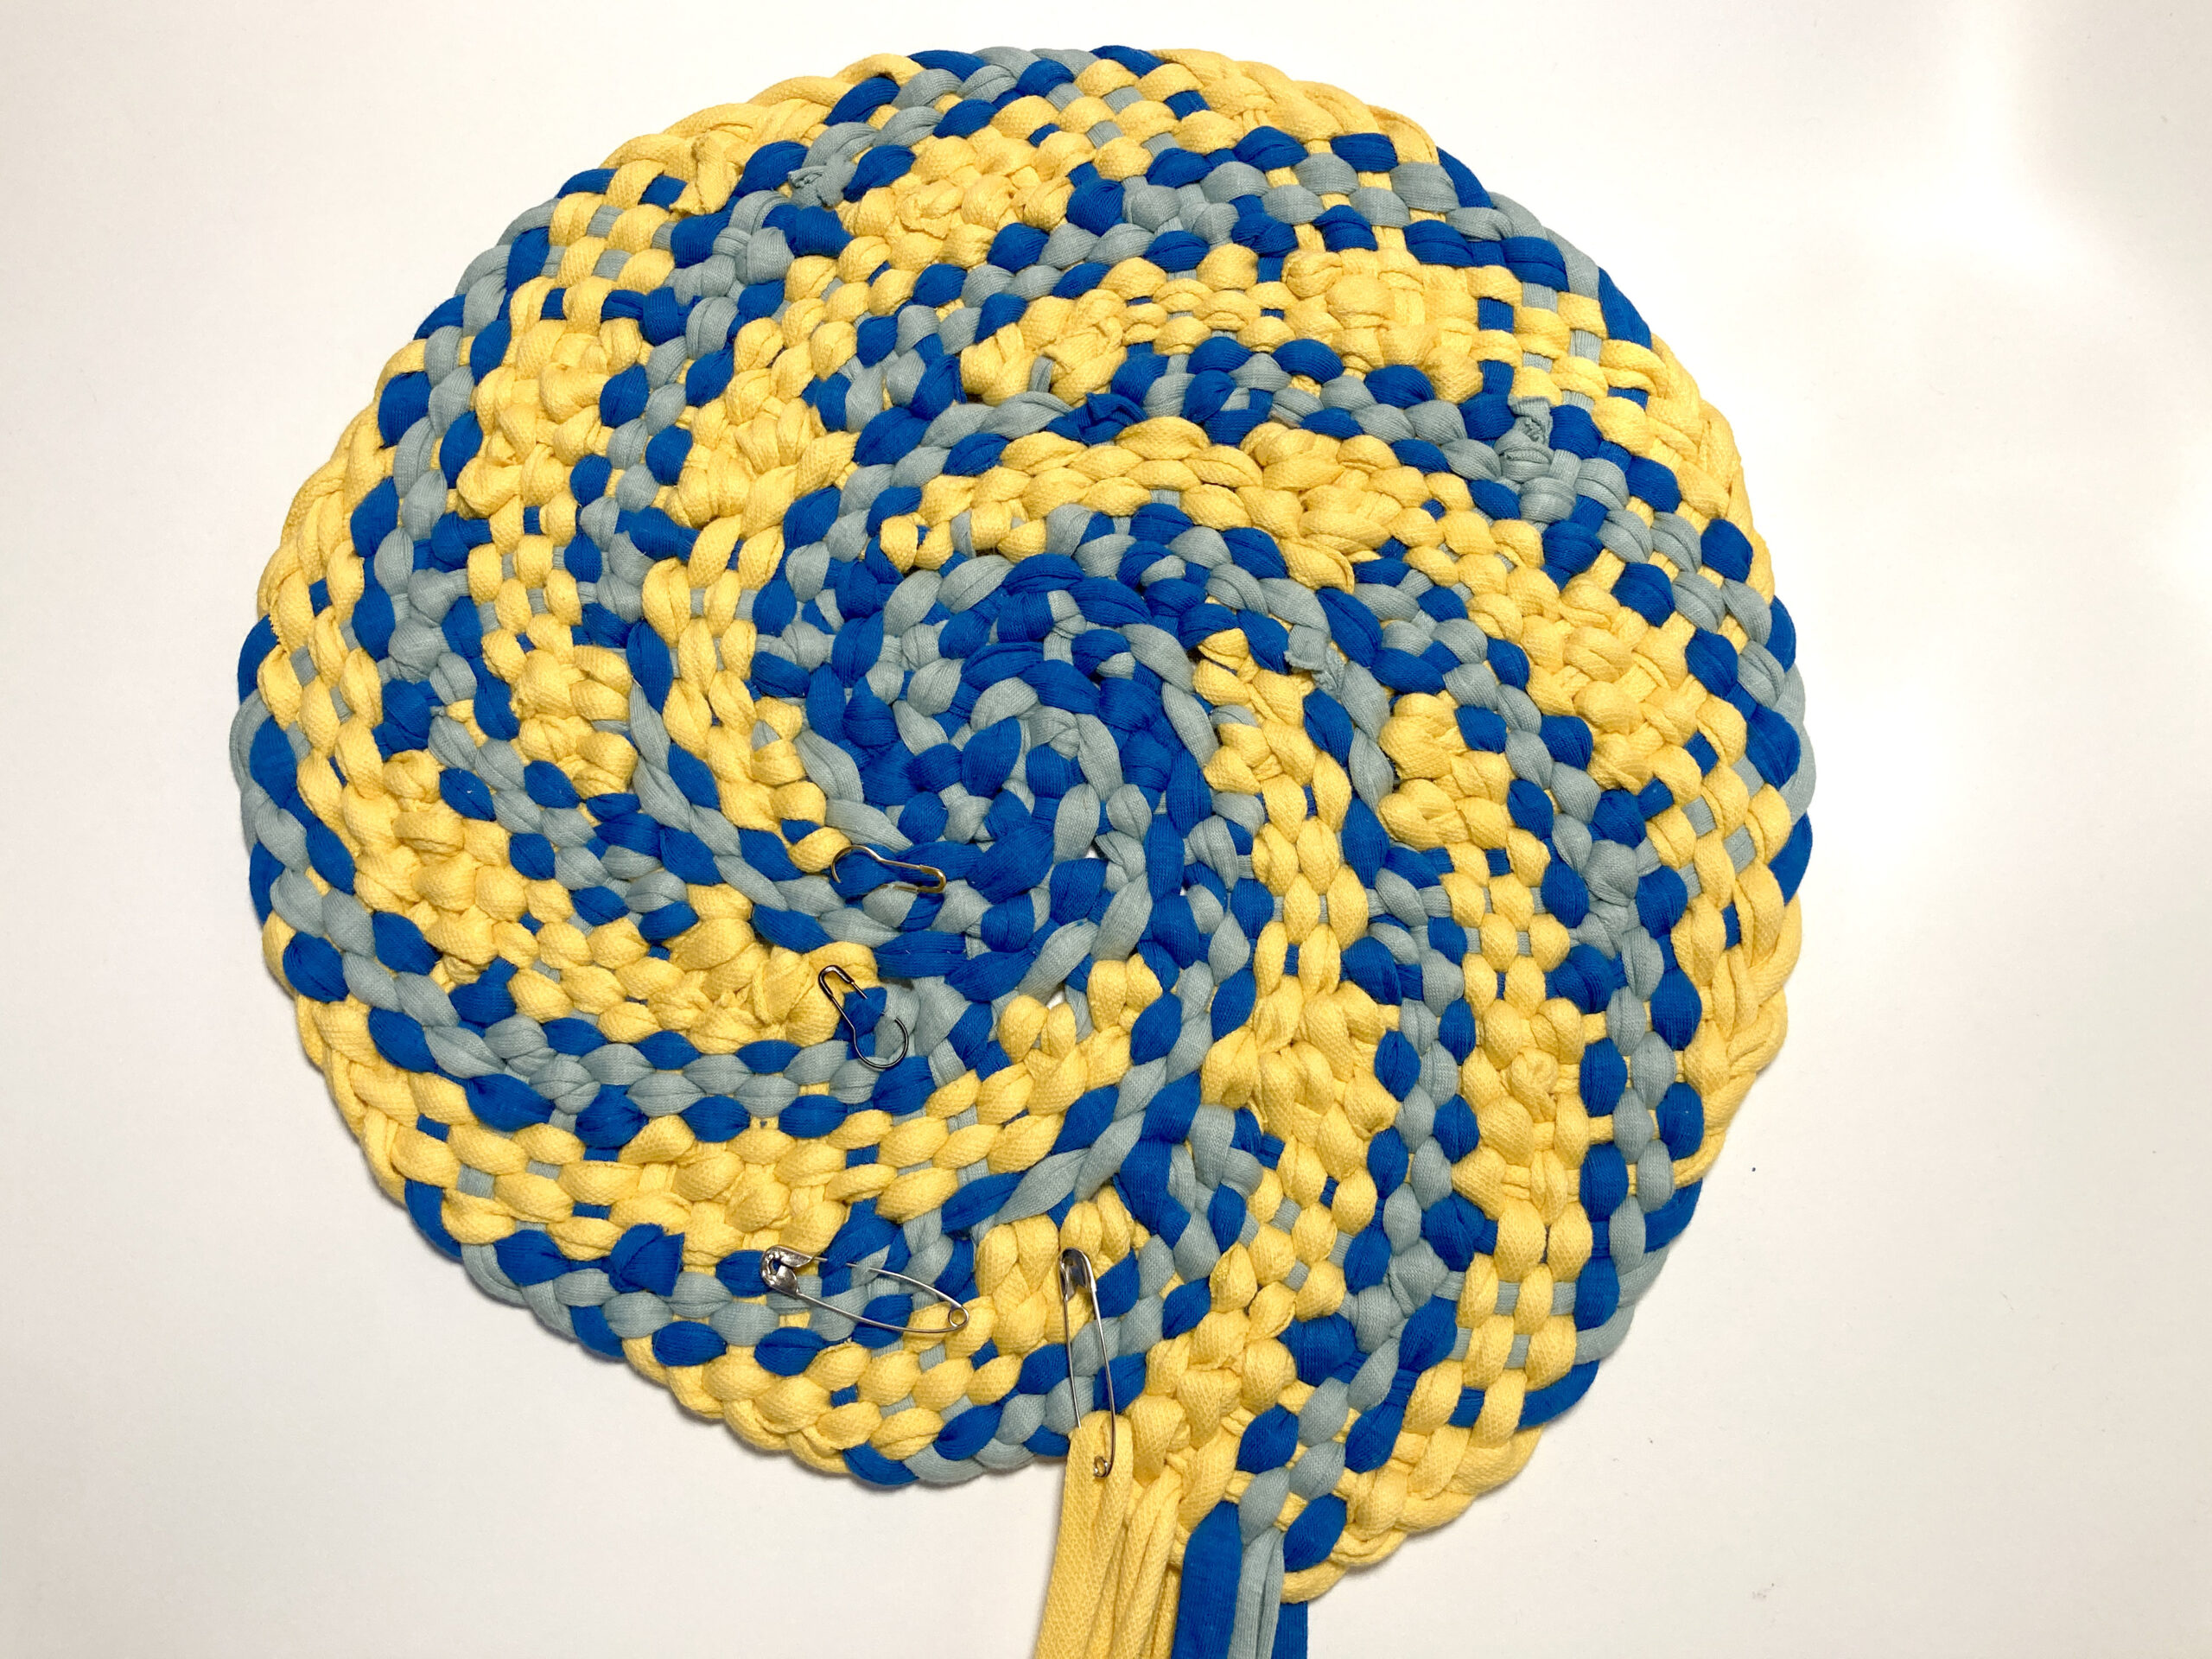
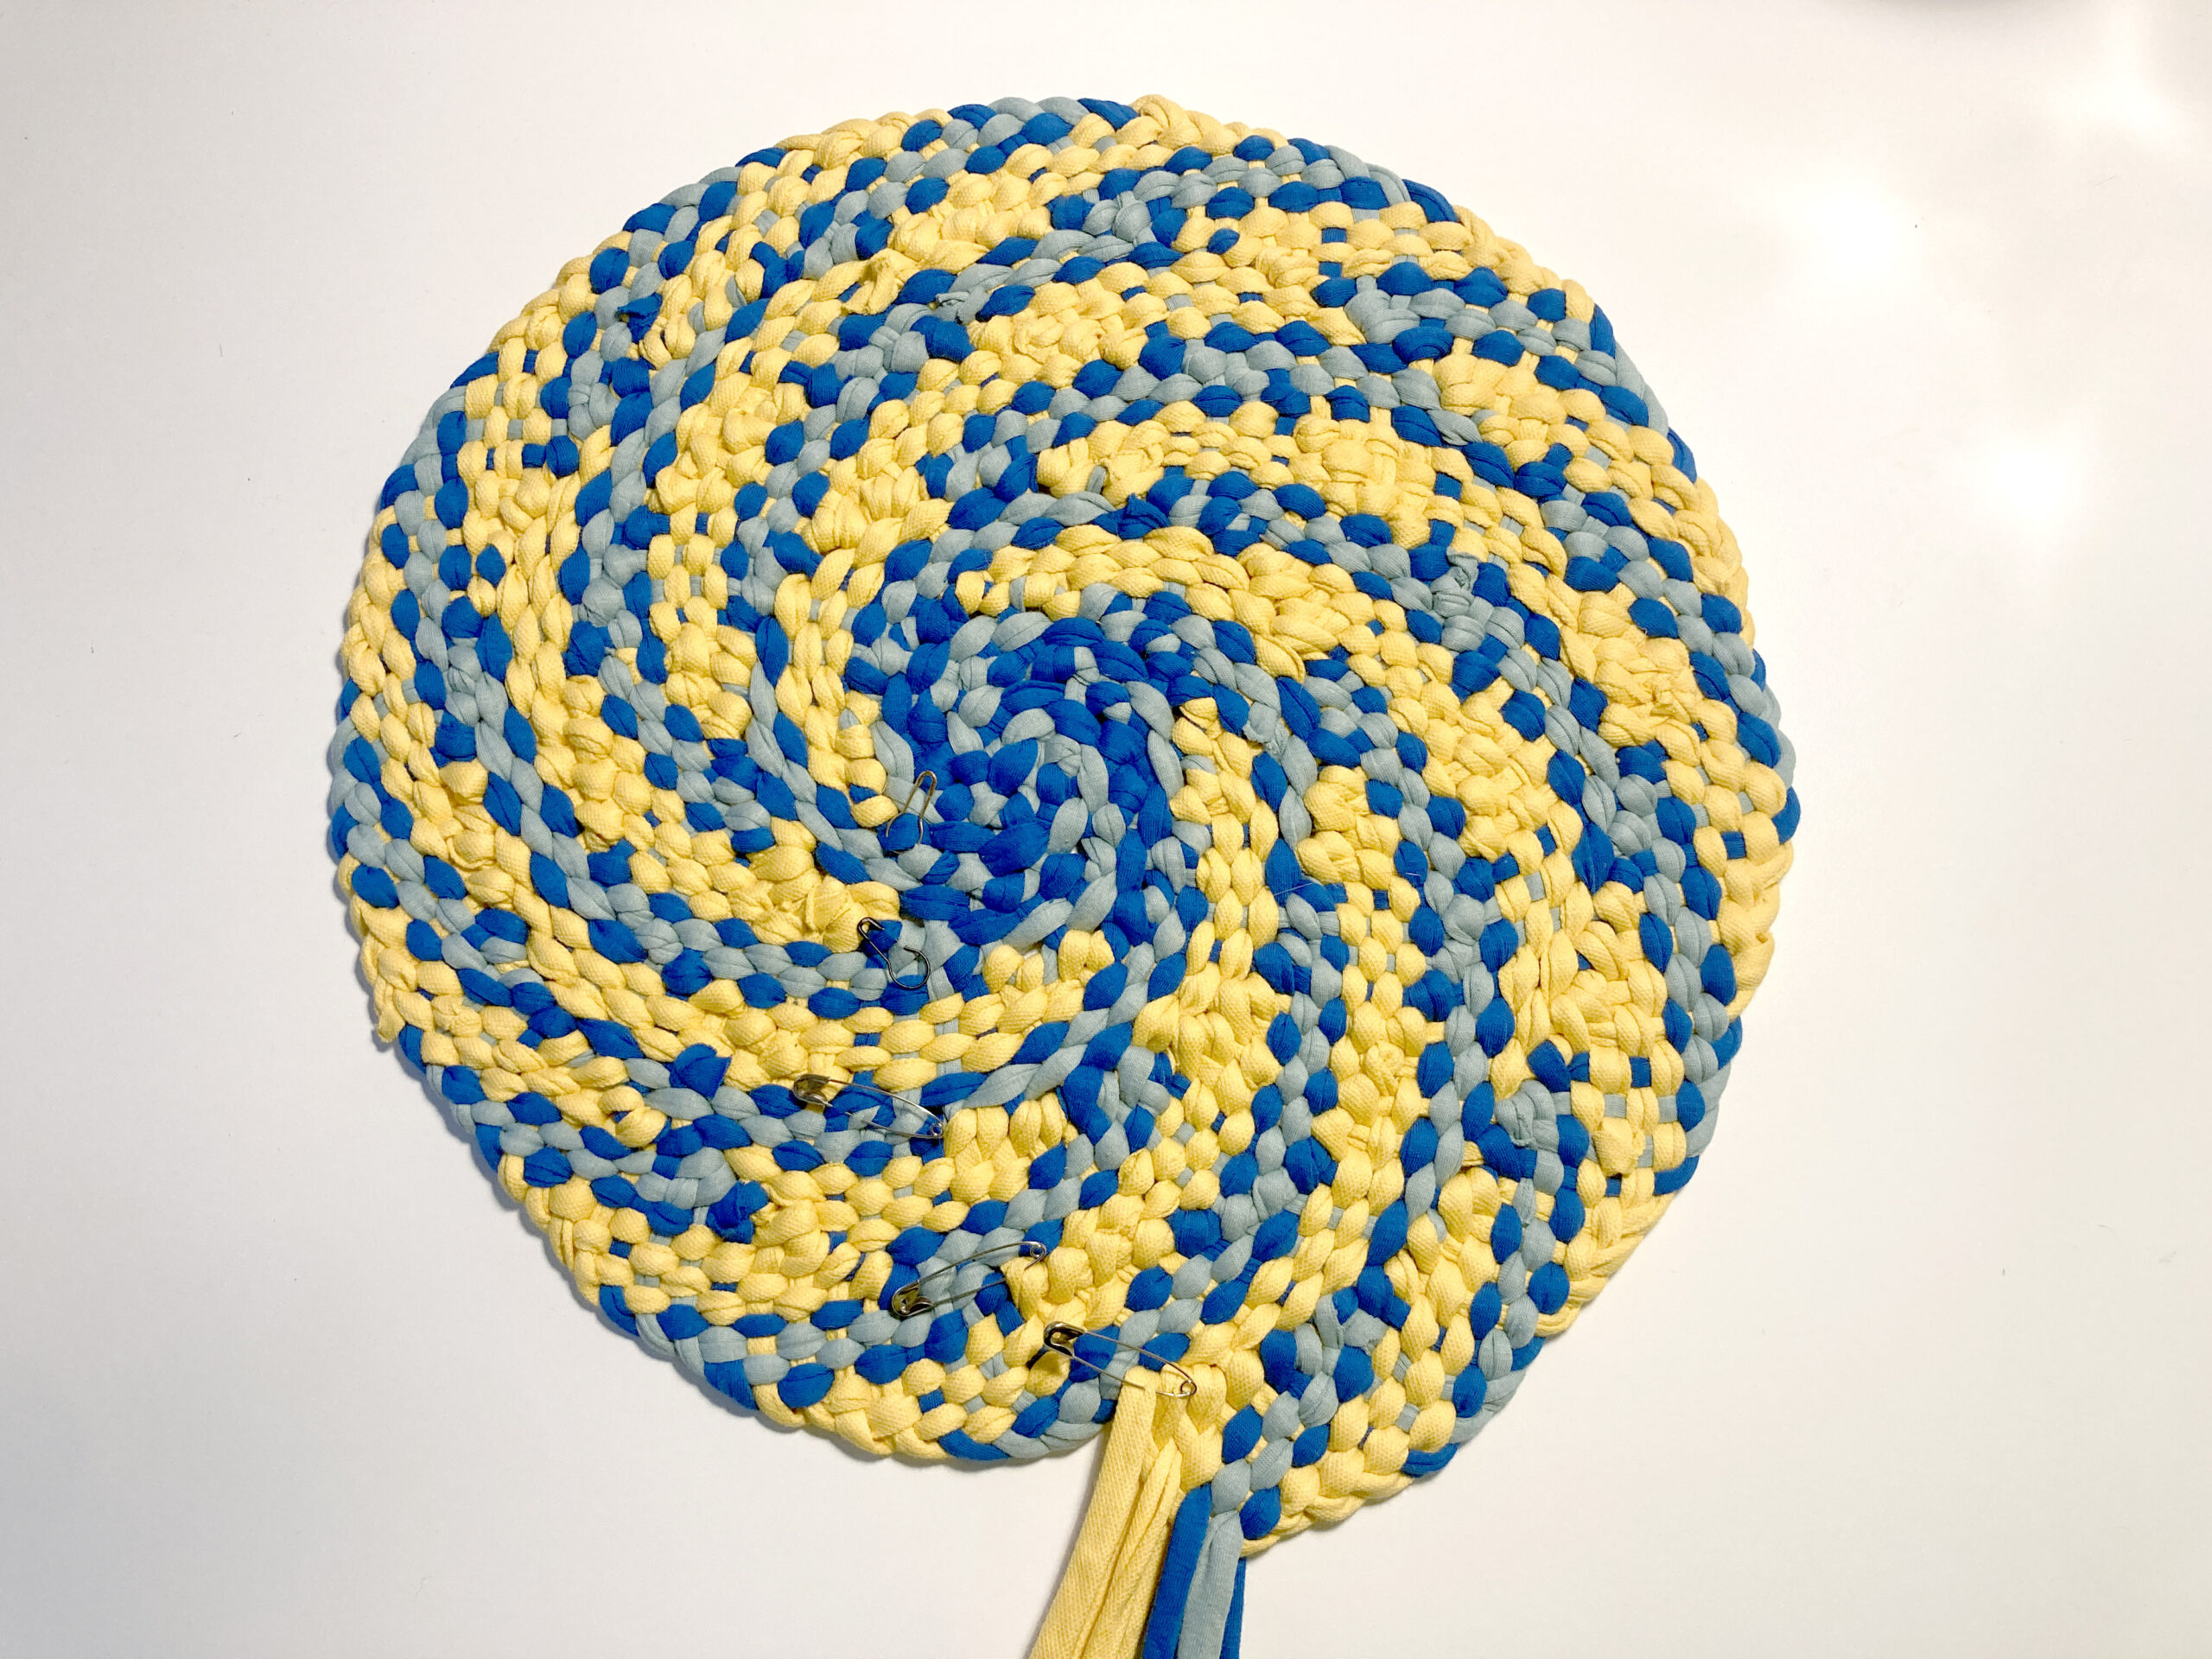
Finishing Your Braid-In Project:
When you are reaching one of the safety pins marking the end of a round, you should begin the finishing off process. Create a single stitch as usual, but rather than flipping the strand back into position as the 8th strand, leave it on the top of the work.
Braid across your next strand and rather than lacing it up through the braid loop as you would usually do to create a single stitch, lace it down through the braid loop from the top of the work to the underside. Leave the strand on the underside of the work.
Using the remaining six strands, repeat this process, weaving across as usual then alternating lacing fabric strands up through braid loops (the usual direction) and lacing them down through braid loops. As the number of fabric strands you are working with decreases, the length of the braid loops created will increase. This helps to create a tapered finish to your circle.
I hope you found this brief step by step introduction useful. For a more comprehensive guide, check out our Ragged Life Braid-In Rag Rug Project Pack.
Happy rag rugging!