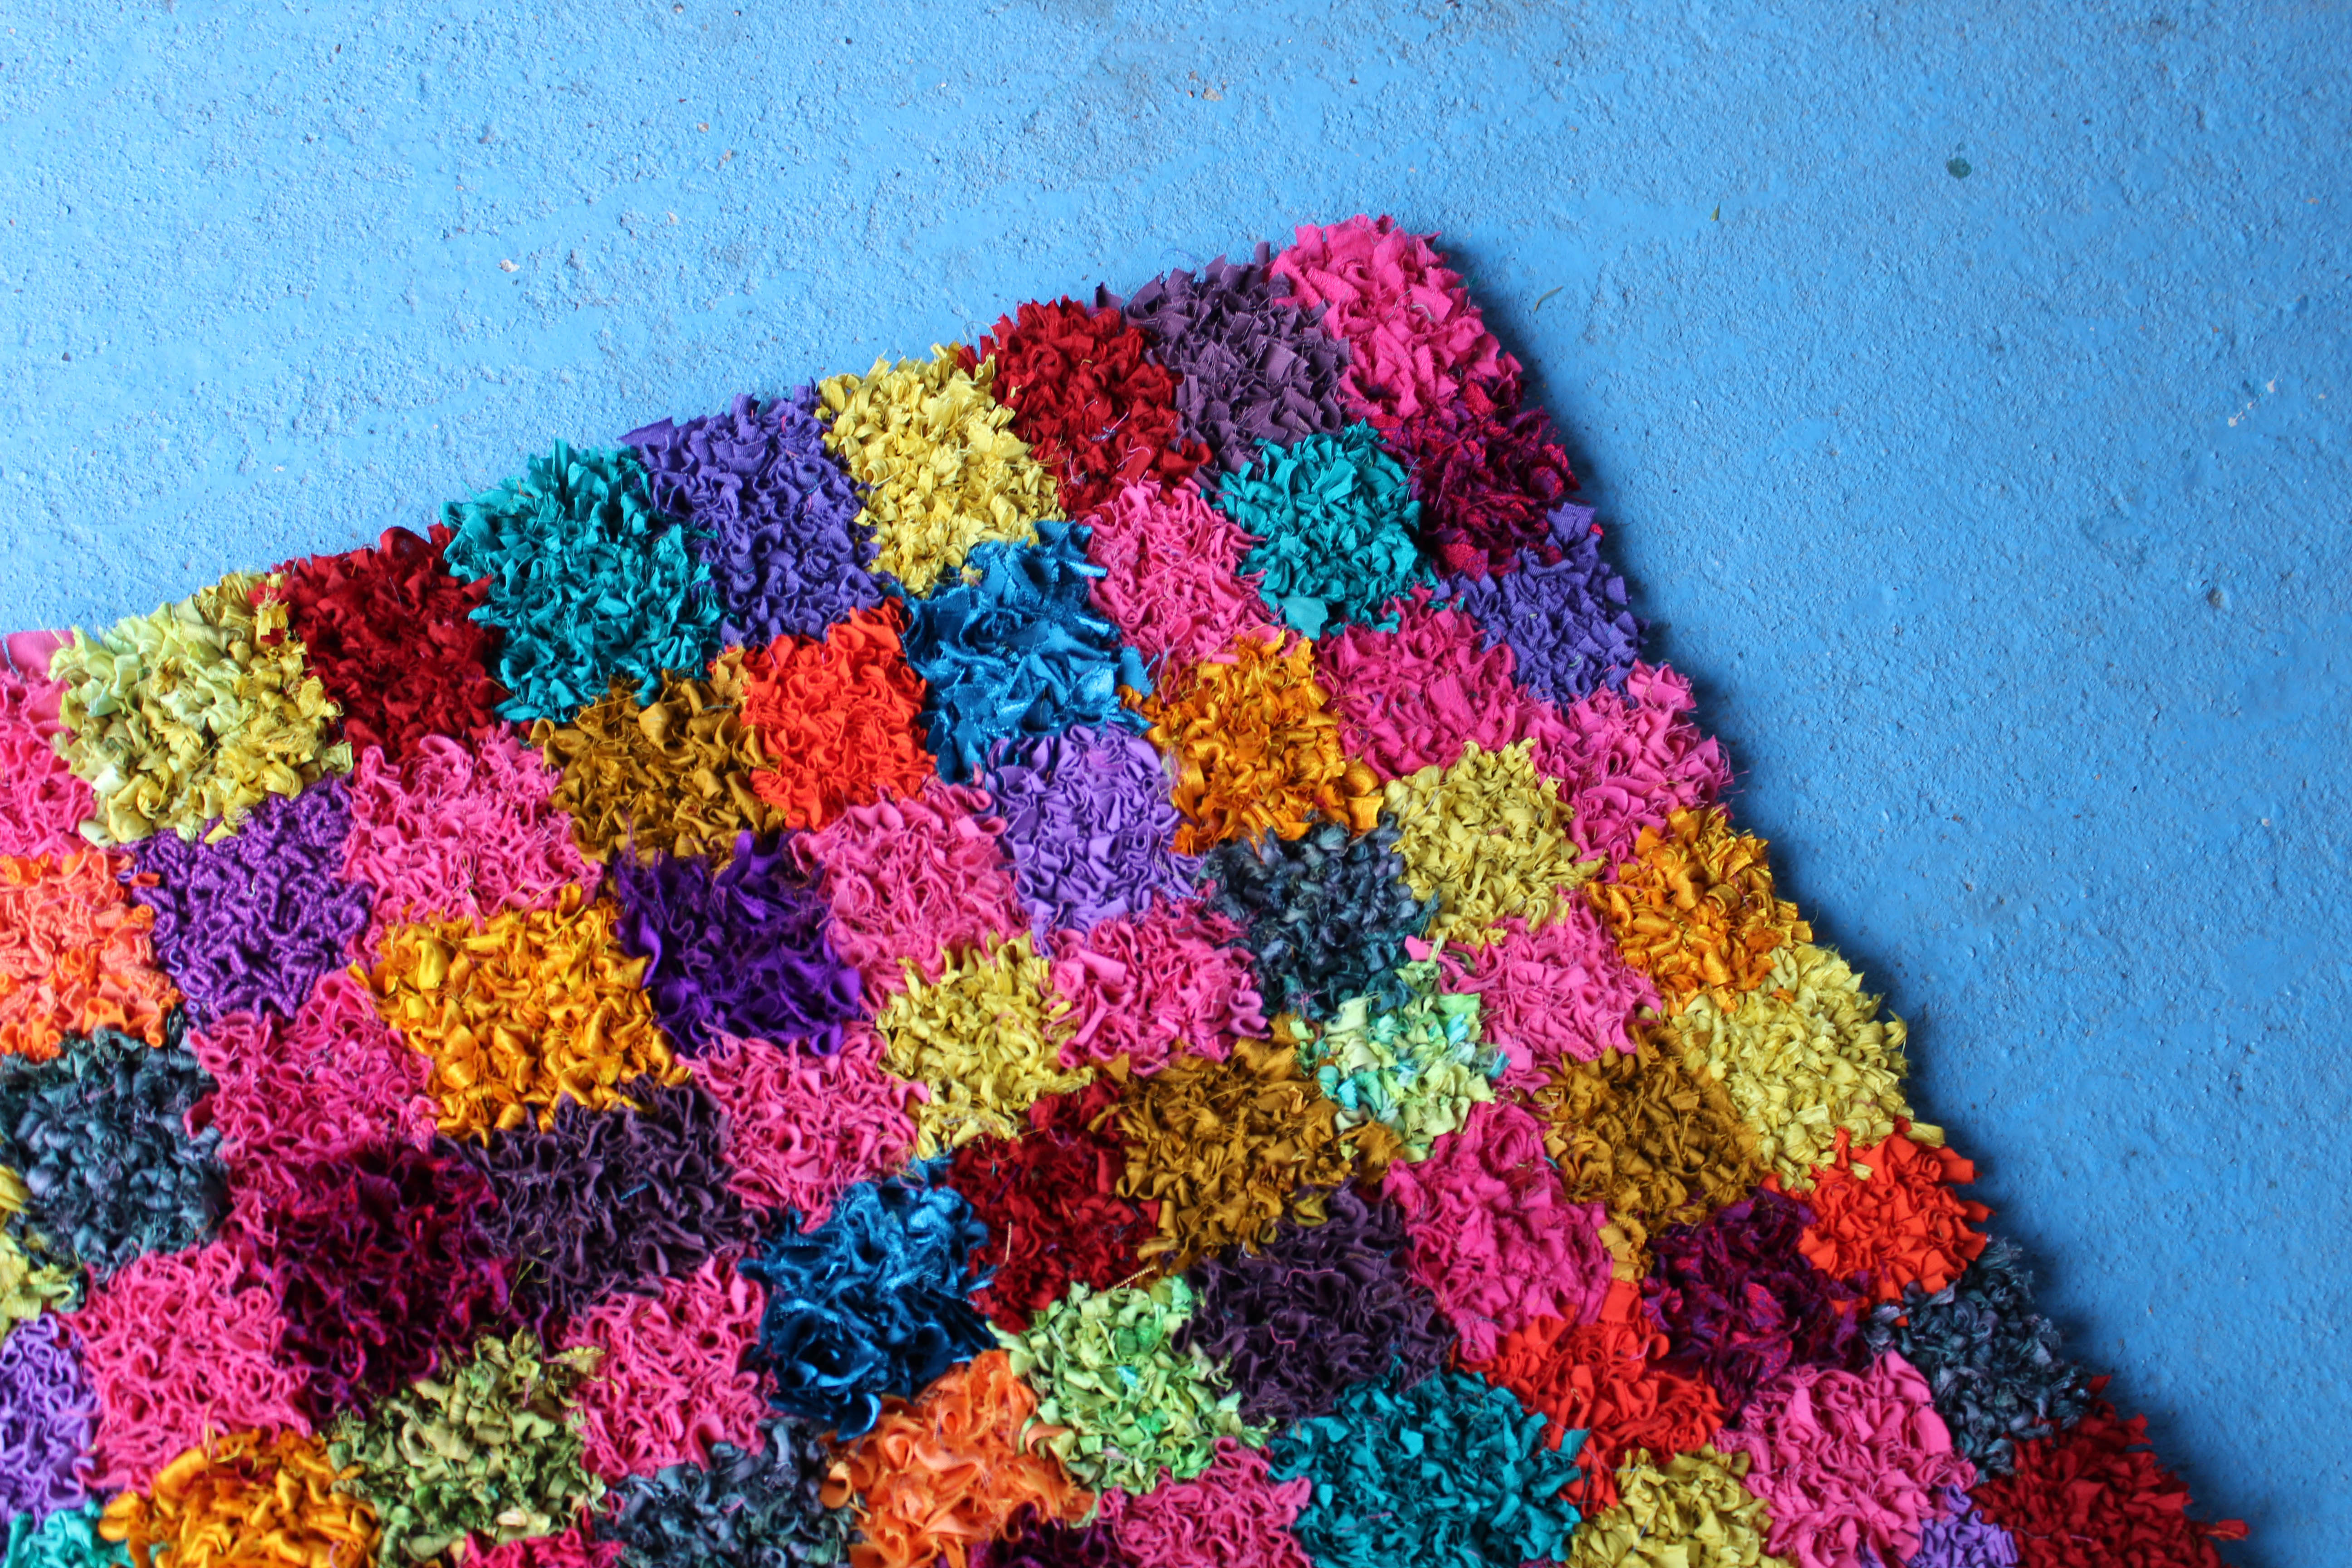
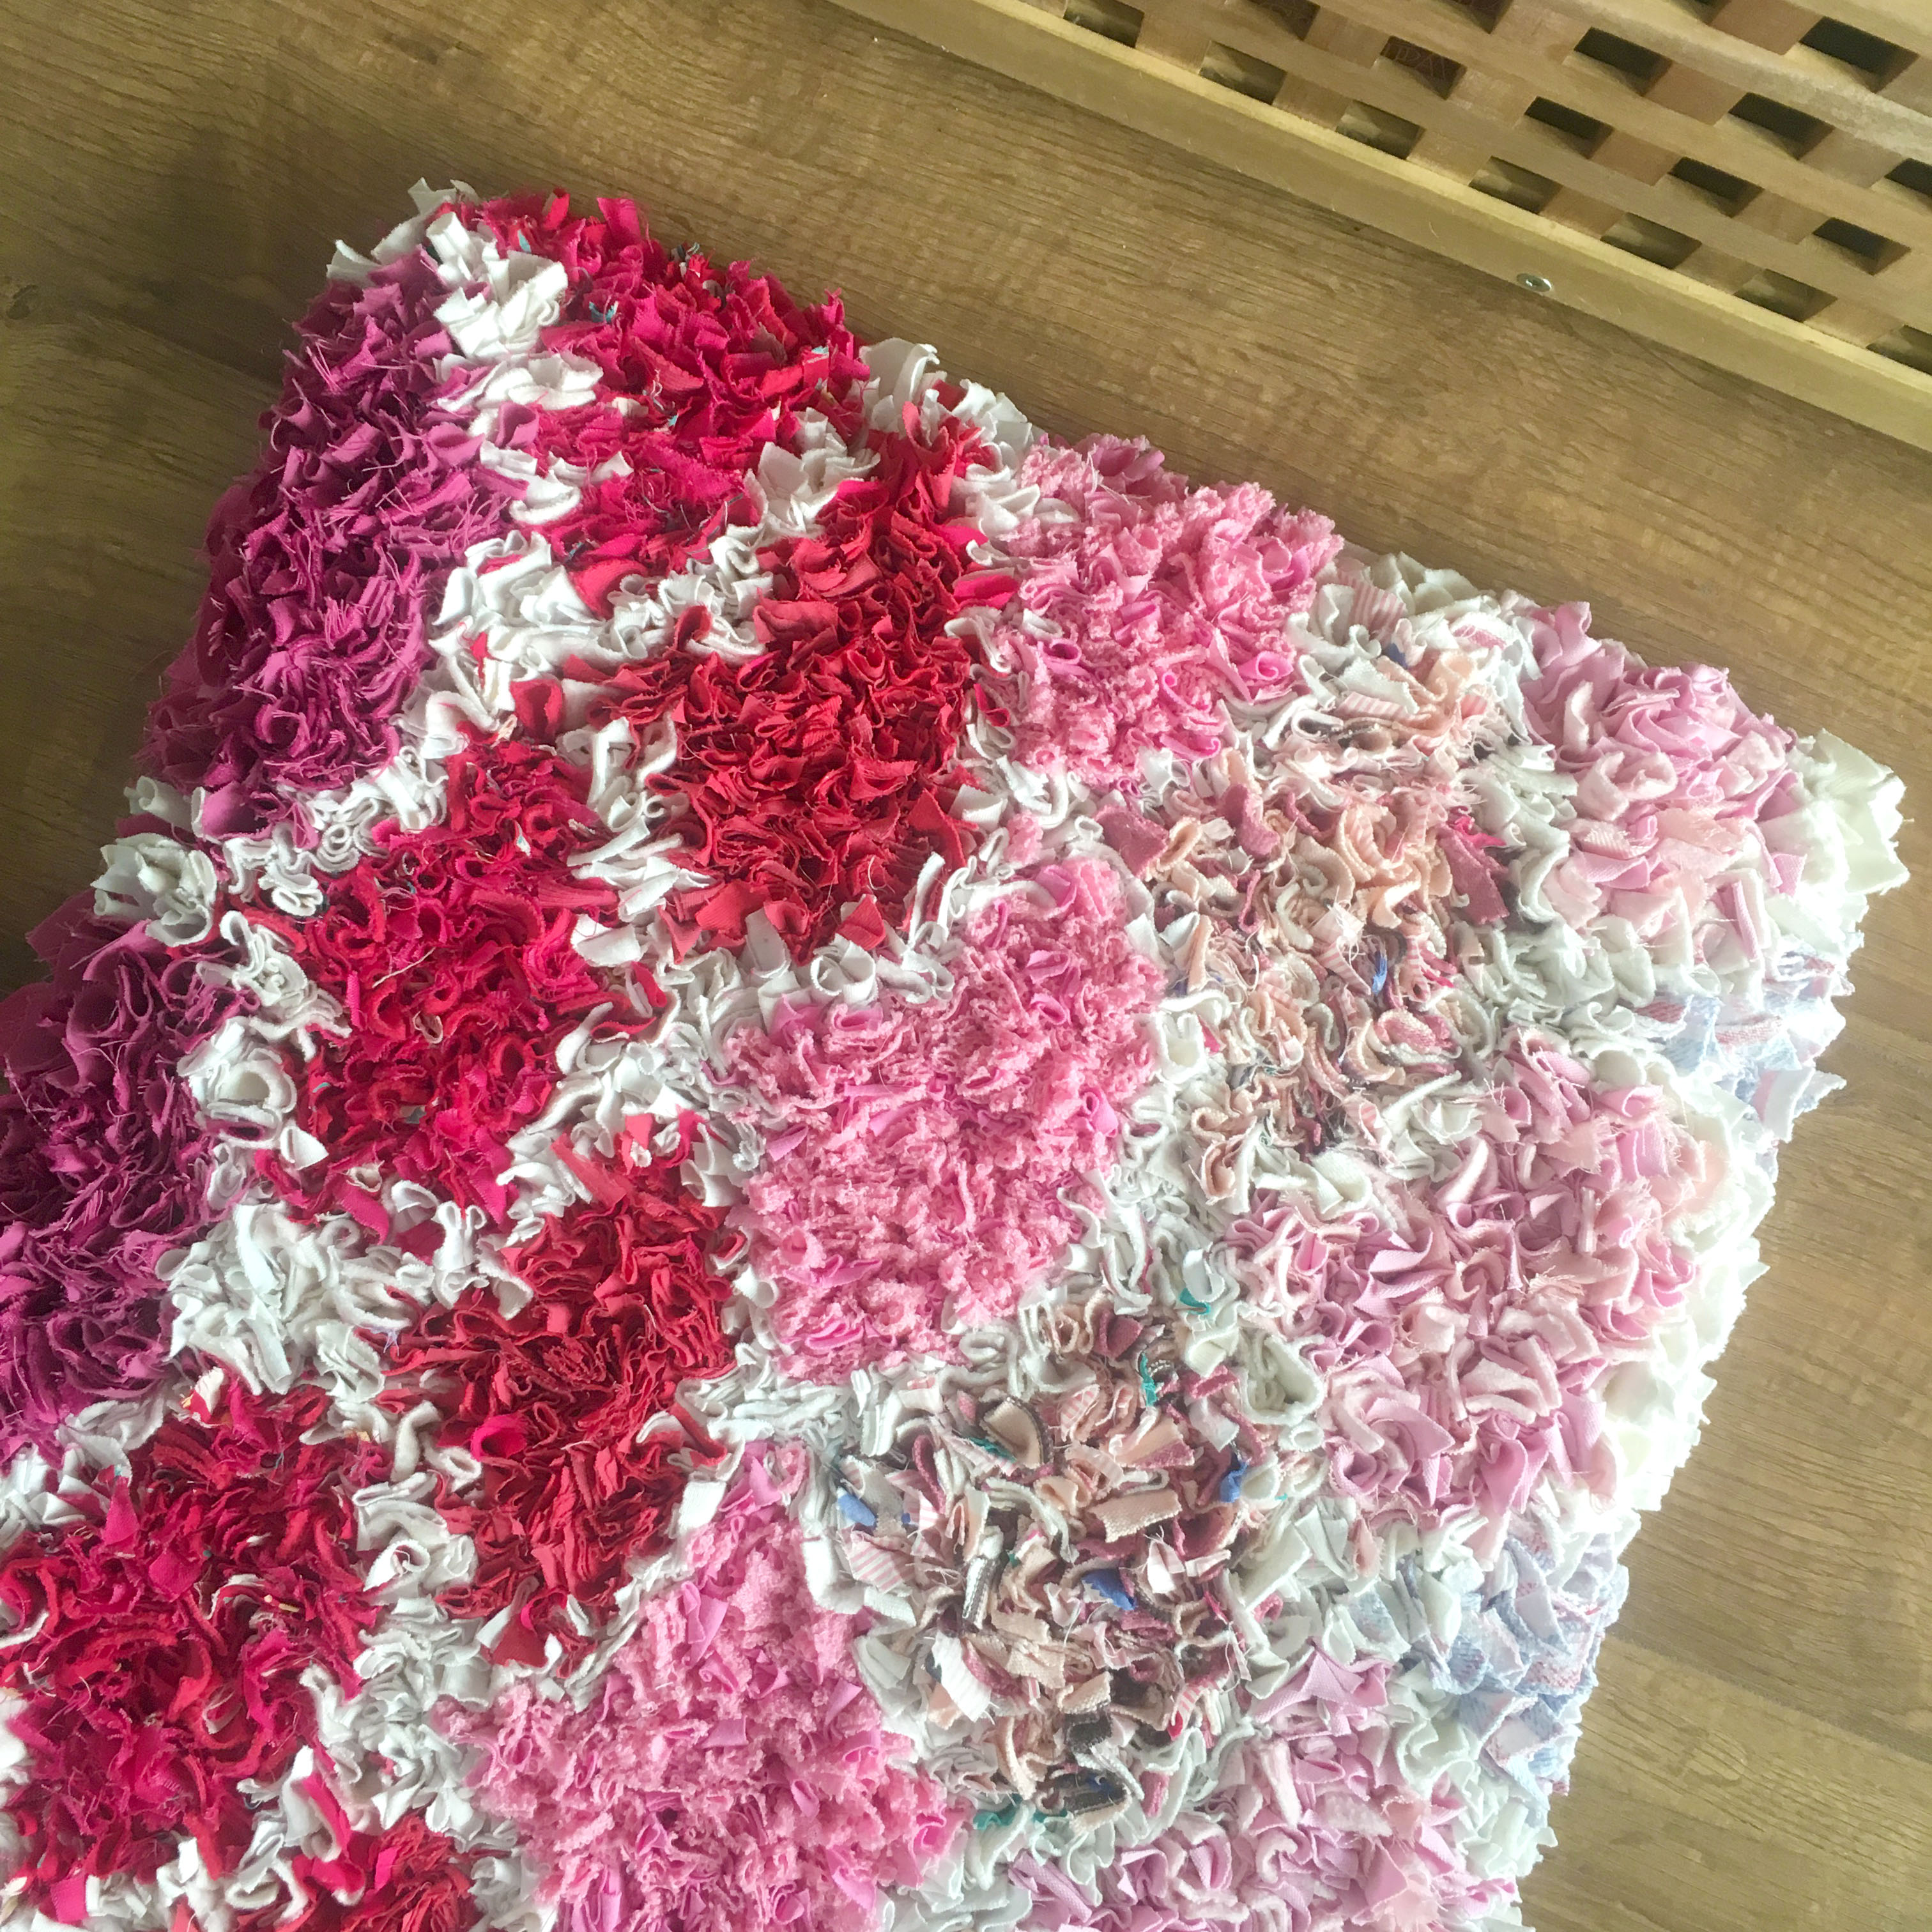
A couple of week’s ago, I shared a blog post showcasing my mum’s beautiful new rag rug made of jewel coloured sari silk. Well, this is the first rug that we’ve ever done in the “Short Shaggy” technique of rag rugging… a new method of rag rugging that we actually invented. Here’s what it looks like:
Well, after the rug’s warm reception, we thought that it was only right to share with you how we do this new method of rag rugging and some of the reasons why we think it deserves its place in your rag rug repertoire. We hope you find it useful and that it inspires lots of gorgeous new rag rug creations 🙂
Why did we invent Short Shaggy Rag Rugging?
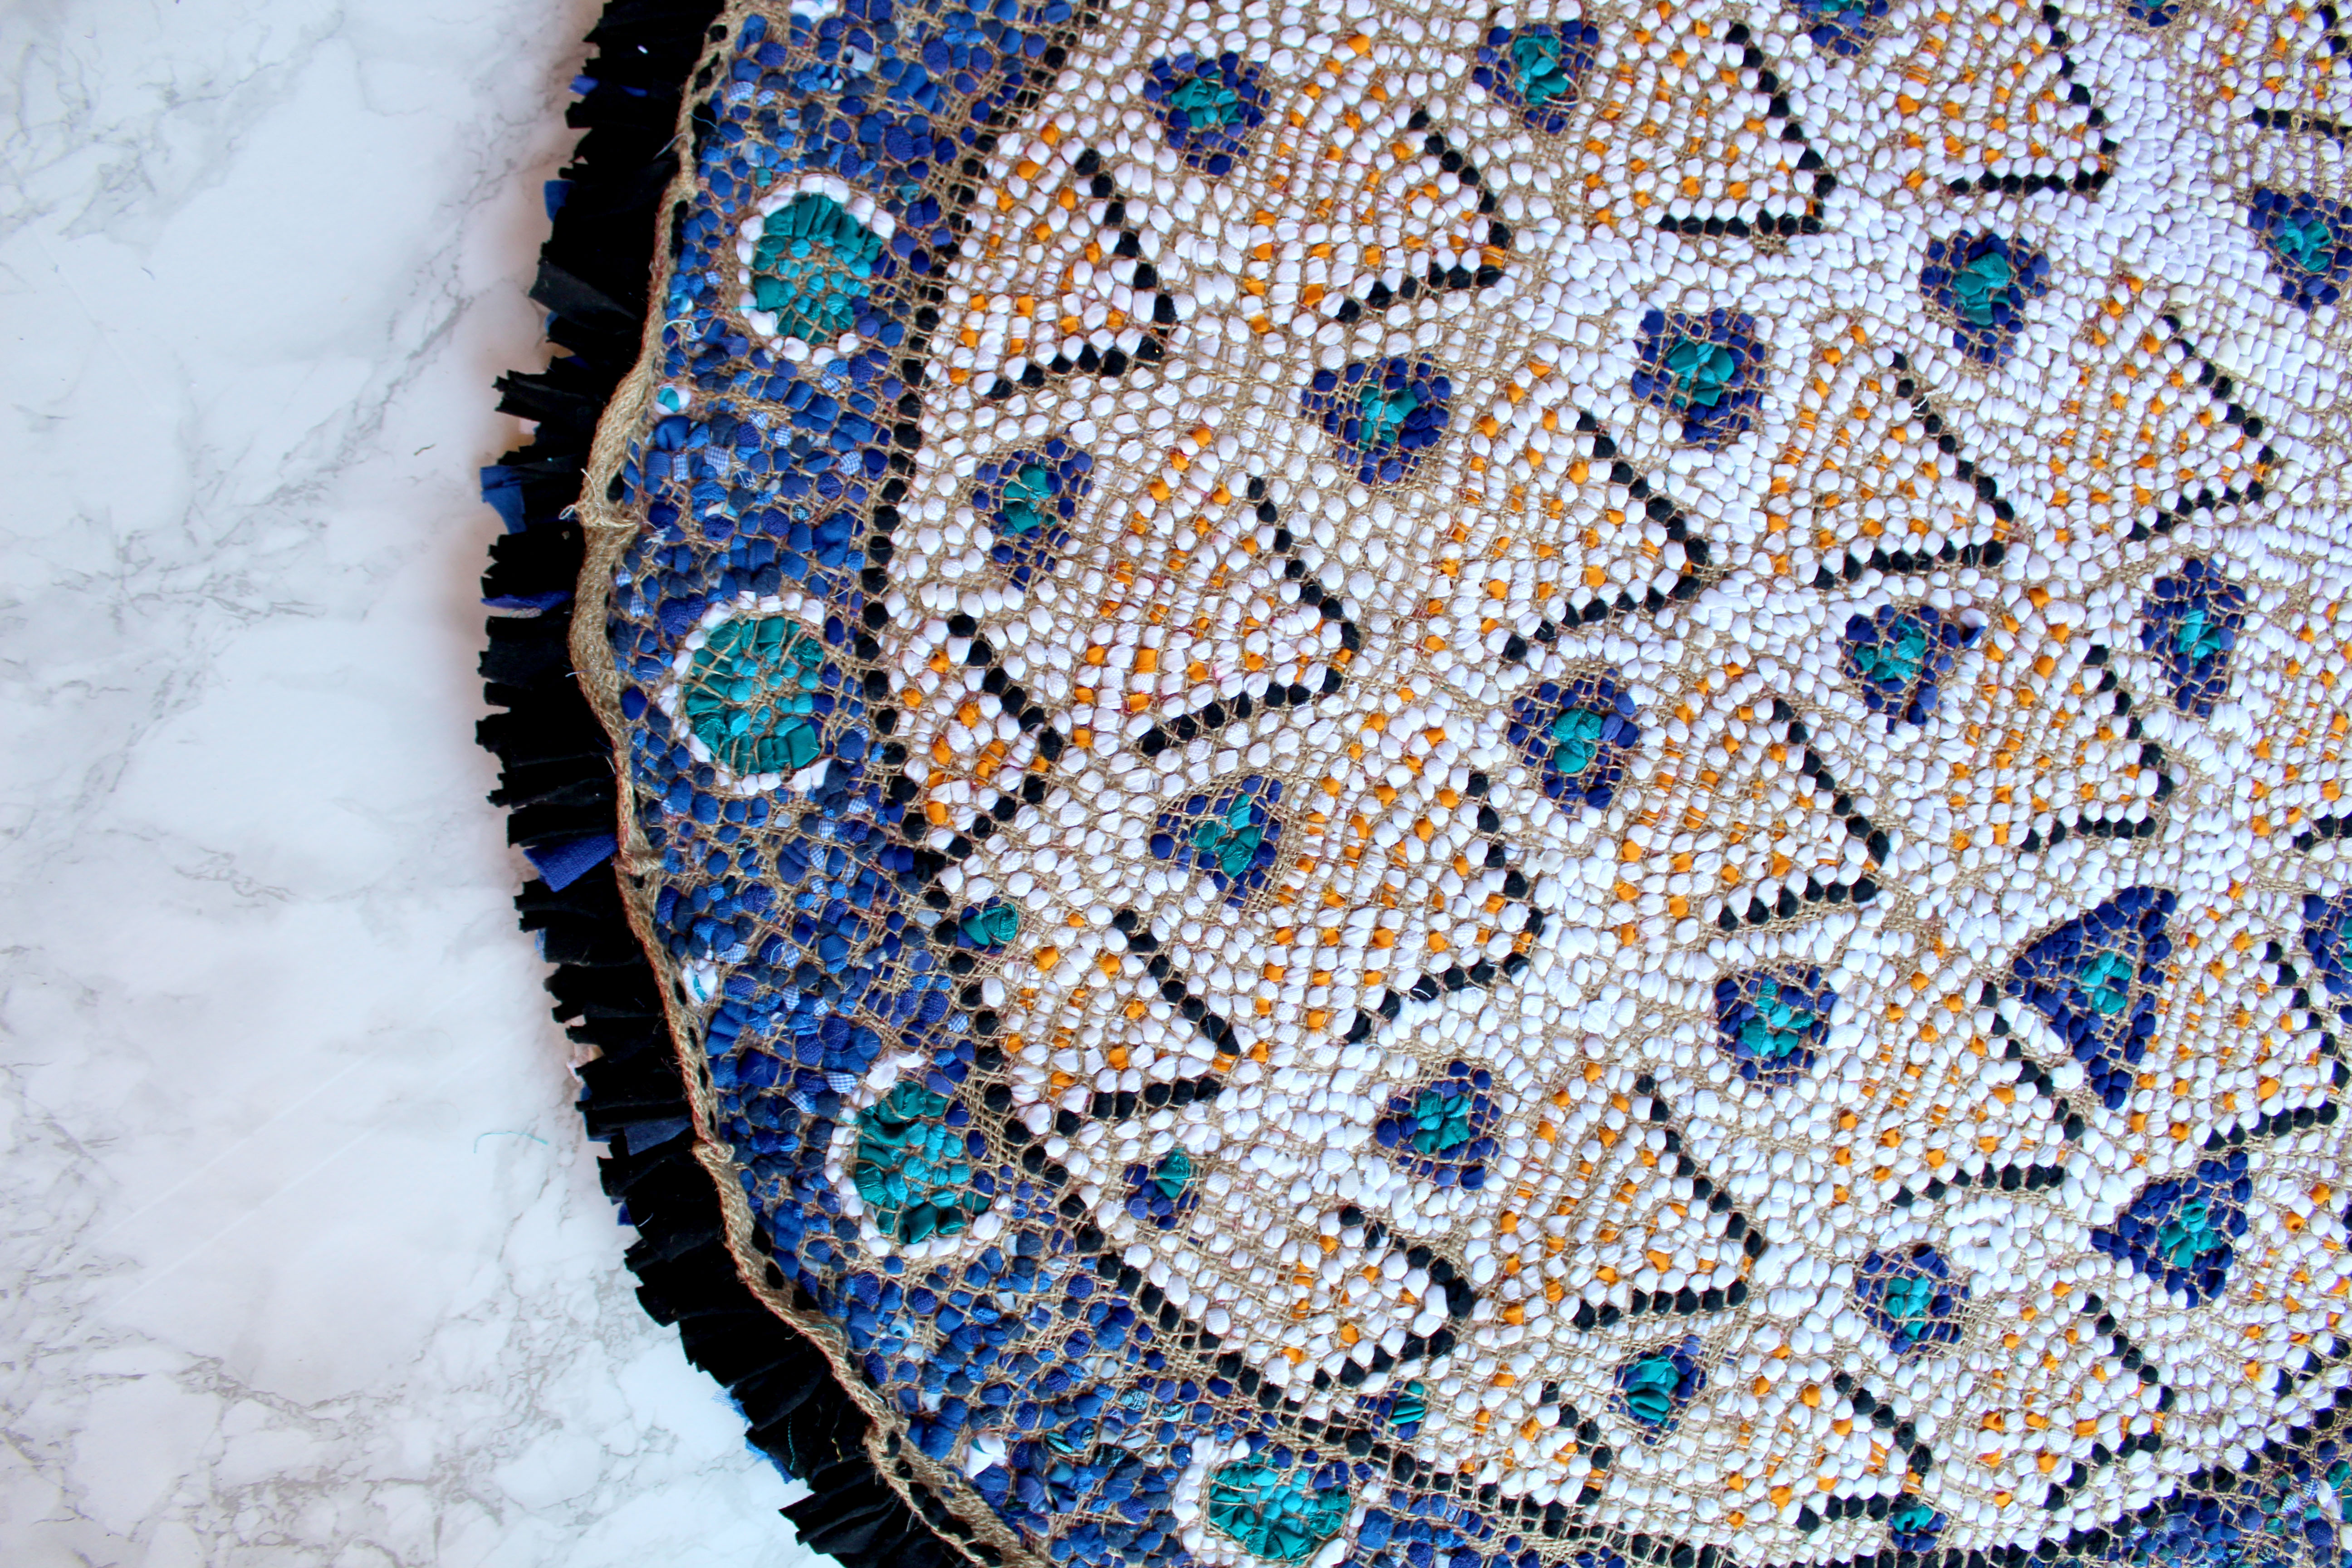
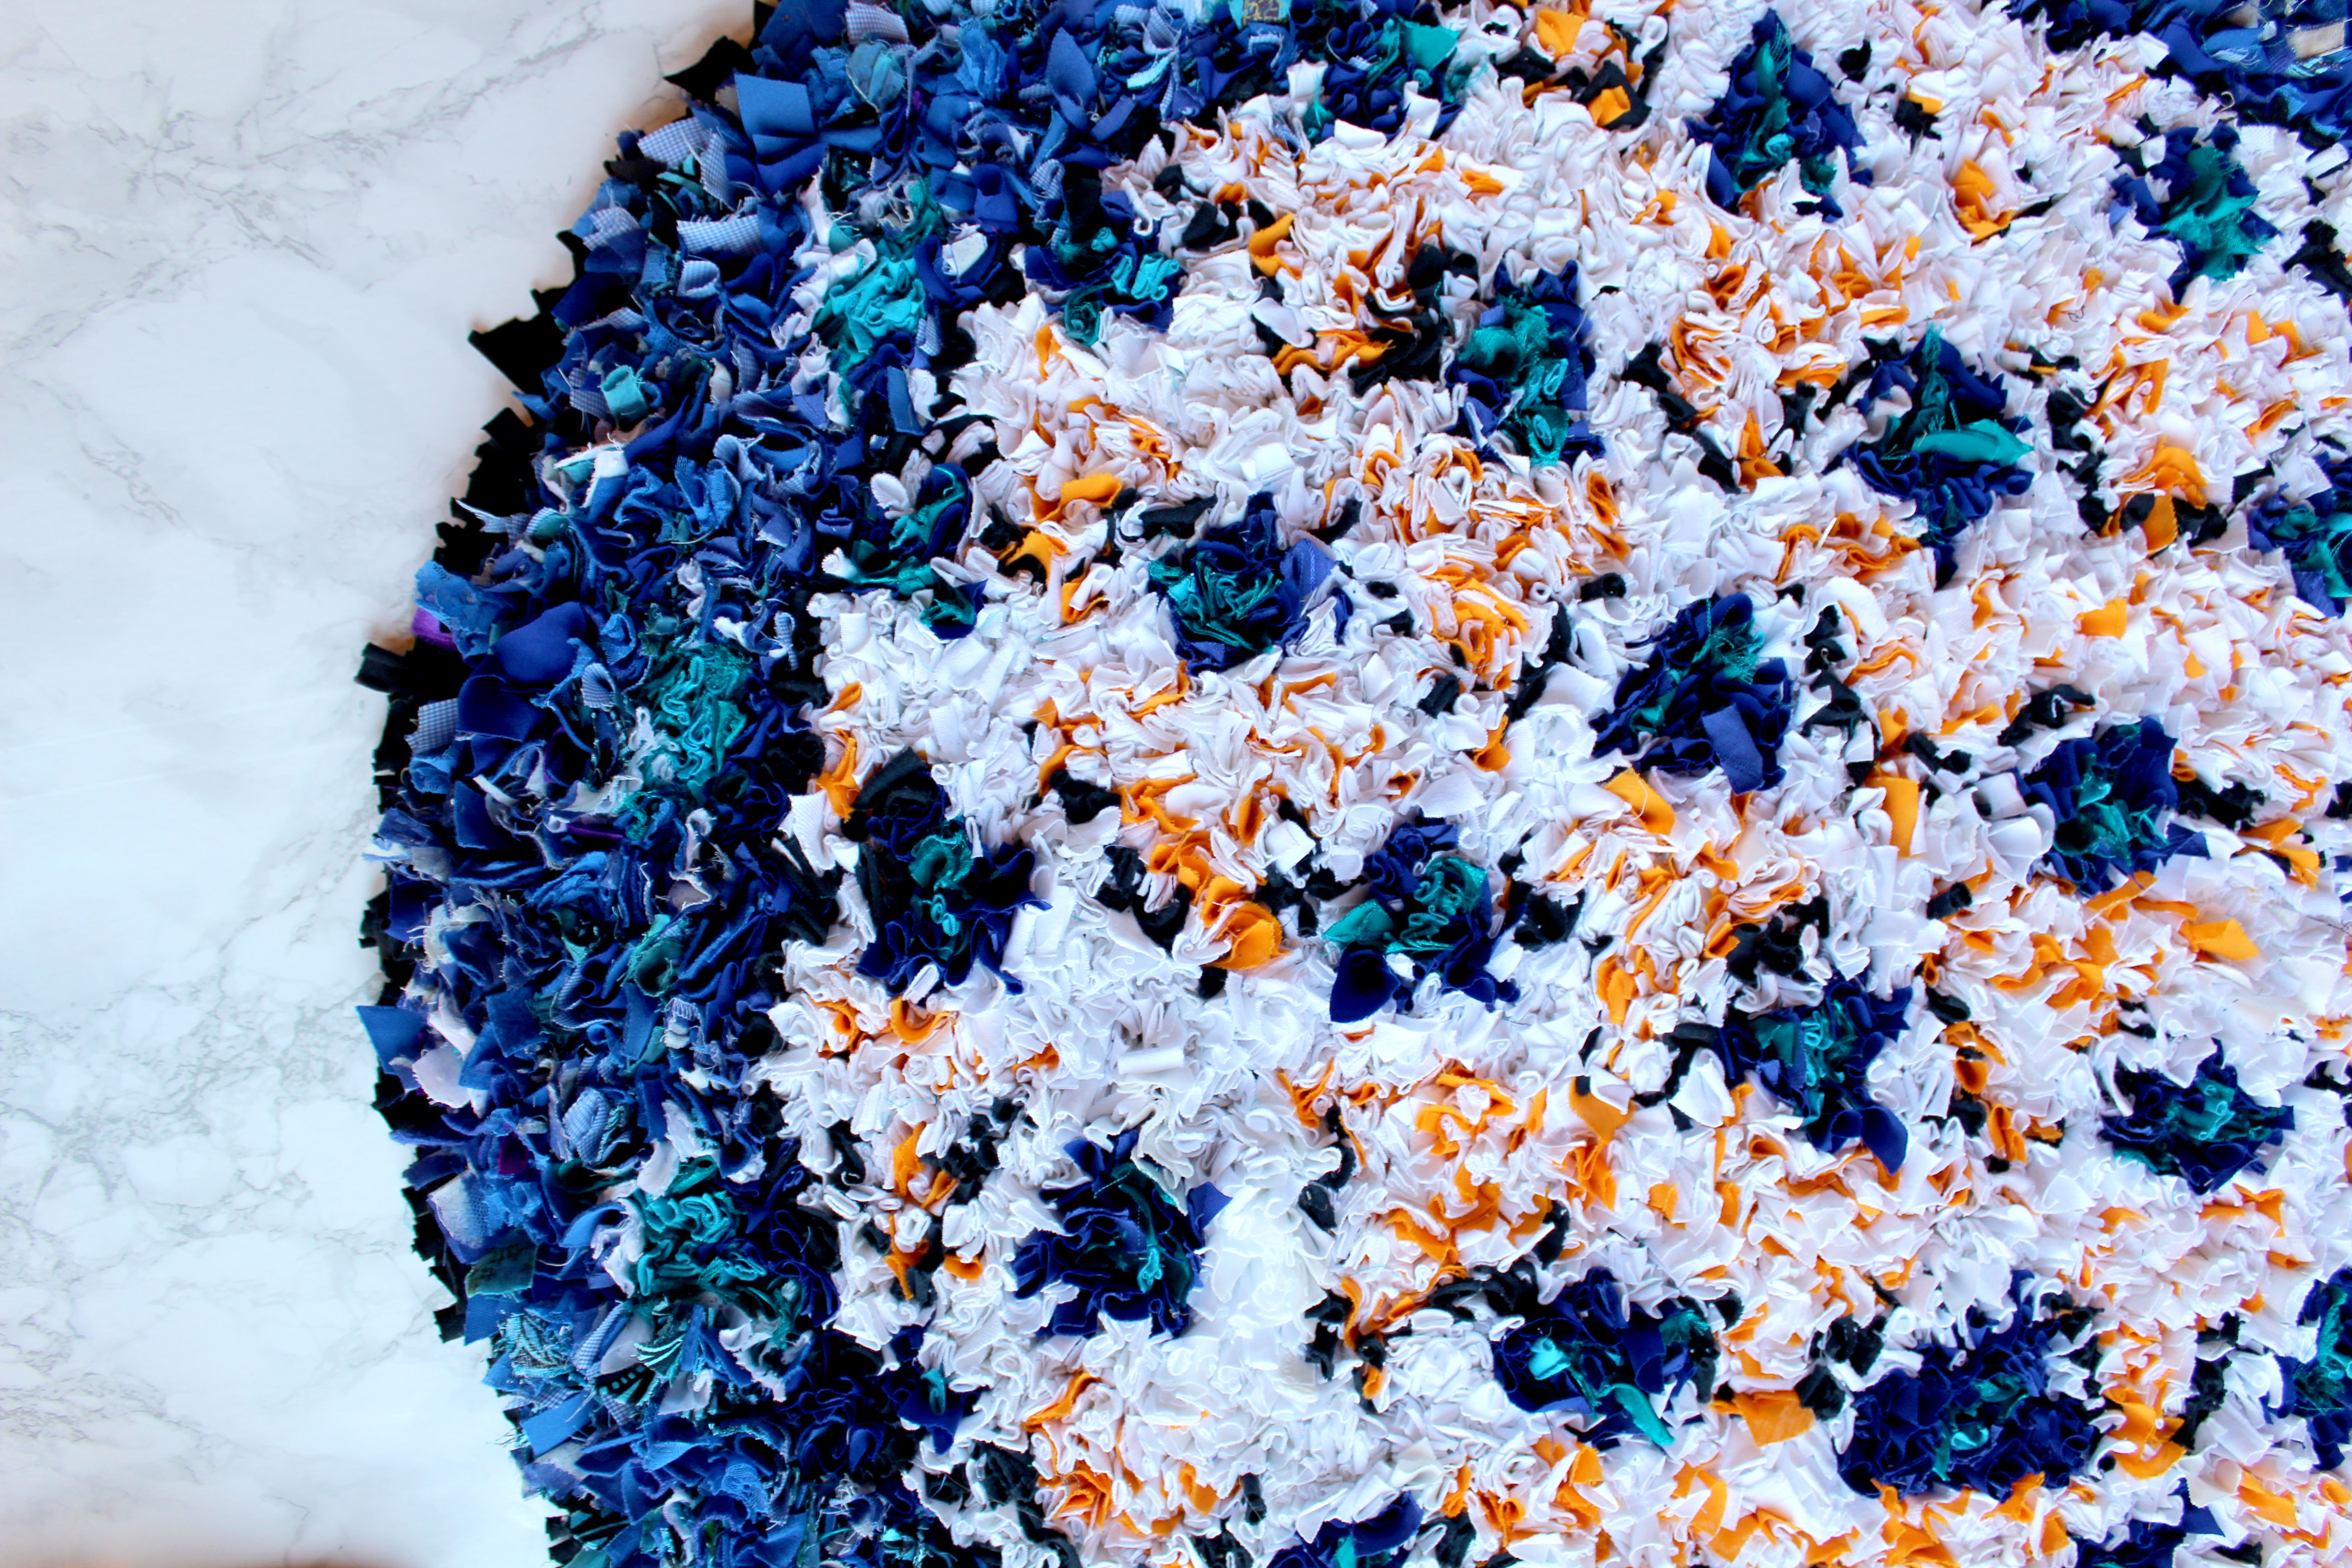
When you rag rug in the traditional shaggy technique of rag rugging, designs tend to become distorted. This can be pretty annoying when you’ve put a lot of effort into creating an intricate design…
We wanted a solution to this problem. Loopy rag rugging is the obvious choice, but sometimes you just don’t feel like playing around with the latch hook. We knew from experience that shaggy rag rugging with shorter pieces of fabric or trimming a rug after it’s finished helps to make the design stand out more…
But, trimming isn’t ideal as it wastes fabric, and cutting the pieces shorter in the first place is time-consuming and labour-intensive as you can’t use a Rag Rug Gauge.
So, we needed to create a form of rag rugging that kept our designs defined, without generating unnecessary wastage or work for ourselves…
The solution… Short Shaggy Rag Rugging! Here’s how it’s done…
How to do Short Shaggy Rag Rugging:
Firstly, we recommend watching our How To Make a Short Shaggy Rag Rug video on YouTube to see the technique in action, but below we’ve also included step by step photos and instructions 🙂
What you will need:
- Rag Rug Spring Tool
- Rag Rag Gauge
- Rags (any old clothing or fabric can be used but we recommend using easy fabrics like jersey or cottons to begin with. Read more about what fabrics can be used to rag rug with here)
- Rag Rug Fabric Scissors
- Hemmed Rag Rug Hessian / Burlap (Ideally 10 holes per inch weave as the weave is very important).
Step by Step Instructions:
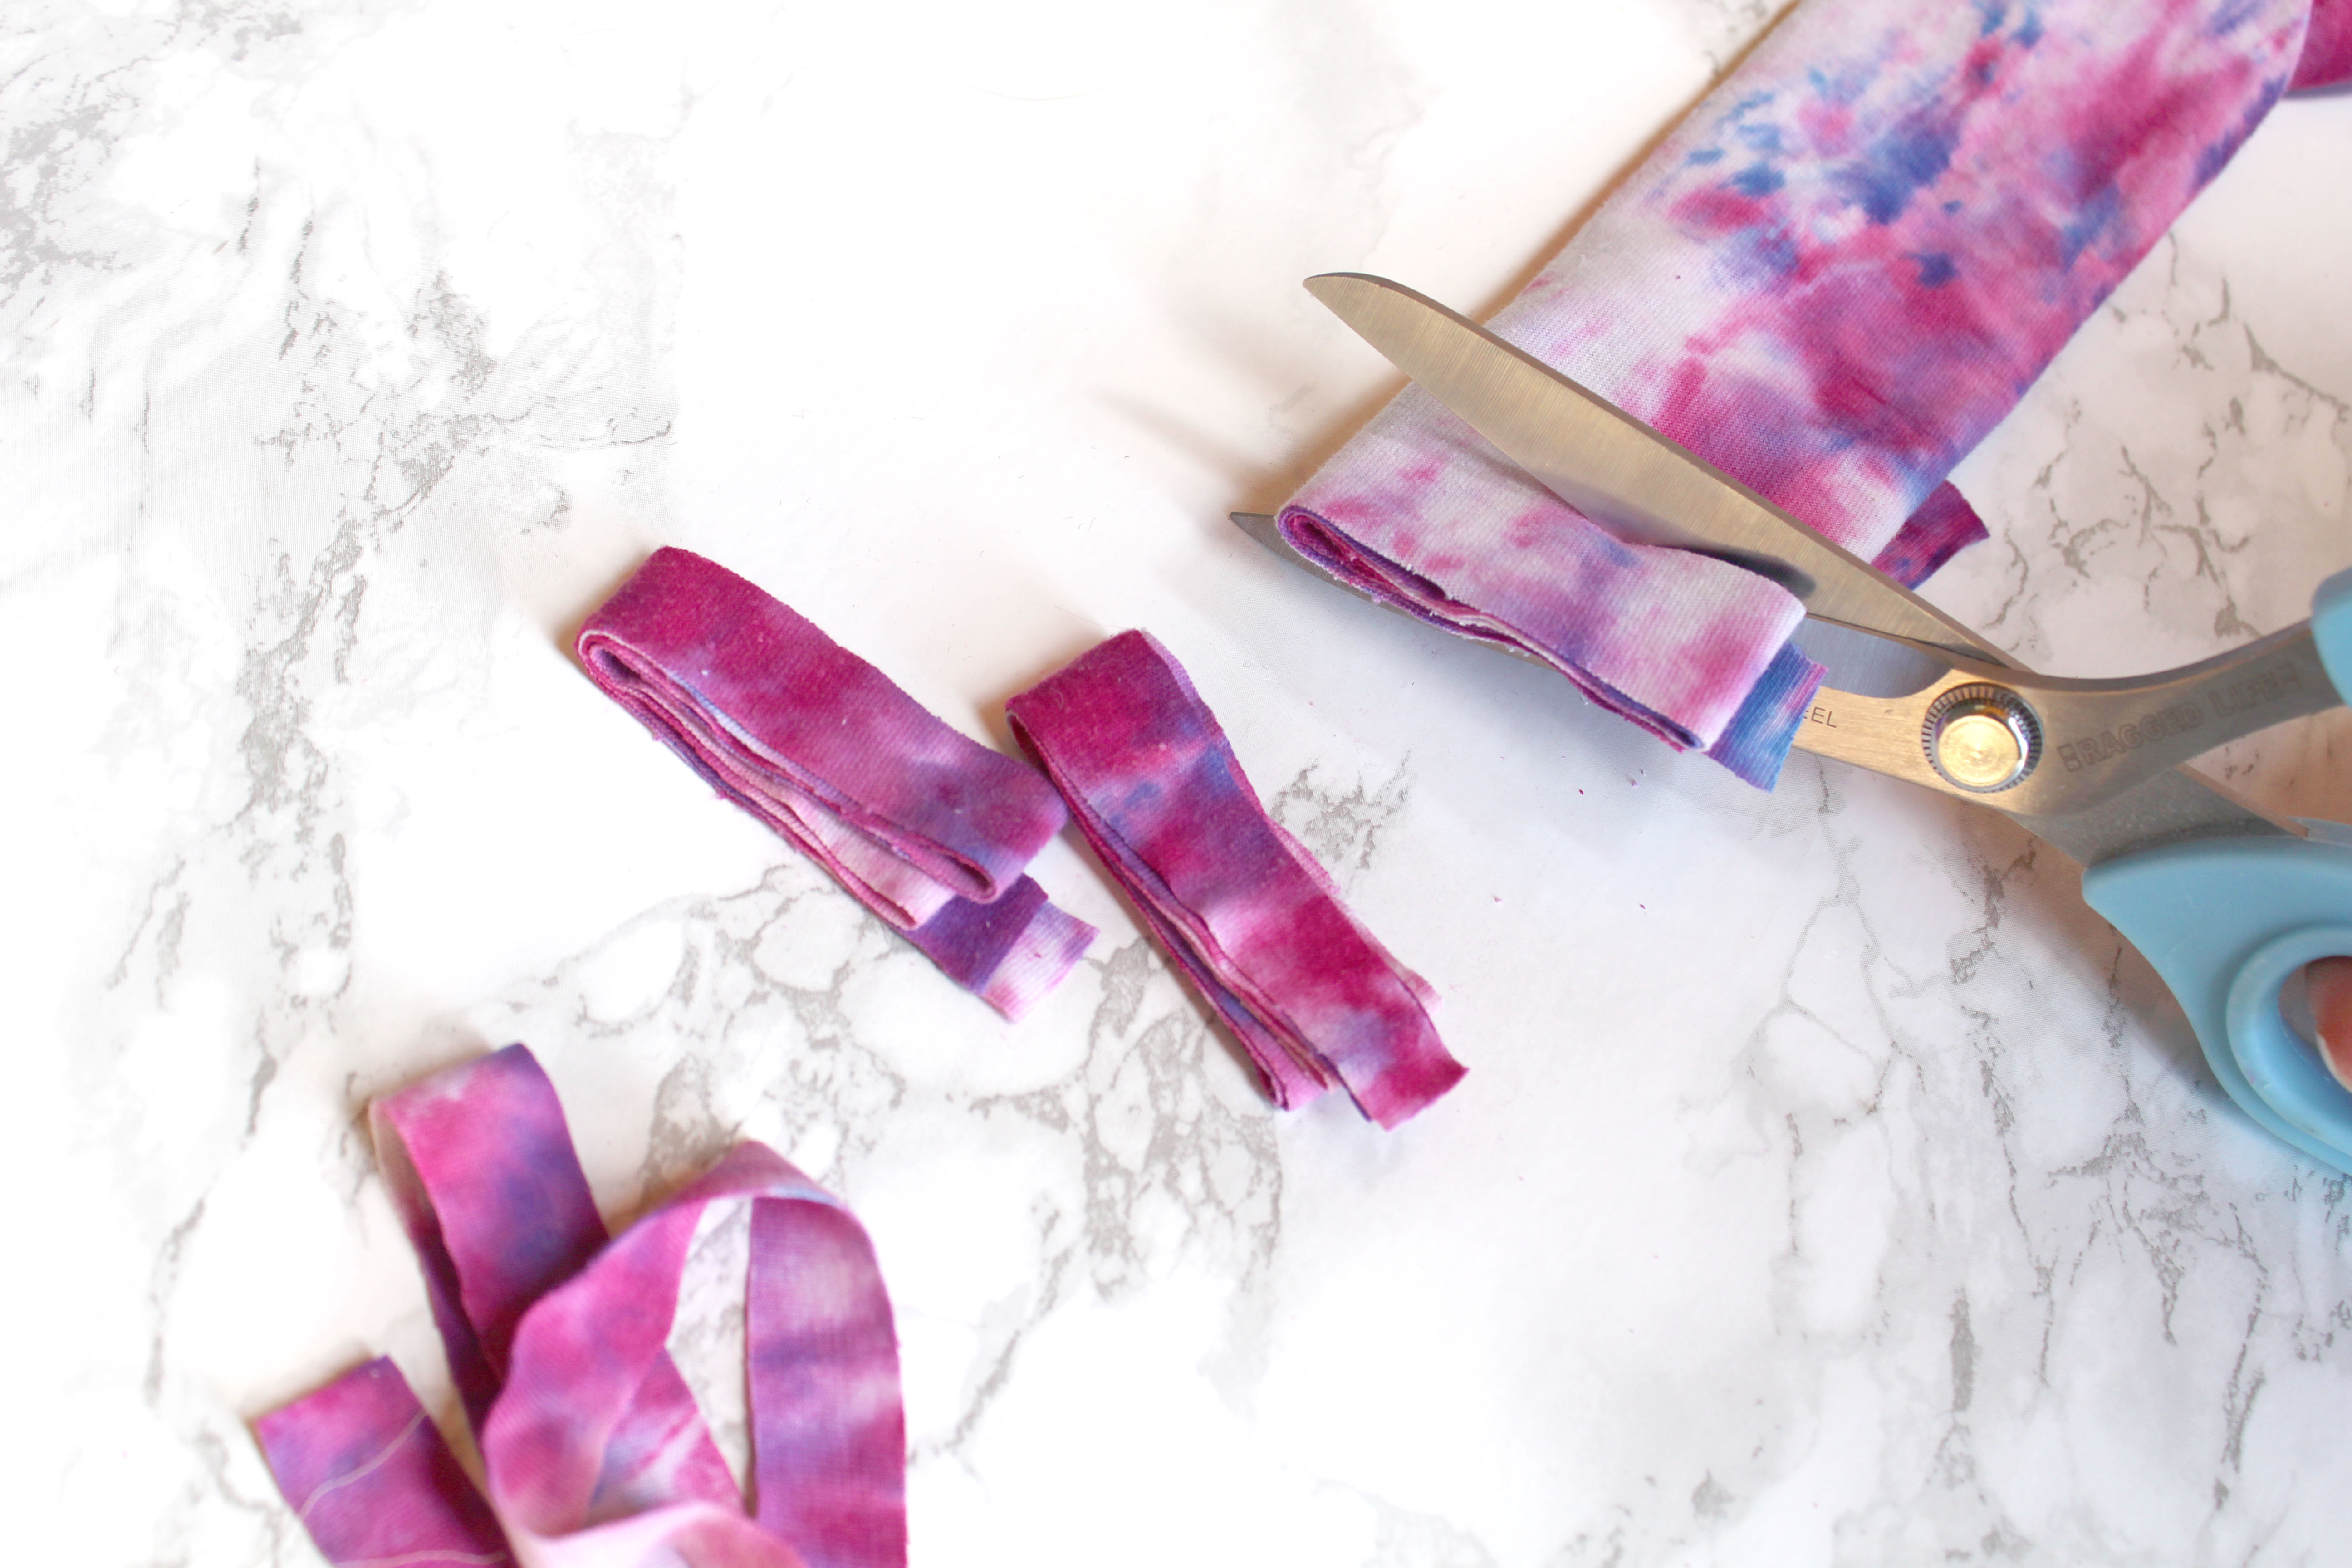
Step 1: Cut your fabric into short strips that are roughly 1cm wide and 7-8cm long using your Rag Rug Scissors and Gauge. A tutorial for how this is done can be found on our YouTube channel here.
Tip: It is important to cut the strips narrower than normal (approx. 1cm wide as opposed to 1.5cm) as the Short Shaggy Technique adds thickness to the fabric that can make it harder to pull through the hessian. When in doubt, it is better to cut your fabric slightly narrower as opposed to too wide.
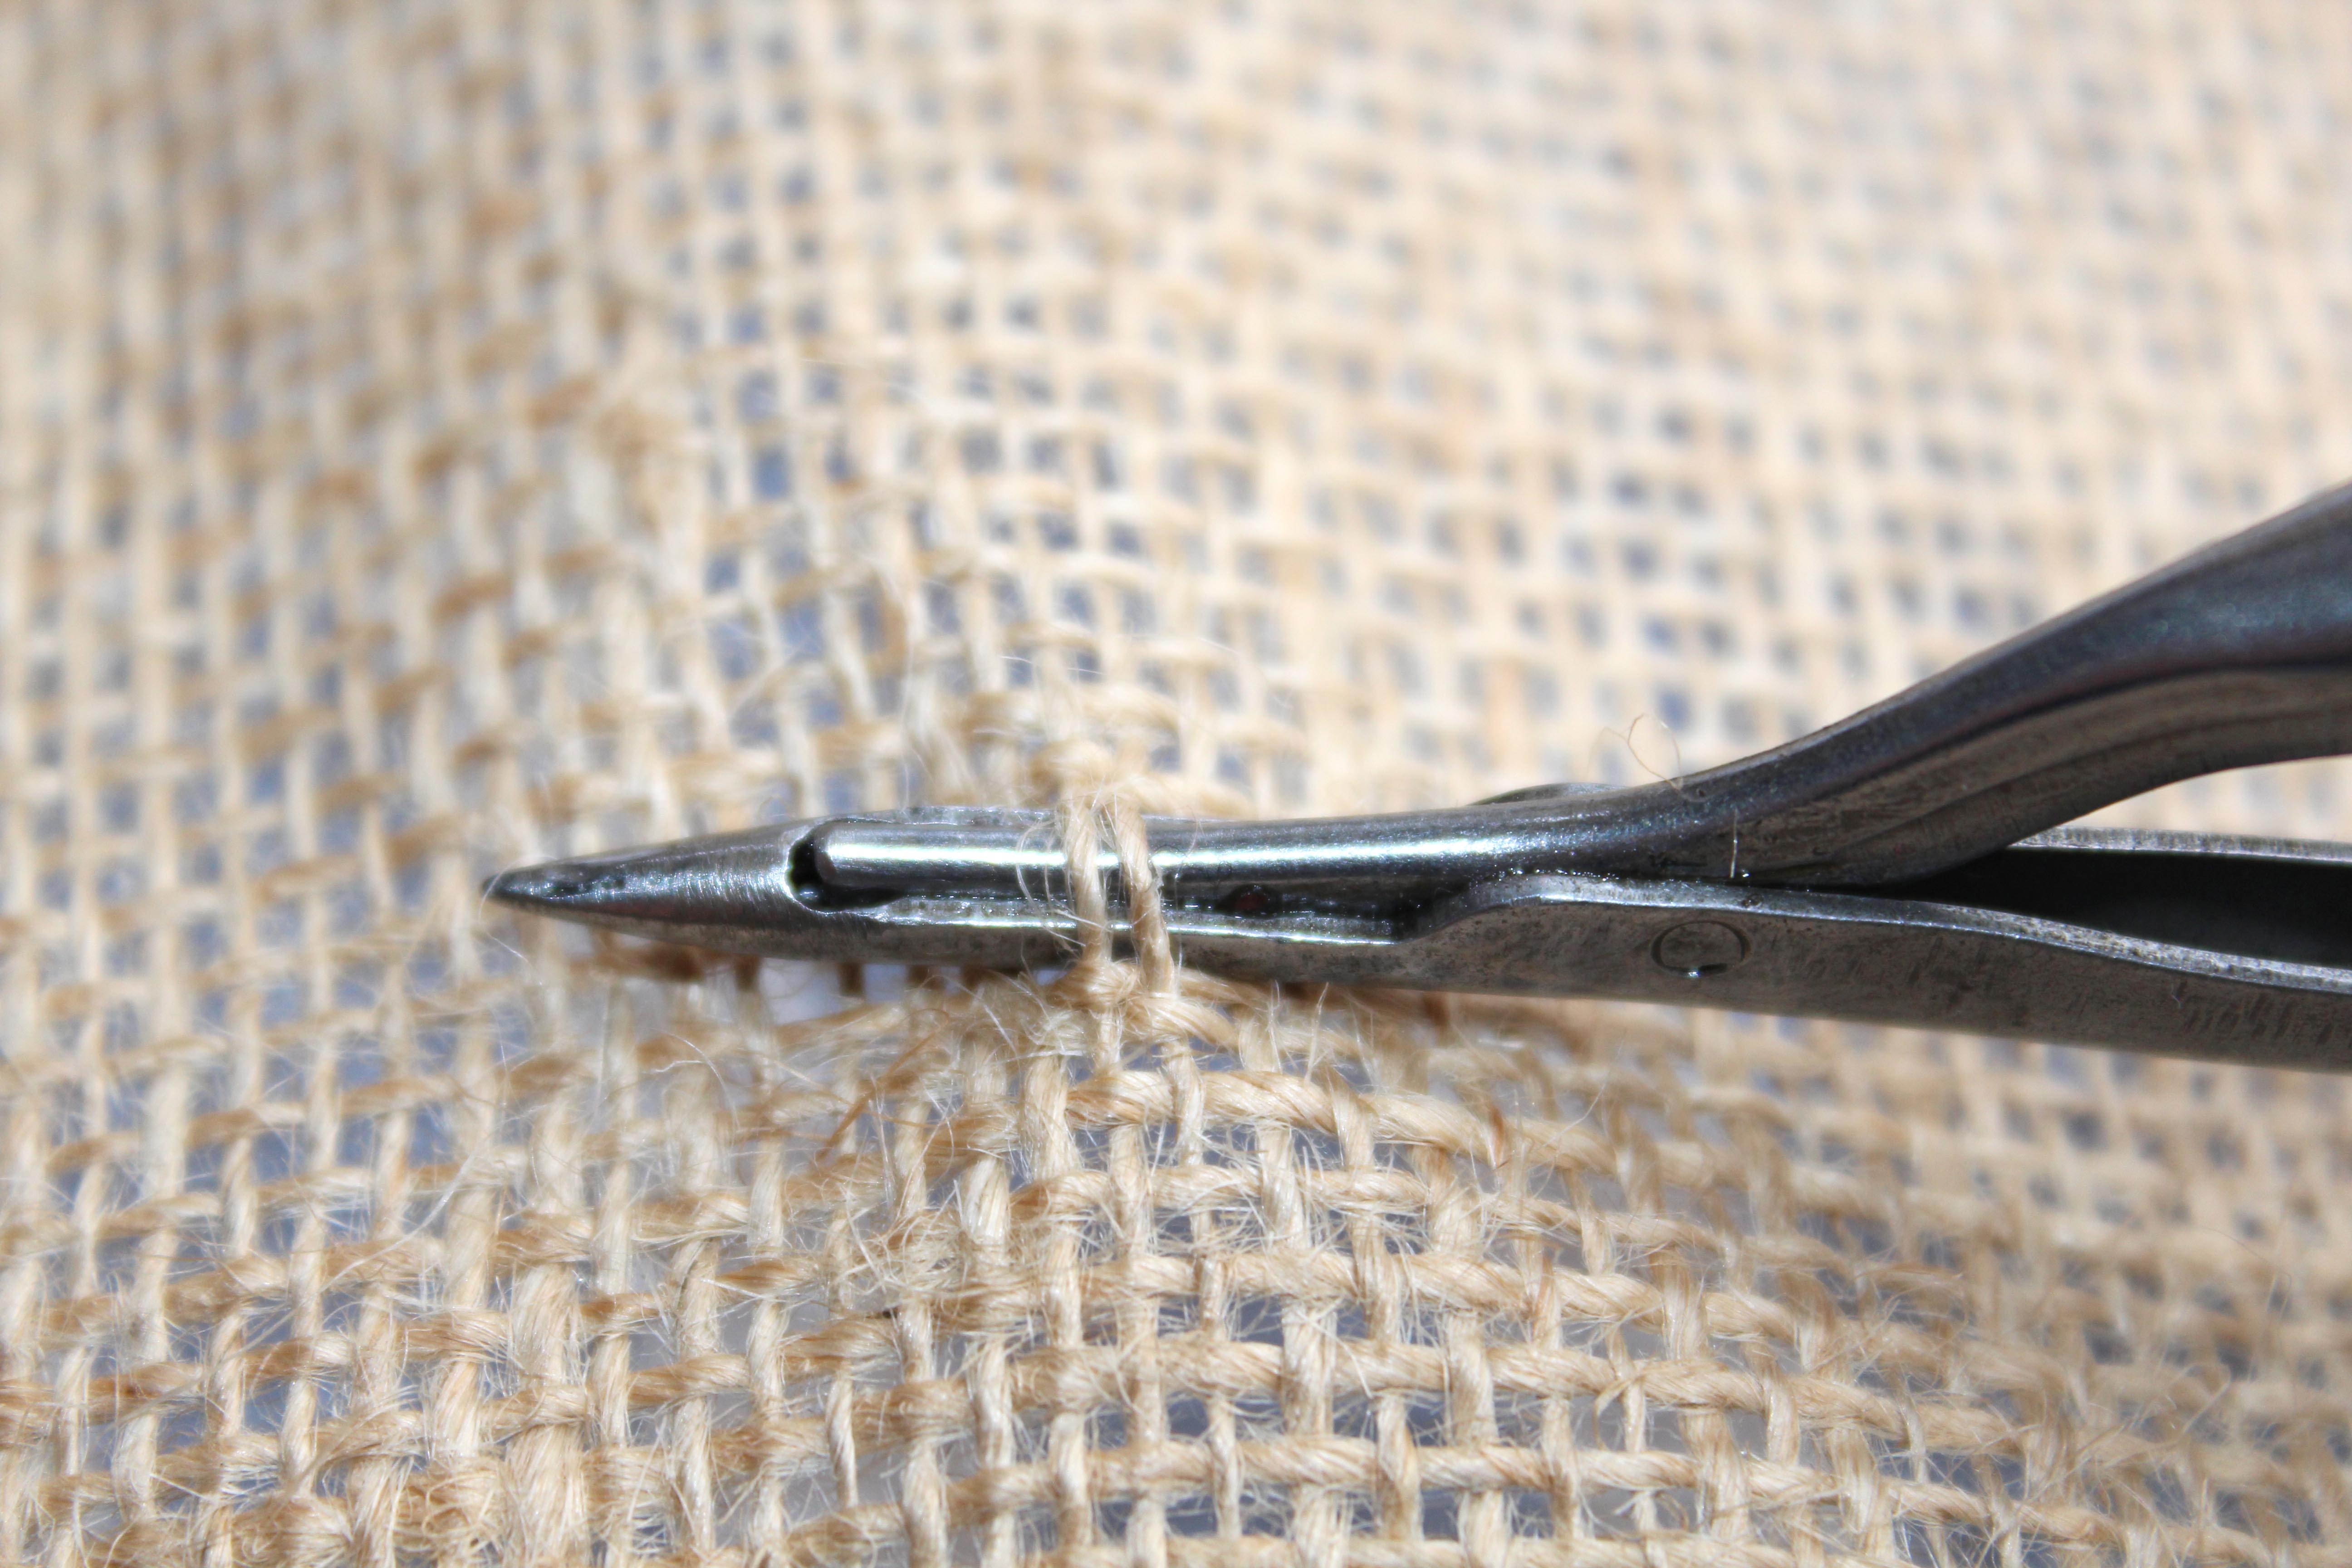
Step 2: From the top of the hessian, weave the pointed end of the tool down into a hole in the hessian and up through a hole two holes away. You should now have two strands of the hessian on top of the lever of the tool.
Step 3: Squeeze the wooden handle and spring handle together to raise the lever at the end of the tool.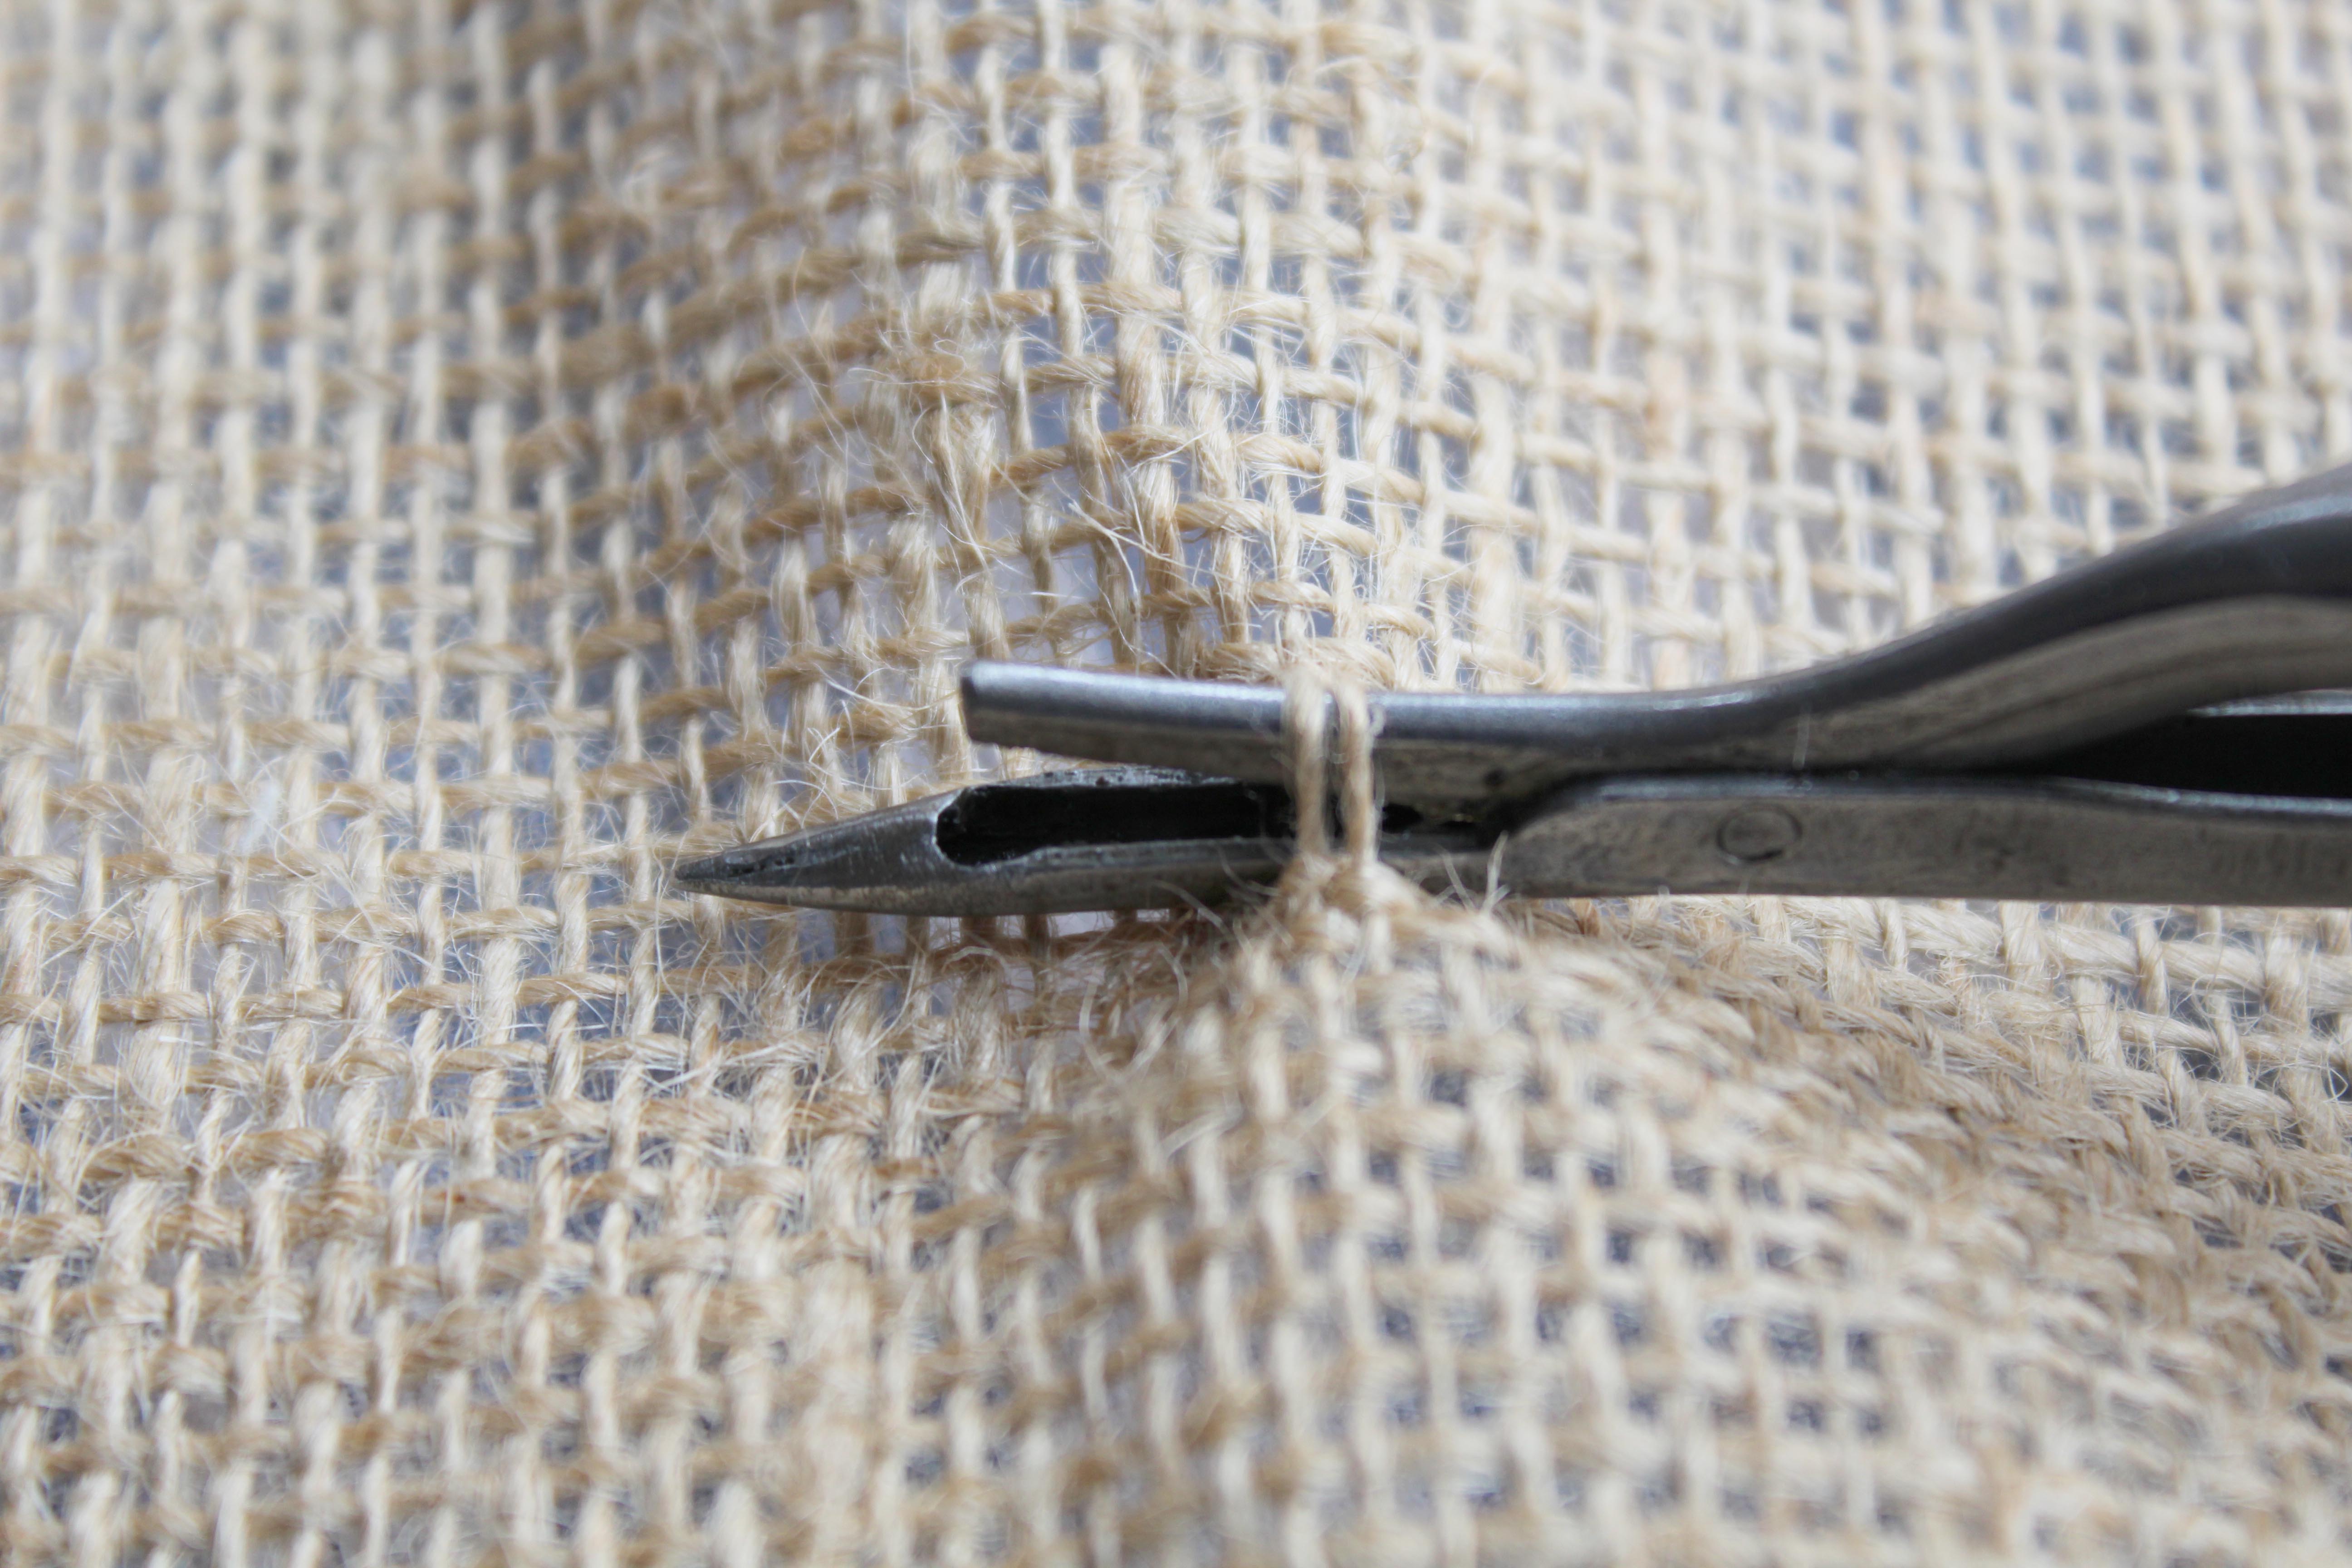
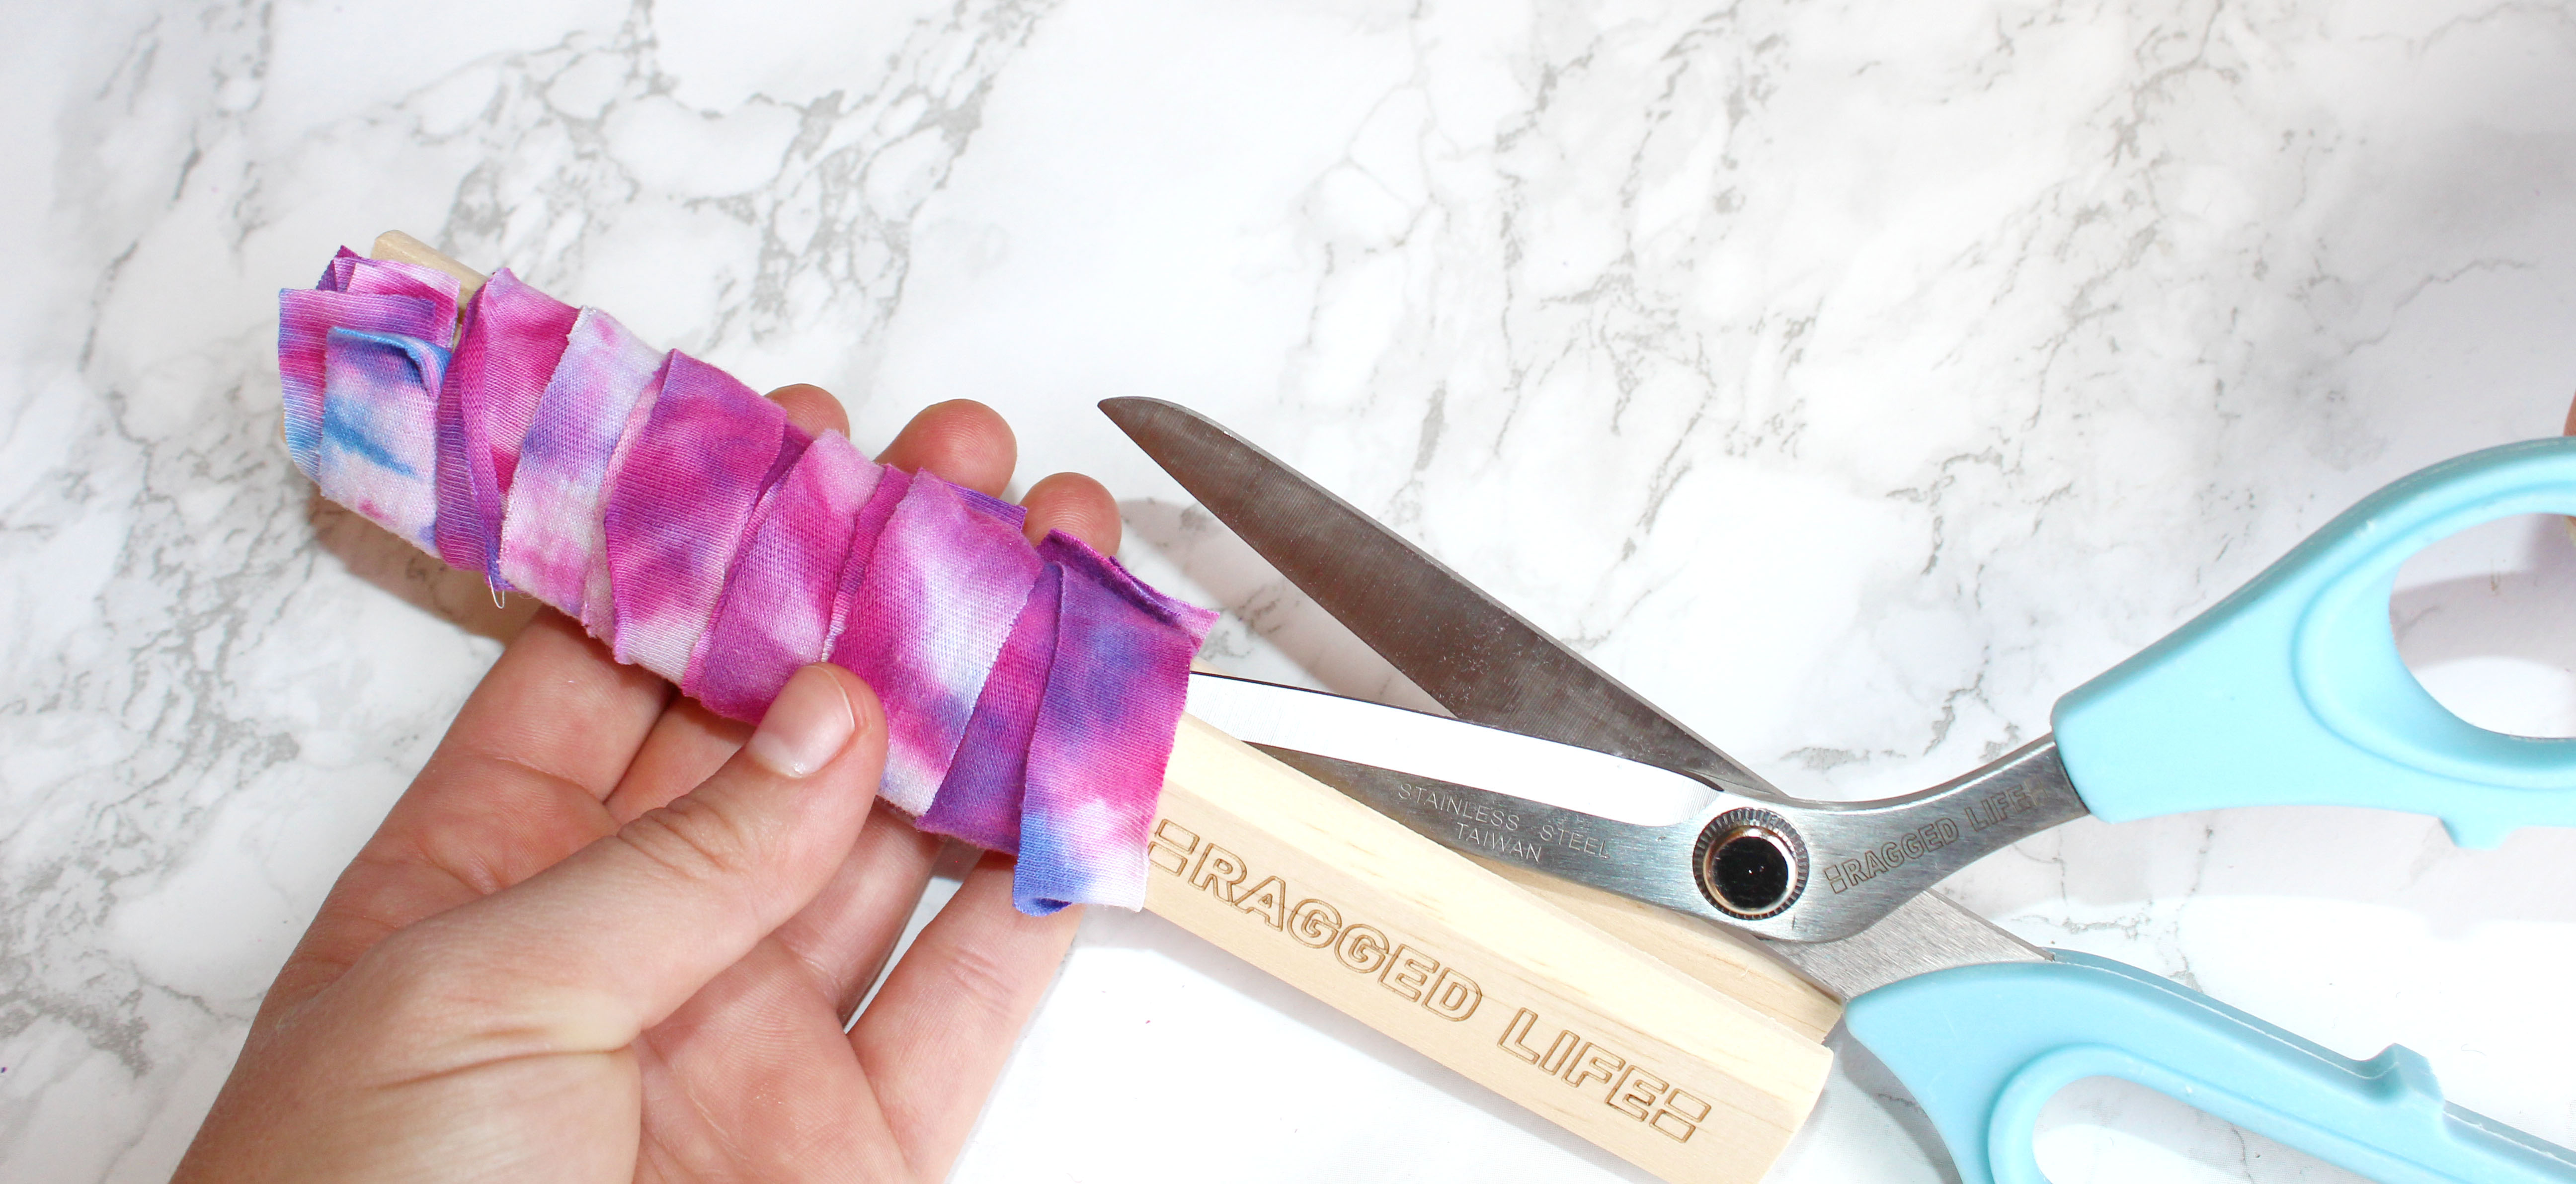
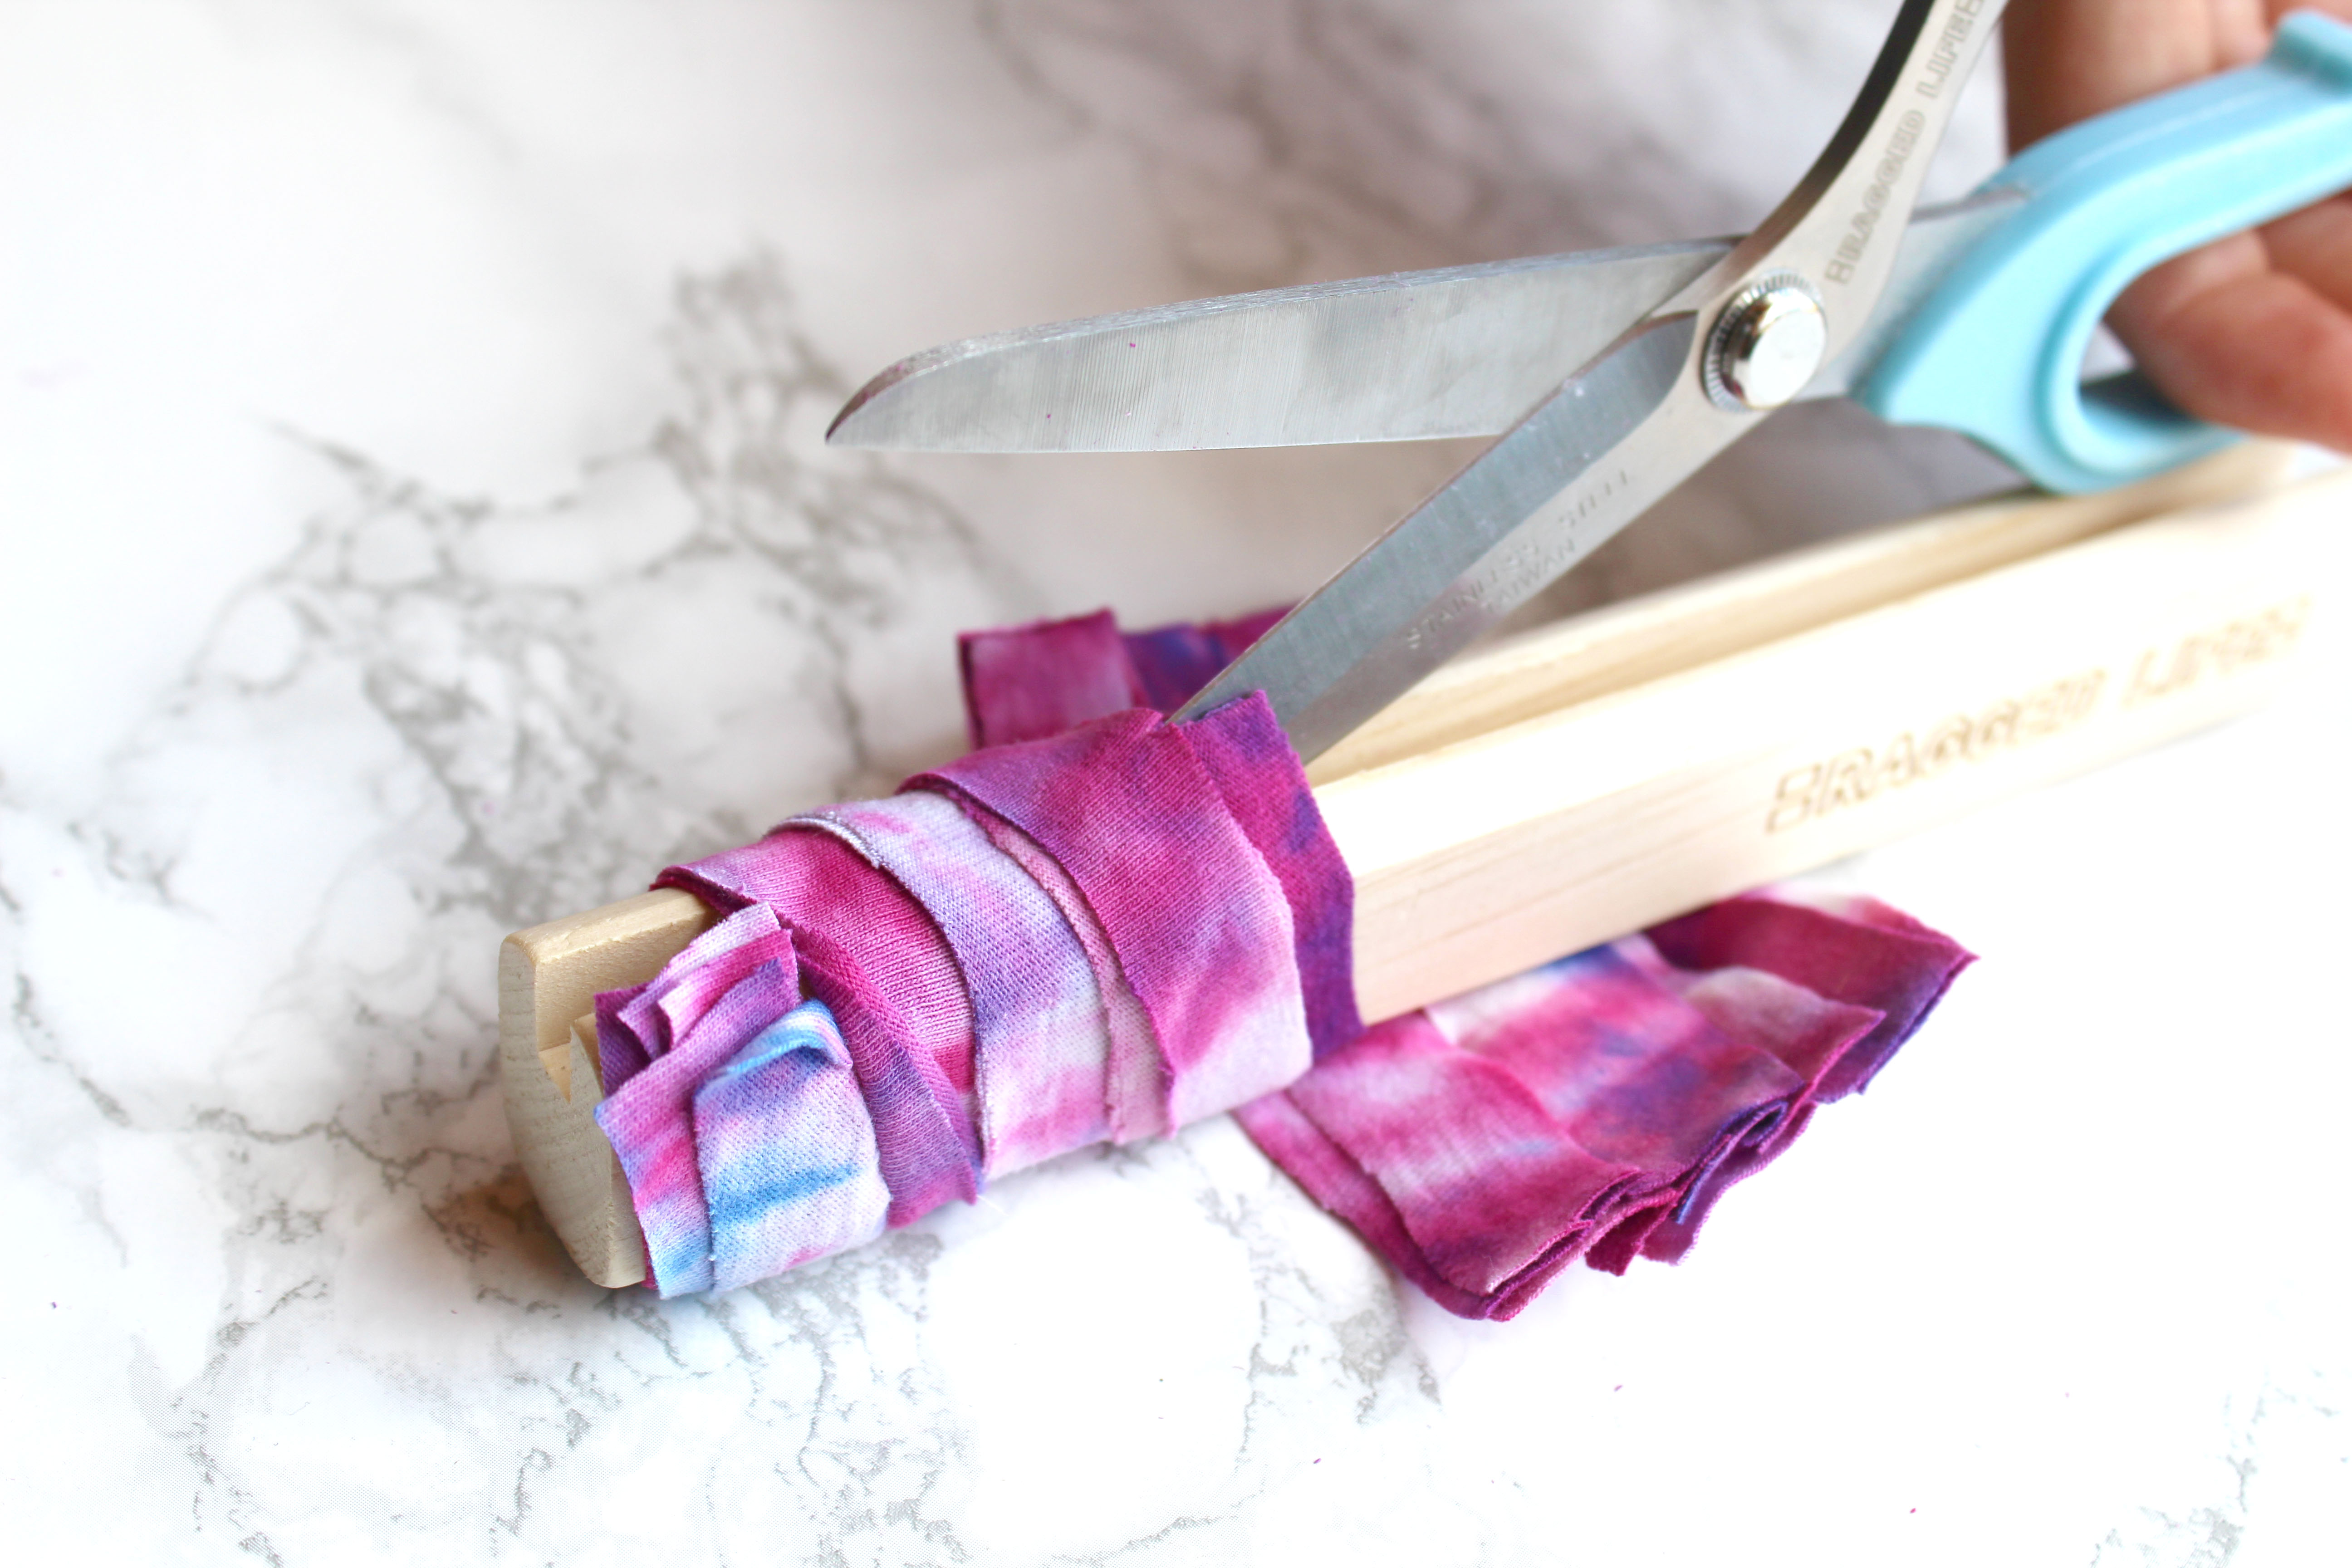
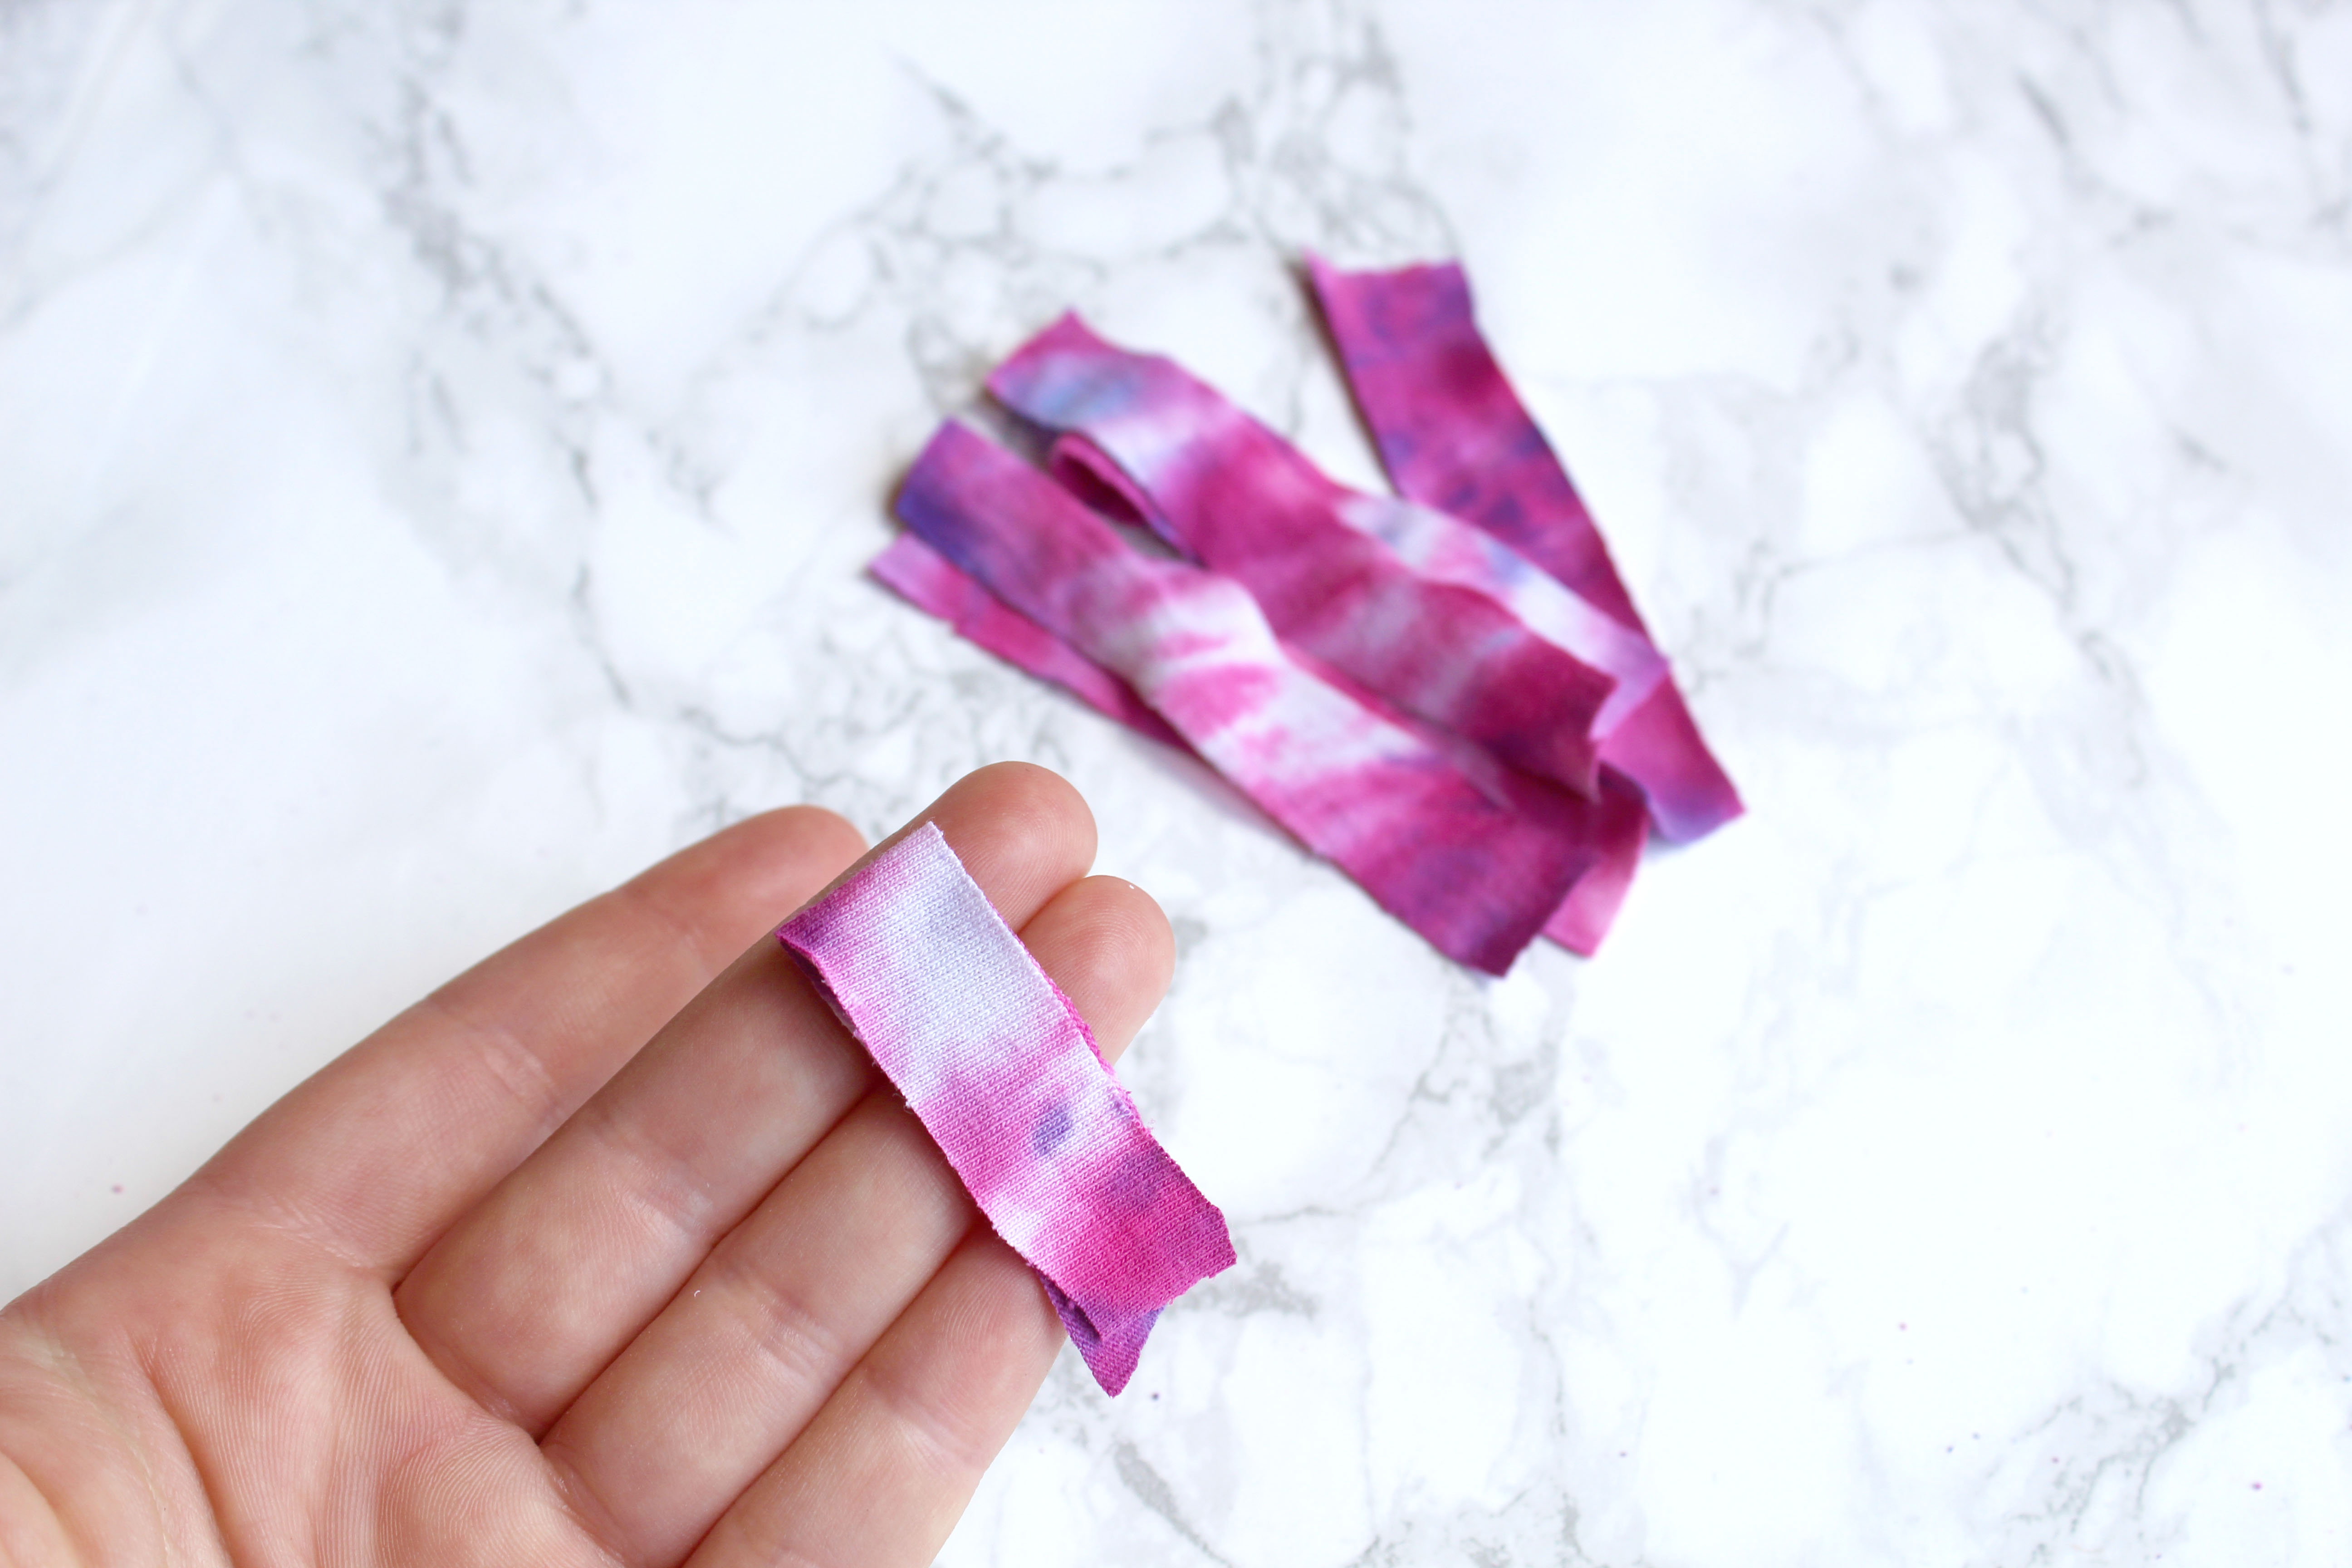
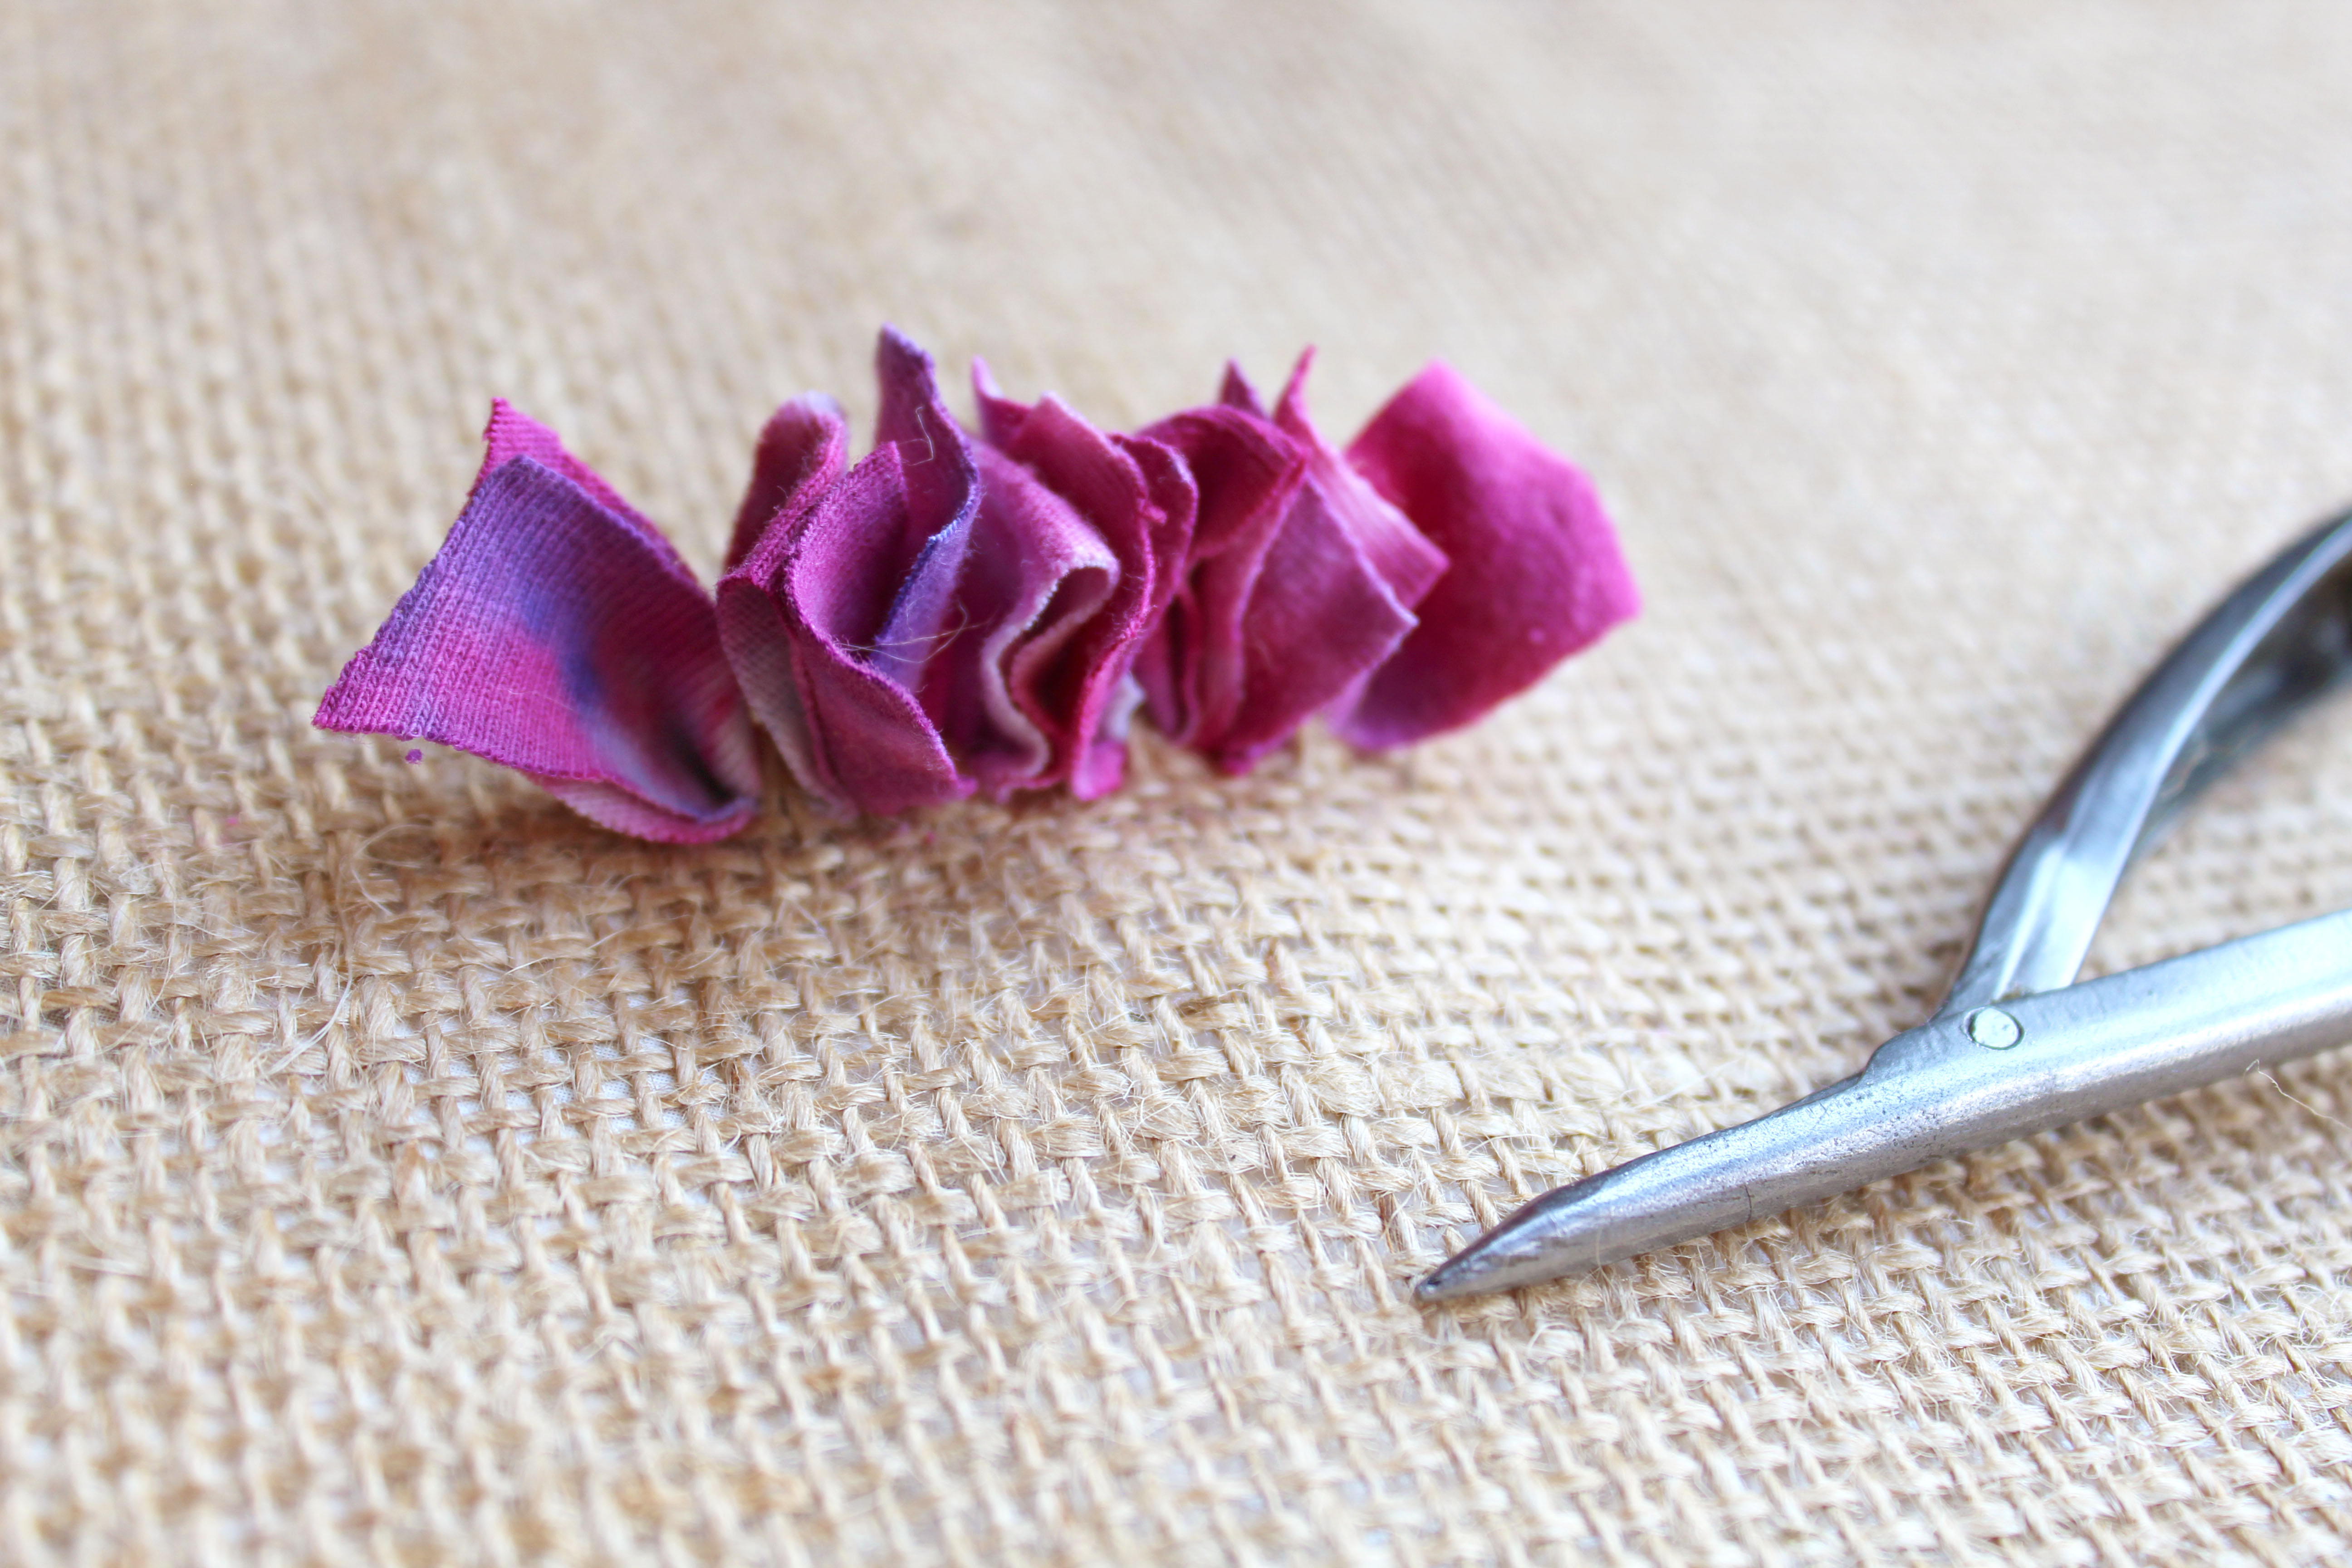
Step 4: Pick up a short piece of fabric and fold it in half lengthwise.
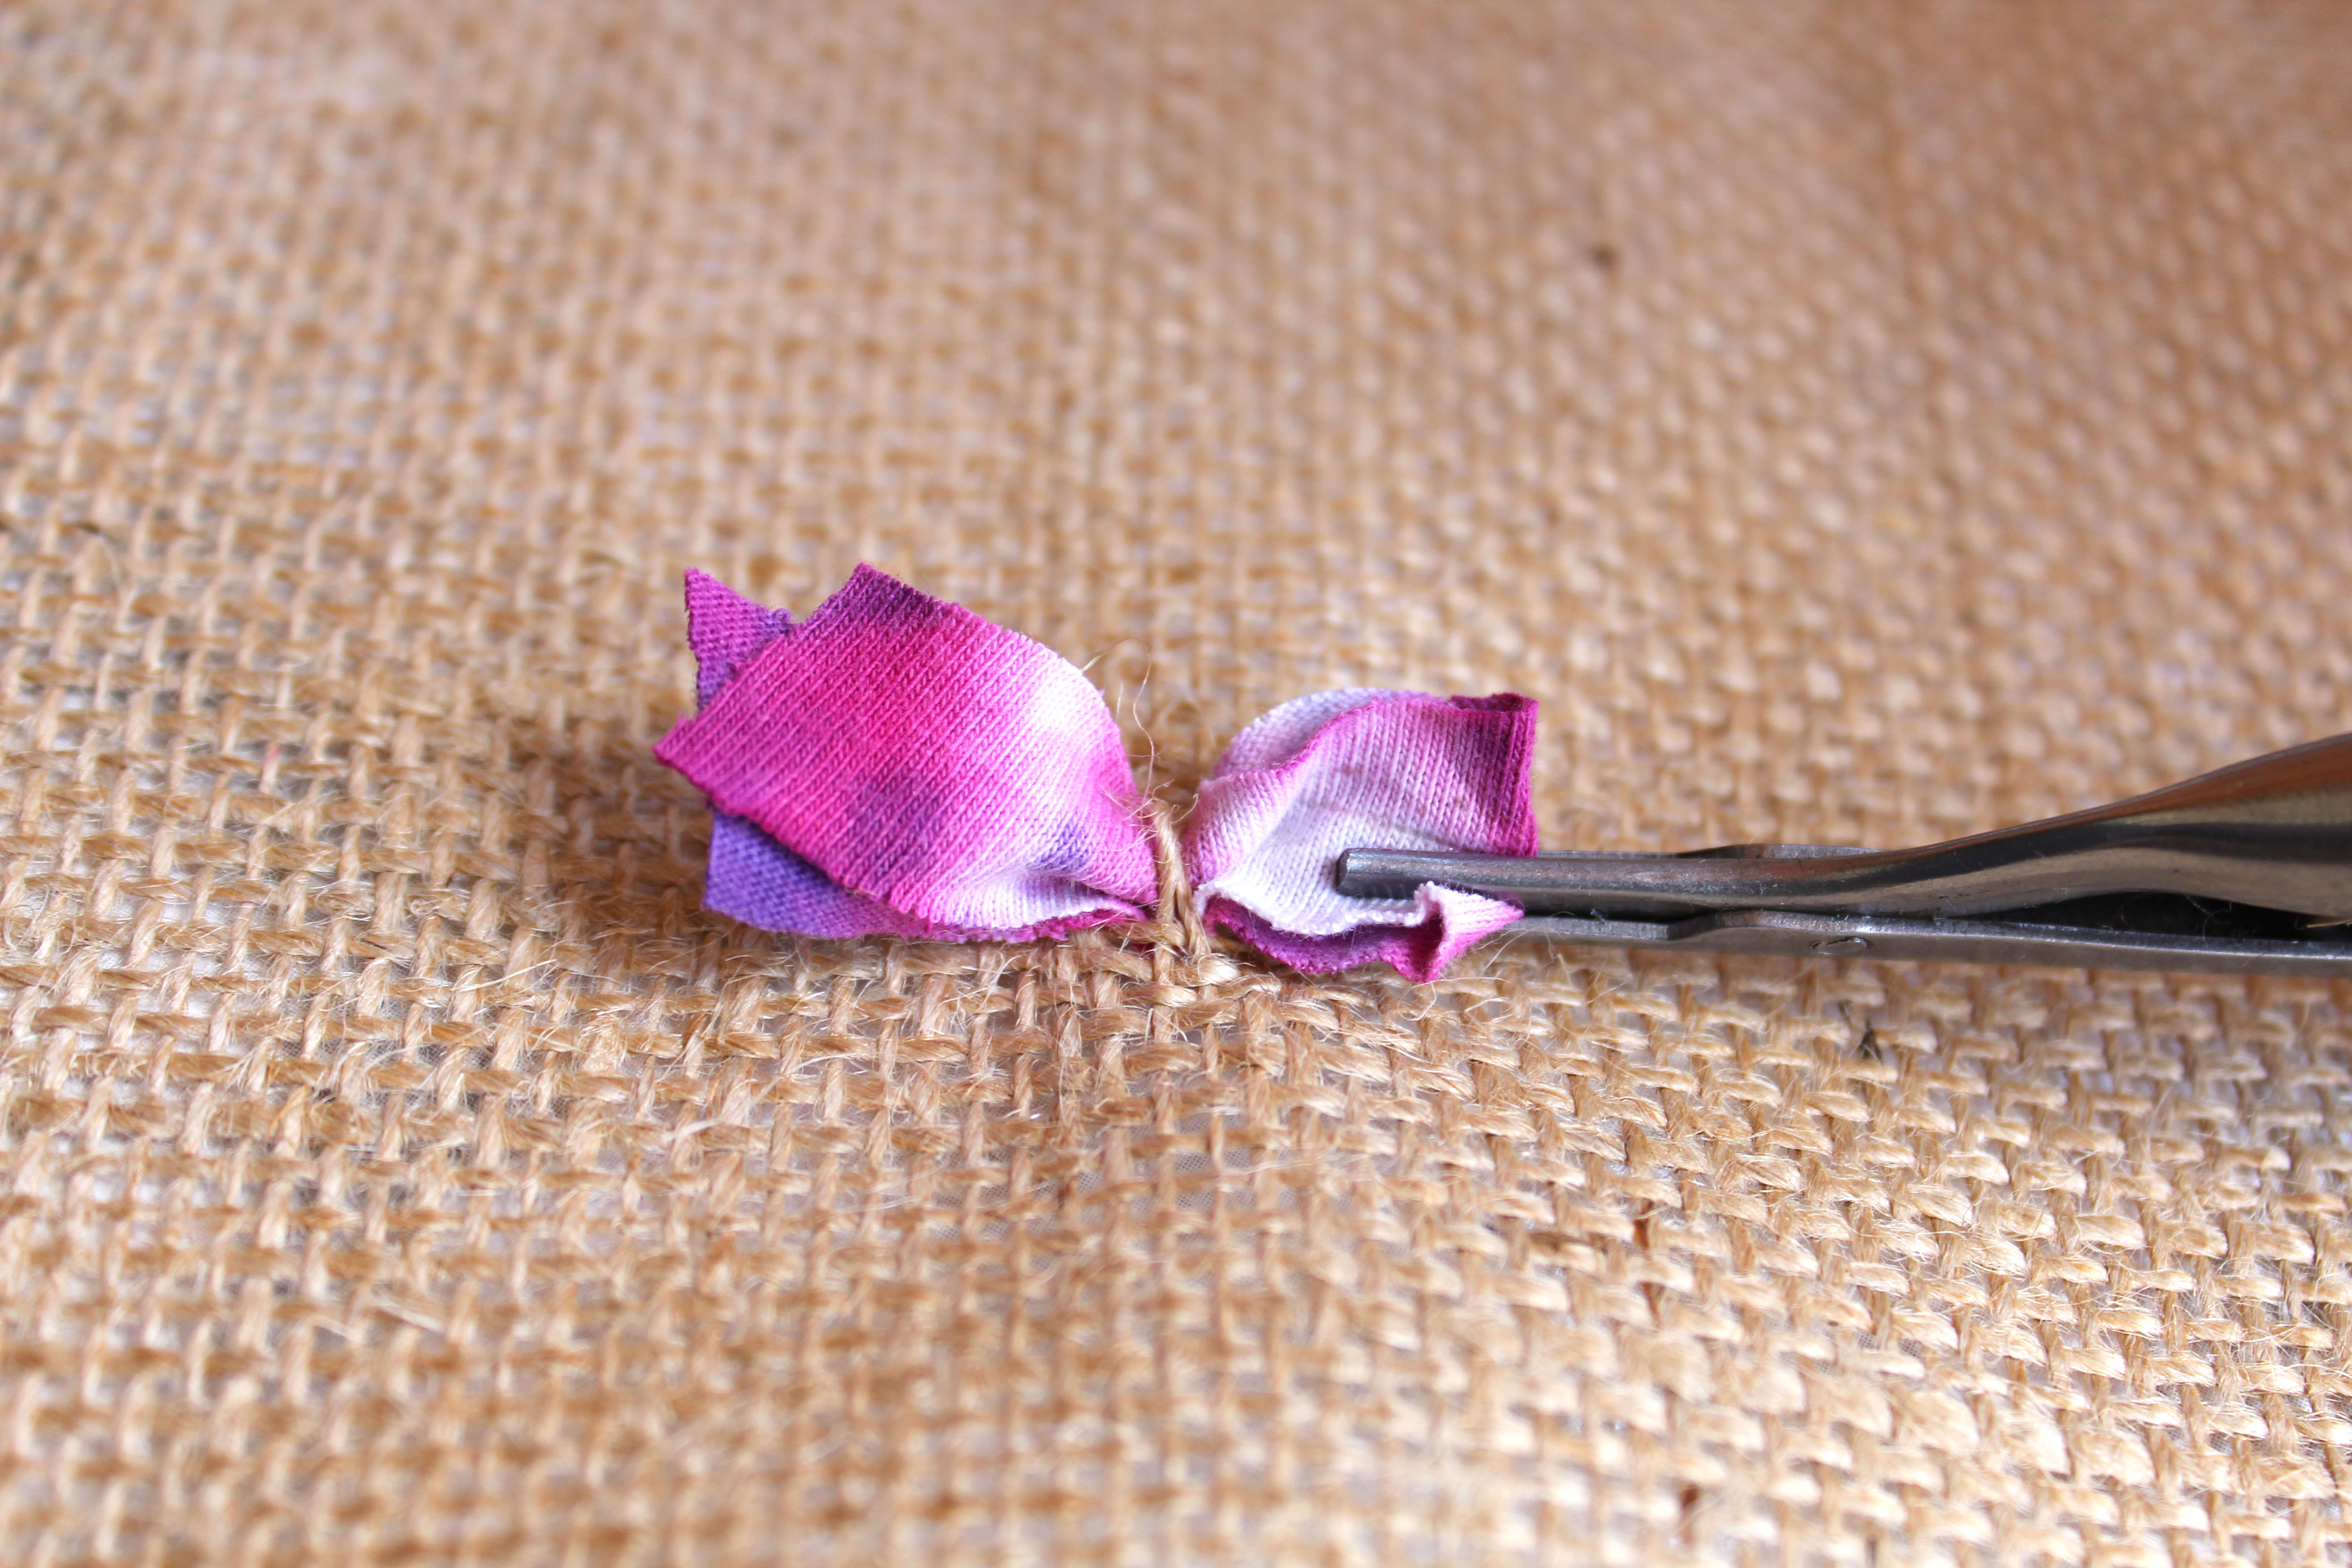
Step 5: Place the folded edge of the fabric piece between the lever and the barrel and release the spring lever to clench the rag.
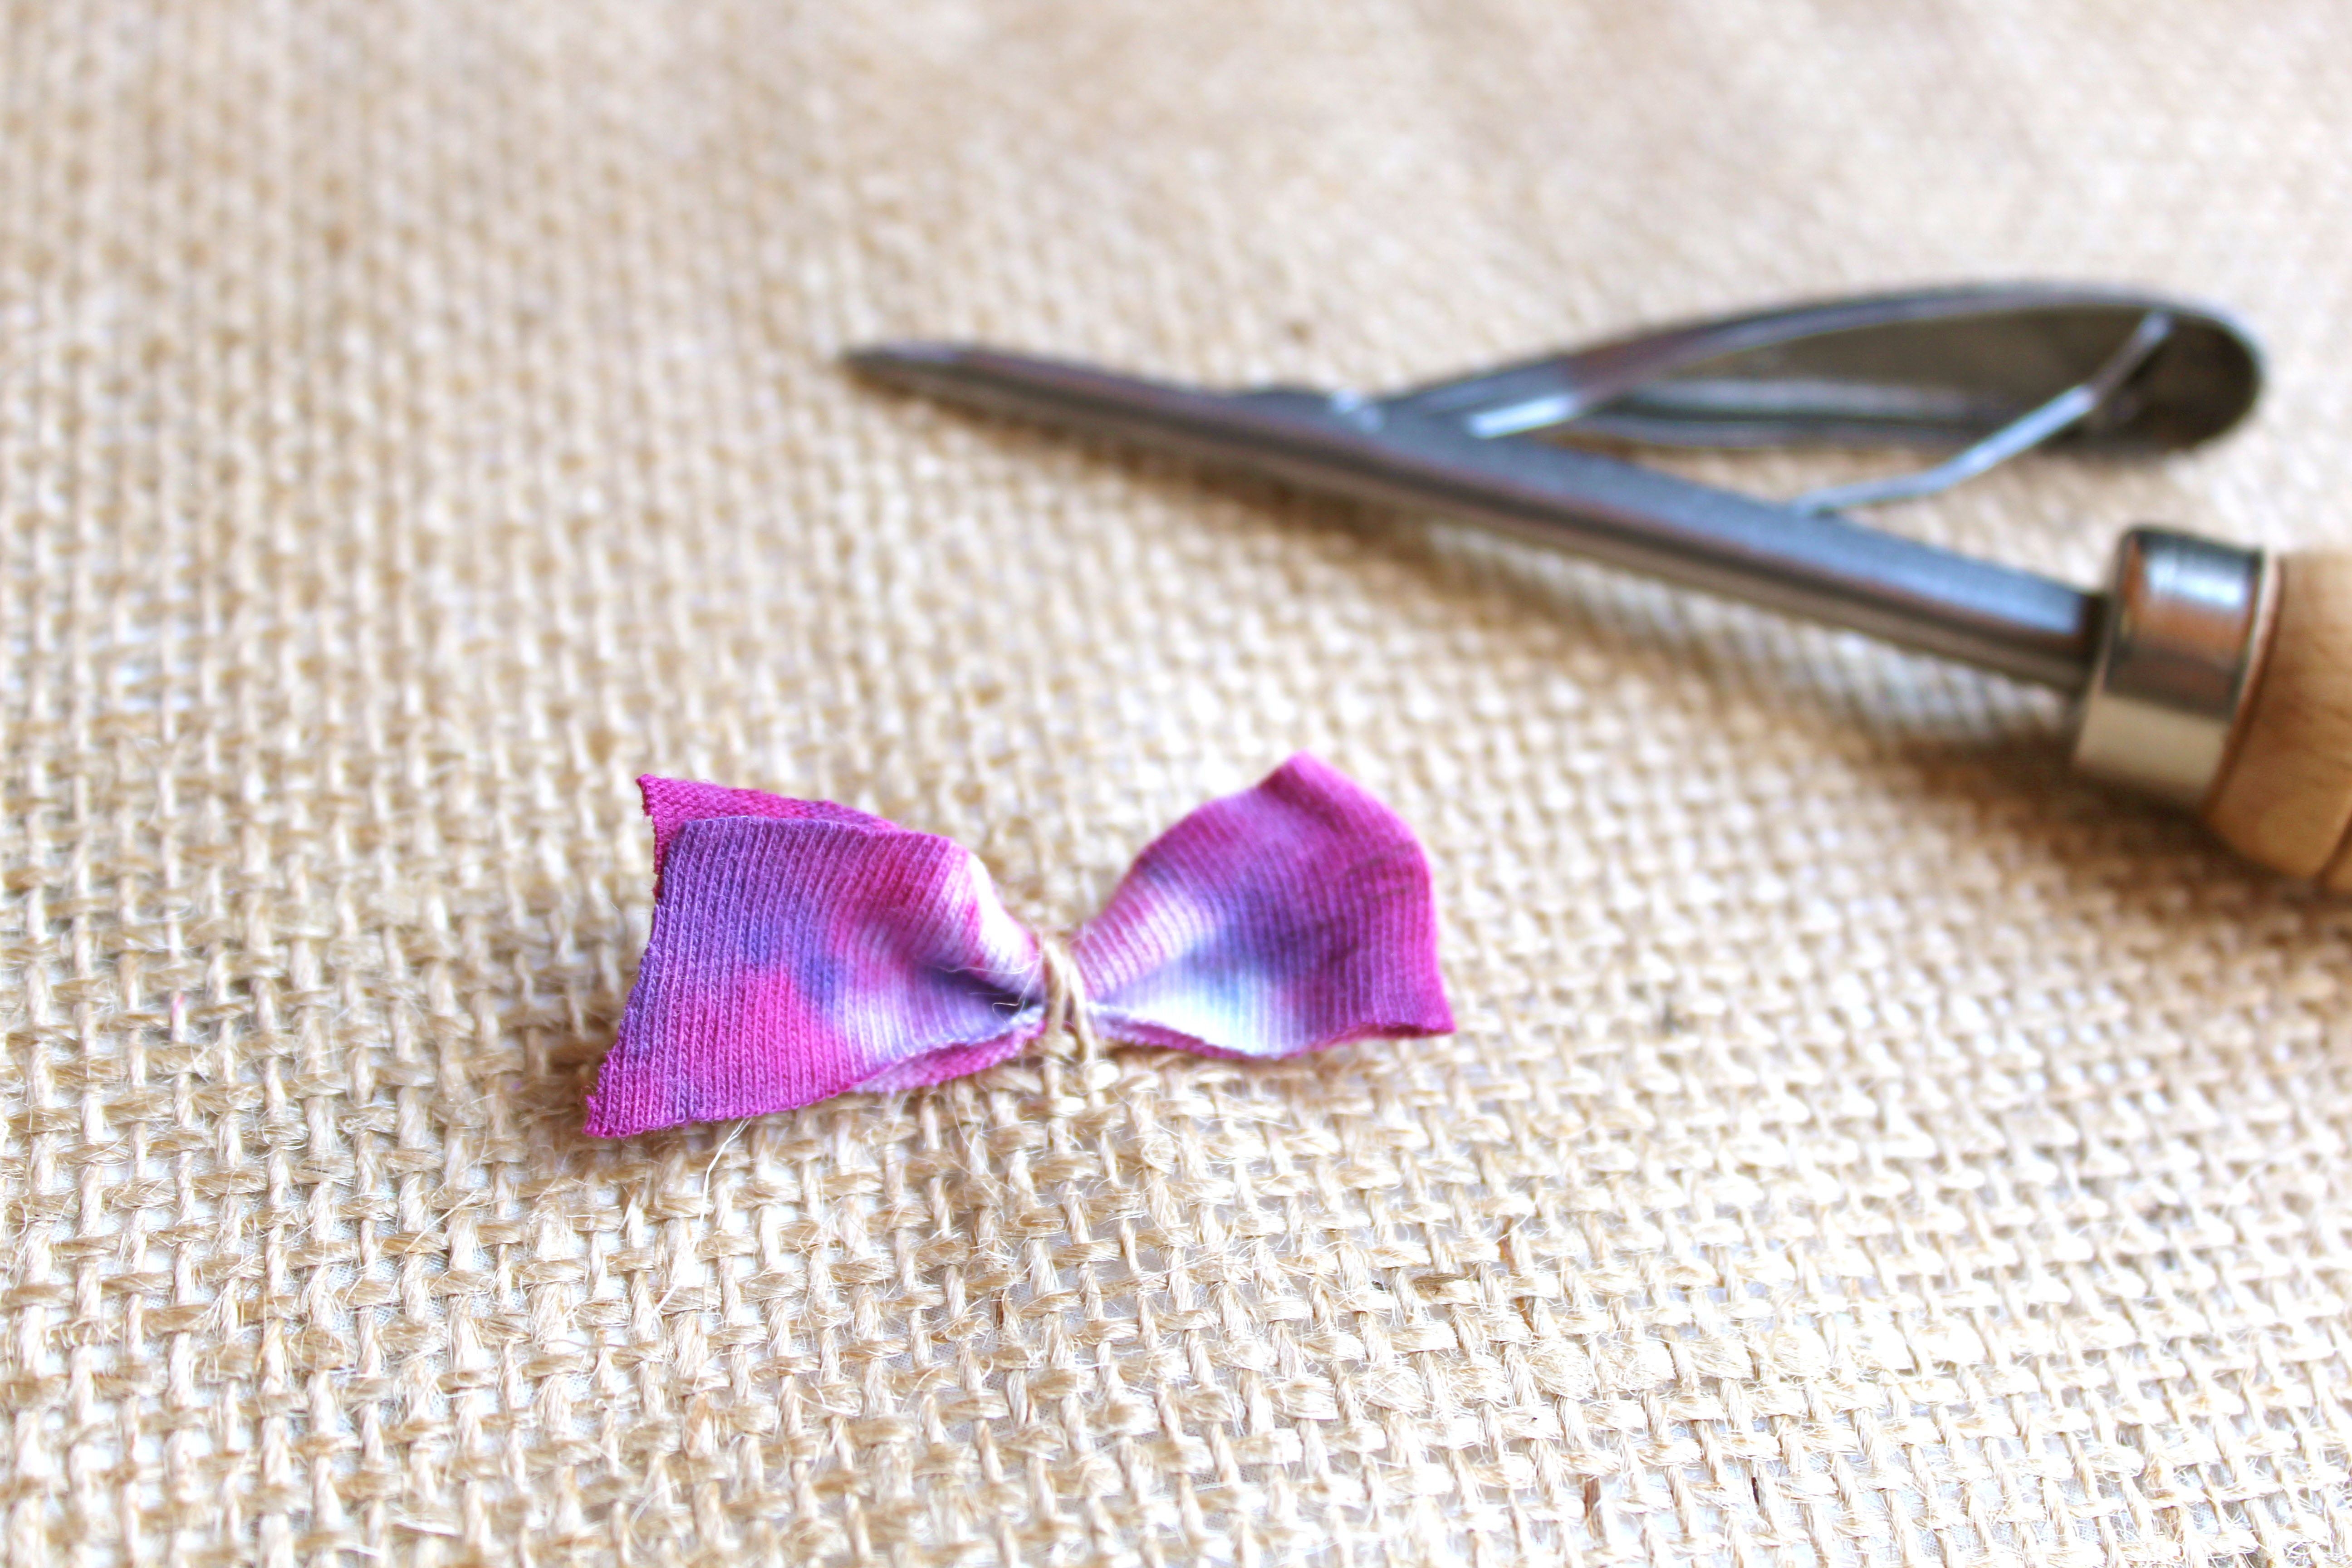
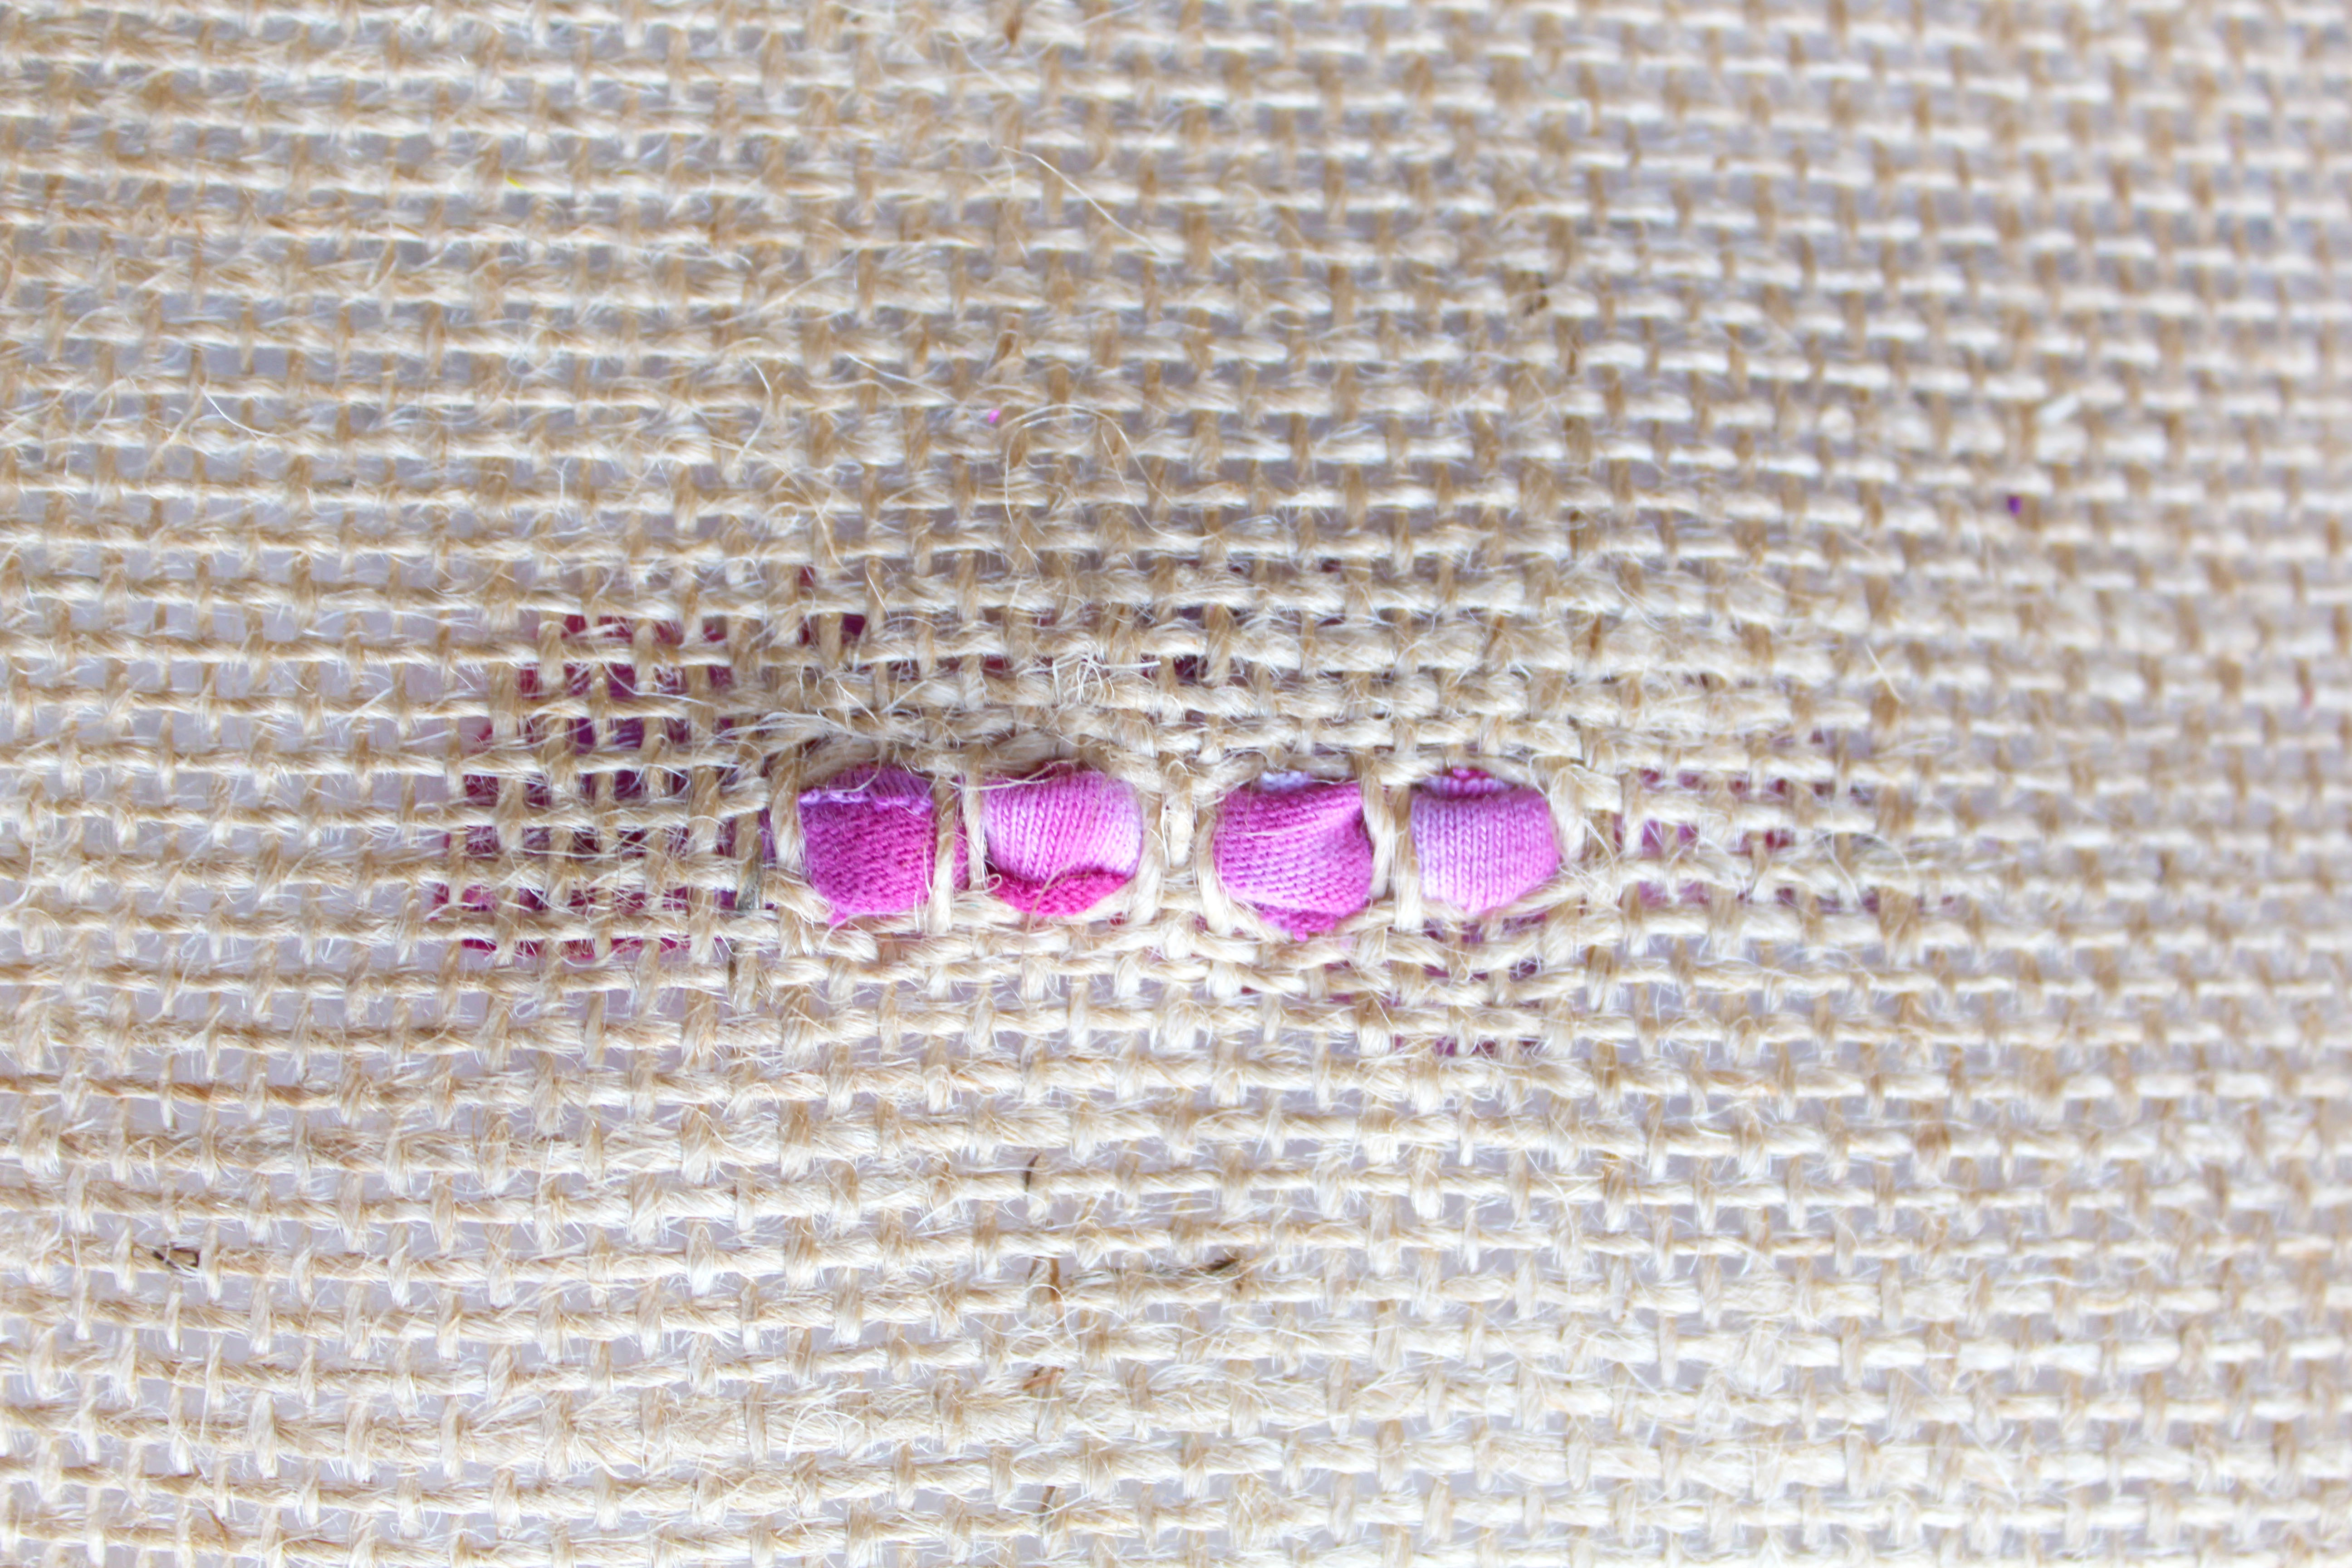
Step 6: Holding the hessian still with one hand, pull the Spring Tool back through the hessian (I find that it helps to wiggle it a bit), so that half of the folded strip is on one side of the strands of hessian and half is on the other. You will have a loop on one end and cut edges on the other side.
Step 7: Leaving approximately two or three holes between each rag and the next, repeat steps 2 to 6 to continue the method.
And that’s all there is to it! How easy is that 🙂 So, it may be easy, but why else should you think about trying the short shaggy technique?
Why choose Short Shaggy Rag Rugging?
- It makes rag rug designs more defined and crisp. Where patterns can disappear with the traditional shaggy technique of rag rugging, Short Shaggy rag rugging keeps lines crisp and designs clear.
- It uses less fabric than the traditional form of rag rugging. Our Sari Silk Rag Rug used less than 1kg of fabric in the Short Shaggy technique, where as the same size rug can take 2-3kg in other fabrics in the traditional shaggy style.
- It’s a very simple and forgiving technique. The Rag Rug Spring Tool is very easy to use and the Rag Rug Gauge makes cutting the strips much much quicker!
- As with all the rag rug techniques, short shaggy rag rugging still gives a beautiful plush feel. You’d be surprised by how comfy and cosy they feel.
CONNECT WITH US:
So, that’s all there is to it. If you’re already familiar with the traditional shaggy form of rag rugging using the Rag Rug Spring Tool then you’ll be whizzing along in no time. We hope you found the tutorial interesting and stay tuned for more short shaggy rag rug creations. Do let us know what you think by commenting below or, if you’d like to be the first to find out about new techniques, why not join our Rag Rug Community on Facebook https://www.facebook.com/groups/RagRugCommunity/or join our fortnightly newsletter here.
OR CONNECT WITH US ON SOCIAL MEDIA AT:
Instagram: https://www.instagram.com/raggedlife/
Facebook: https://www.facebook.com/raggedliferagrugs/
Pinterest: https://www.pinterest.co.uk/raggedlife/
Twitter: https://twitter.com/raggedlife
As always, happy rag rugging!
Elspeth x

[…] 9cm is a decent length for most projects, but you can also play around with and deliberately cut your strips shorter or longer for texture and design. In the Ragged Life Rag Rug Mini Wreath below I cut my strips 3cm in length for a shorter pile. However, the shorter the shaggy rag rug pieces, the more likely they are to fall out over time, so I wouldn’t recommend this for practical projects, such as rugs and cushions. If you’d like a shorter pile for those projects, I’d recommend doing the “Short Shaggy” technique of rag rugging. […]
[…] silk ribbon comes in pre-cut strips. These tend to be the perfect width to loopy rag rug and short shaggy rag rug with, reducing the time taken to prep your […]
I’ve realised that my spring hook gets clogged with fibres preventing it closing properly and catching on the hessian. To combat this I clean the little trough with an interdent tooth pick! Works a treat…amazing how much fluff comes out too!
Good tip Jane! Thanks for sharing 🙂
I’ve started my first rag rug and find it really relaxing , though I am surprised at how long it is taking.
It’s exciting too as I don’t know what the finished article will look like.!!!
So glad that you’re finding it relaxing Heather. It is pretty addictive! 🙂
[…] silk ribbon comes in pre-cut strips. These tend to be the perfect width to loopy rag rug and short shaggy rag rug with, reducing the time taken to prep your […]
[…] rag rugged each section using the Short Shaggy […]
[…] feet into it. For a how-to guide on the shaggy rag rug technique, view our instructional blog post here or watch our YouTube […]
[…] we were so chuffed with how it turned out that we’ve since made a larger version using the short shaggy method of rag rugging and our Ragged Life XL Hessian, which is a whopping 200 x 140cm. Below is how it turned out… […]
[…] in the interest of just getting on with it, here is my mum, Victoria’s, latest short shaggy pink rag rug, inspired by the colourful textiles of designer Matthew […]
[…] a combination of the traditional shaggy and short shaggy rag rug techniques to create contrast between the rag rug heart and background fabric, which makes the heart stand out […]
[…] Or to do the short shaggy rag rug technique, read step by step instructions here. […]
[…] spring wreath is our latest creation (as of June 2019), made using the loopy, shaggy and short shaggy techniques of rag rugging. We particularly love how blousy the big white flowers […]
[…] Mondrian-inspired rag rug was made in the new short shaggy technique of rag rugging, which we’ve been absolutely loving recently. We didn’t copy one of Mondrian’s […]
[…] ruggers to quickly and easily cut pieces of fabric to the correct length for shaggy rag rugging and short shaggy rag rugging. It saves so much time and effort in the fabric prep stage of making a rag rug that it’s a […]
[…] out shaggy rag rugging, where everything becomes a bit blurred. That left loopy rag rugging and short shaggy rag rugging. I decided to go with short shaggy rag rugging as would keep the shaggy texture of the original […]
[…] choose?” Which do I think will work best, loopy rag rugging? Shaggy rag rugging? Or maybe short shaggy rag rugging? Well, generally the thicker the pile of the rag rugging, the cosier it will feel, which is why I […]
[…] that in mind, she decided to do the rug in the “short shaggy” technique of rag rugging… a technique that she actually made up, but has become a firm favourite amongst the Ragged […]