Throughout my rag rugging years, I’ve experimented with sooo many different fabrics to give texture to my designs. However, recently I’ve been mulling over how I can create texture in different ways. I’ve met a few rag ruggers who have tried using pinking shears to add a different look and feel to their designs (Janice from our Rag Rug Coffee Morning and Amy from Almond Rock), so I thought it was about time I gave it a go.
I decided to put my theory into practice making a rag rug wreath, as it’s a small enough project to make the cutting not too arduous. Somewhat obviously, I decided that the shaggy rag rug technique would showcase the spiked edging best. I have to say I was pretty impressed with the end result, but you’ll be the judge of that. Take a look for yourself…
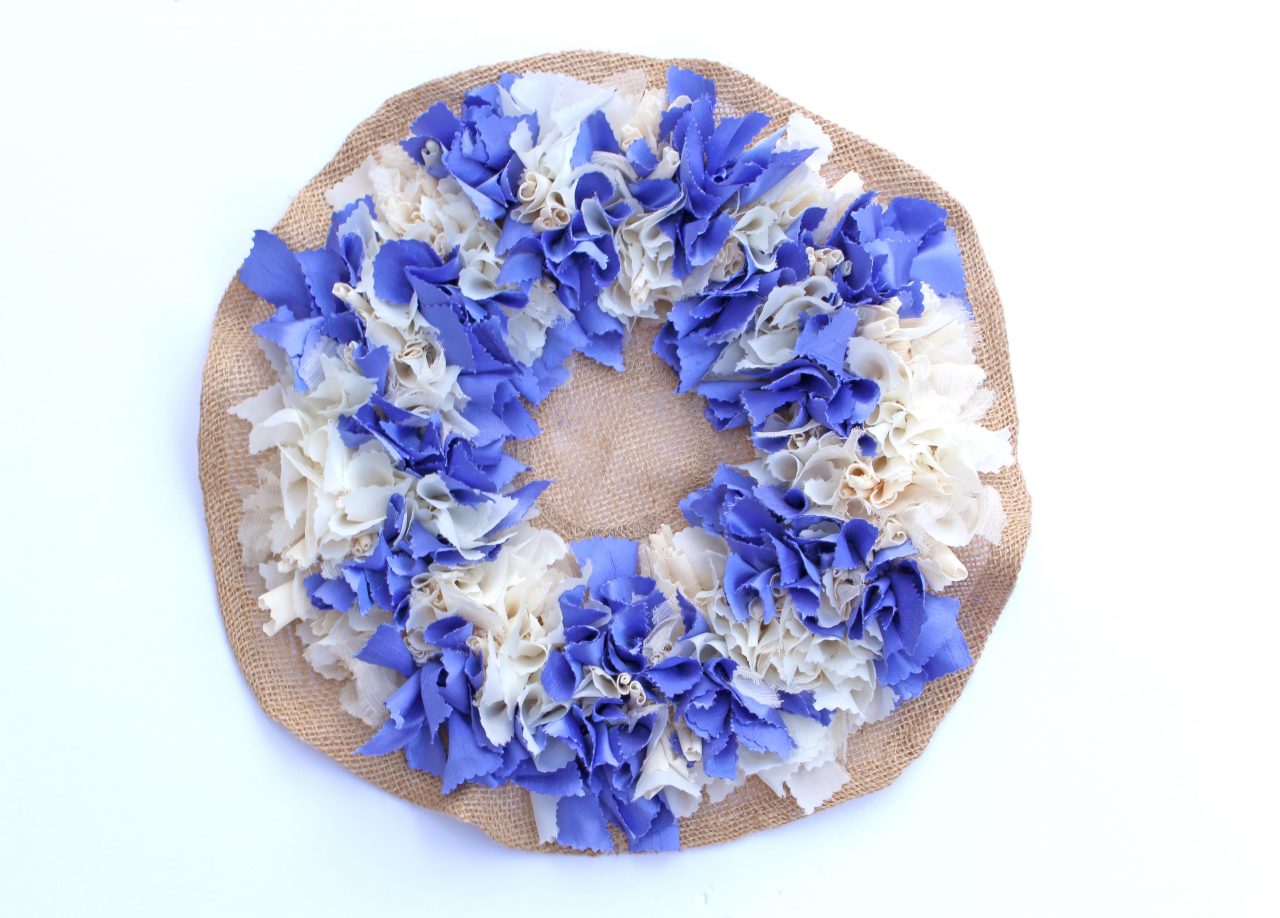
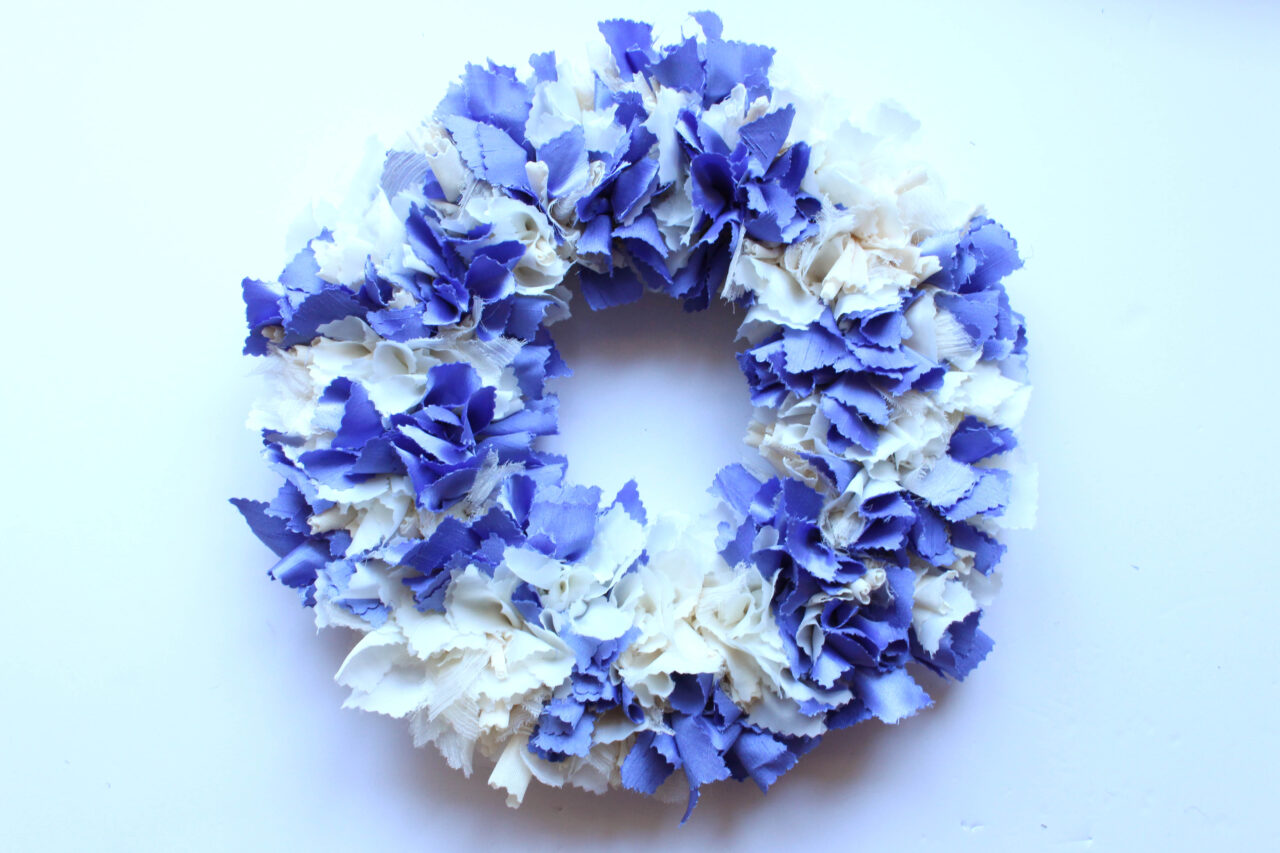
Our Pinked Rag Rug Wreath:
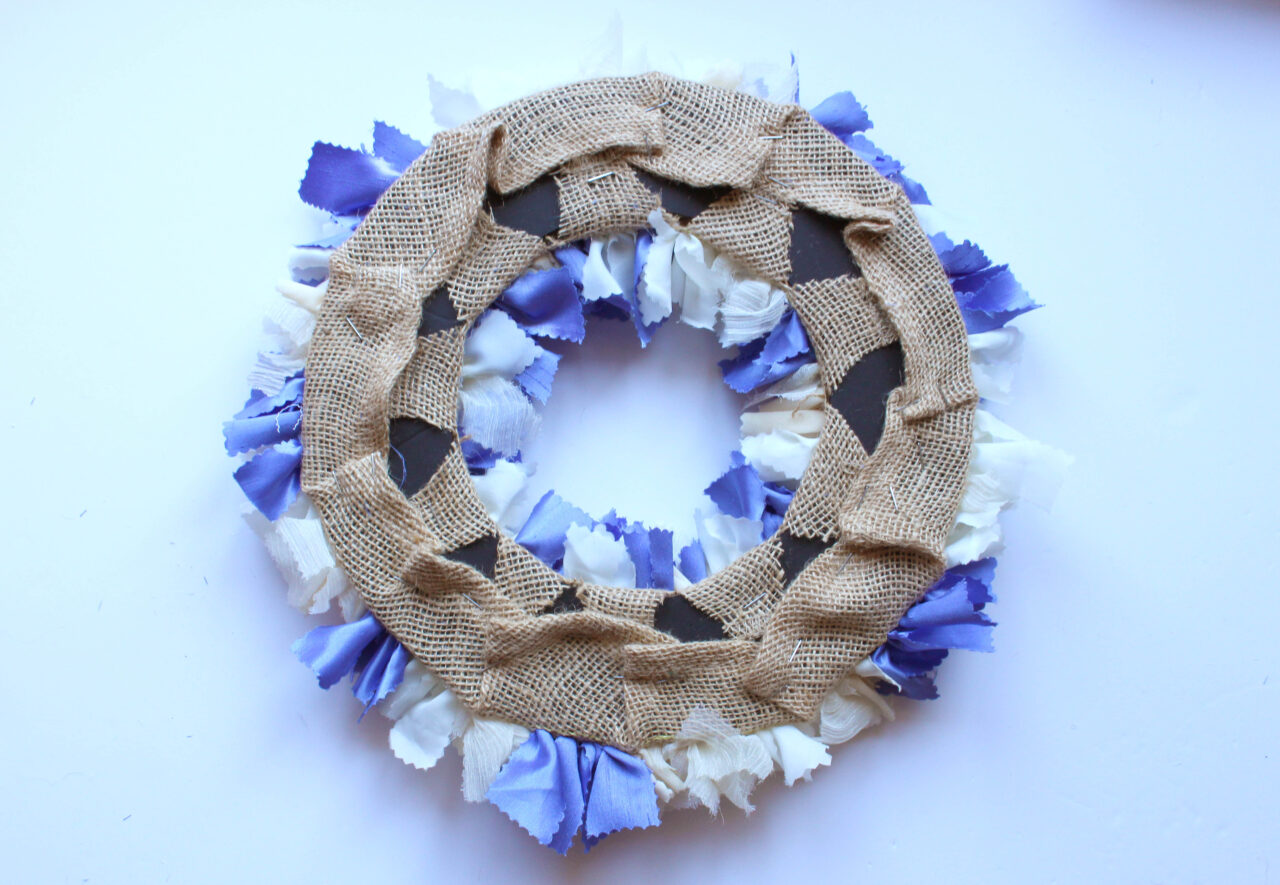
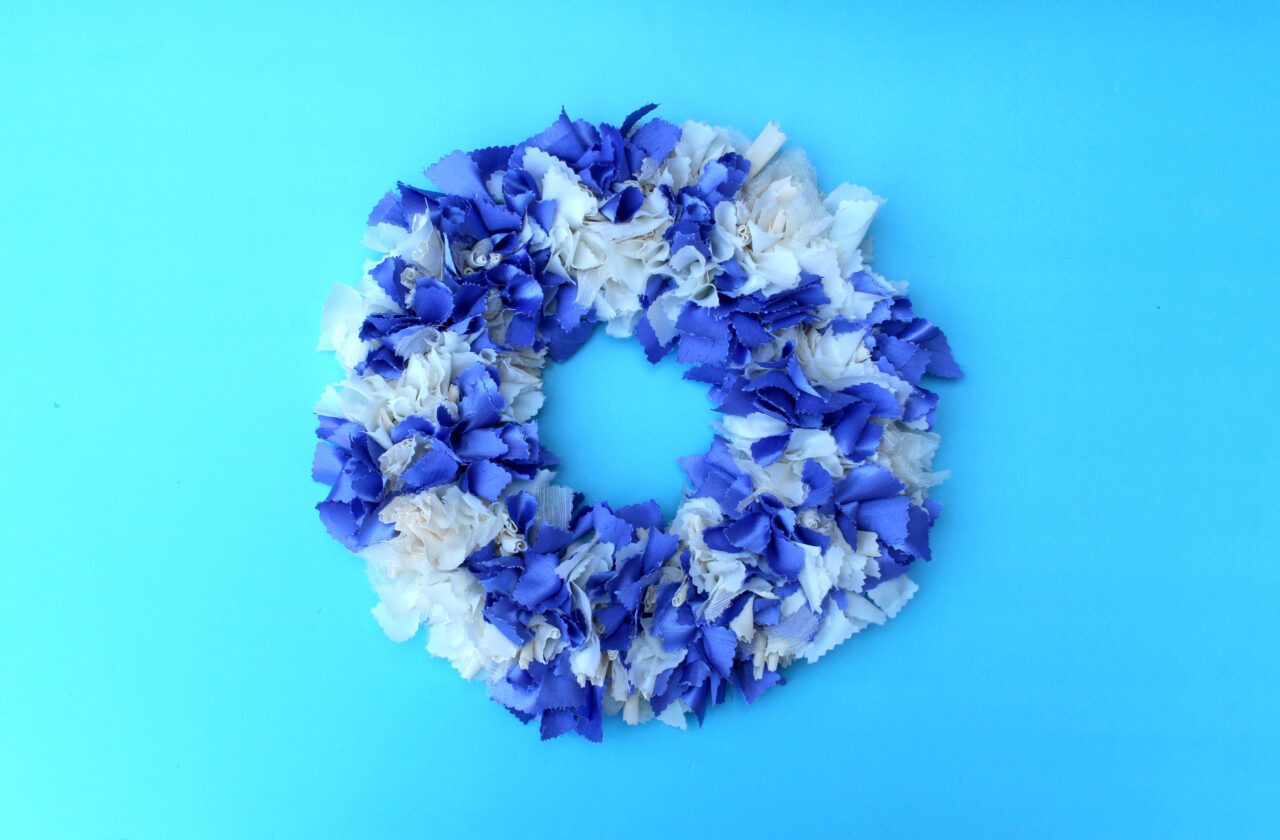
Here is the final wreath in all its pinked glory…

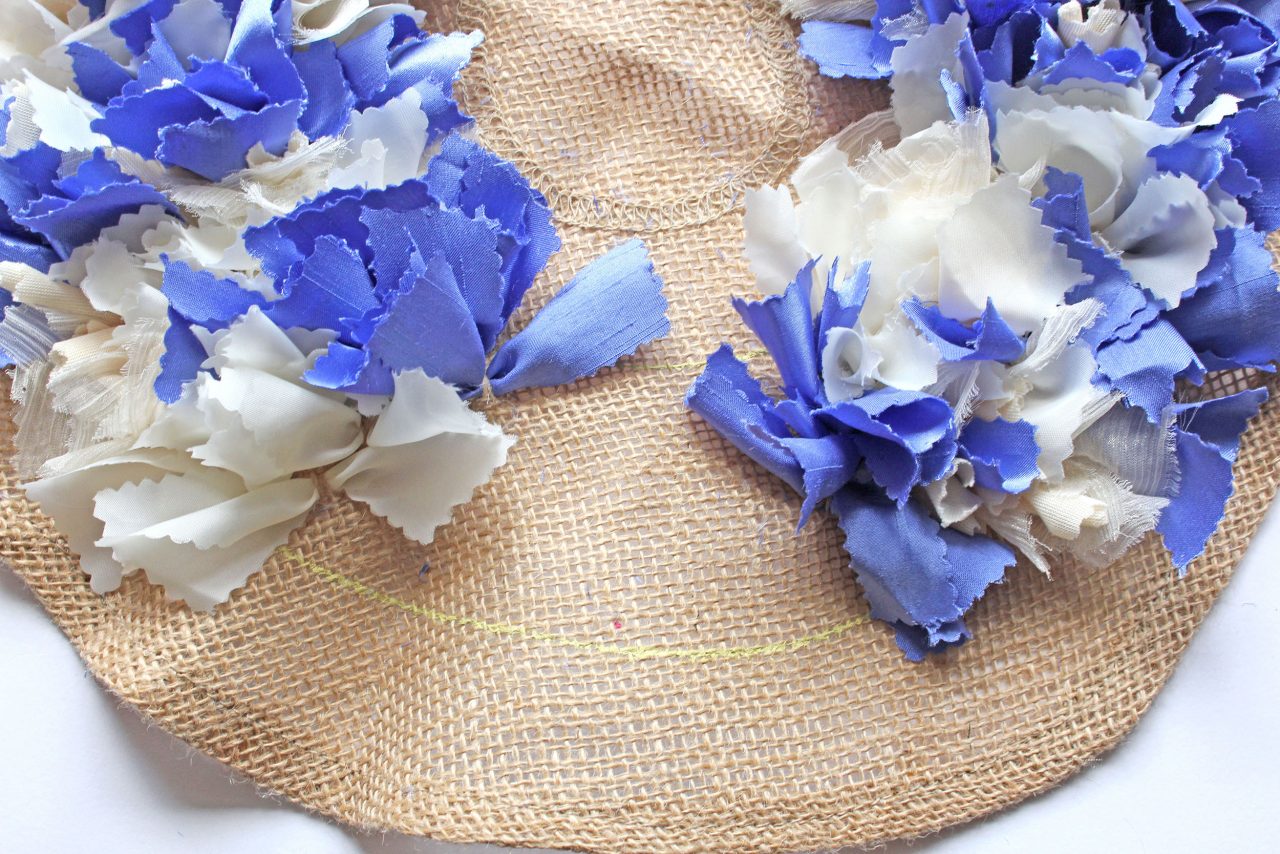
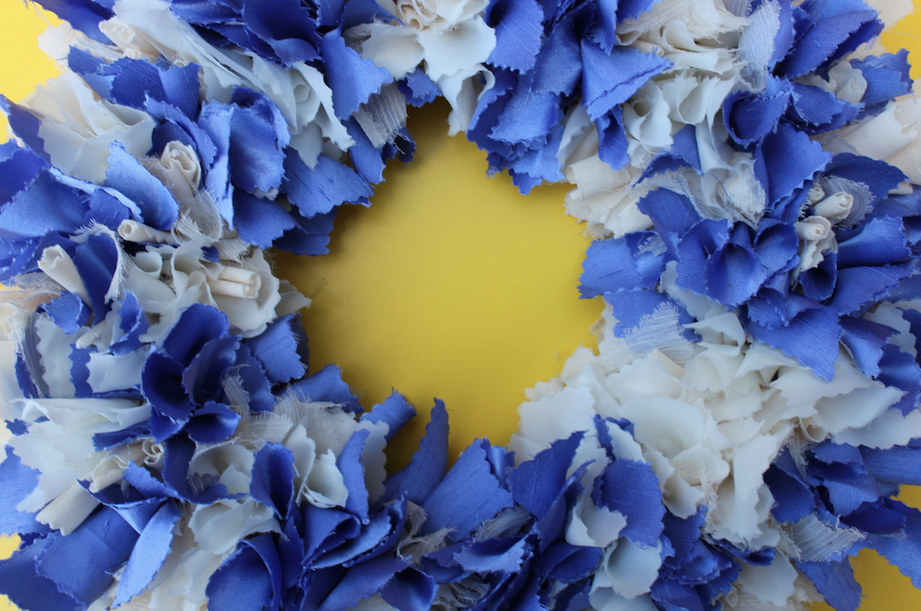
And a few close up shots…
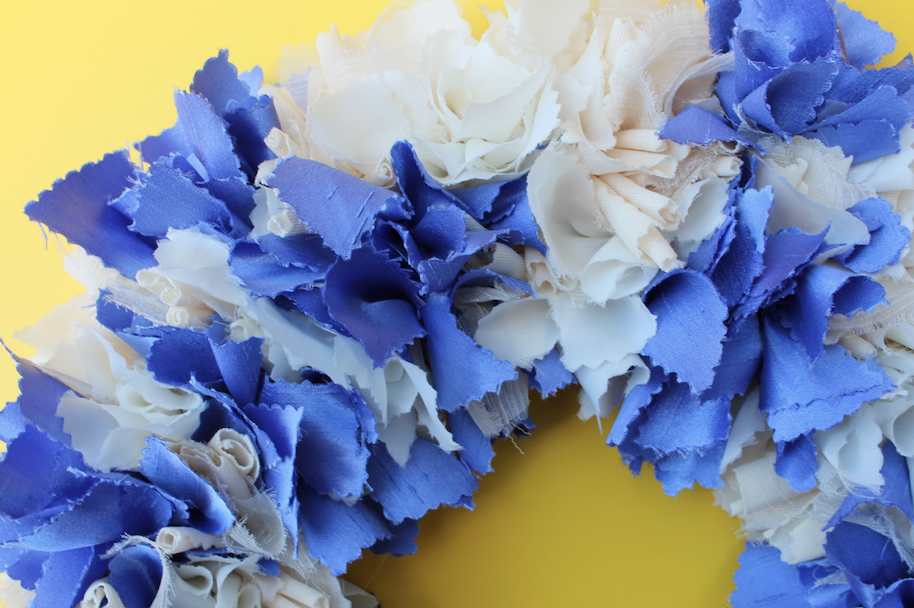
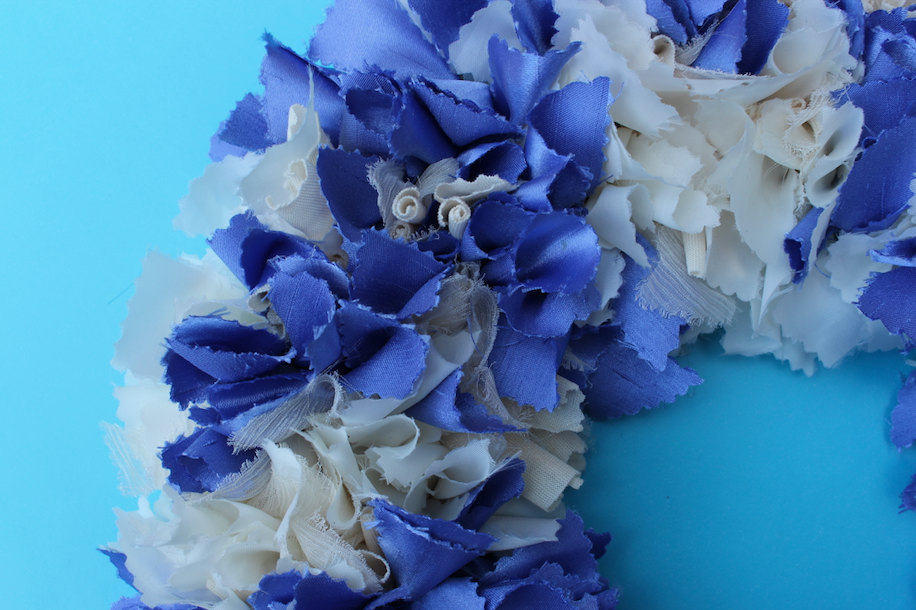
As you can see, the pinking shears gave an incredibly simple rag rug wreath so much texture and depth.
Want to give it a go yourself? Follow the steps below for how we made our wreath…
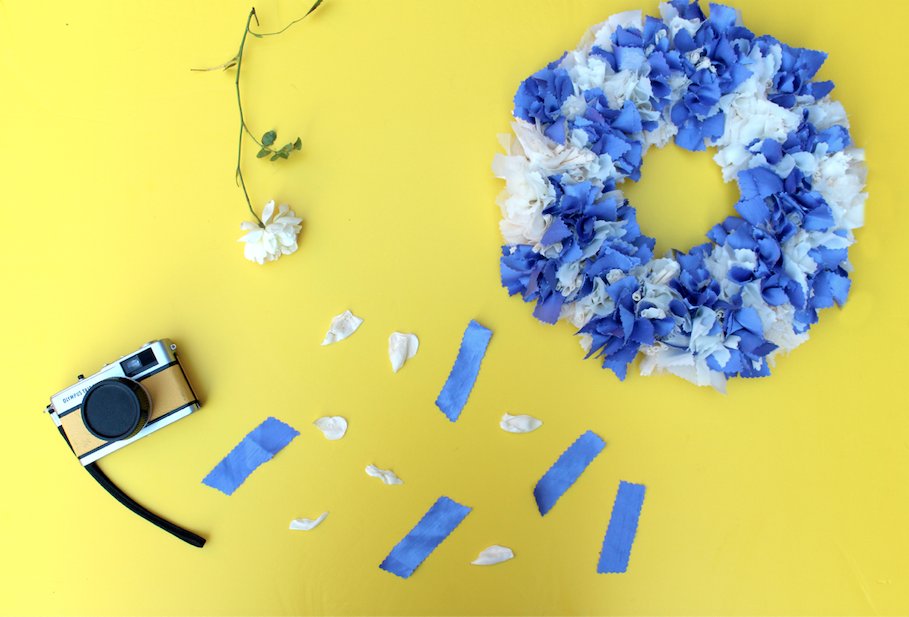
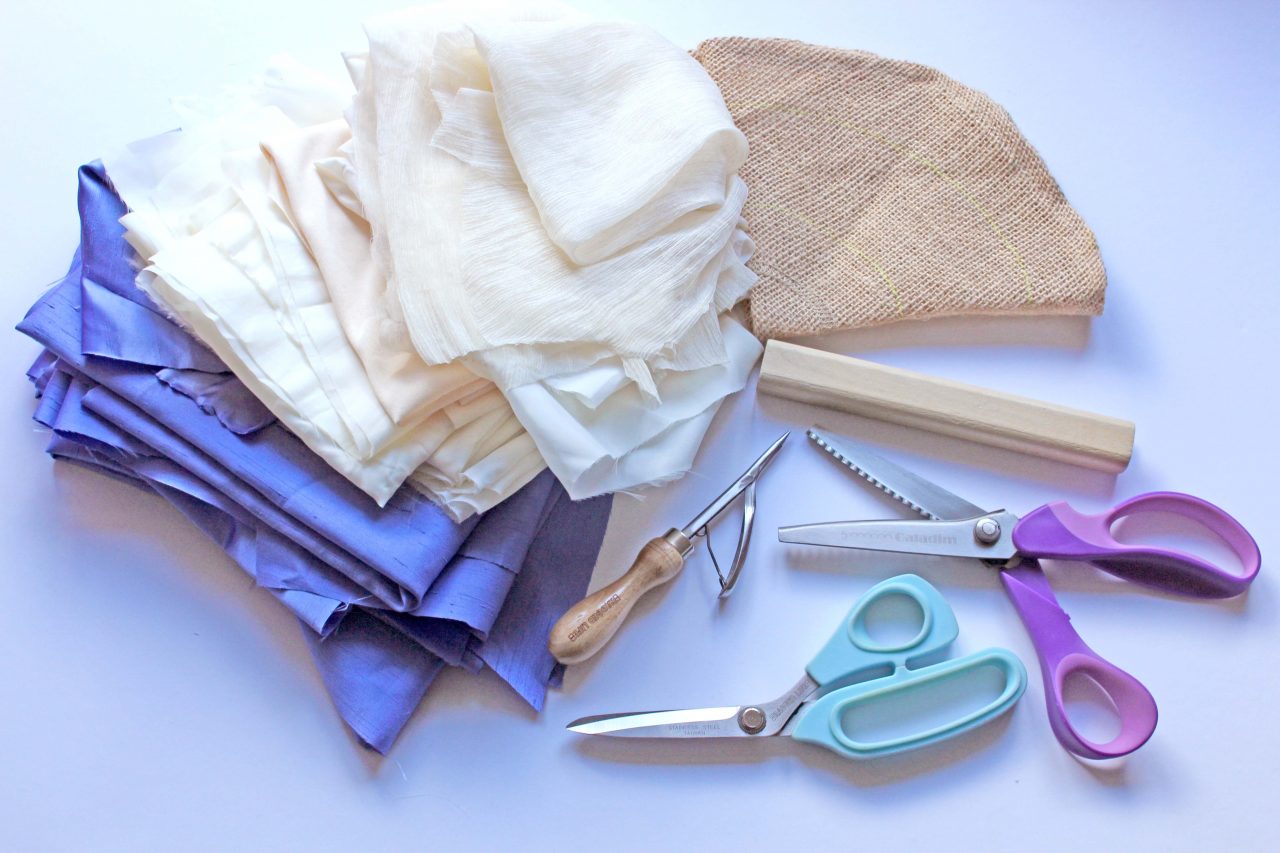
What you will need:
- Hemmed wreath hessian & mount – which can be bought here.
- Pinking shears (we used these ones)
- Scrap fabric (we used an old silk dress, its lining & a chiffon blouse)
- Fabric scissors
- Rag rug gauge – which can be bought here.
- Rag rug spring tool – which can be bought here.
- Staple gun or glue gun (for assembly)
- Hanging loop (optional)
- Felt for backing (optional)
Step by step instructions:
Creating your pinking sheared strips:
For the shaggy technique of rag rugging, you will need to create short strips of fabric that are approximately 1.5 x 7cm in size. If you had to manually cut each piece, it would take forever, so the below video shows how we do this using fabric scissors and a rag rug gauge.
However, we wanted to make our wreath using pinking sheared pieces of fabric, so the below steps show the same process using pinking shears instead…
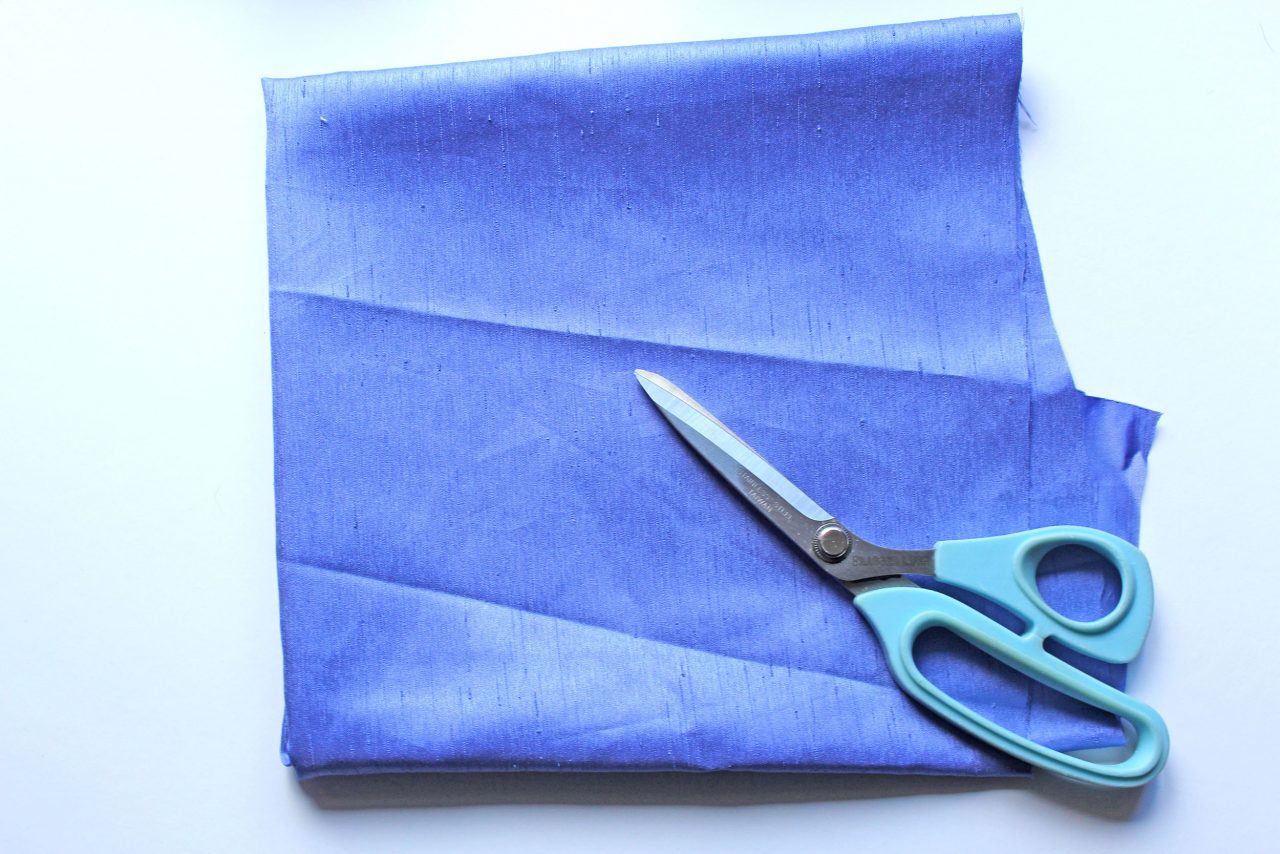
Preparing your fabric strips
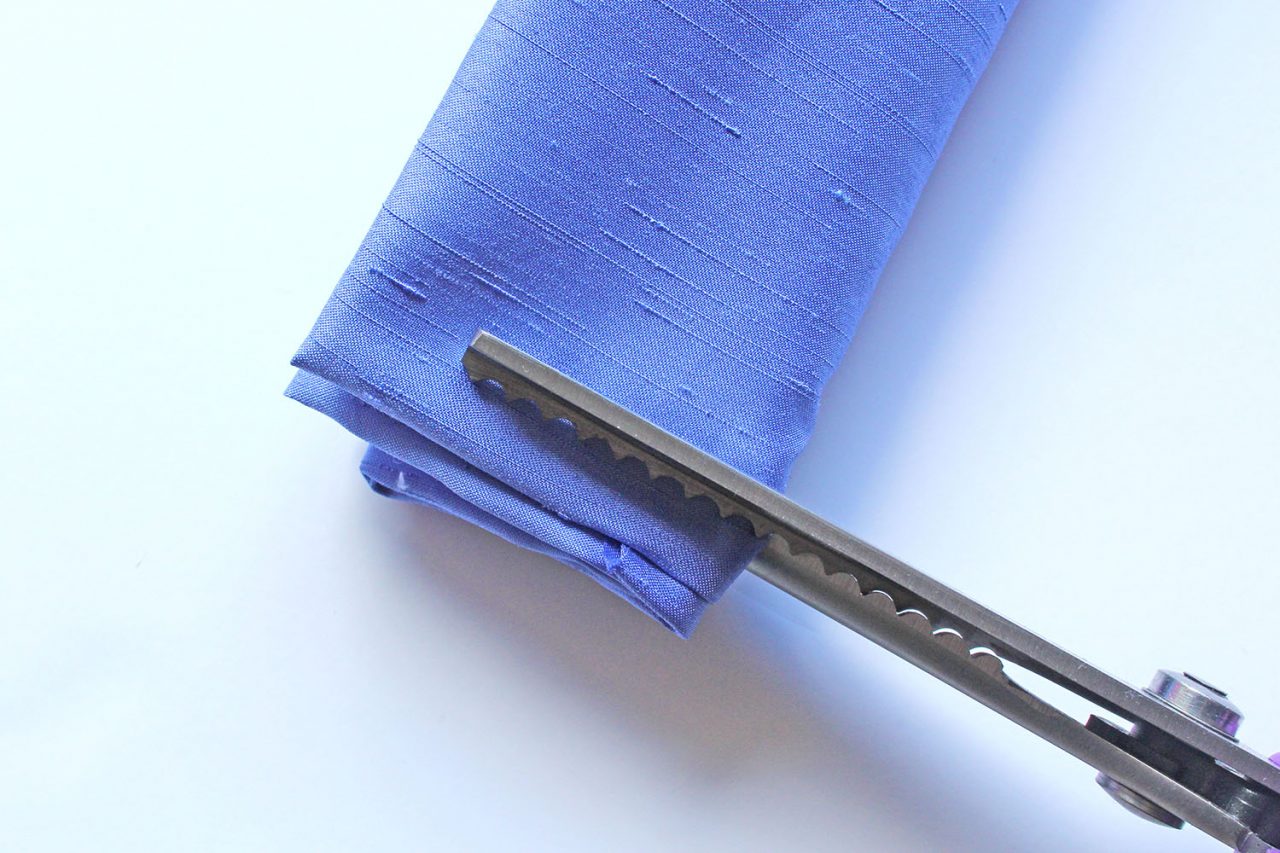
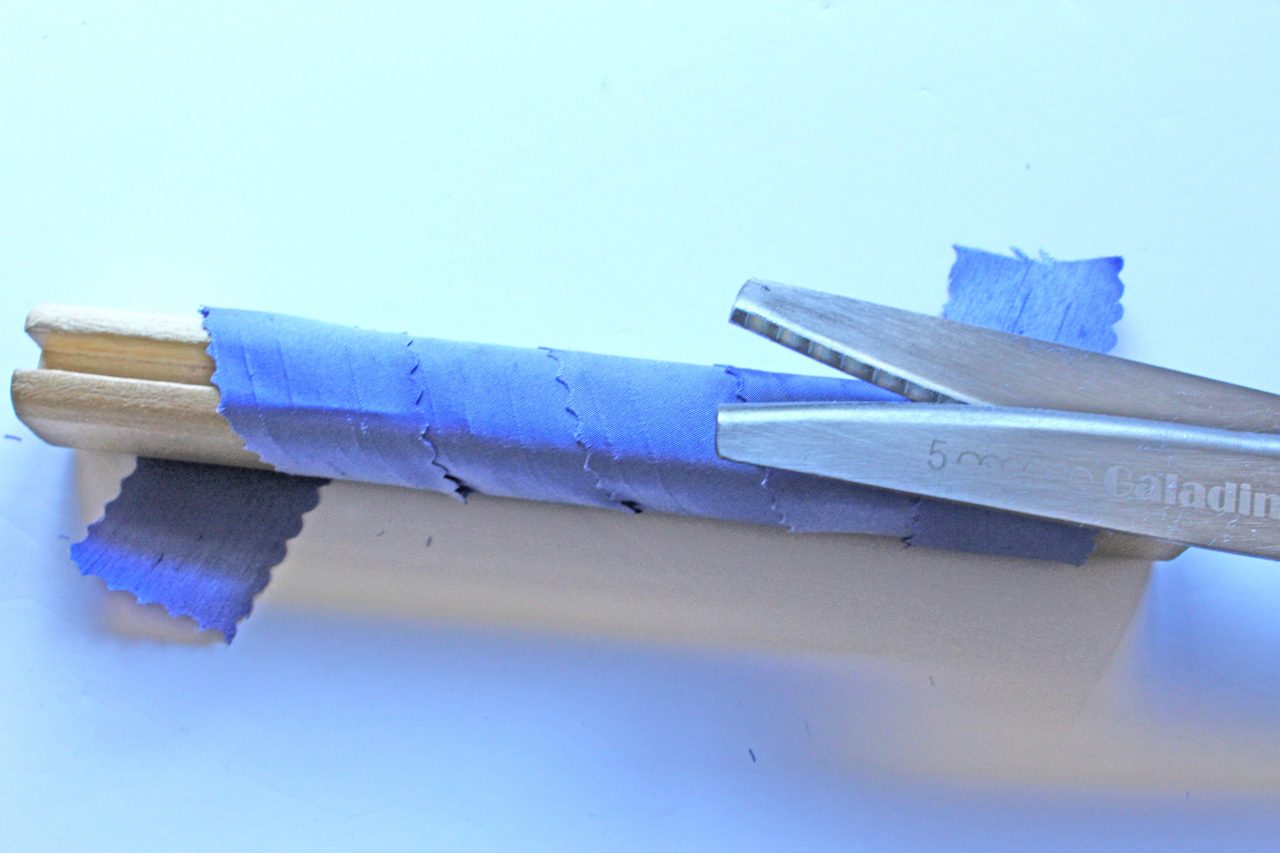
Step 1: Once you’ve taken all the seams and bumpy bits off your piece of fabric, cut your fabric into long strips using pinking shears. Fold your fabric over several times to create a tube of fabric and cut through multiple layers to create 1.5cm width strips. The longer they are, the better.
Tip: Keep in mind that your fabric may be a little tougher to cut through with pinking shears so you may not be able to fold it over as many times as you would if using normal fabric scissors.
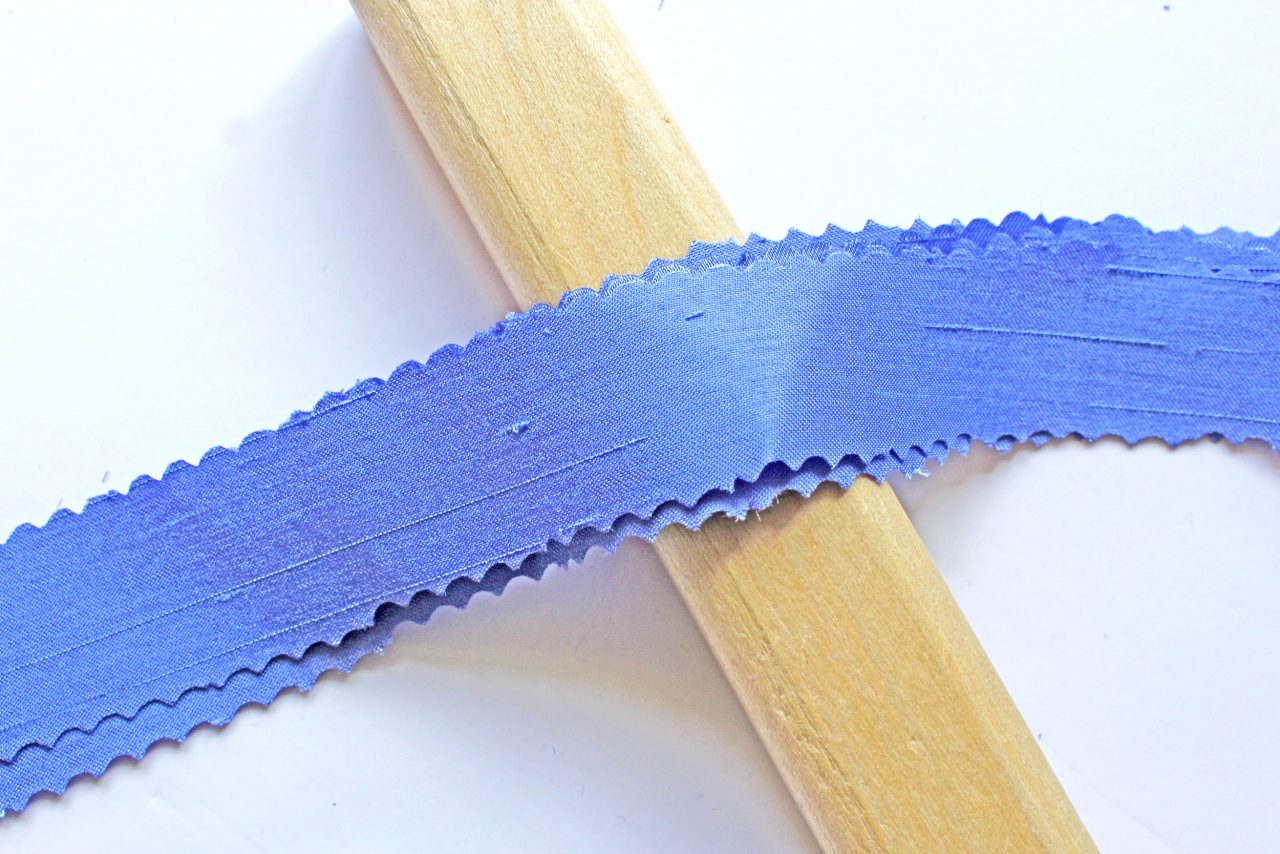
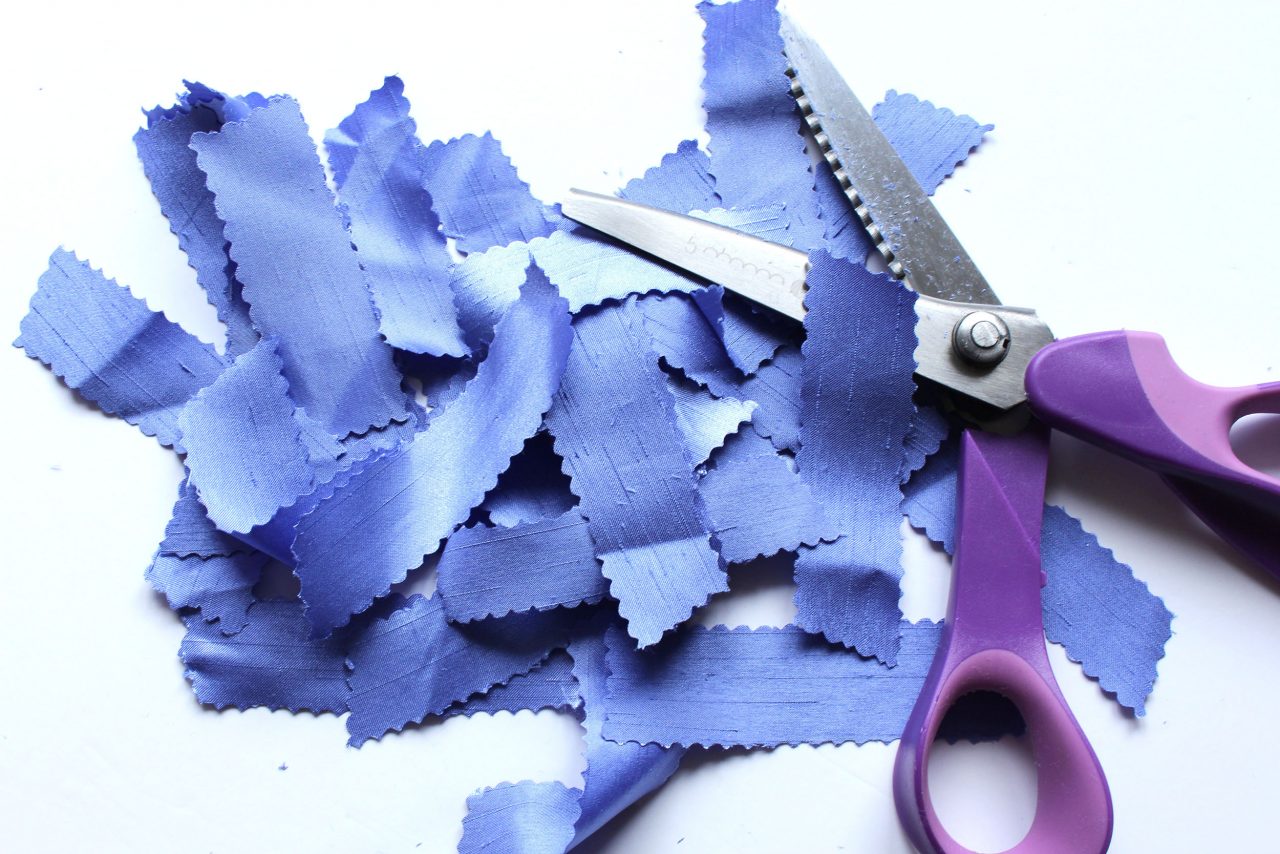
Keep cutting 1.5cm wide strips along your tube so you are left with long strips. The below photo shows what the pinked edges look like.
Step 2) Take a few of the pinked strips and line the ends up together at one end of the gauge. Wrap the strips around the gauge and cut down the groove as shown in the video below…

Rag rugging your wreath:
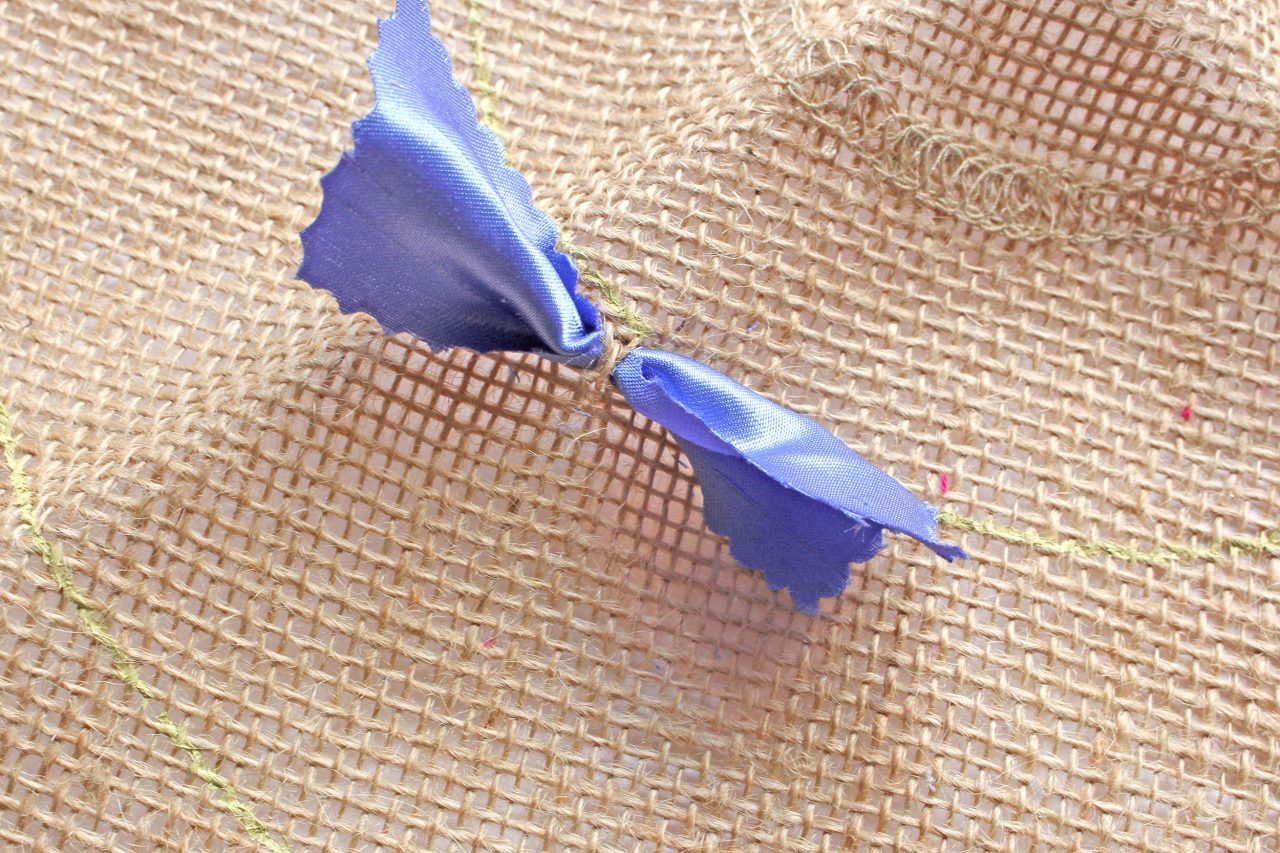
At this stage in the process, you may want to remind yourself on how to do the shaggy rag rug technique. You can view our YouTube video guide here…
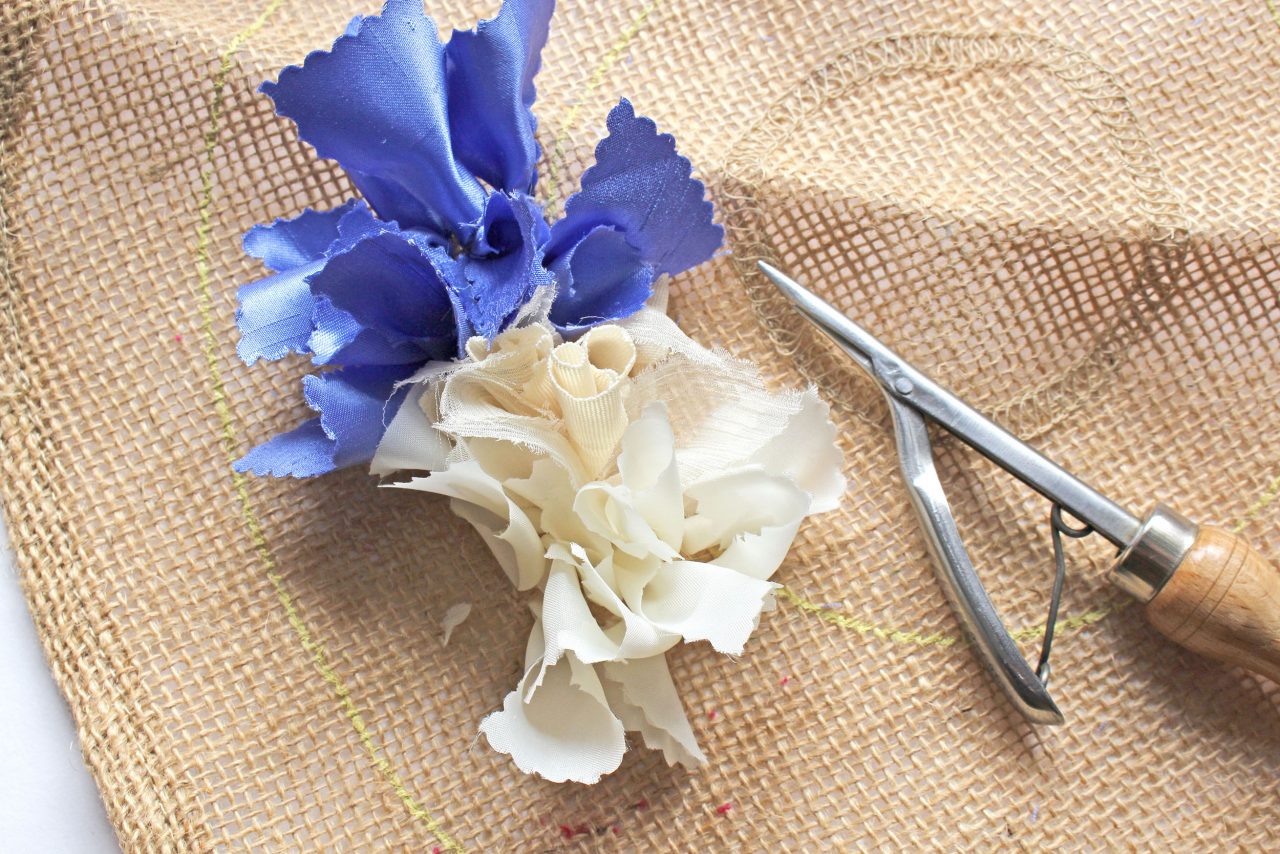
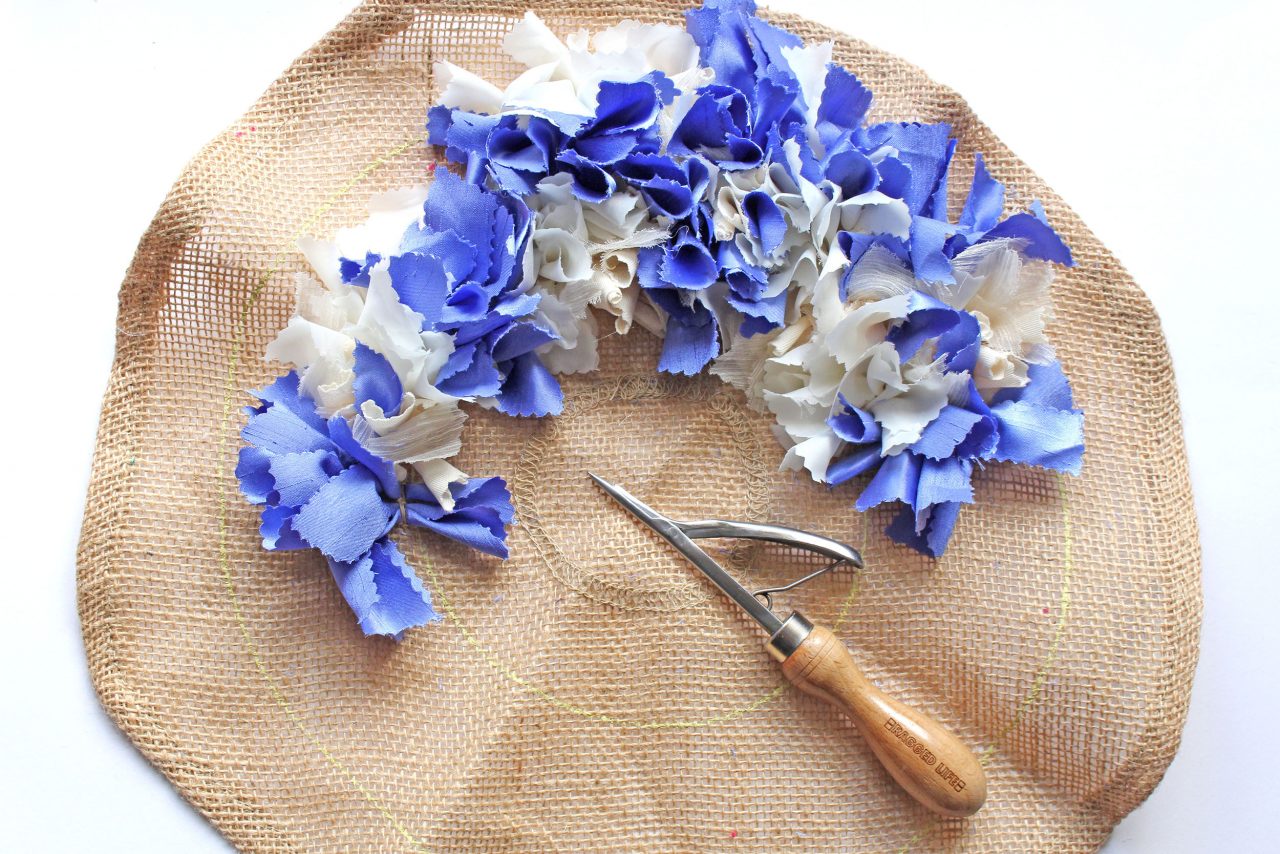
Now you can get started. Rather than a standard floral design I kept my wreath fairly simple. I mixed up my three different colours, grouping them in bunches of around 7 throughout.

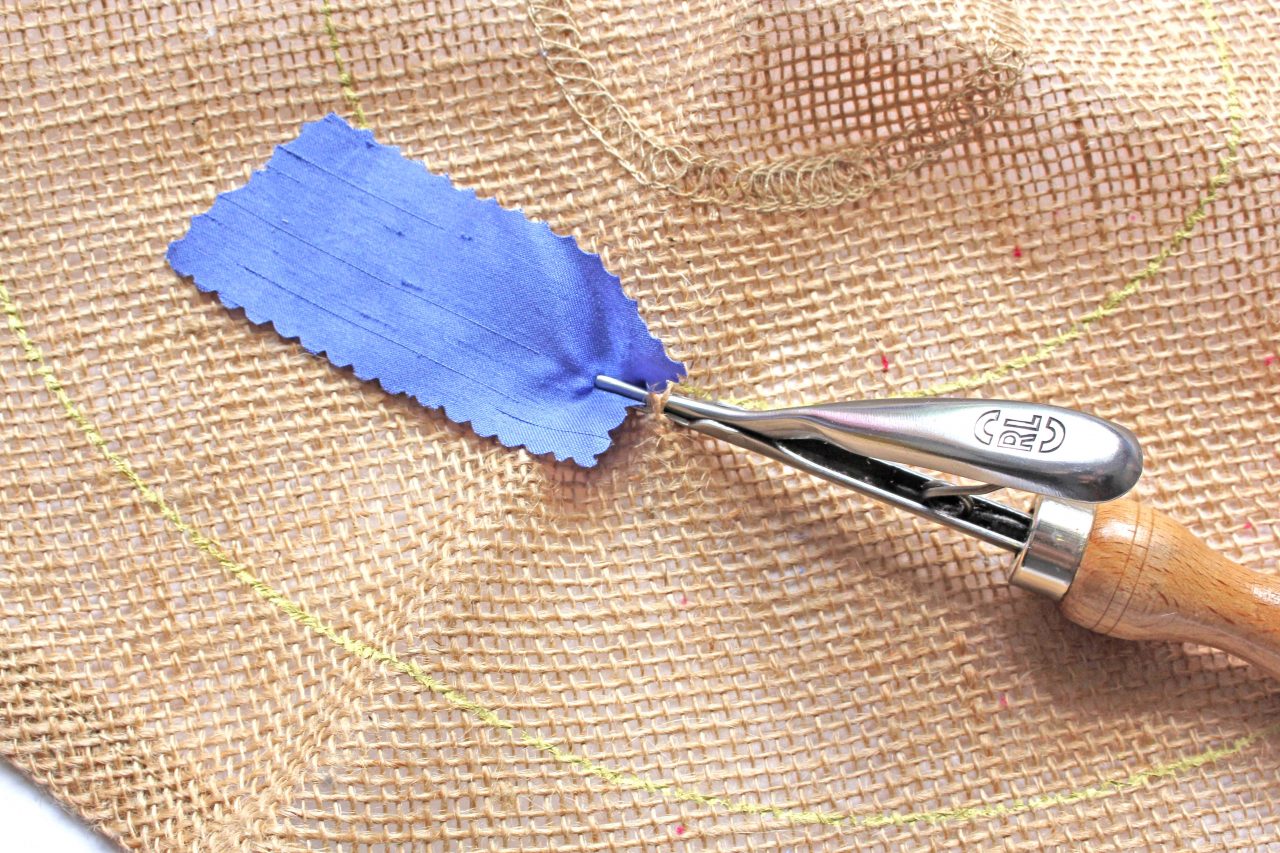
Step 1) Take your rag rug wreath hessian and your spring tool.
Step 6) Once you get to near the end, this is where I just would take a look at the front and back and assess whether there are any gaps that could be filled and just pop a few extra pieces in.
Assembling your wreath:
Once you’ve completed the rag rugging of your new wreath the next step will be to attach it to your foam board. See below for details on how this is done…
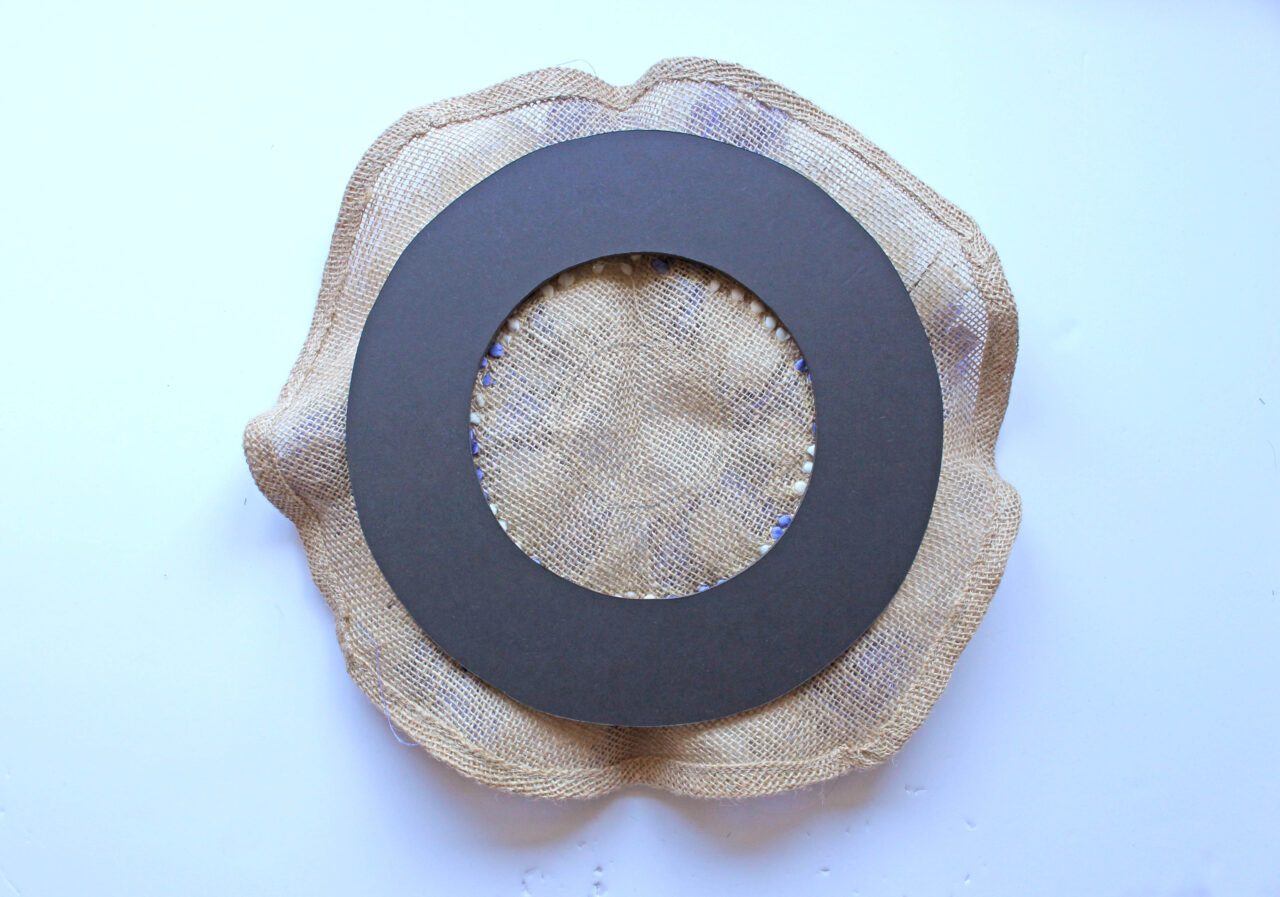
Step 1) Begin by turning the hessian shaggy side down and align your foam board ring with the rag rugged part of the wreath.
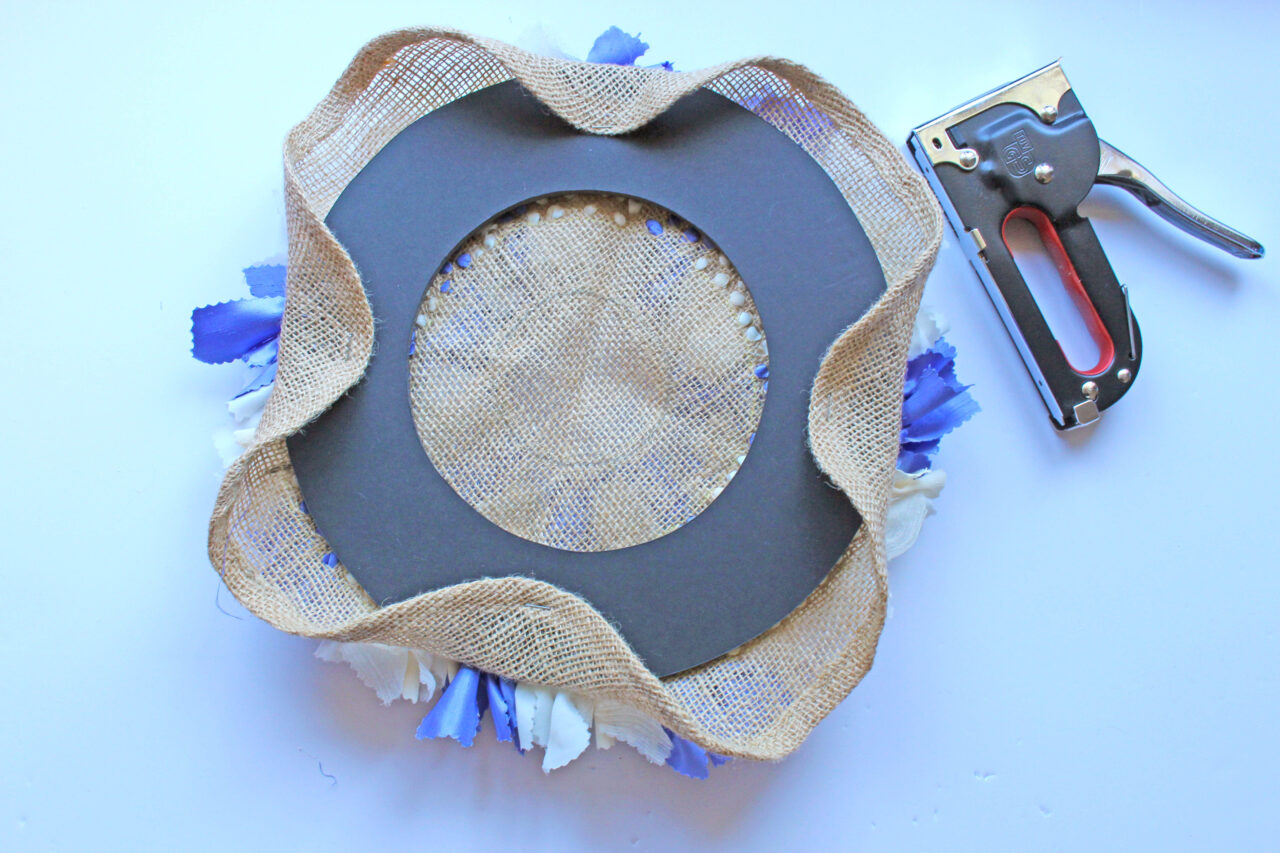
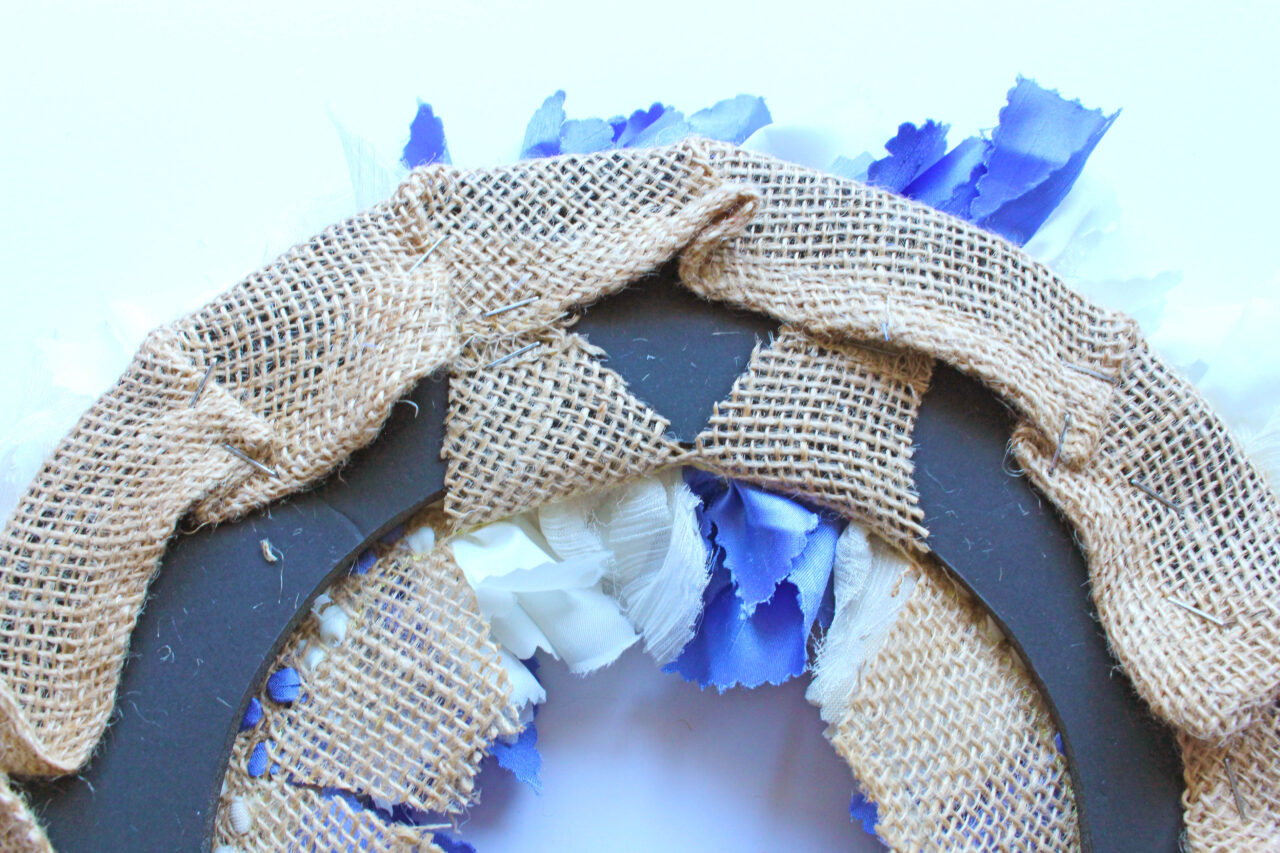
Step 2) Fold the hessian border back over the foam board ring and staple or glue gun it in place. I usually start with four equally spaced points.
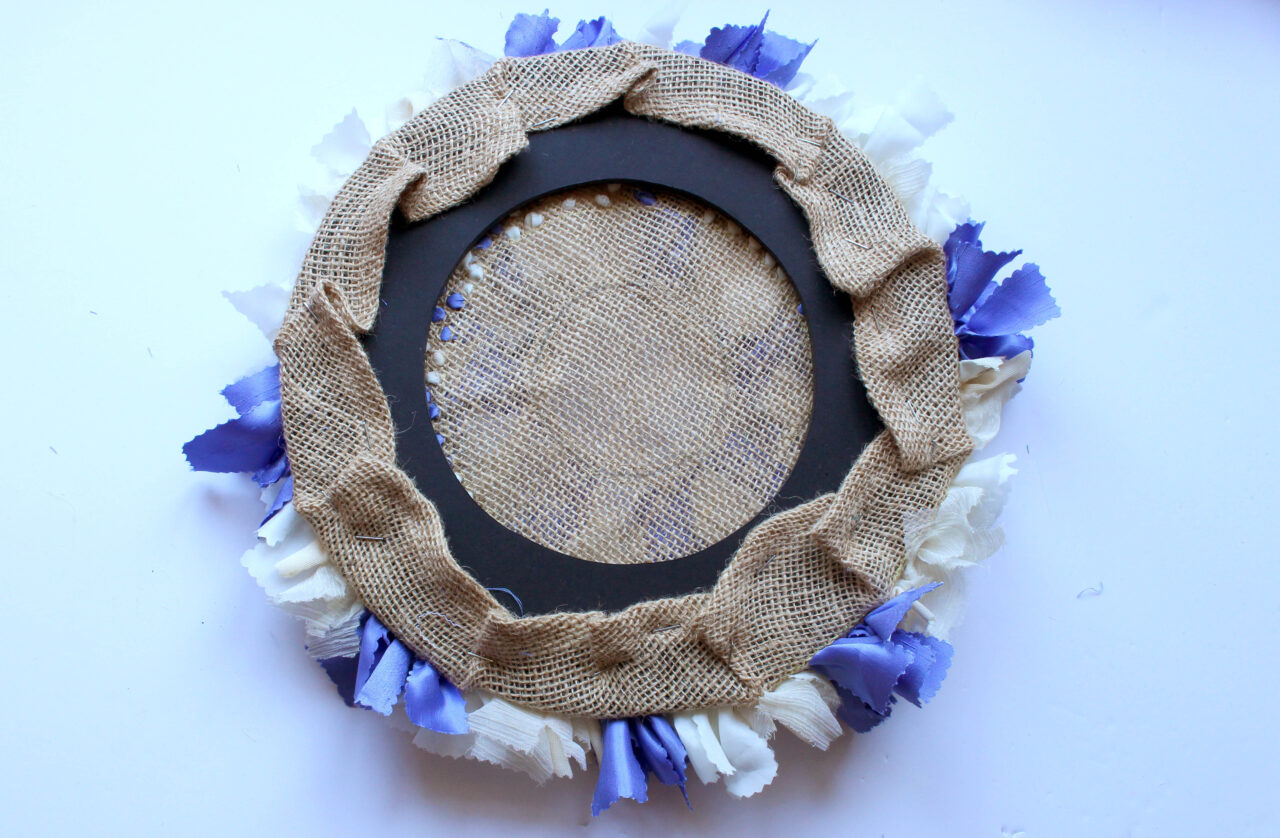
Step 3) Continue to staple around the outside of the ring, concertinaring as you go until it looks like the image below…
Step 4) Once the outside of the wreath is firmly connected to the backing board, the next step is to cut out the circle inside the inner hemming of the ring.

Step 5) Next, cut small slits in the inner ring of hessian, making sure not to cut too close to the rag rugged part.
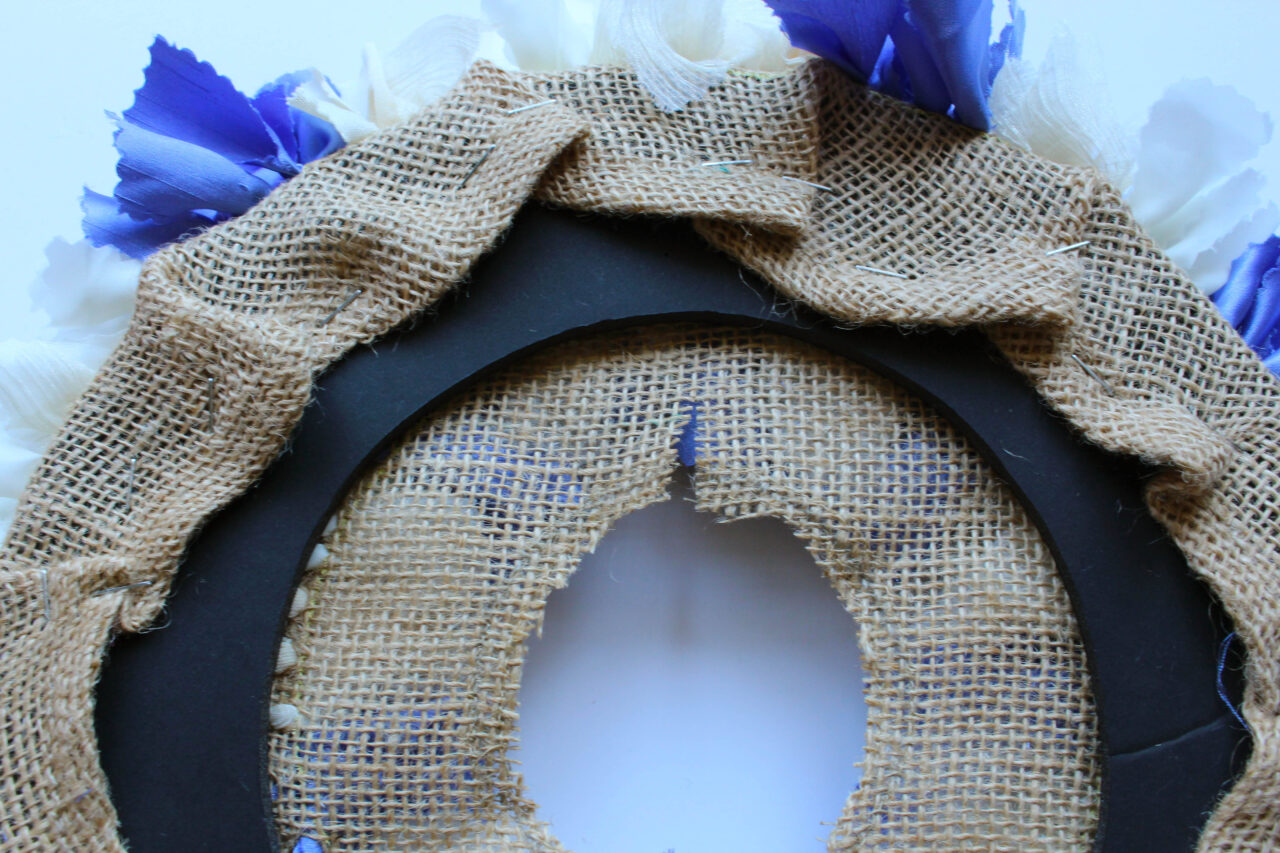

Step 6) Use the staple gun to secure the inside hem to the foam board ring. (The hemming will keep the hessian from falling apart.)
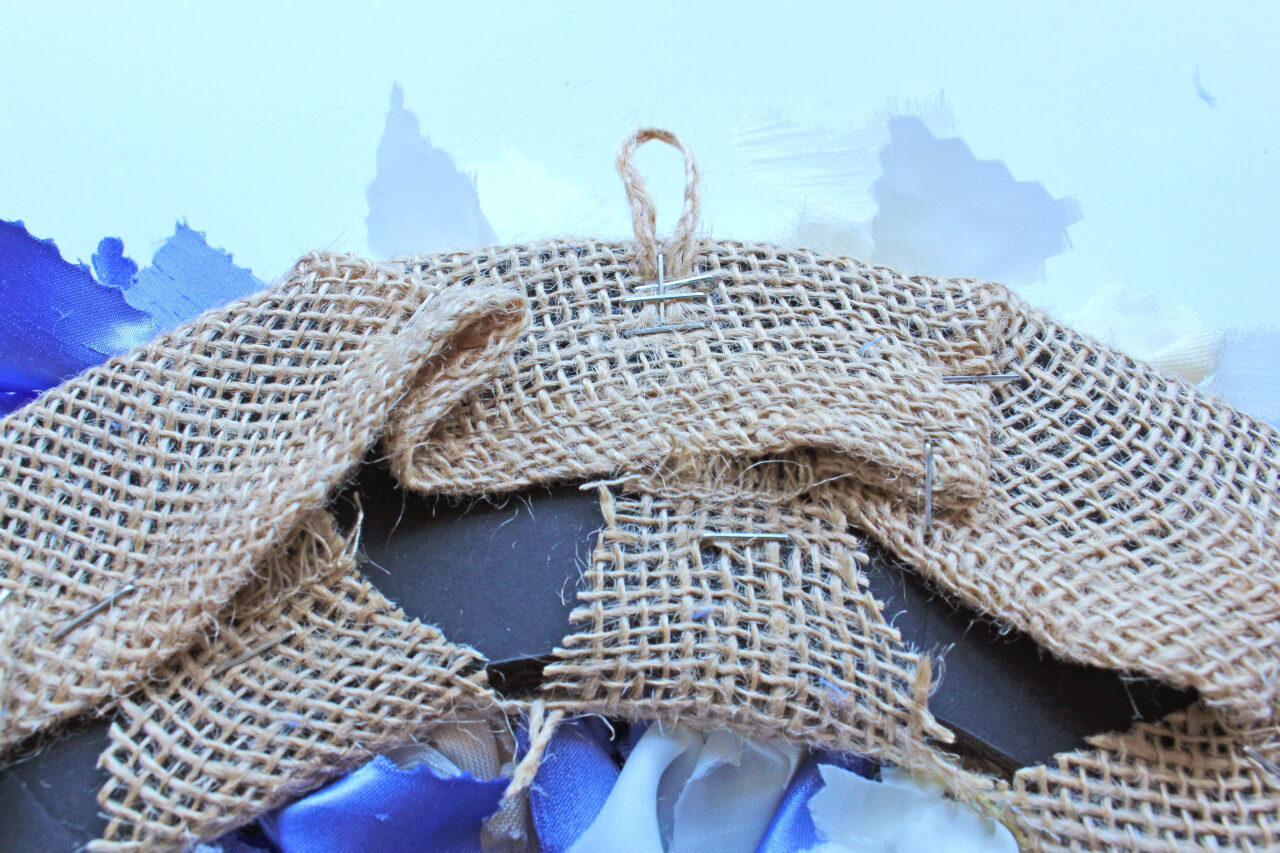
The back of your wreath should eventually look something like this…
Step 7) Next, is it usually a a good ida to add a loop to your wreath to make it easier to hang. You can do this by plaiting hessian strands and stapling the plait in a loop shape to the back of the wreath like below. You can also use twine, ribbon or something more decorative as well.
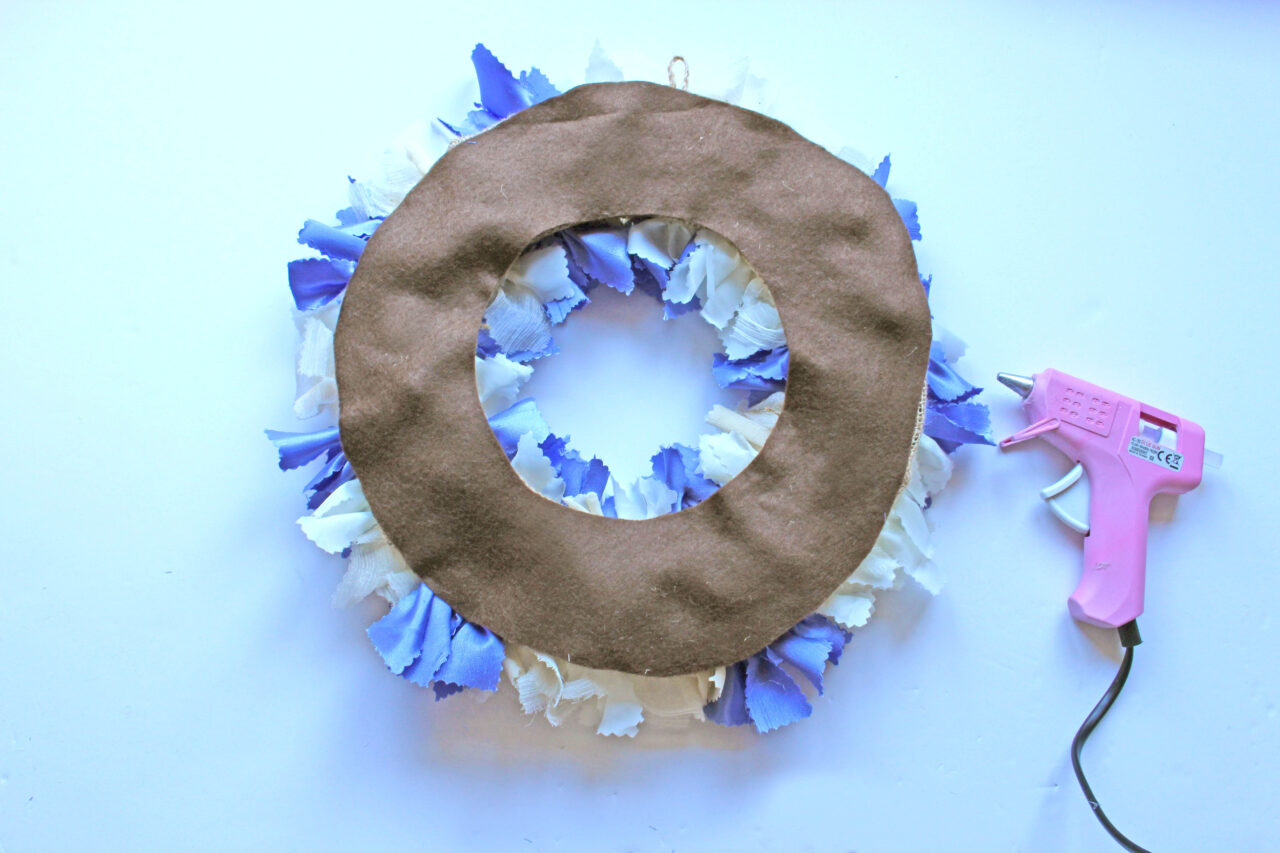
Step 8) To neaten up the back, we add a felt ring. To do this, cut a ring of felt to the size of the wreath (you can measure this by drawing around it) and glue the felt to the back of the wreath with a glue gun. Below is what it will look like:
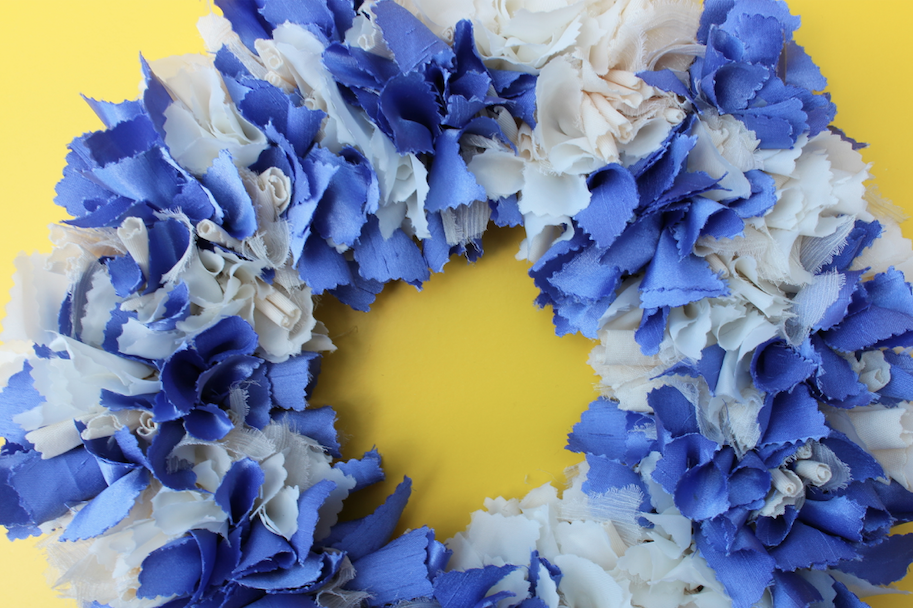
And there you have it… your final textured rag rug wreath – Ta-da!
So, that’s our rag rug wreath made using pinking shears. But what did I learn?
A few learnings:
- Rag rugging with pinking shears is a nice idea for smaller projects, but it would take agggeess to make a rug using this technique. Pinking shears are much blunter than our Rag Rug Scissors, which makes the fabric prep process slower and a bit more tedious.
- Be mindful of the fabric you use for a project with pinking shears. One of the garments I used had a netting attached to it. I did cut a few pieces of it to pair with my other fabric. However, the effect of the pinking shears was not nearly as visible because the fabric was too thin. Also, fabrics with a lot of elastic in will tube up when you rag rug them, completely covering the pinked edges. It may be a good idea to test out different fabrics first.
And voilà, a couple more gratuitous photos of the finished wreath 😊


Thanks for reading! What did you think? Will you be getting out your pinking shears for your next rag rug project?
For more practical and design guidance check out our recent blog post here. We have answered all your burning beginner rag rug questions so be sure to head over and have a read.
As always, if you’d like to kept in the loop of all Ragged Life news, projects and more join our Rag Rug Community on Facebook, follow us on Instagram or join our fortnightly newsletter here.
OR CONNECT WITH US ON SOCIAL MEDIA AT:
Instagram: https://www.instagram.com/raggedlife/
Facebook: https://www.facebook.com/raggedliferagrugs/
Pinterest: https://www.pinterest.co.uk/raggedlife/
Twitter: https://twitter.com/raggedlife
As always, happy rag rugging!
Elspeth x