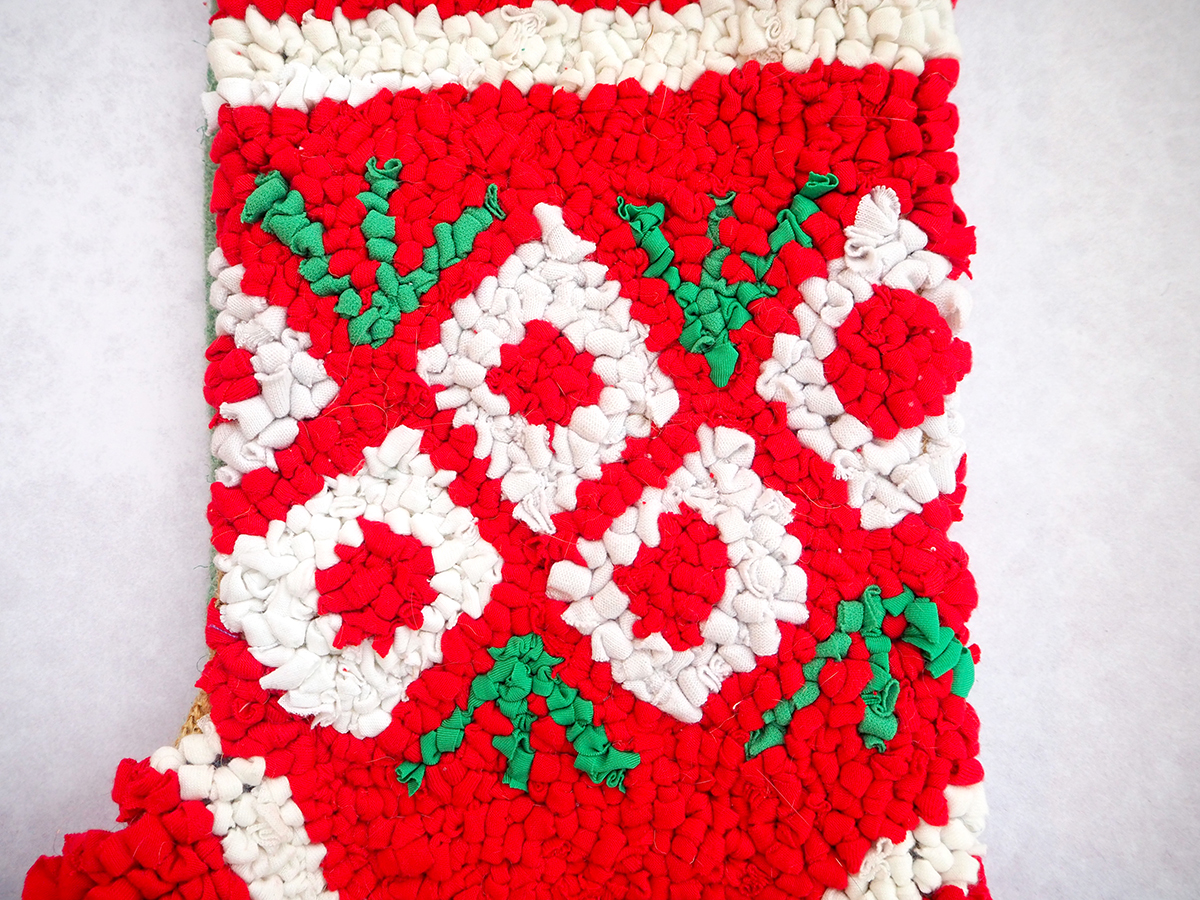
In the spirit of Christmas, today I’m sharing a free rag rug project pattern to keep you occupied through the cold days of December. I wracked my brain for what would be a small, fun project to make in the lead up to Christmas and couldn’t think of anything more festive than a rag rug stocking…

Doesn’t it just make you want to knock back a mince pie and mulled wine! Or maybe that’s just me? 🙂
Although anyone can make this project, it does help to have a basic knowledge of how to do the loopy technique of rag rugging (we used a rug hook) and also some basic sewing skills.
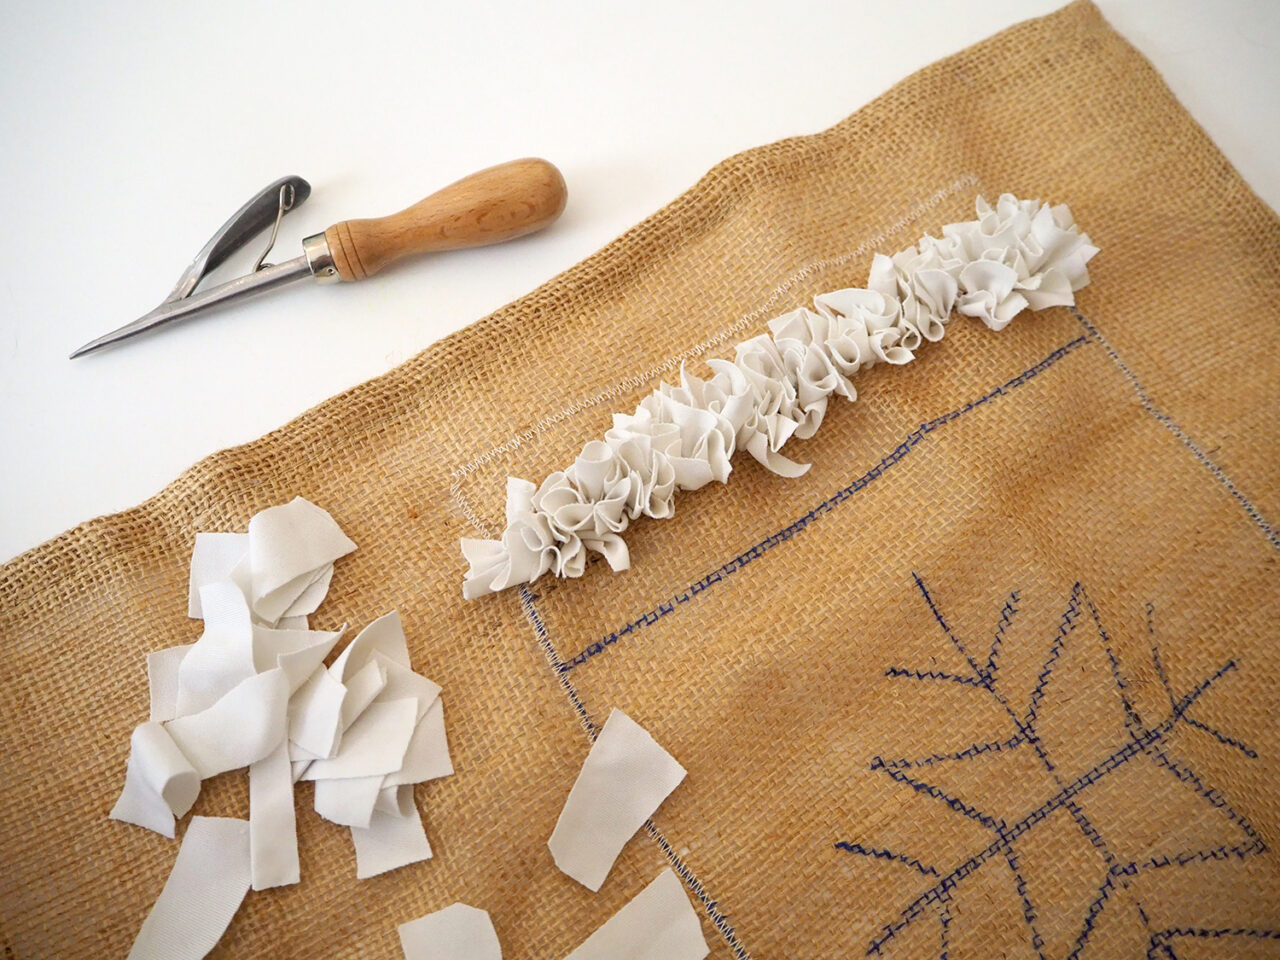
This is what the loopy (hooked) technique looks like…
Read on below for the step by step instructions for how to make a personalised rag rug stocking for yourself…
What you’ll need:
- Hessian (10 holes per inch weave is best) – a piece approximately 50 x 40 cm. This can be unhemmed or hemmed.
- Marker pen
- Ruler
- Sewing machine (ideally with zipper foot) and thread
- Needle and thread
- Pins
- Fabric offcuts or old clothing (see below for details)
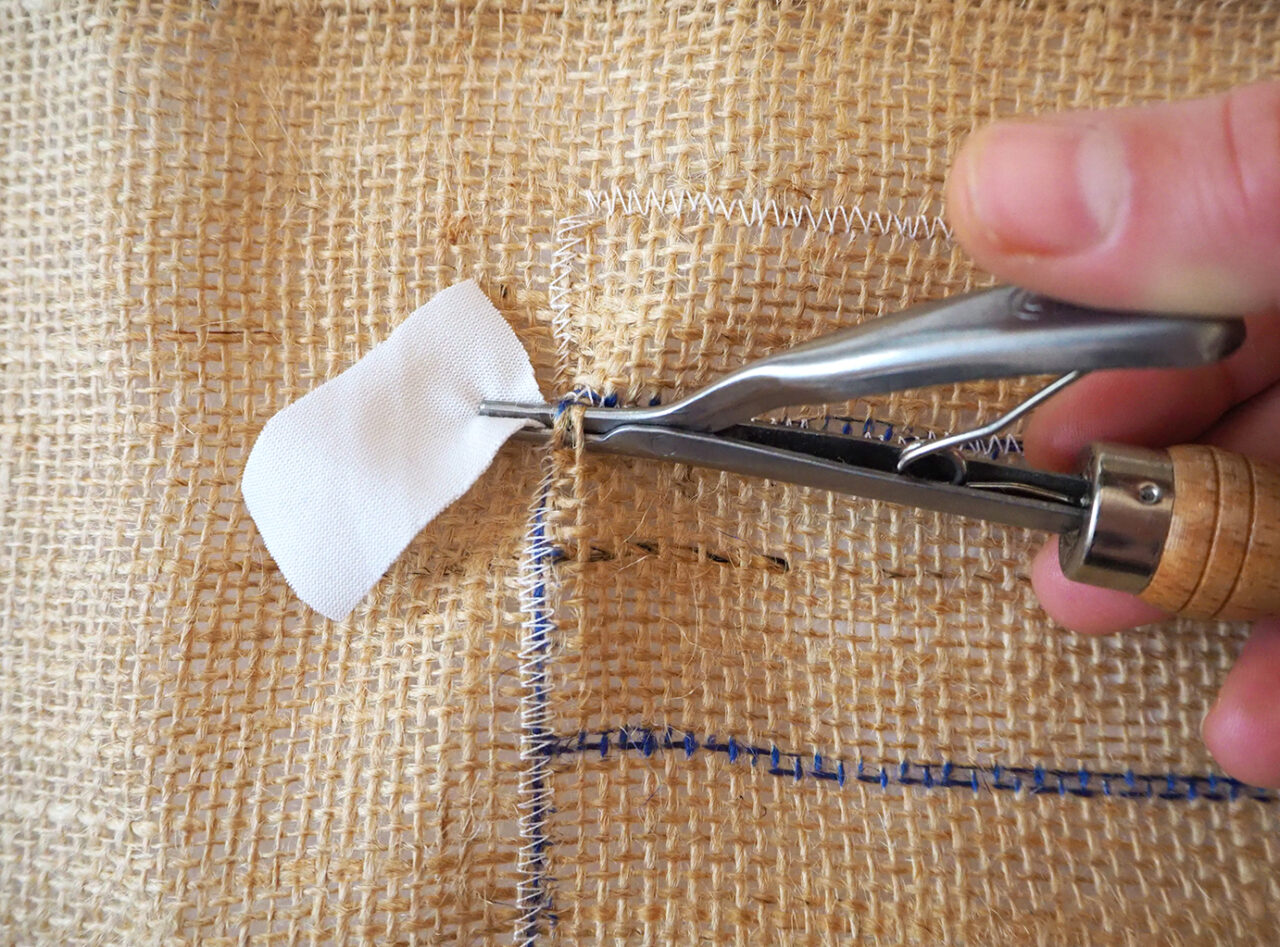
- Rag rug spring tool (image below)
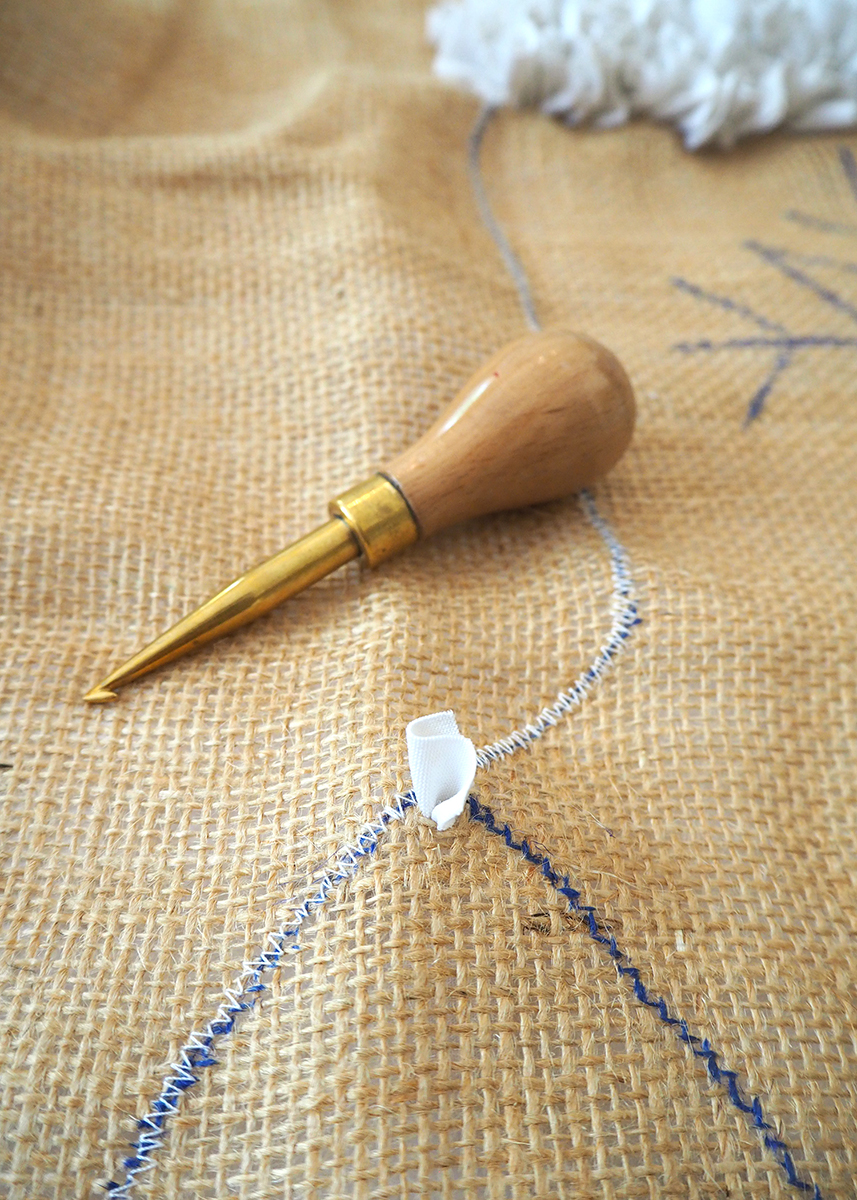
- Rug hook (image below)
- Rag rug scissors or fabric scissors
- 1 piece of backing fabric – medium weight fabric e.g. cotton. Approx. 50 x 40cm
- 1 piece of wadding – 4oz. Approx. 50 x 40cm
- 2 pieces of lining fabric – medium weight fabric e.g. cotton. 2 pieces. Each approx. 50 x 40 cm
Fabrics:
The softer and thinner a fabric is, the easier it is to work with. I used:
- Red – 1 t-shirt
- White – 1 shirt (½ for shaggy rag rugging and ½ for loopy rag rugging)
Psst… if you don’t already have the basic rag rug tools required for this project, you may be best buying one of our great starter kits to buy all the bits in one go. To find out which Ragged Life Kit is best for you, take a look at our Kit Decision Tree.
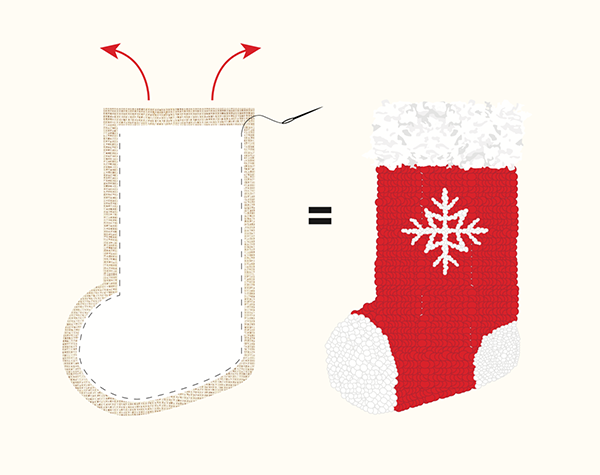
How to Make a Rag Rug Stocking:
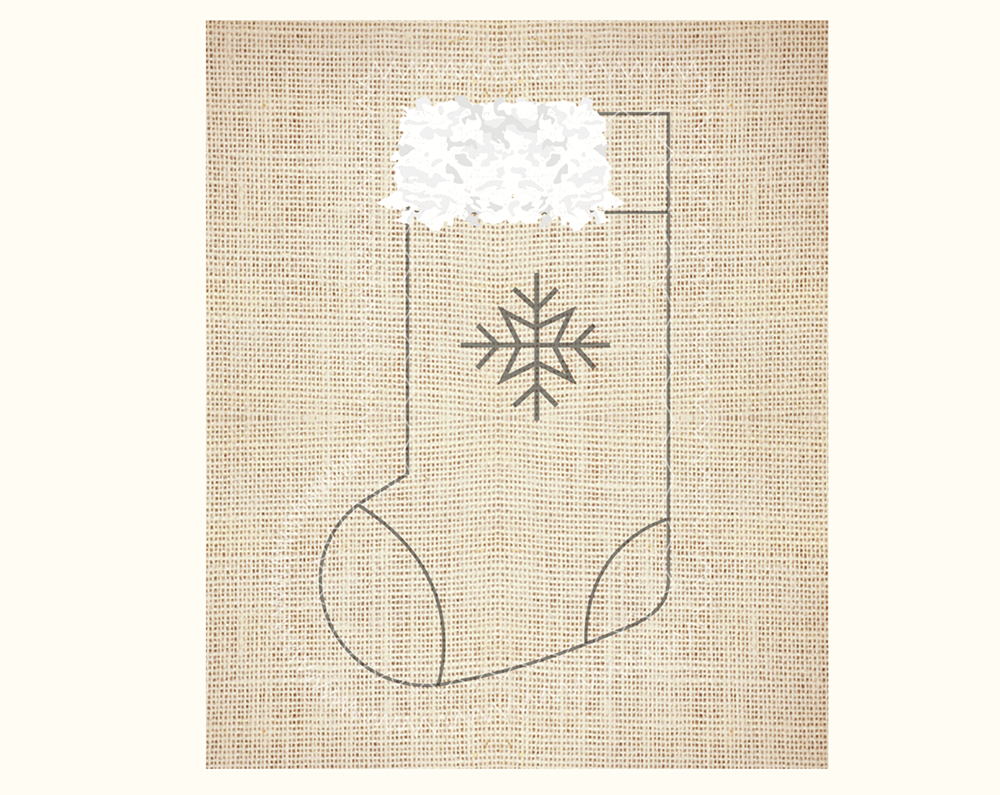
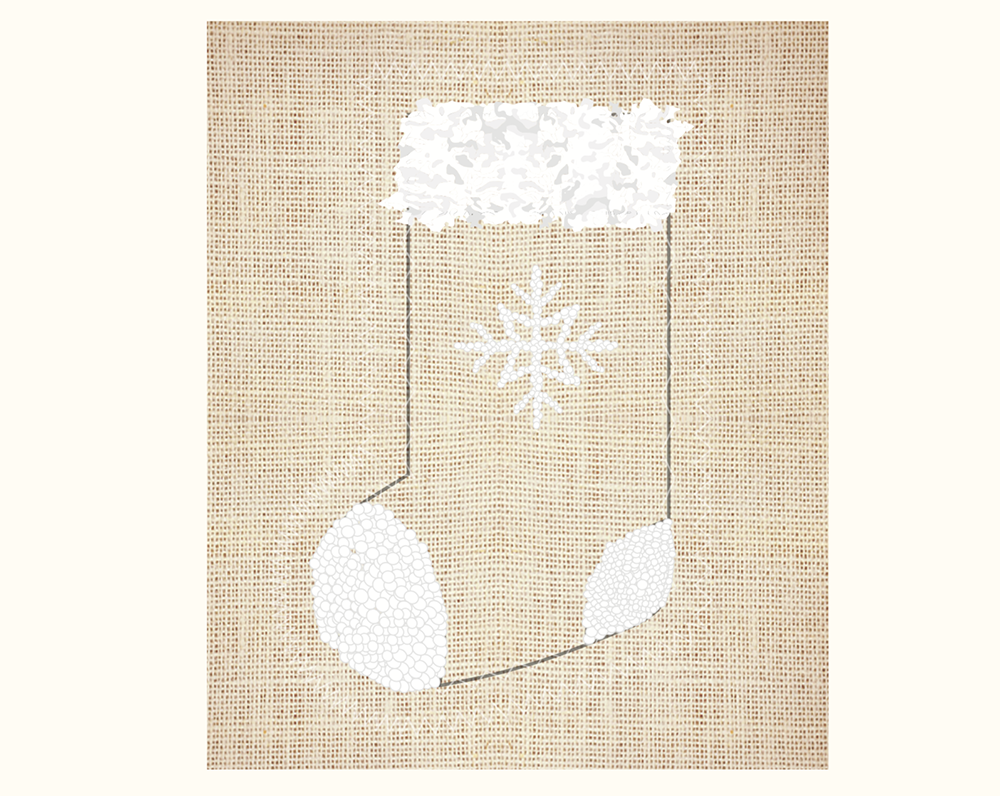
Before getting started on the step by steps of the rag rug stocking project, I just wanted to share a couple of other rag rug stocking designs I’ve done in the past to get your creative juices flowing. The instructions below show how I created the snowflake design from the stocking at the top of the page, but if you’re an experienced rag rugger, there’s no reason why you couldn’t adapt steps 3-6 to create your own unique stocking like the ones below. Just bear in mind that there’s only so much detail you can build into such a small canvas.

Step by Step Instructions:
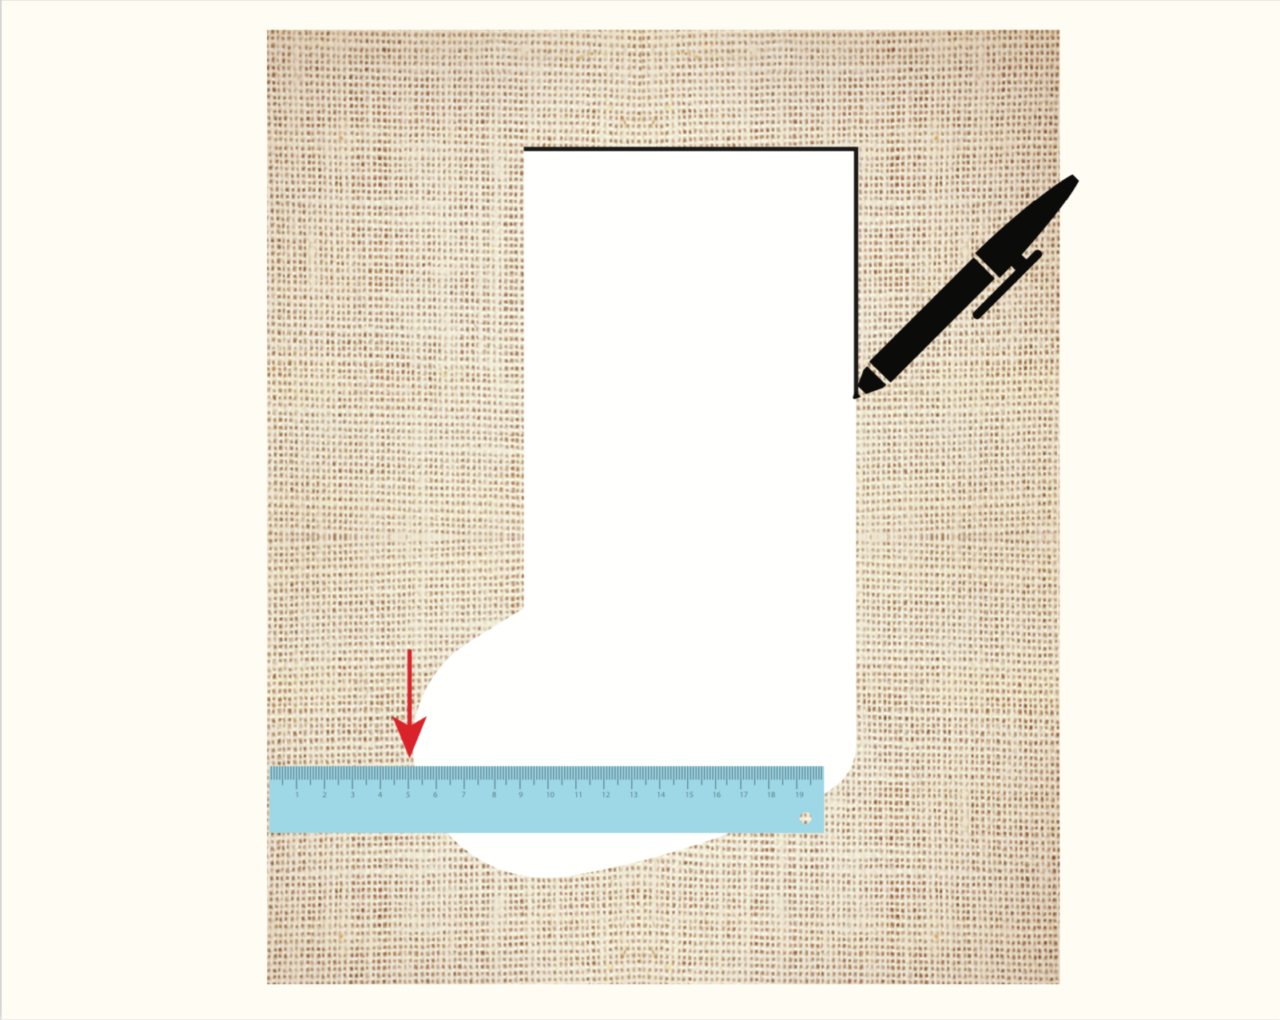
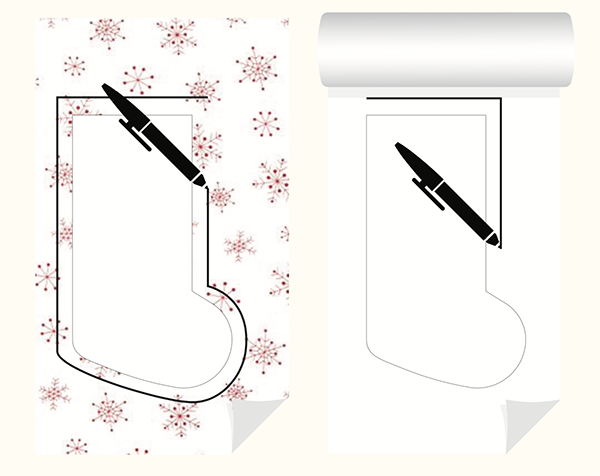
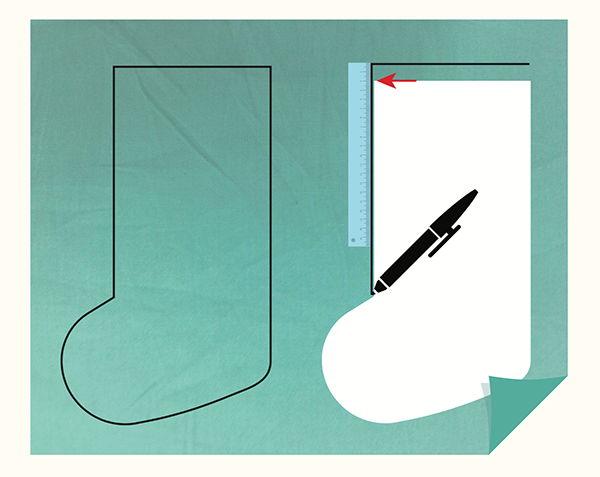
Step 1: Download our A3 Christmas stocking template here. Print out it out at 100% and draw around the Ragged Life Stocking Template onto the hessian, leaving at least 5cm between the stocking and the edge of the hessian. You can print out the stocking template across multiple A4 sheets of paper and tape them together if you do not have access to an A3 printer. You can also scale this stocking up or down to your taste, but bear in mind that if you make it much smaller, you won’t have much space inside for presents.
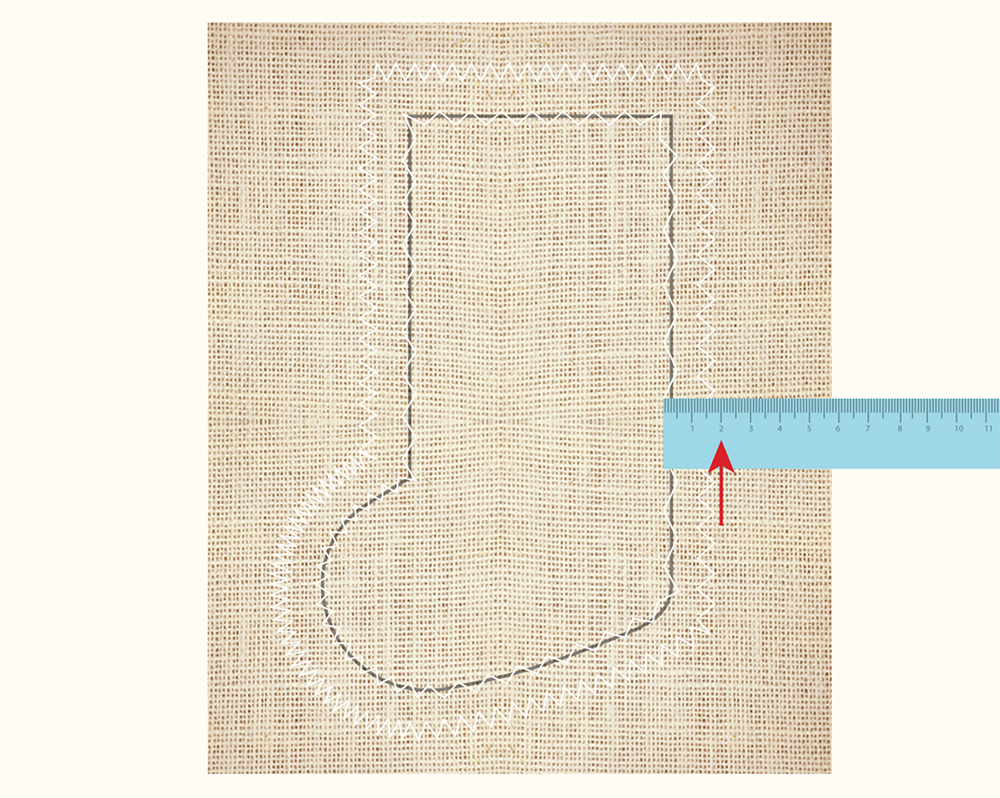
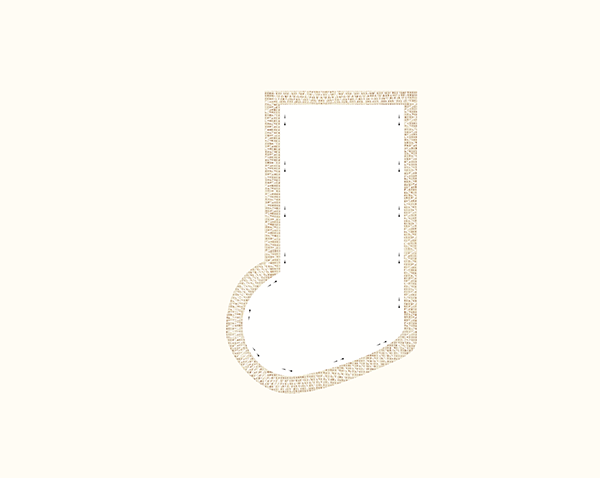
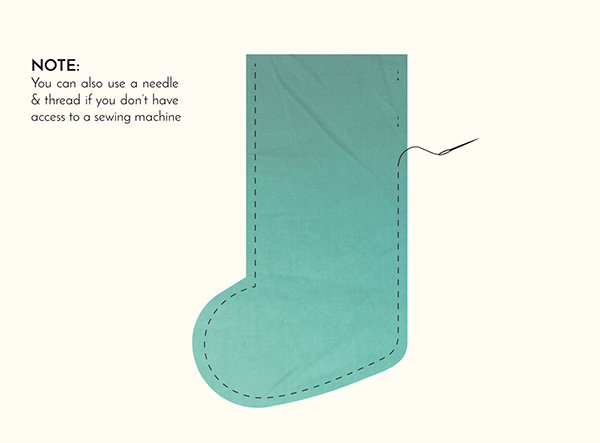
Step 2: Use a sewing machine to sew a placeholder hemming stitch (wide zig zag stitch) on the drawn stocking and 2cm outside the stocking shape.
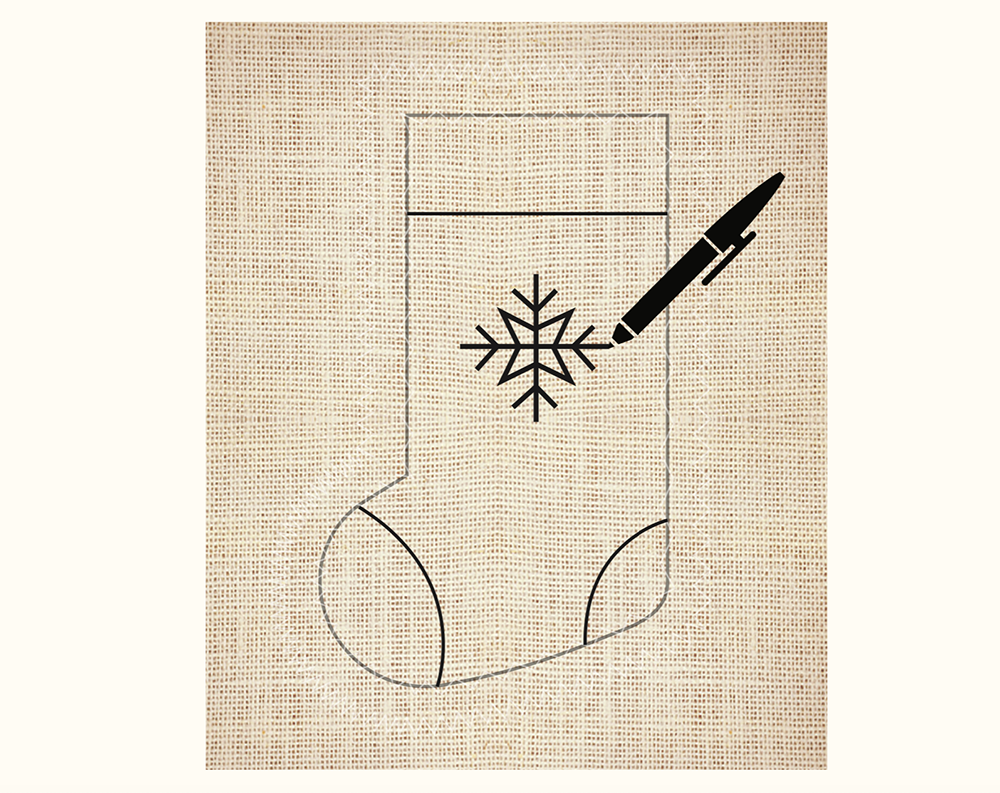
Step 3: Draw the heel, toe, ruff and snowflake onto the stocking. You can do this by placing the template under the hessian and tracing through.
Step 4: Removing all the seams and hems from your shirt first, cut your white fabric into approx. 5cm x 2cm pieces, ready to complete the white ruff at the top of the stocking. Shaggy rag rug the “ruff” section of the stocking using the white fabric. I did this in rows from the top to the bottom of the ruff, missing out two strands between each piece of fabric and two strands between each row, but you can build it up in any direction. Watch this video for the shaggy rag rug technique.
Step 5: Prep the second half of the shirt into 1.5cm wide strips of fabric that are as long as possible. Loopy rag rug the heel, toe and snowflake. Your loops should be approx. 1cm in height. Click here for the loopy rag rug technique.
Step 6: Once you’ve rag rugged the toe, heel and snowflake, prep your red fabric into 1.5cm wide, long strips. Fill the rest of your stocking in red loopy rag rugging. I filled the stocking from the outside edge inwards, but you can fill the body of the stocking in any direction.

Step 7: Place the Ragged Life Stocking Template upside down onto the backing fabric and draw a line around the template, approx. 2.5cm away from the edge of the template. Repeat this process on the wadding.
Step 8: Pin the backing fabric and wadding together, making sure that the backing fabric is on the correct side (so the toe is on the right, heel on the left). Use the sewing machine to sew a running stitch 1cm from the edge to join the two pieces together.

Step 9: Cut away the excess hessian from around the stocking up to the placeholder hemming stitch.

Step 10: Pin the rag rugged stocking and backing fabric face to face, leaving the top edge of the stocking unpinned. Make sure to pin as close to the rag rugging as possible so no hessian will be visible around the edge.
Step 11: Sew the two pieces together, leaving the top edge open. You can do this either by hand or machine (using a zipper foot). Trim any excess wadding from around the stocking to remove unnecessary bulk. Turn the stocking right way out.
Step 12: Draw 2 stockings onto the lining fabric using the template, adding 2cm to the top of the stocking to help with assembly further down the line.
Step 13: Pin the two pieces of lining fabric together and sew a running stitch 1cm from the edge of the stocking, except for the top edge.
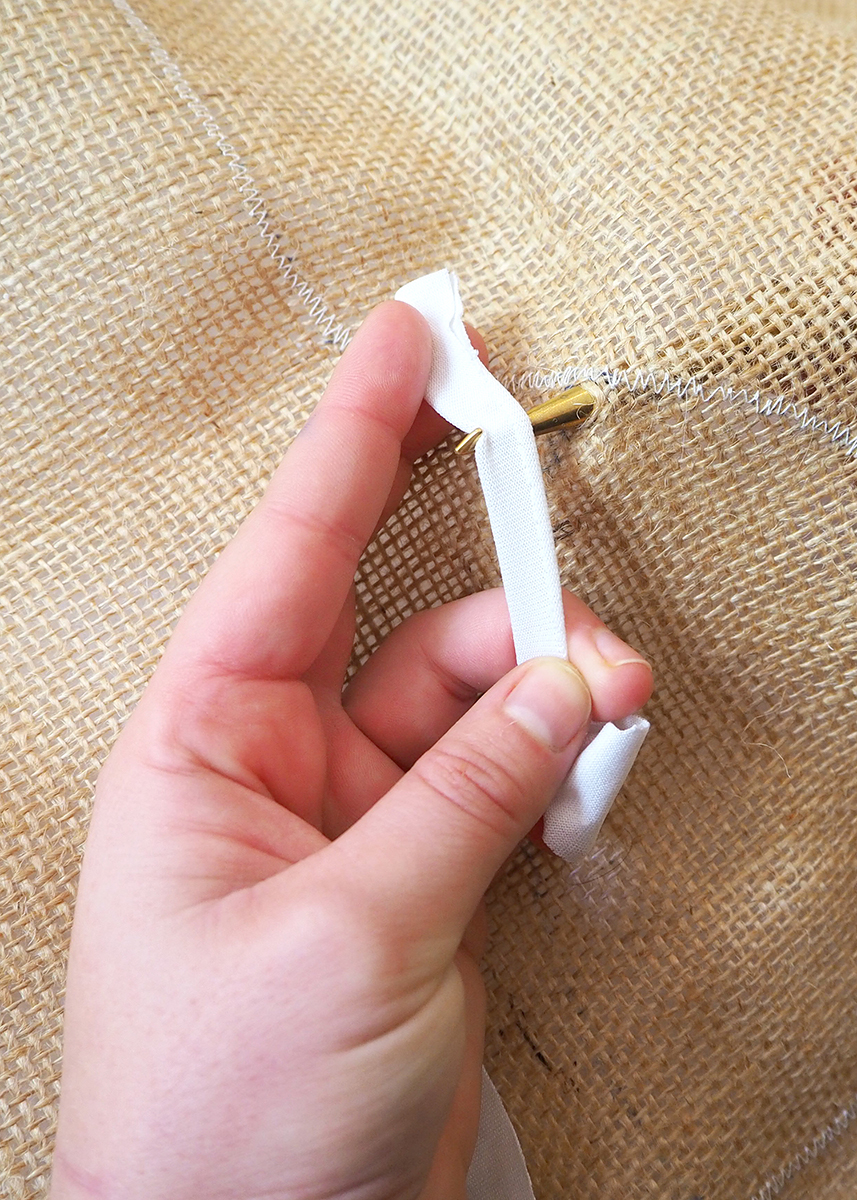
Step 14: Fold the hessian and excess backing fabric in the top right corner of the stocking in on themselves and hand sew a sturdy hanging loop in place. Wide ribbon works nicely here. The sewing doesn’t have to be perfect, as it won’t be on show.

Step 15: Push the lining fabric inner down into the rag rugged stocking. Fold the rest of the hessian and backing fabric into the stocking and pin it to the lining. Turn under a small allowance of the lining to make sure that raw edge of the fabric isn’t exposed and the sewing will be less visible. Sew all around the opening of the stocking to complete your project. I use a ladder stitch to hide the stitching better.

Step 16: Fill with stocking fillers to your hearts content!

Let us know how you get on!
So, those were the step by step instructions on how to make a rag rug stocking. Fancy giving the project a go? Please do share your photos with us on social media below. Looking for another Christmas project to give a go? Why not join us for an Online Rag Rug Wreath workshop. Click here to browse dates and sign up.
Instagram: https://www.instagram.com/raggedlife/
Facebook: https://www.facebook.com/raggedliferagrugs/
Pinterest: https://www.pinterest.co.uk/raggedlife/
Twitter: https://twitter.com/raggedlife
As always, happy rag rugging!
Elspeth x