My mum Victoria is the original person who taught me how to do the traditional British styles of rag rugging (shaggy and loopy) and she has years of experience under her belt. It was therefore interesting when, over lockdown, I wrote my second book featuring other rag rug techniques from across the world. Suddenly, the balance had changed and I was the one teaching her!
“Rag Rug Techniques for Beginners” features eight different ways to make a rag rug and the first new technique Victoria tried from the book was twining (which ironically is the most involved technique!) Starting off with a bang, my mum made this gorgeous rug for her cottage in the Lake District, tying the colours in nicely with the Mexican tiles above the countertops.

Since that first new technique, she’s now tried them all out… locker hooking, peg loom weaving, two string looming, stitching… bar one… coiled rope rag rugs. Like many of you, my mum was a little daunted at the prospect of using a sewing machine. Although she has a machine, like many of us, she wouldn’t consider herself a “sewer”.
Well, after a bit of encouragement from me and a few of the rag rug coffee morning crew (special mention to Cherry), Victoria started her first coiled project a few weeks ago and is now thoroughly addicted.
Victoria’s coiled rope experimentation:
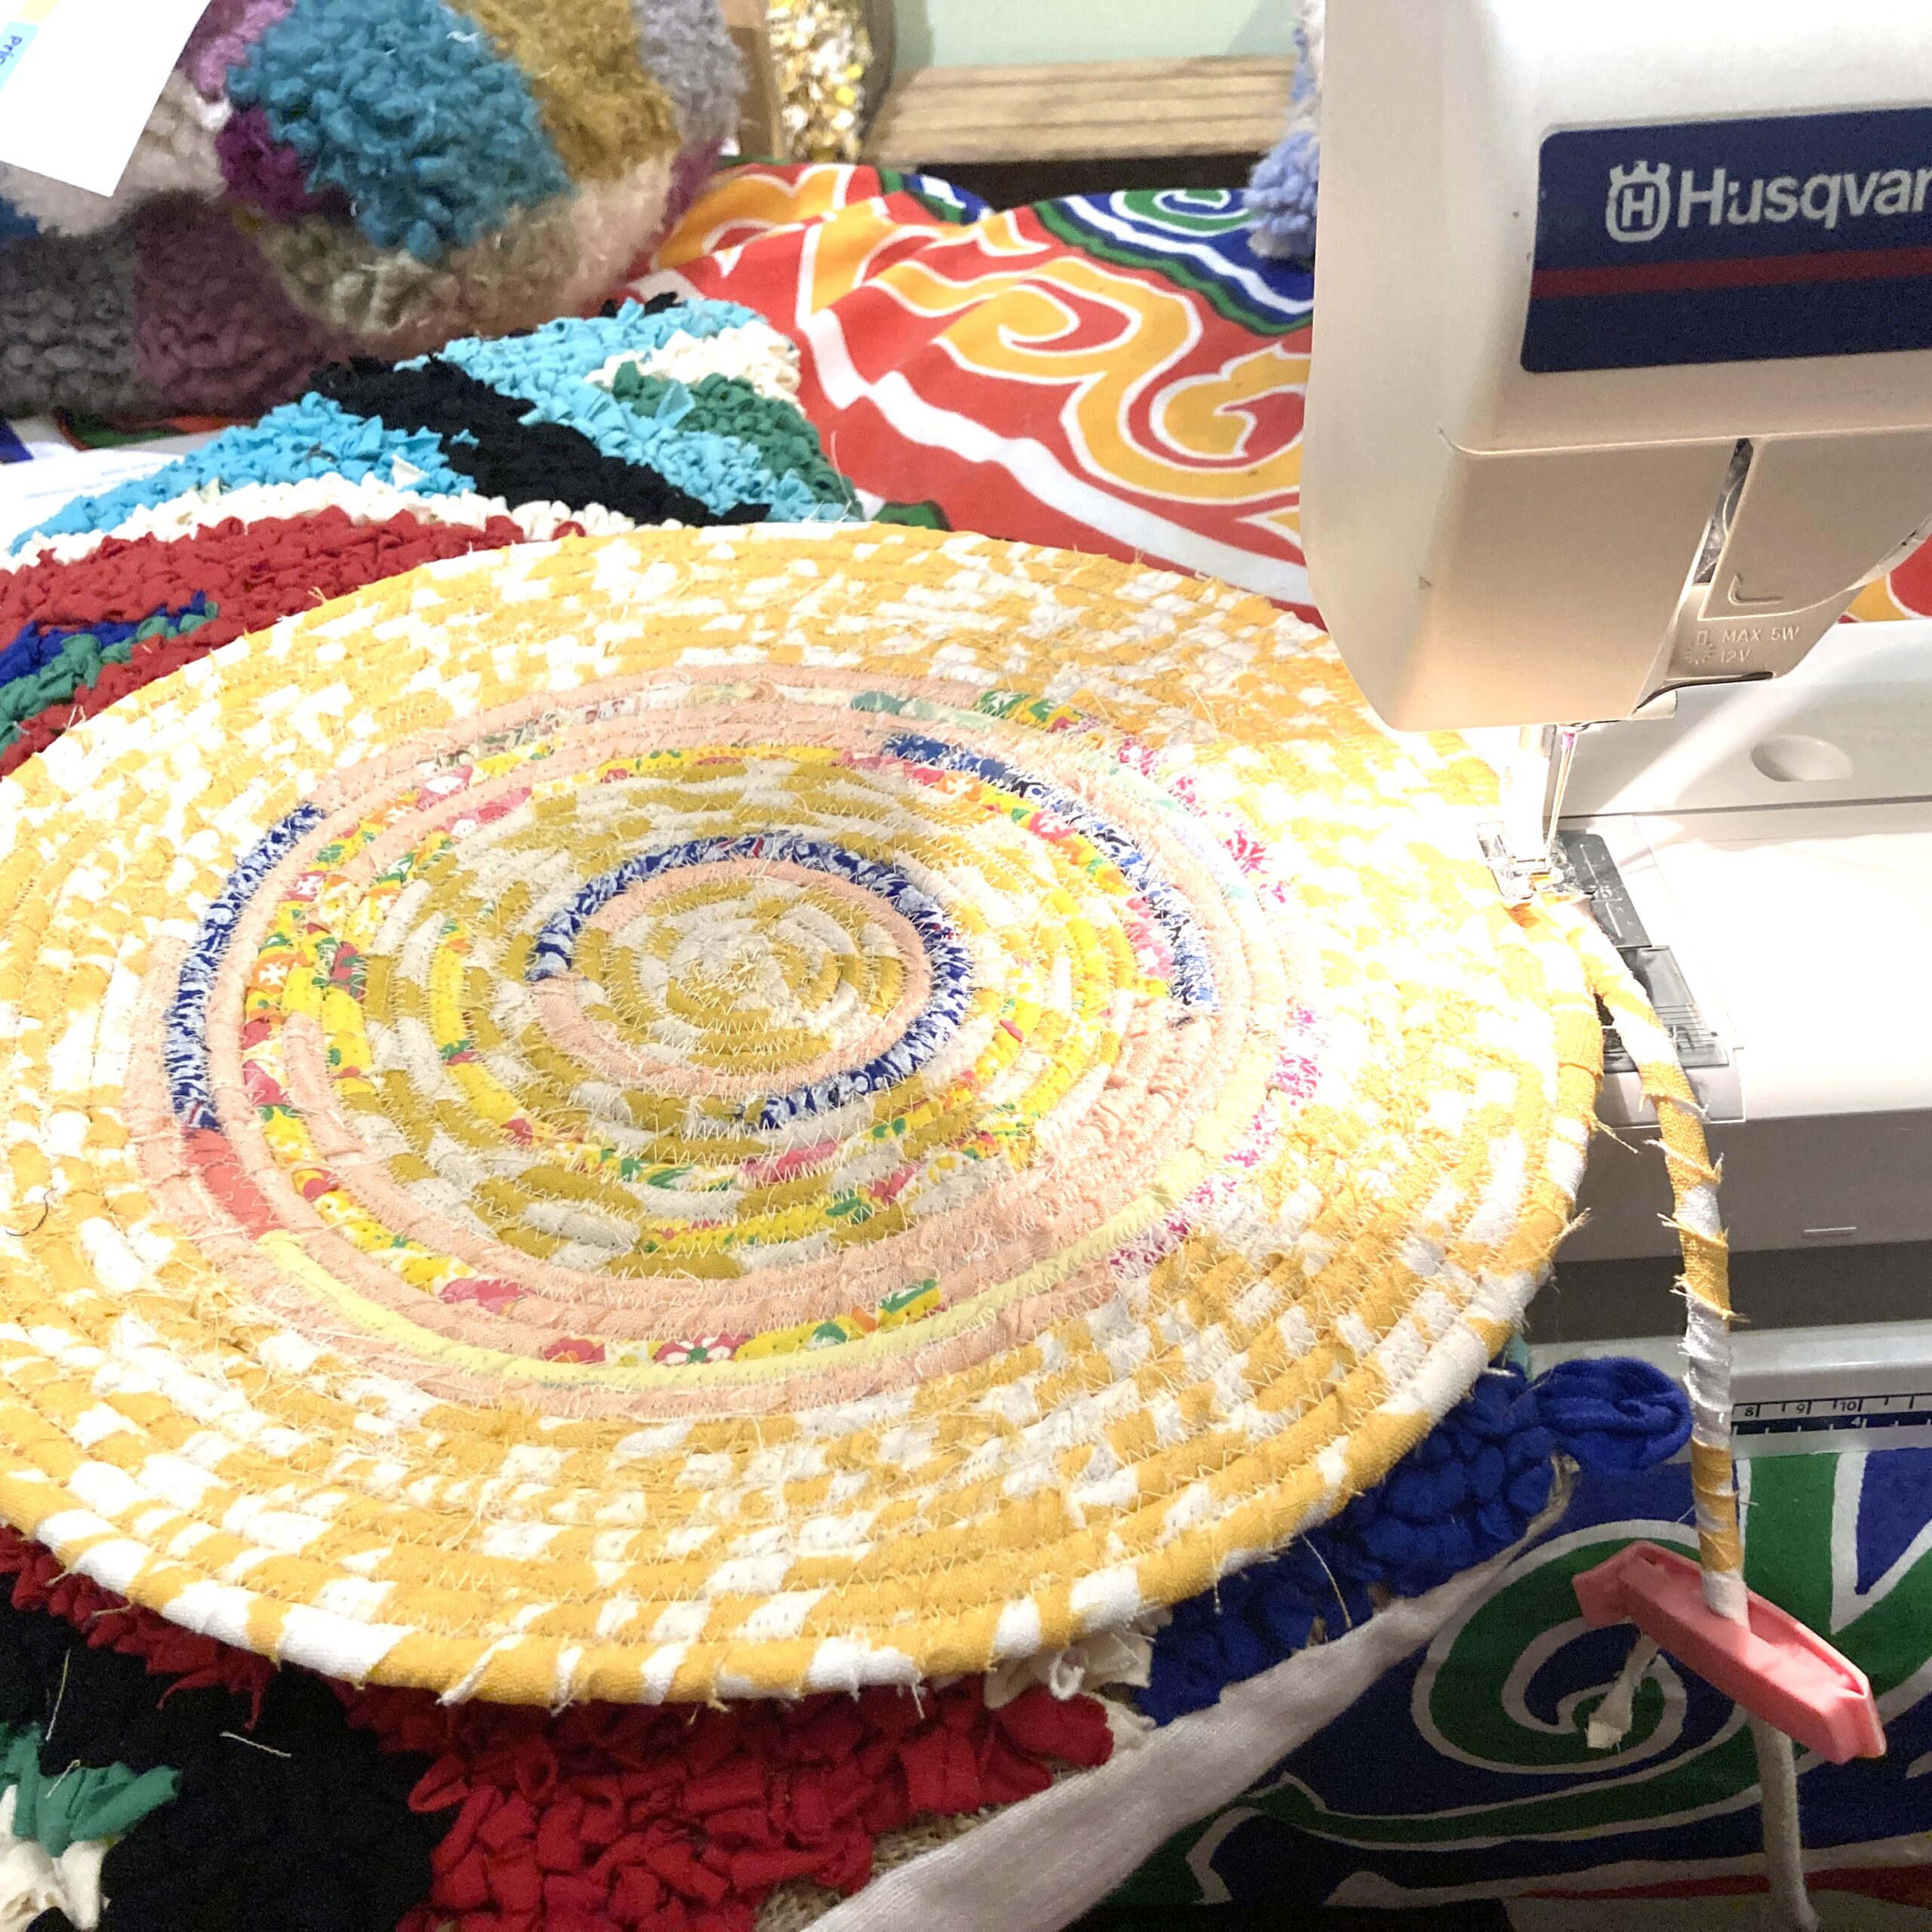
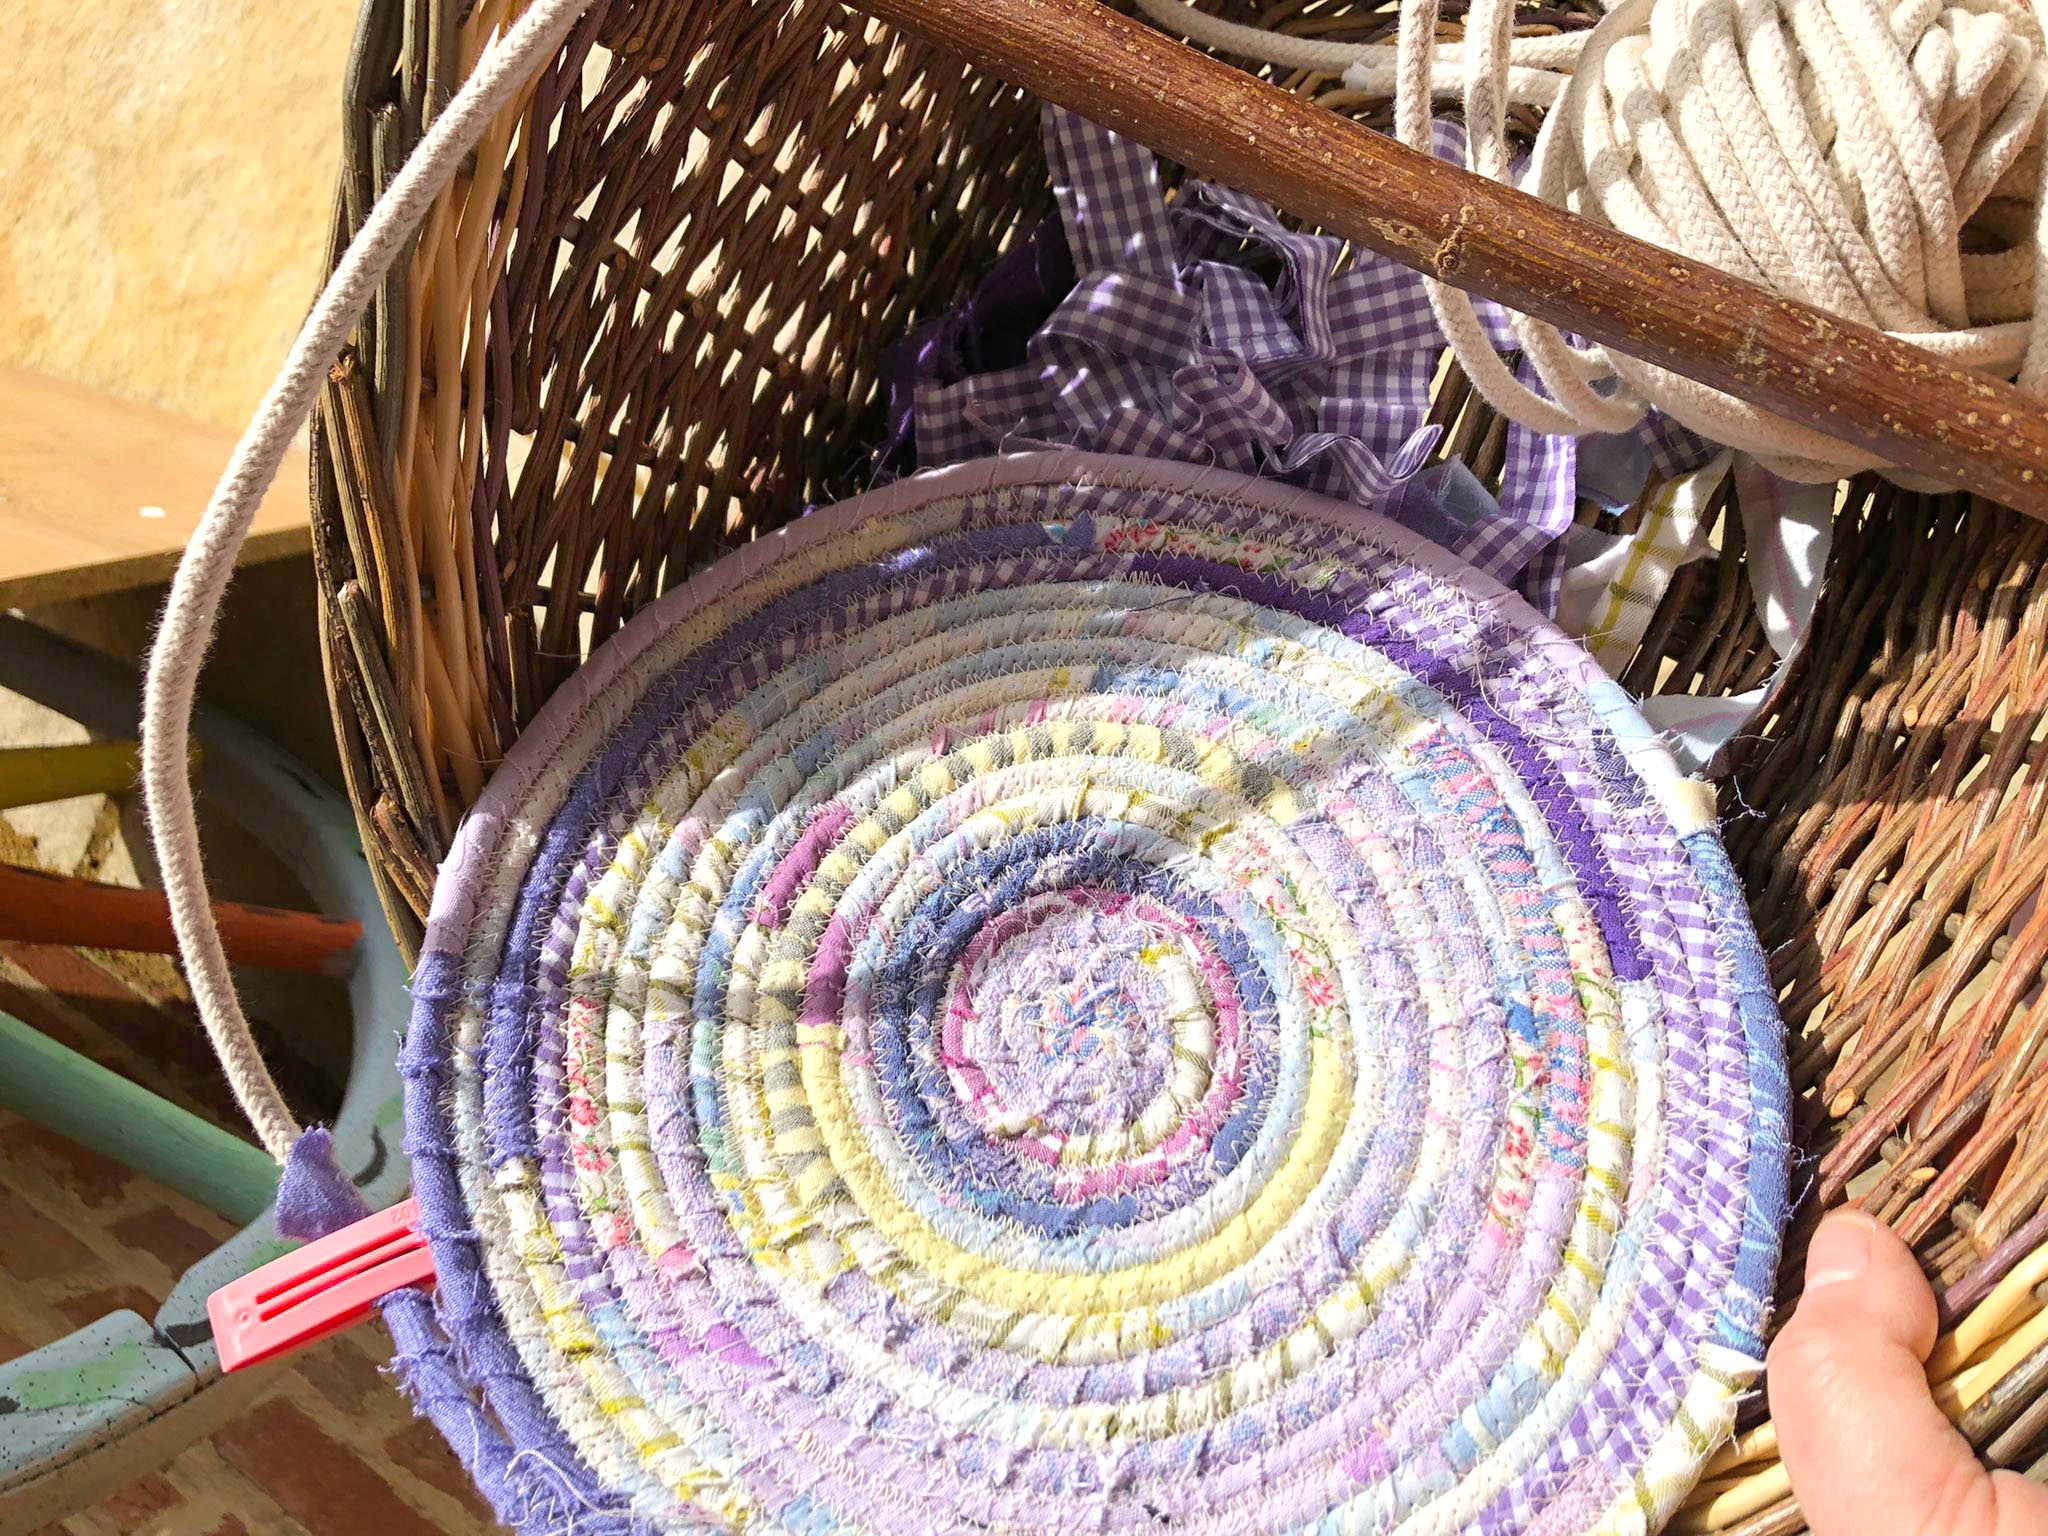
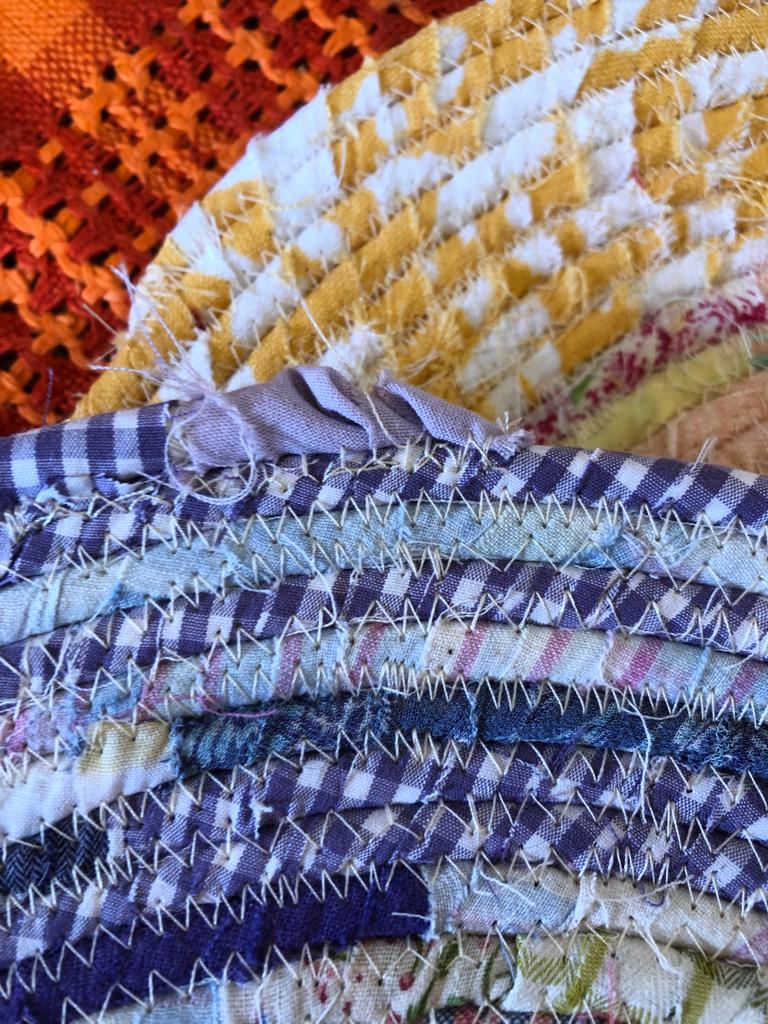
The first items Victoria made were Easter placemats. My mum loves an Easter display, so the first yellow coiled rope placemat was something she could arrange her eggs and bunnies on. For the second placemat, Victoria used more variety of fabrics and concentrated on making her joins between colours more secure. I particularly loved this soft colour palette, which used up a lot of odds and ends we had lying around.

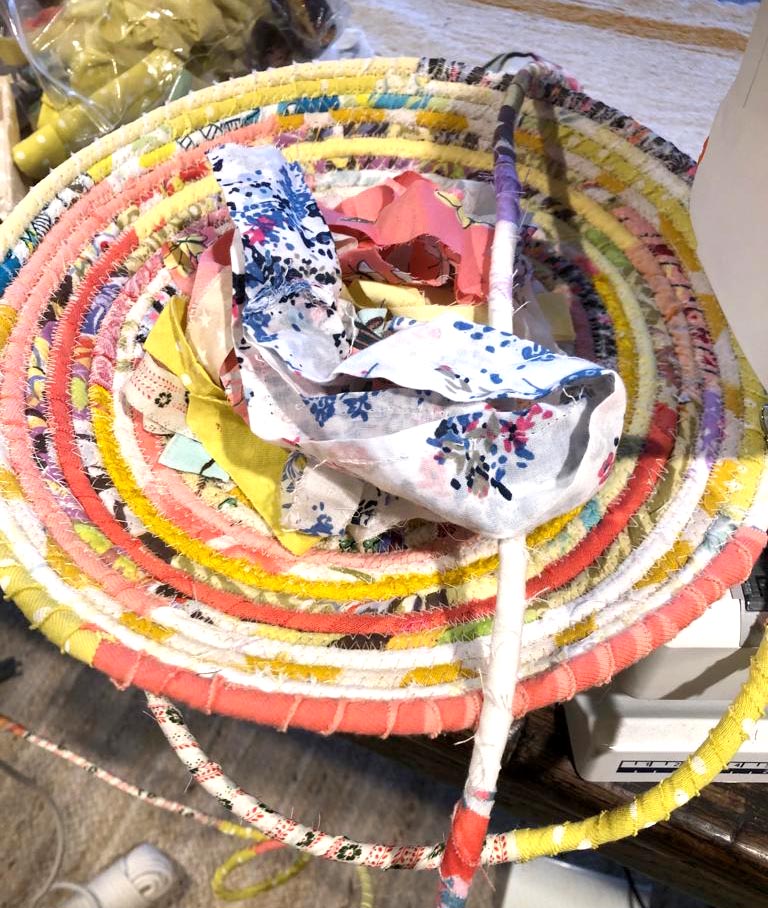
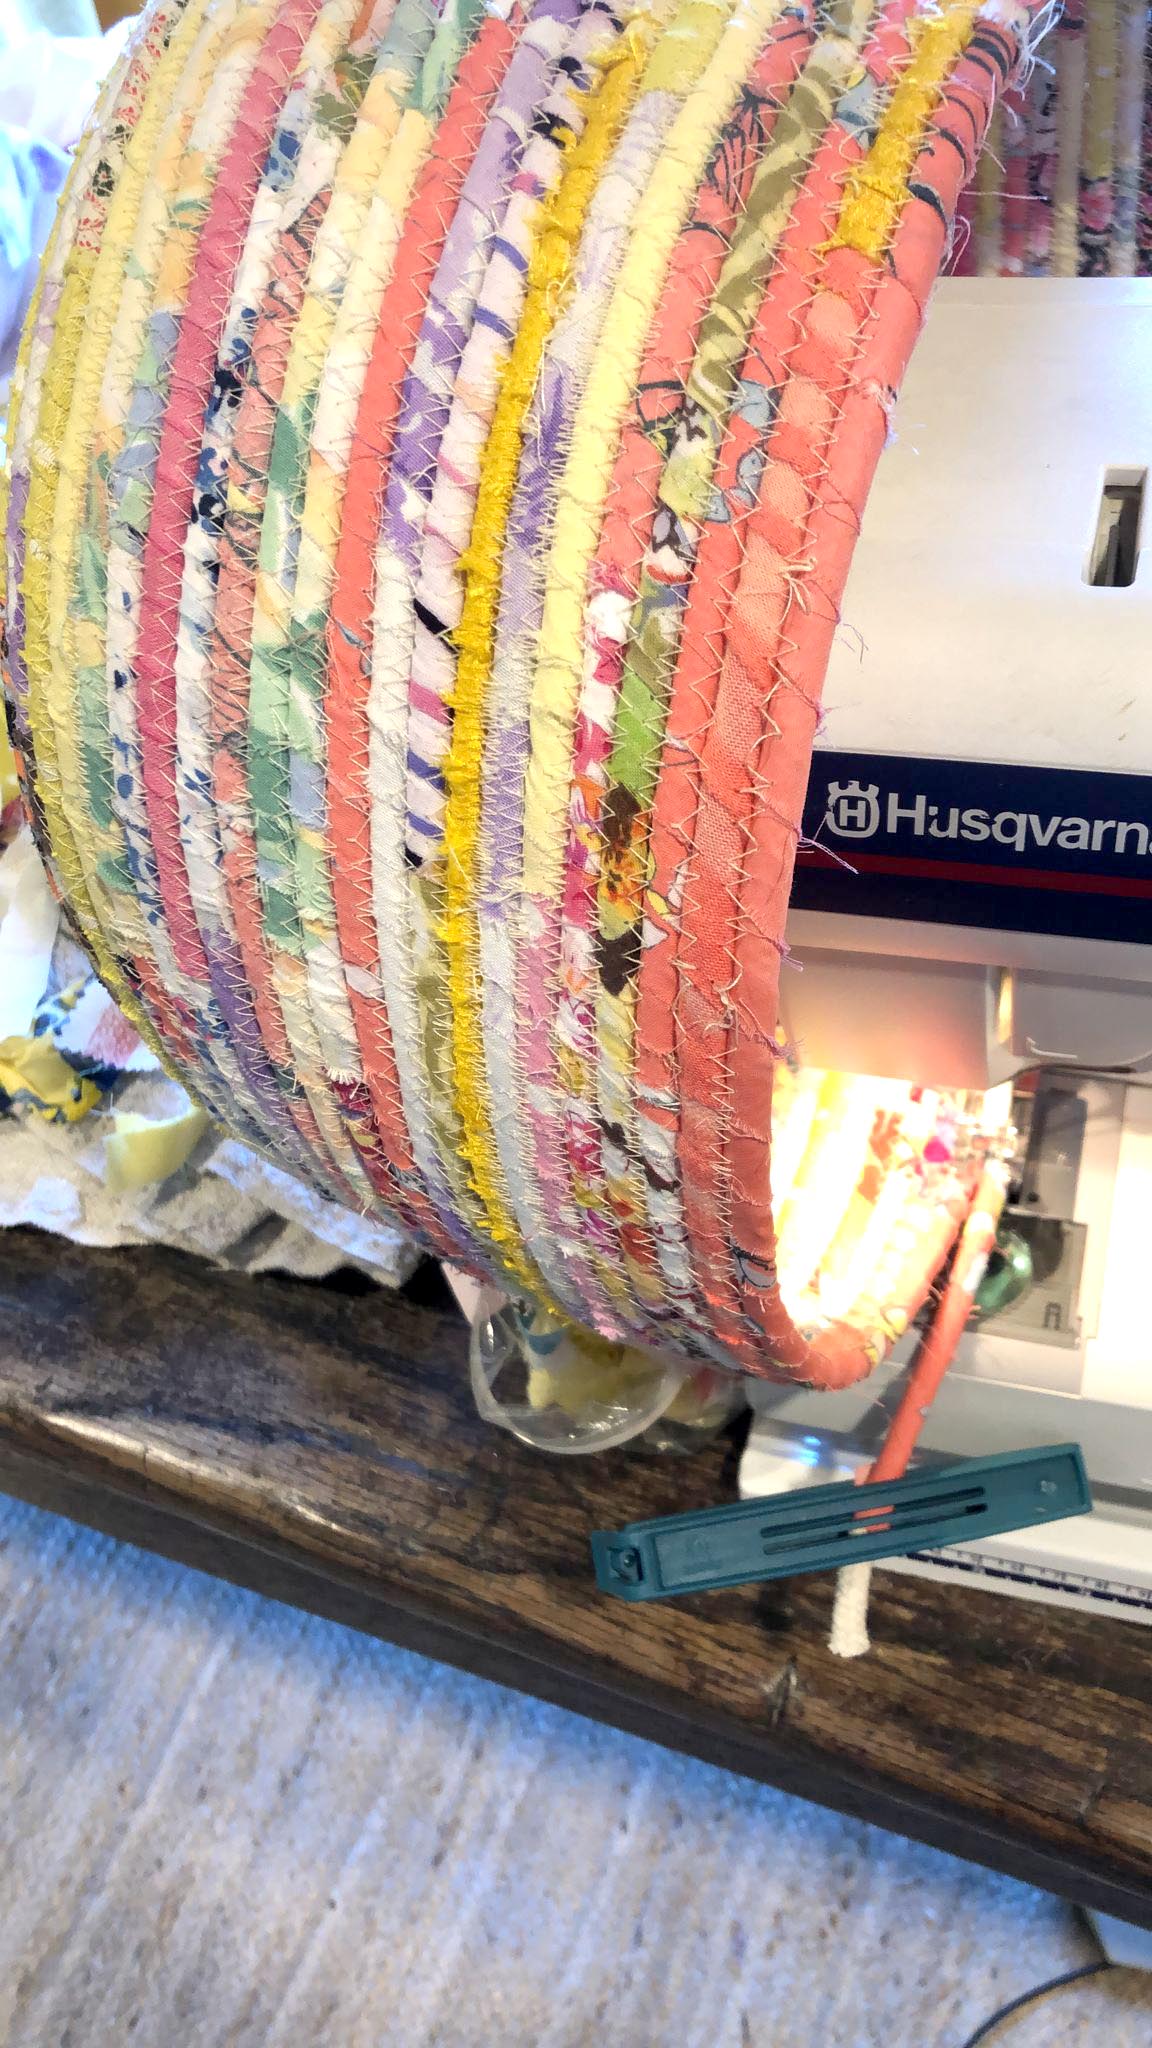
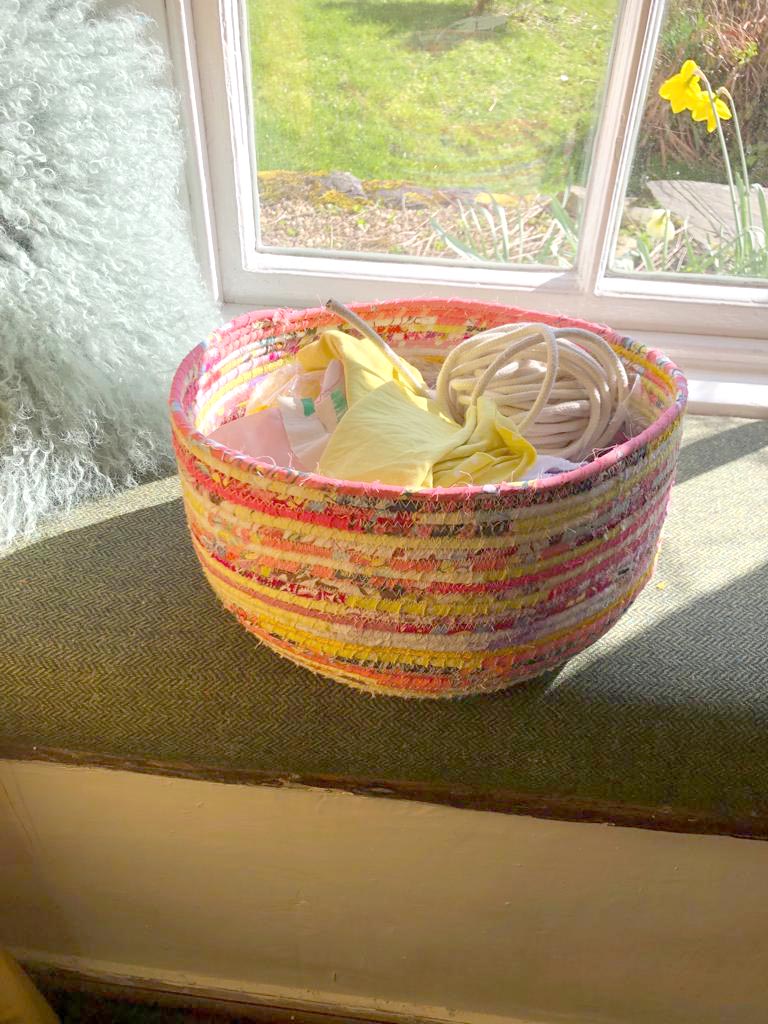
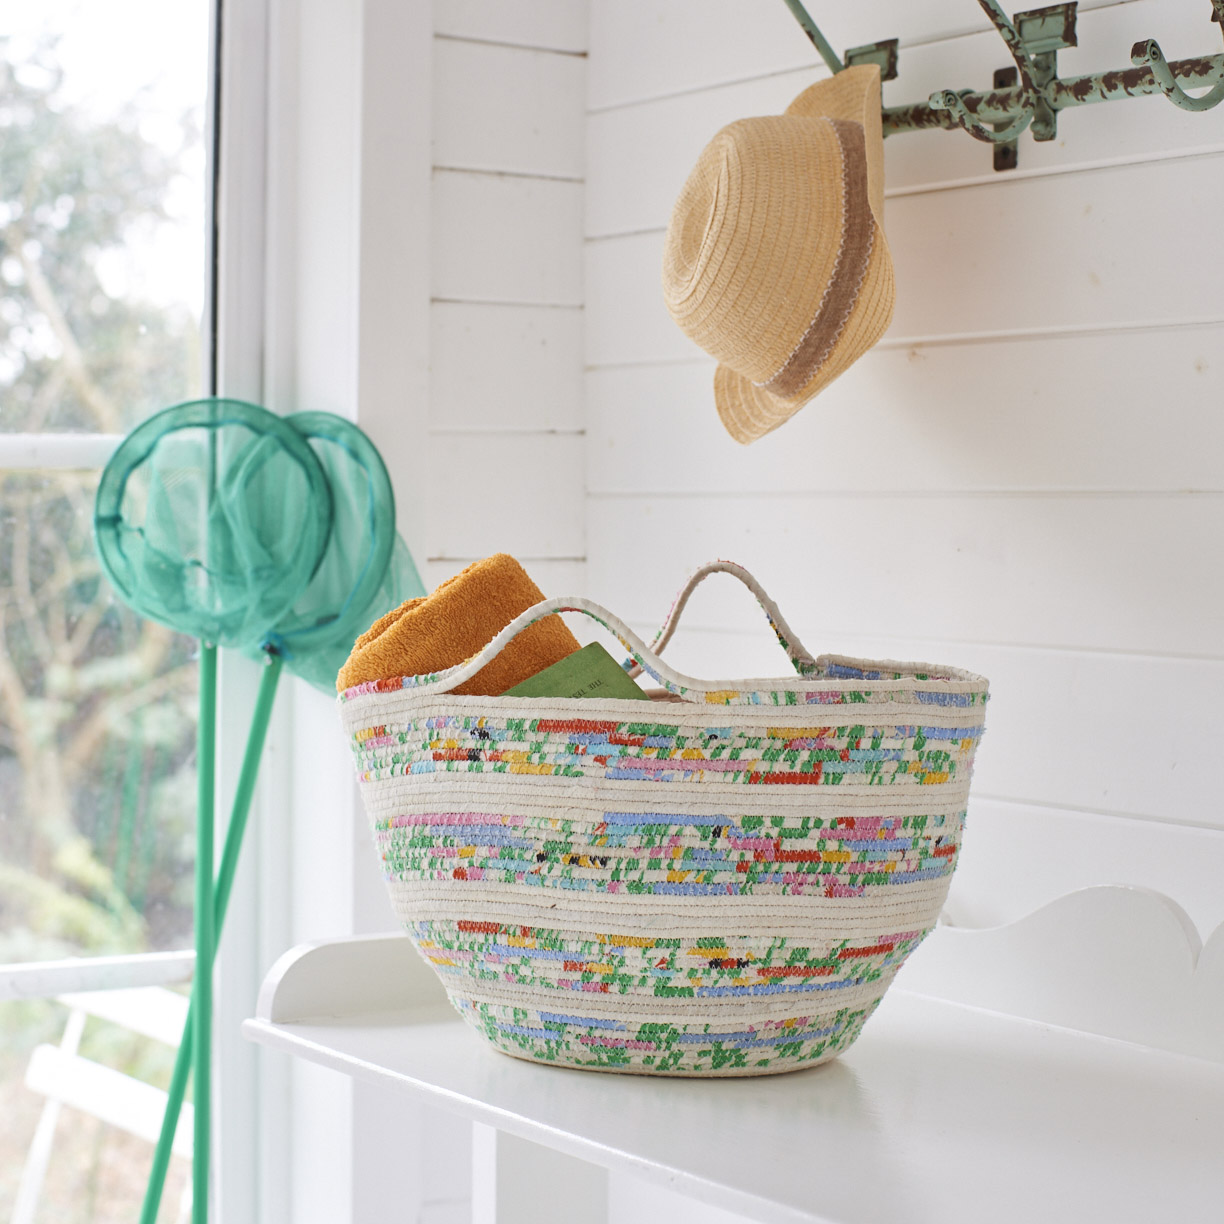
Having built up confidence, Victoria then moved onto making a coiled rope basket, which requires building height. This is where the real fun begins. By angling the coiled base up towards the head of the sewing machine as you sew, you are able to angle the stitching and turn the flat base into a bowl or basket. The more you angle the base towards the head of the sewing machine, the steeper the walls become.

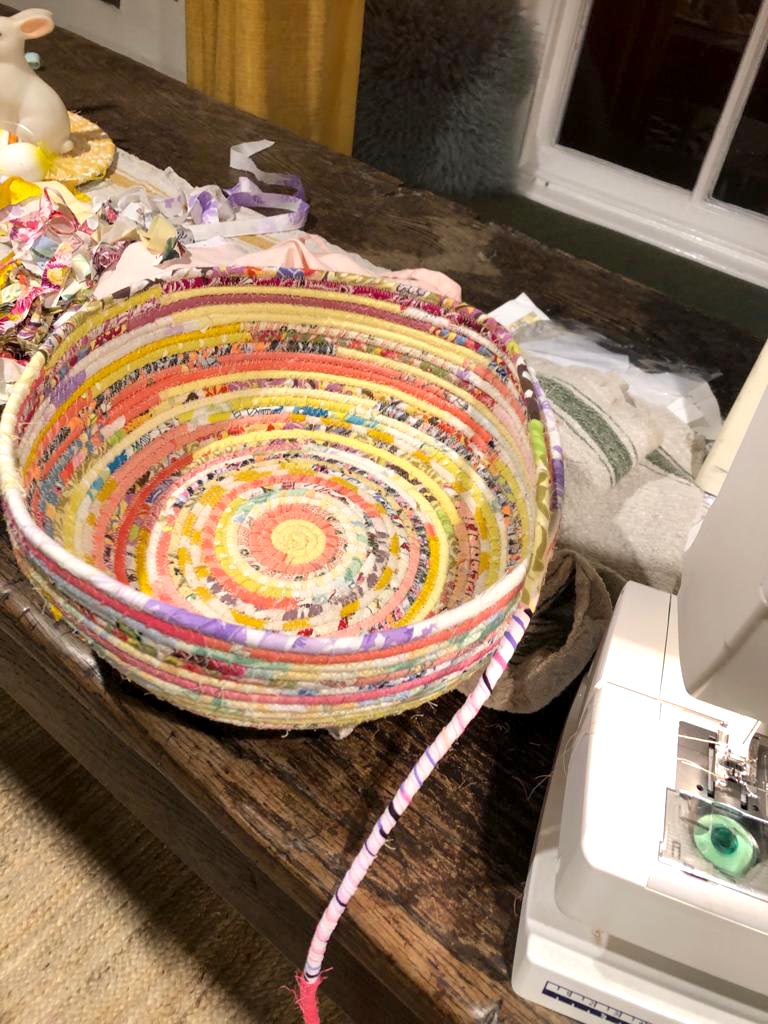
Having had a bit of a play around, Victoria had a few words of wisdom to share with you all…
Victoria’s coiled rope basket top tips:
- Don’t be put off if you’re not confident on the sewing machine. If I can do it, you can too! Even if you don’t end up stitching your cord together, you can always glue it around a plant pot.
- This technique is surprisingly forgiving. If your stitching isn’t perfect, it won’t matter as it becomes part of the texture. It’s barely noticeable at the end. Worst comes to worst, you can cut the zig zag stitch and try again. This is still rag rugging, not dressmaking!
- If you’re unsure how the coil will look when it’s stitched together, lay it out in a spiral on a table and you’ll get an approximate idea of how it will turn out. This is particularly useful if you want to do full bands on colour.
- And finally, take extra care when securing your tail at the end. Elspeth finished off my first yellow placemat so that was nice and smooth, but when I tried to finish off on the second placemat, it was a bit lumpy because I didn’t twist the fabric enough and poke it in close to the edge as I stitched. I guess practice makes perfect.
Thanks for sharing your experience mum!
Thinking of giving it a go? Below is where to start…
Where to begin with the coiled rope technique:
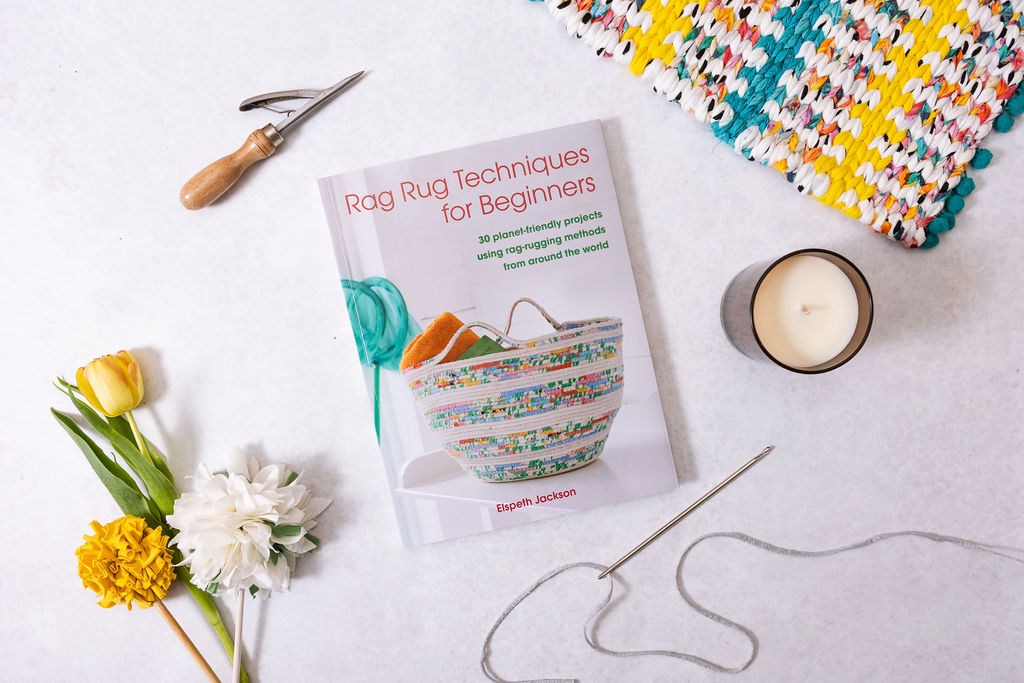
Step 1: Buy some cord. Getting a decent cord will make your life so much easier. Our Ragged Life cord is perfect for putting under a sewing machine foot and holds its shape well when building 3D projects. Each 30 metre skein will make a slightly smaller version of the beach basket from Rag Rug Techniques for Beginners below (including the handles):
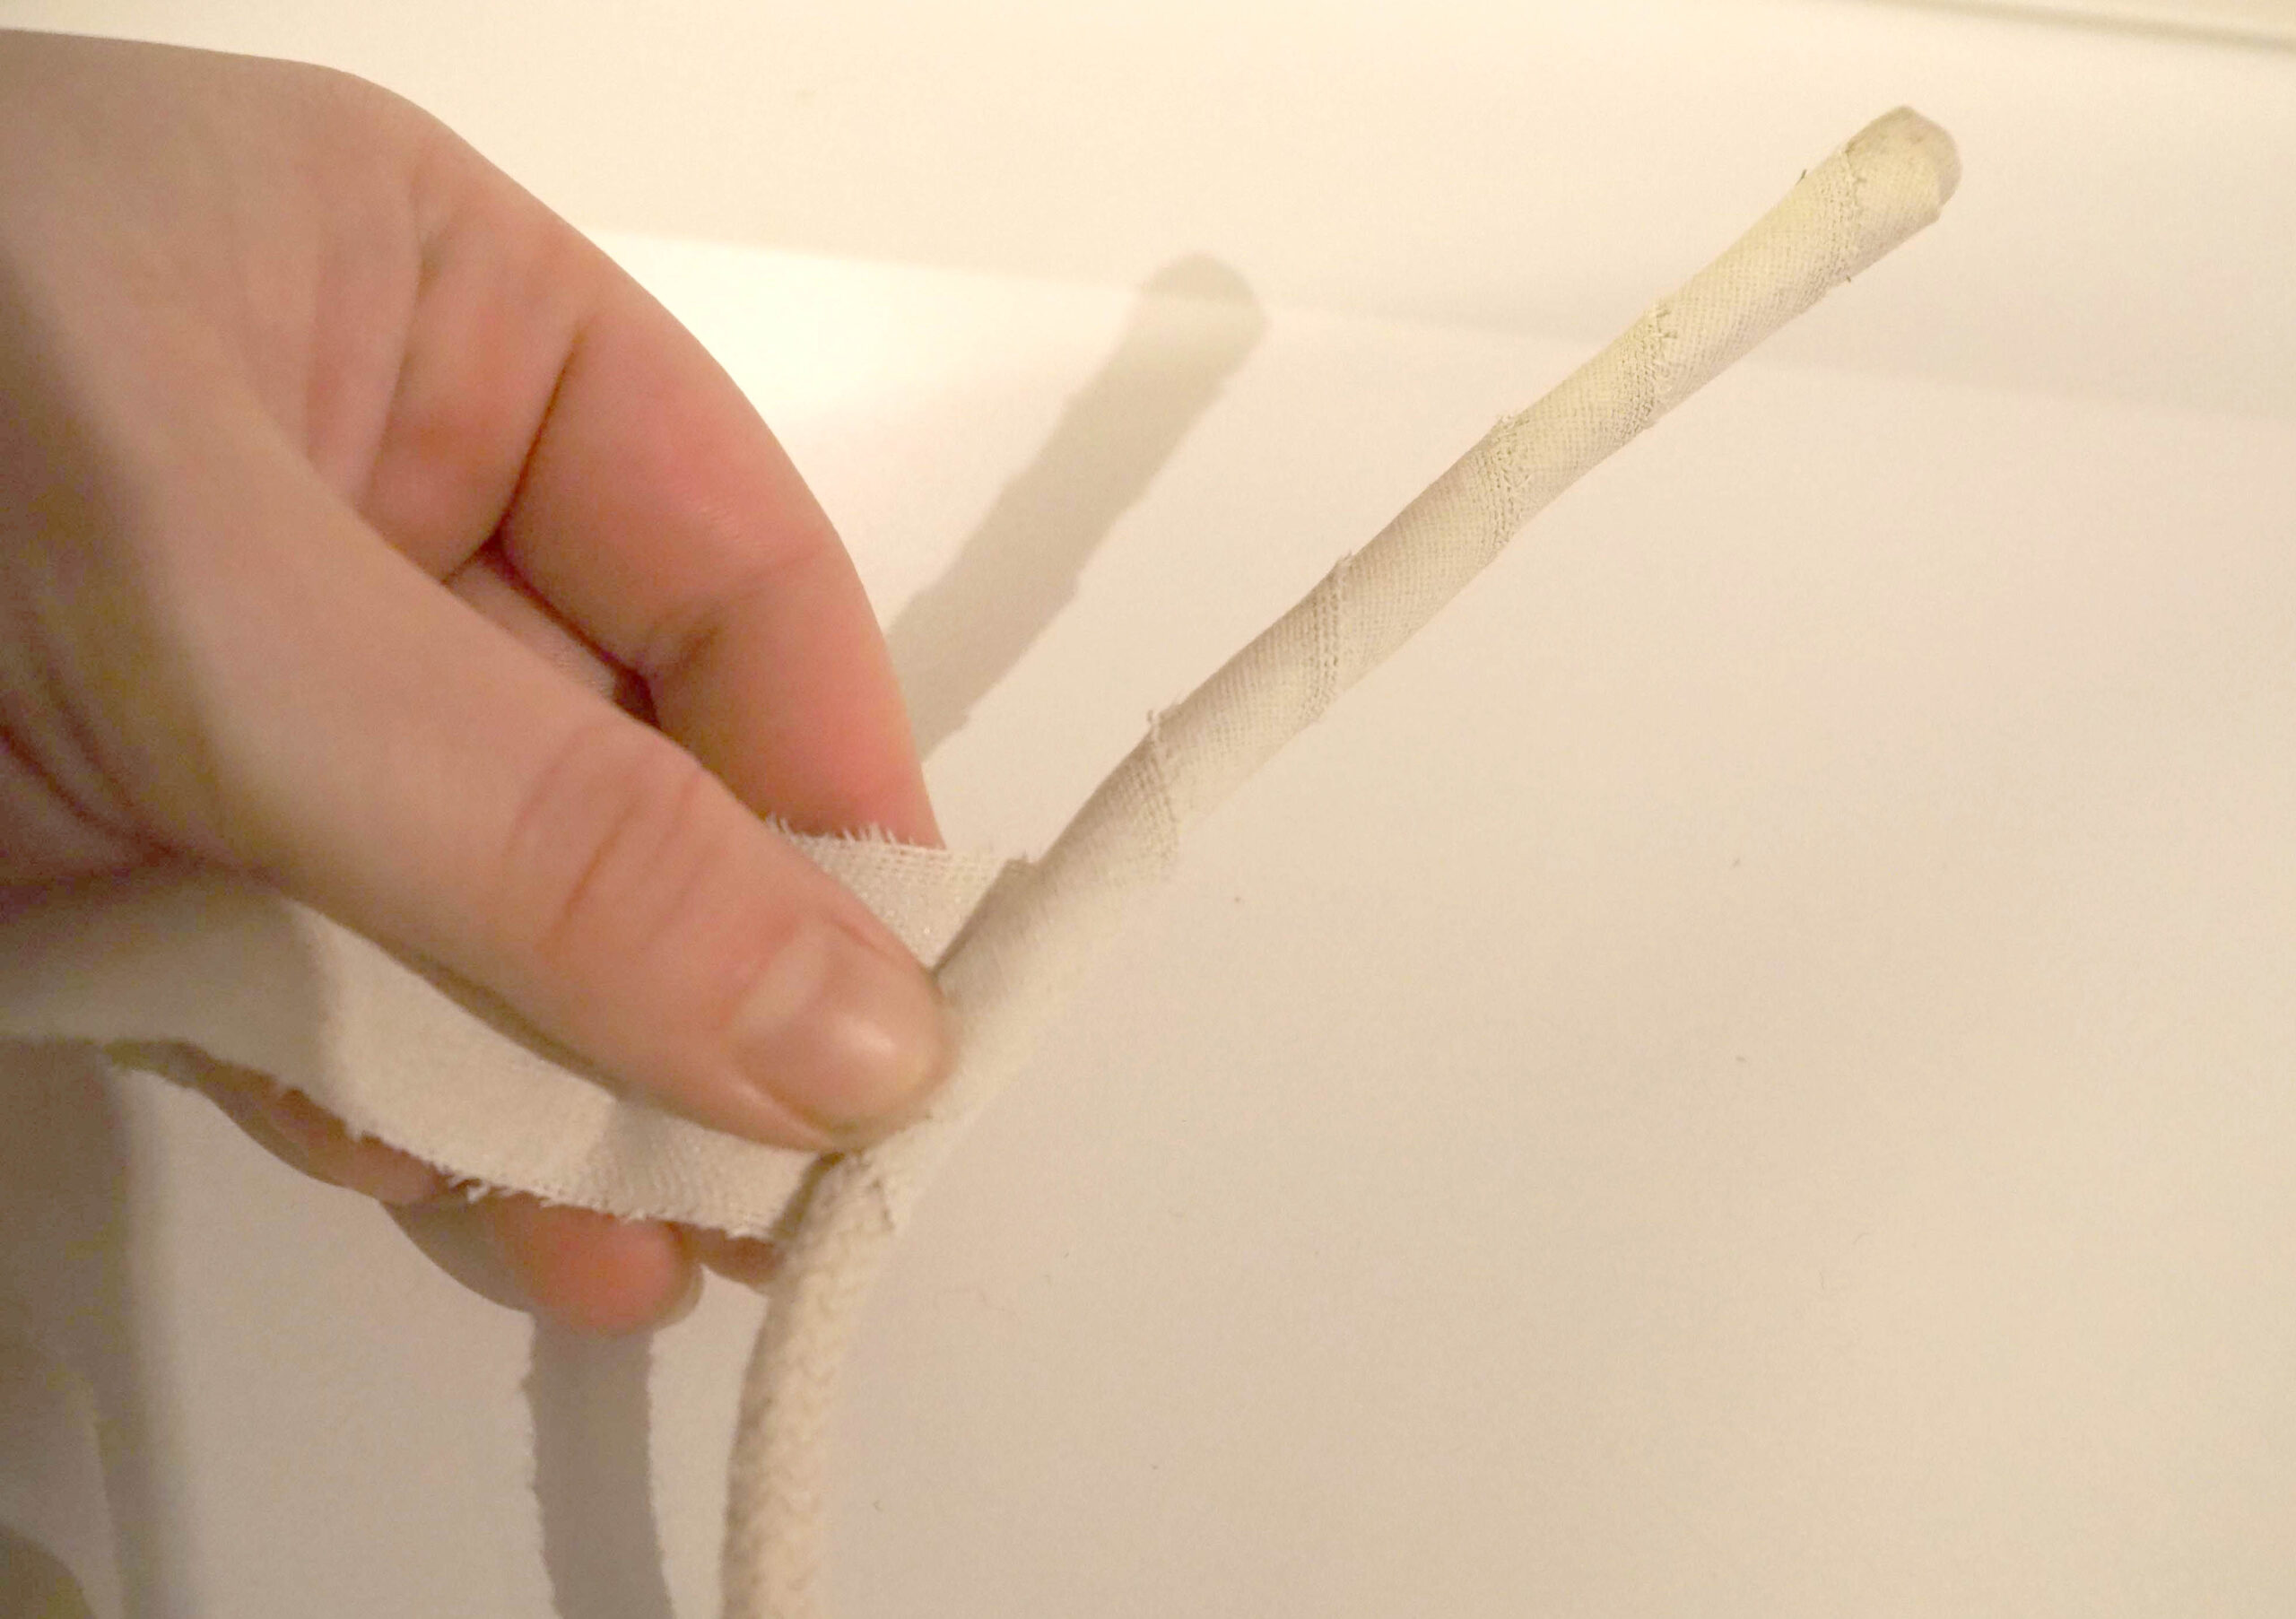
Step 2: Once you’ve got your cord, start wrapping it in fabric. To wrap the cord in fabric, strips should be cut to approx 1-2cm in width. The thicker the fabric, the narrower the strip must be and vice versa. The end of the cord must be covered too, like wrapping a thumb in a plaster (fold the top edge in and under). Overlap strips when you join new ones to disguise any transitions from one colour to the next. Even if you don’t have an idea of what you want to make yet, you can still cover some cord in fabric to get you started!
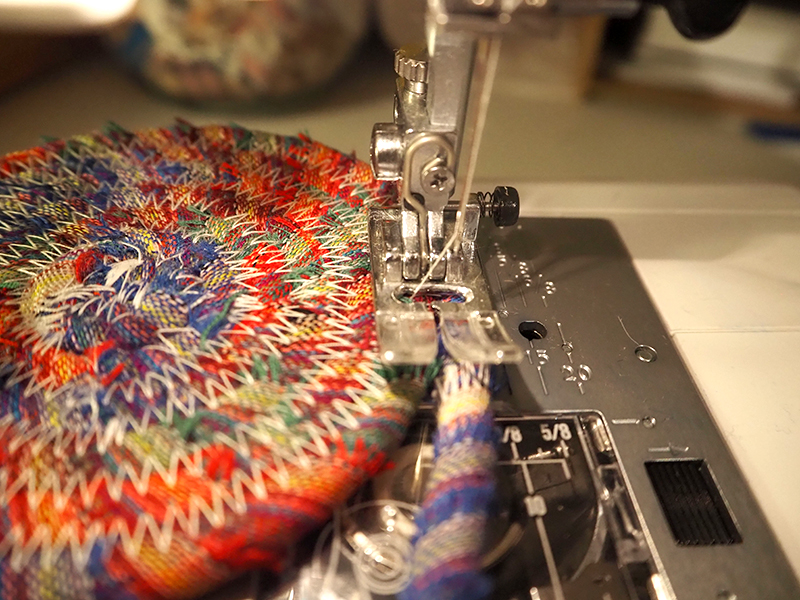
Step 3: Set your sewing machine to a wide zig zag stitch and practise making a flat coaster. Start with the tail to the right coming towards yourself (forming a “q”). The aim is to catch the edges of the adjoining cords together with the zig zag stitch to join them together, so make sure the needle is centred in the valley between the cords. Slowly zig zag stitch the coil together, keeping the needle in the cord any time you turn the work around. Use the stitching in the centre of the coil to adjust your stitch length and width.
Step 4: When you’re happy with the size of the coaster / placemat, cut the cord diagonally, about 3cm shorter than the fabric strip you’ve been wrapping around it. Wrap the last part of the cord, before carefully twisting the remaining fabric to a tapered point. Zig zag stitch the tapered end to the side of the coaster to finish off.

And there you should have your first coiled rope coaster.
We hope you’ve enjoyed this insight into the coiled rope technique of rag rugging. For more projects, tips and tricks, pick up a copy of Rag Rug Techniques for Beginners on the Ragged Life online shop here.
Thanks for reading!
Elspeth & the Ragged Life Team x
I am looking forward to trying to make placemats, as a starting point, anyway. Your tips are very helpful and give me a little confidence. Can you share the approximate amount of cord needed for one placemat, and do you suggest a particular size sewing machine needle? Thank you so much!
Sorry for the delay in replying to this, I’ve just posted a blog post with coaster (150cm cord) and placemat (10-15 metres cord) calculations in 🙂
[…] rope technique of rag rugging featured in our last newsletter (learn the basics of how it is done here if you’re […]